
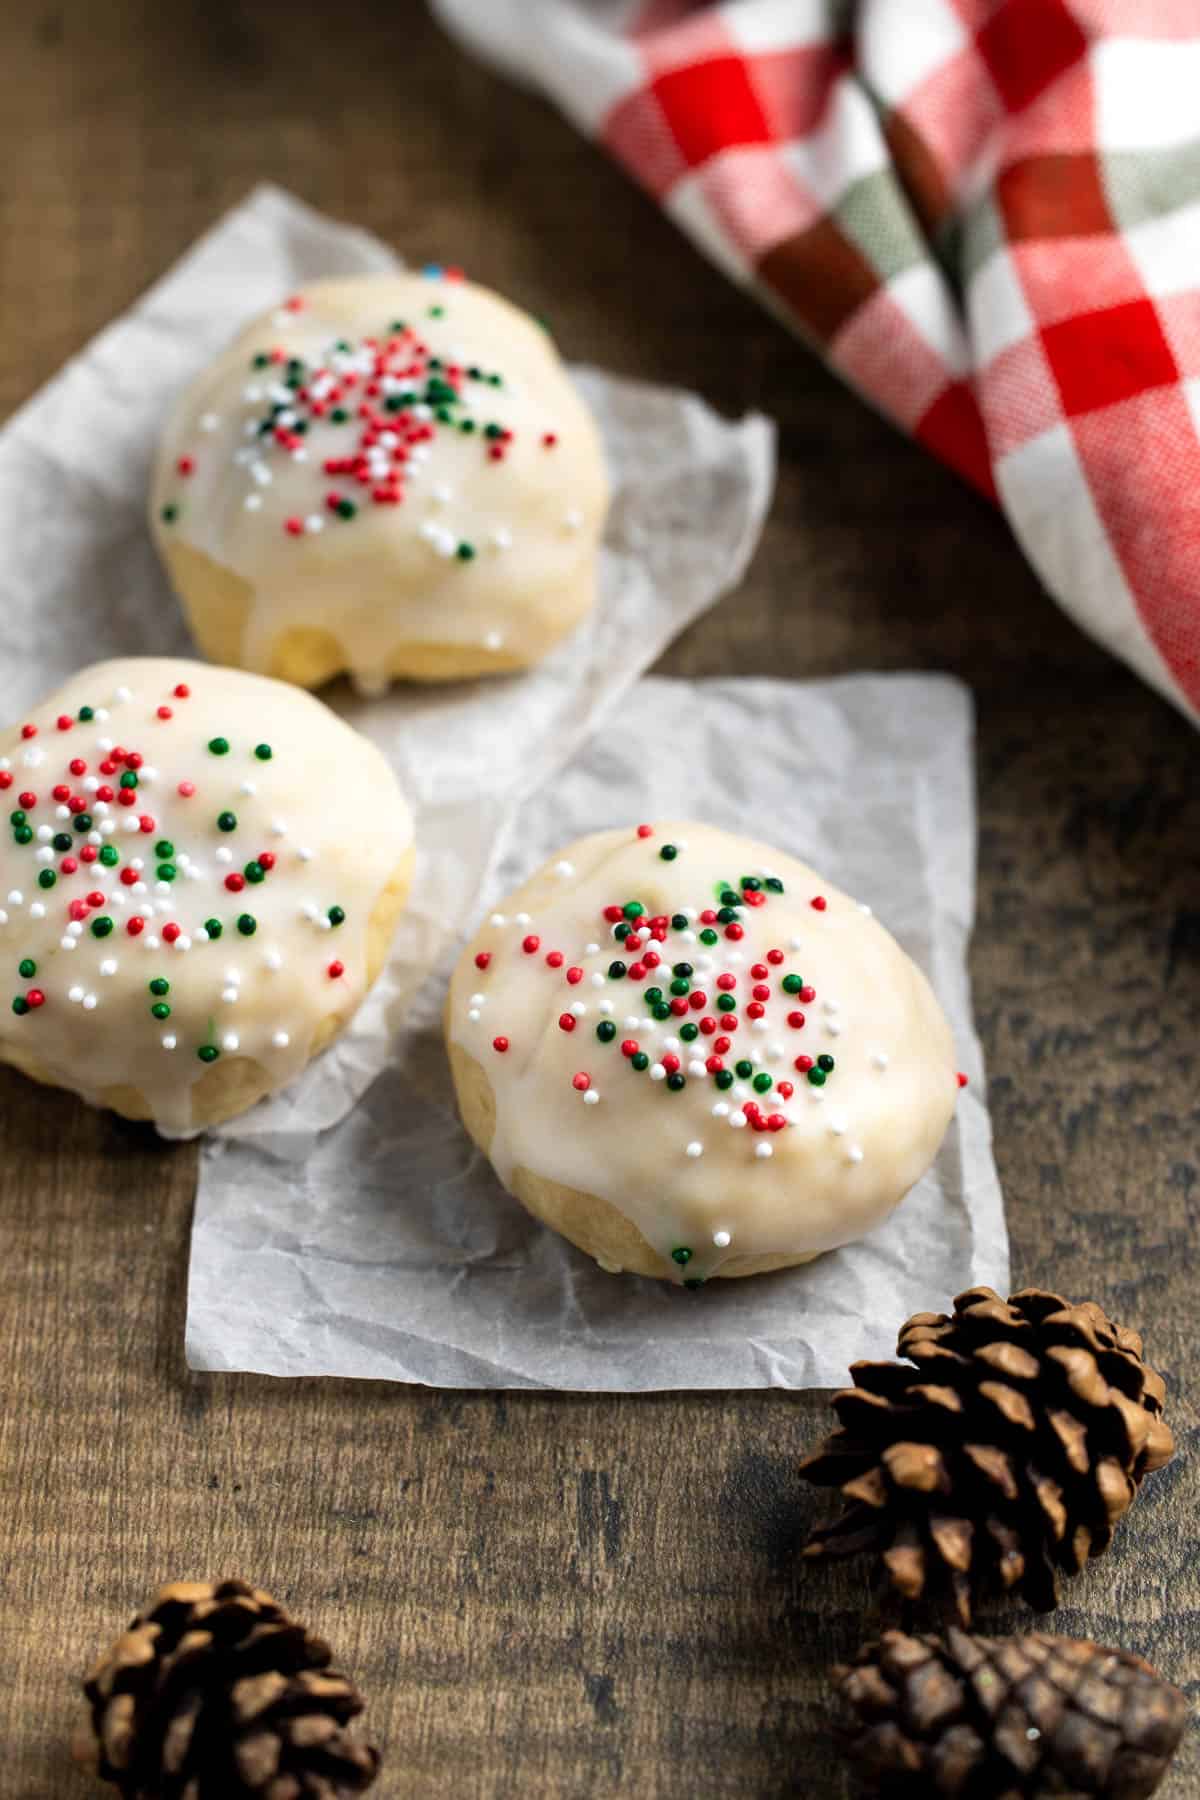
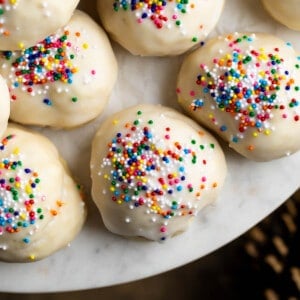
These classic Italian anise cookies are tender and covered in a glaze with sprinkles, with an easy dough that doesn't require chilling. Enjoy these traditional Italian cookies as part of a Christmas cookie tray, an Easter dessert table, or year-round!
So much of what I love about the holiday season is tied to food (because, obviously) and family favorite recipes dominate my holiday menu each year. Can you relate to that? I try out a few new cookies or side dishes or whatnot each year, but by and large it wouldn't be Christmas, let's say, without struffoli and baked clam dip and baked french toast made with Panettone .
I already have my honey, clams, and Panettone ready to go.
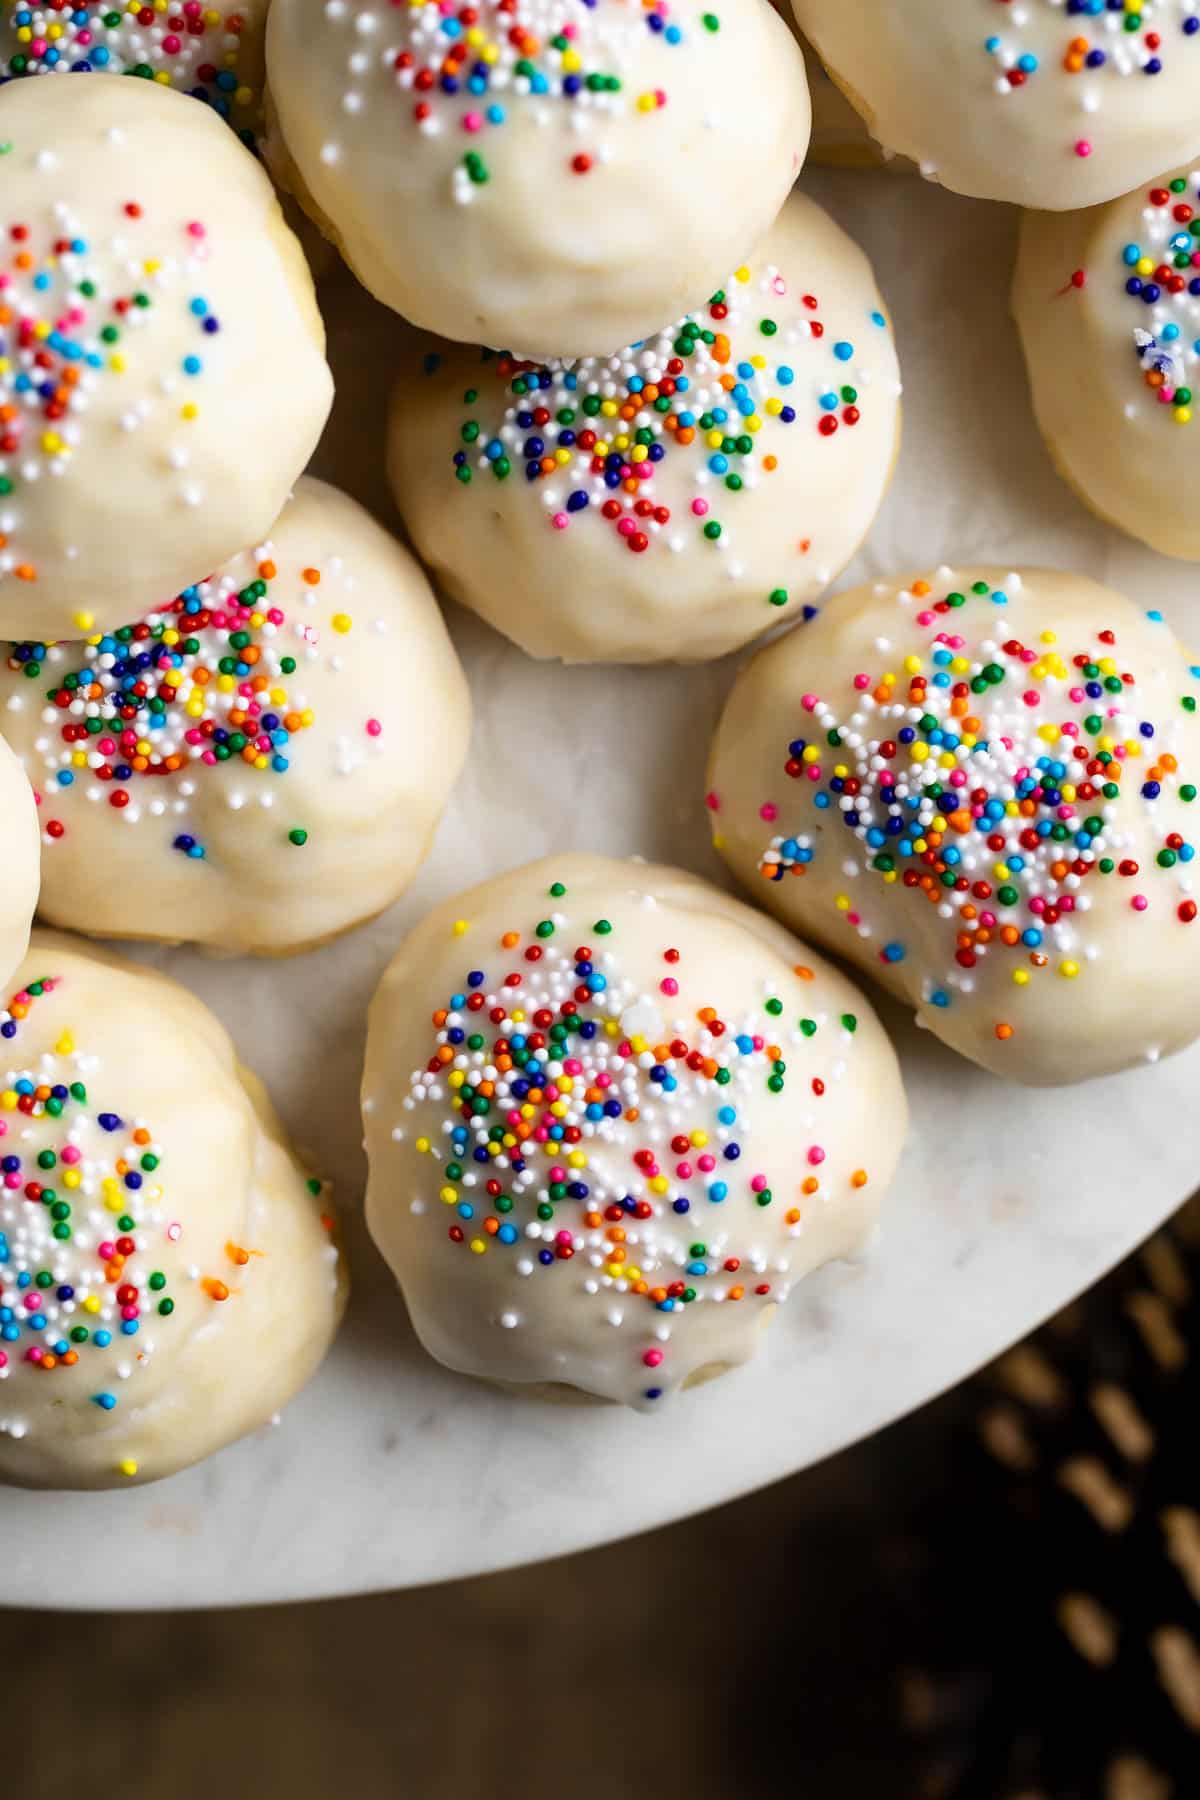
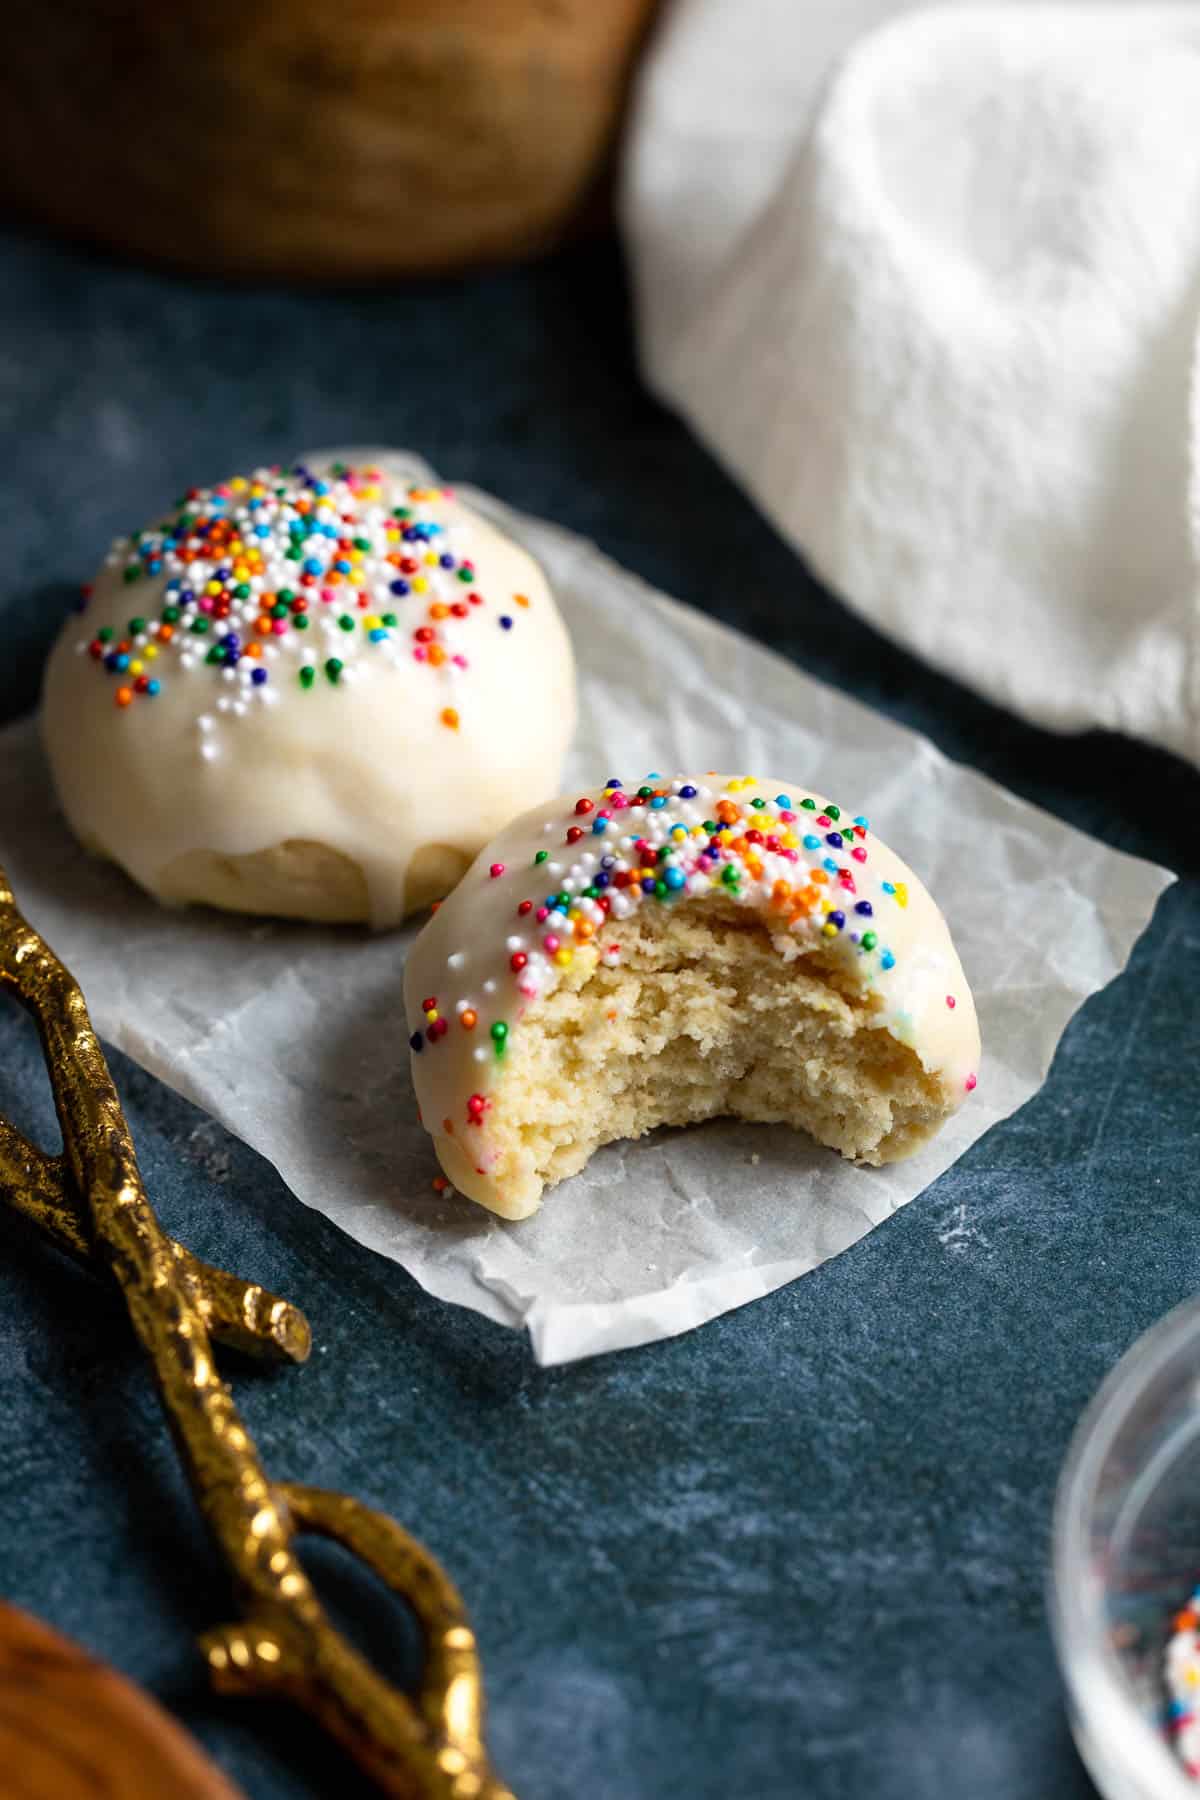
Besides struffoli, one of the Italian recipes my mom has made every year since before I can even remember are Italian anise cookies. These tender, licorice-flavored cookies are topped with glaze and festive sprinkles to add a special touch to any holiday cookie tray. I know the licorice flavor can be polarizing like cilantro, but for those who don't mind or like it - these anisette cookies will be just your speed.
I have to come on here and say THANK YOU for this recipe. I have gotten the best compliments from these cookies, and I truly think this was the best cookie I’ve ever eaten. Truly delicious, this recipe is the best!!! Thank you
- reader Danielle
Jump to:
Recipe Ingredients
This is an overview of the ingredients needed to make anise cookies...except for the milk, which I forgot to add to the picture. Scroll down for the full detailed recipe.
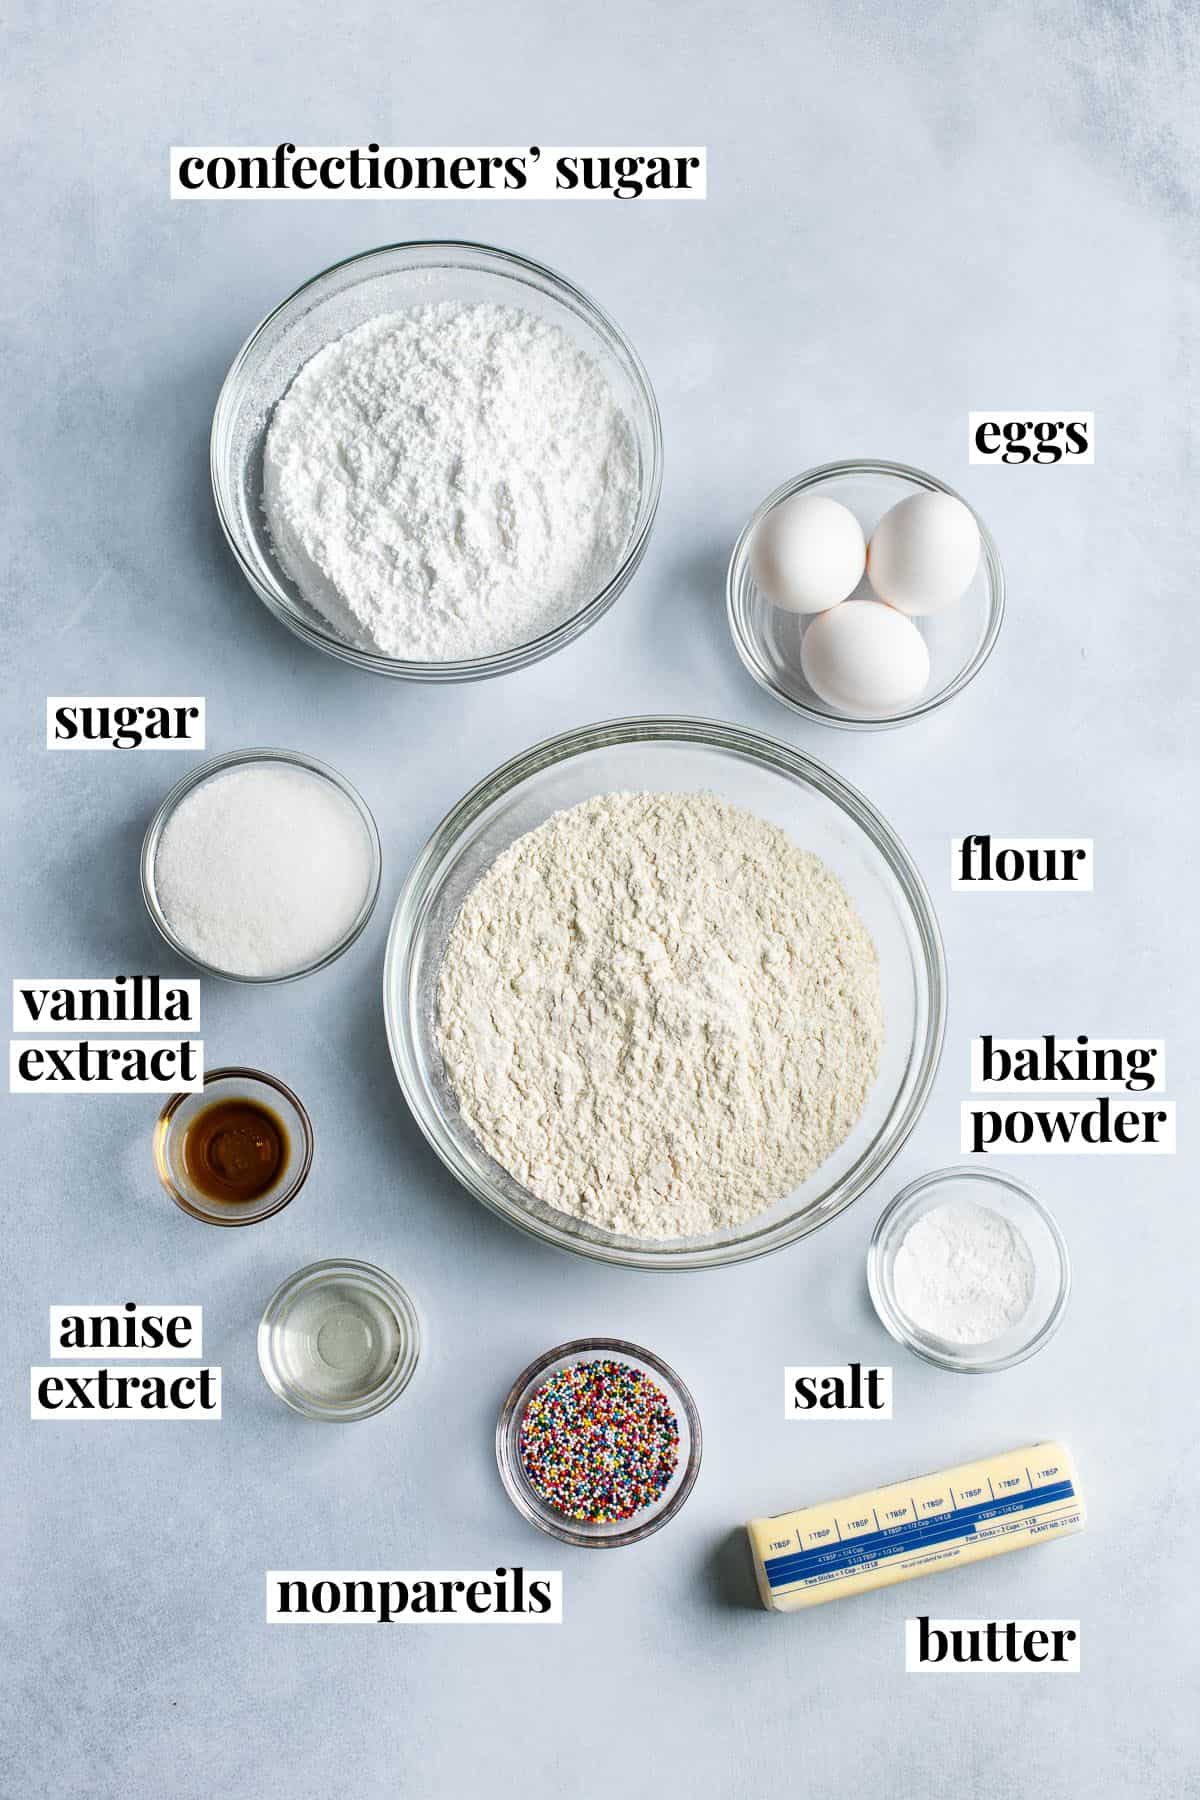
- Butter: Leave this out to soften to room temperature so it efficiently combines with the sugar in the creaming step. This helps provide structure for the dough.
- Sugar: One-half cup joins with the icing sugar to ensure these anisette cookies are just sweet enough.
- Anise Extract: Two teaspoons in the cookies and one-quarter teaspoon in the icing result in a present but not overwhelming anise flavor.
- Flour: Be careful when measuring, and start with the lower amount listed in the recipe card before evaluating how your dough is handling. Too much flour is a reason why some anise cookies can become dry.
- Baking Powder: I highly recommended using aluminum-free baking powder, as some people can detect a hint of a metallic flavor in baked goods with a higher amount. One tablespoon is the correct measurement here! Look to avoid baking powder with "sodium aluminum sulfate/phosphate" on the label.
- Confectioners' Sugar: Sift after measuring for a smooth icing.
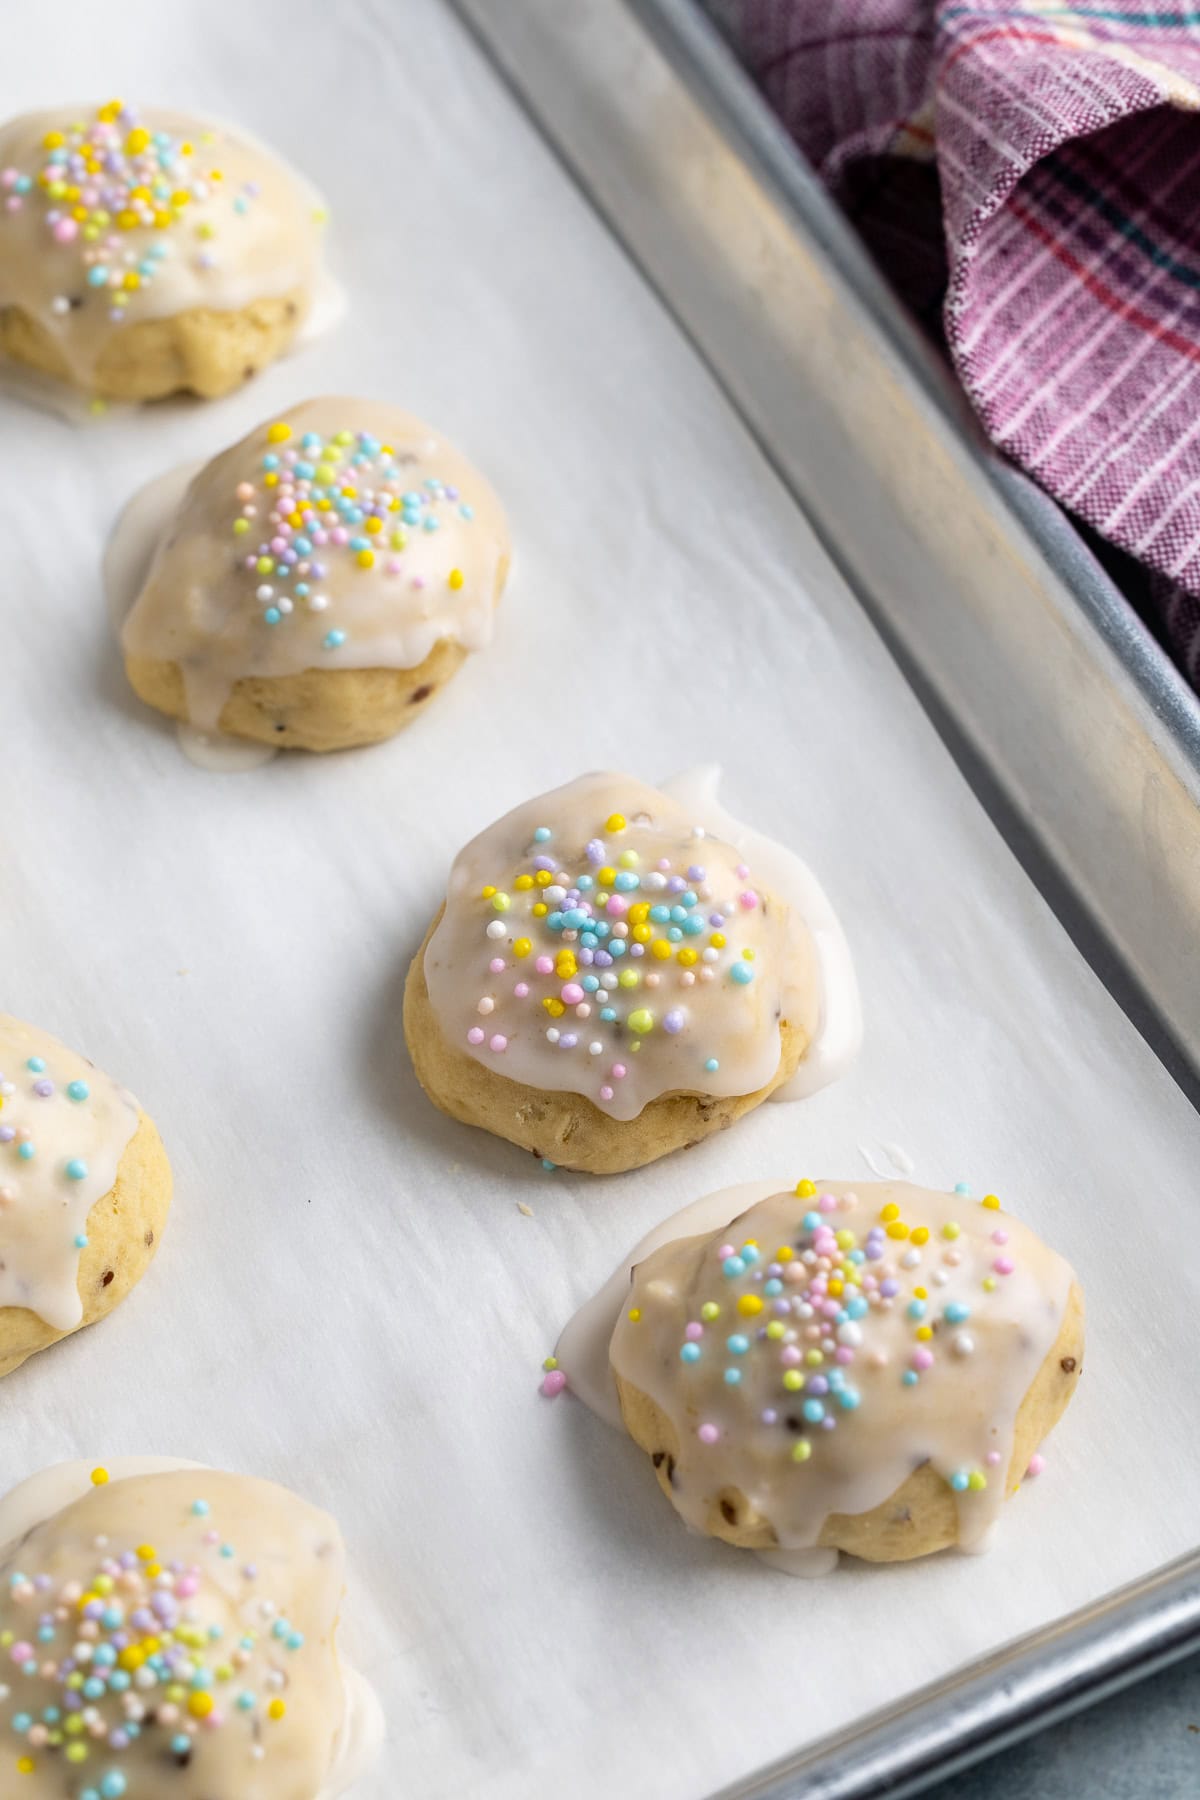
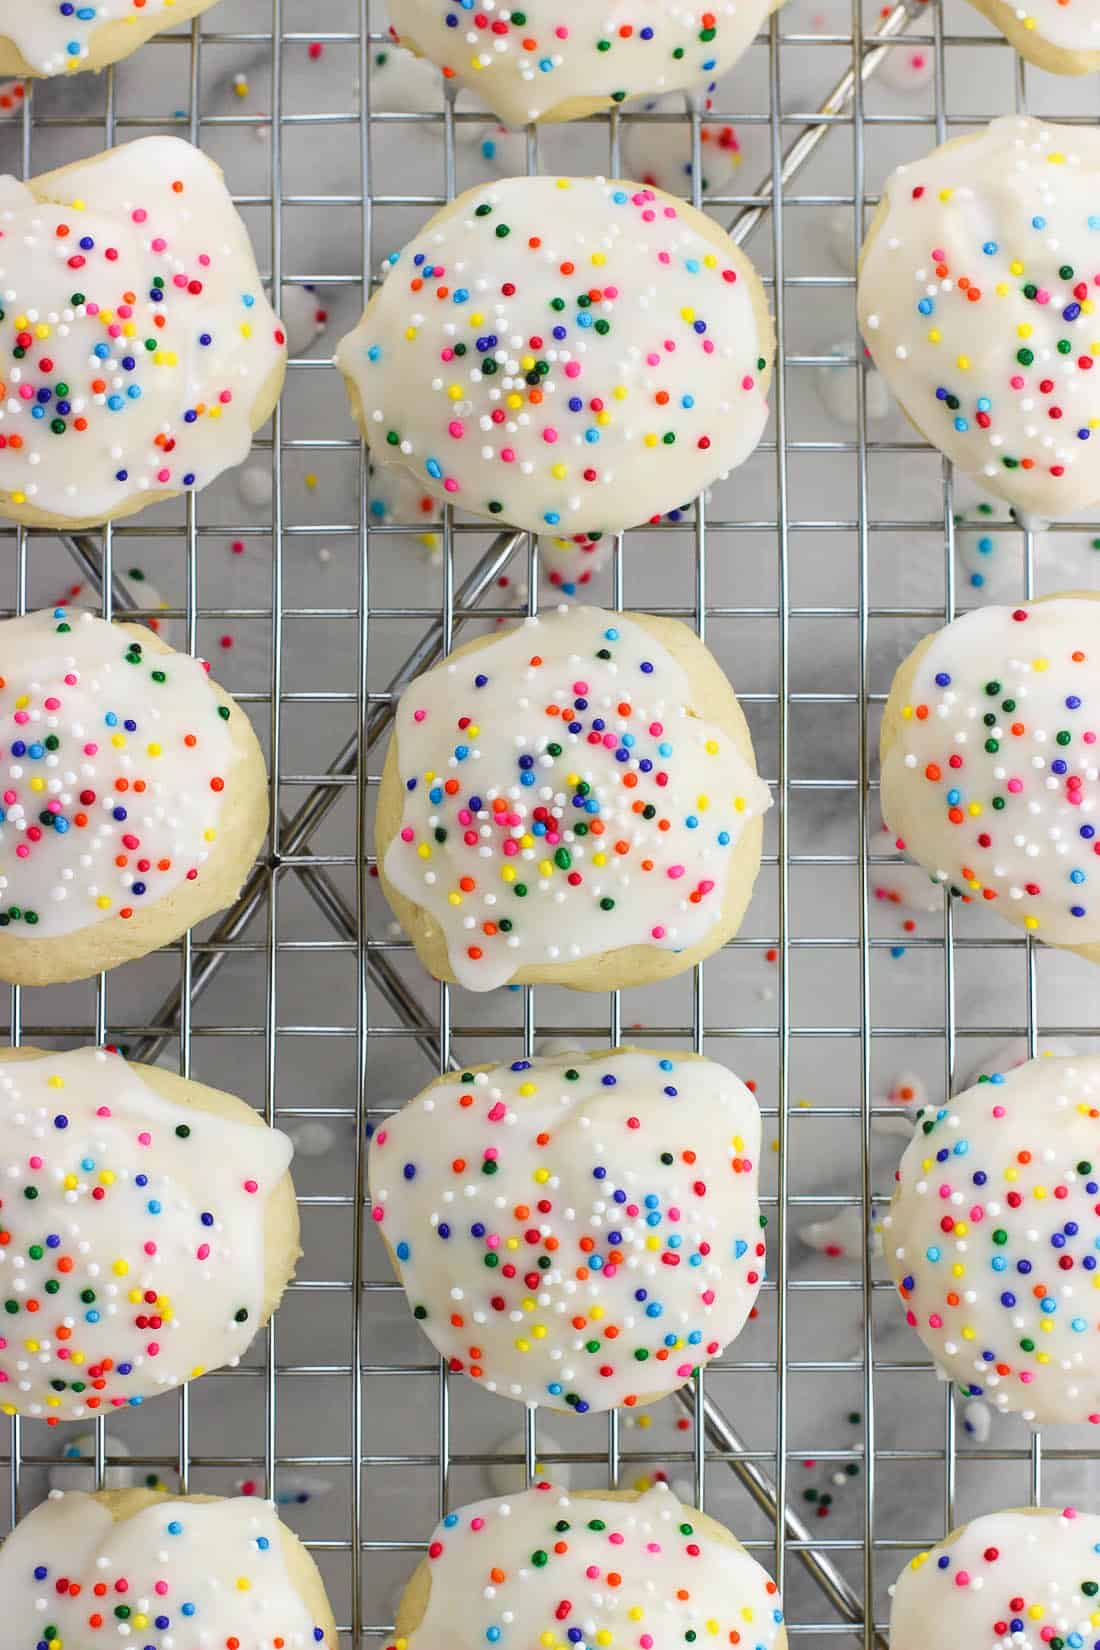
- Nonpareils: Rainbow nonpareils are classic, but a red/green/white mix for Christmas is always fun. Get creative for other holidays! Scroll down to see a fun pastel spring blend that's perfect if making anise cookies for Easter (or it's yeast-risen cousin, Italian Easter bread).
And camera shy milk, which both adds moisture and softness to the cookie dough and forms the icing.
Step-by-Step Instructions
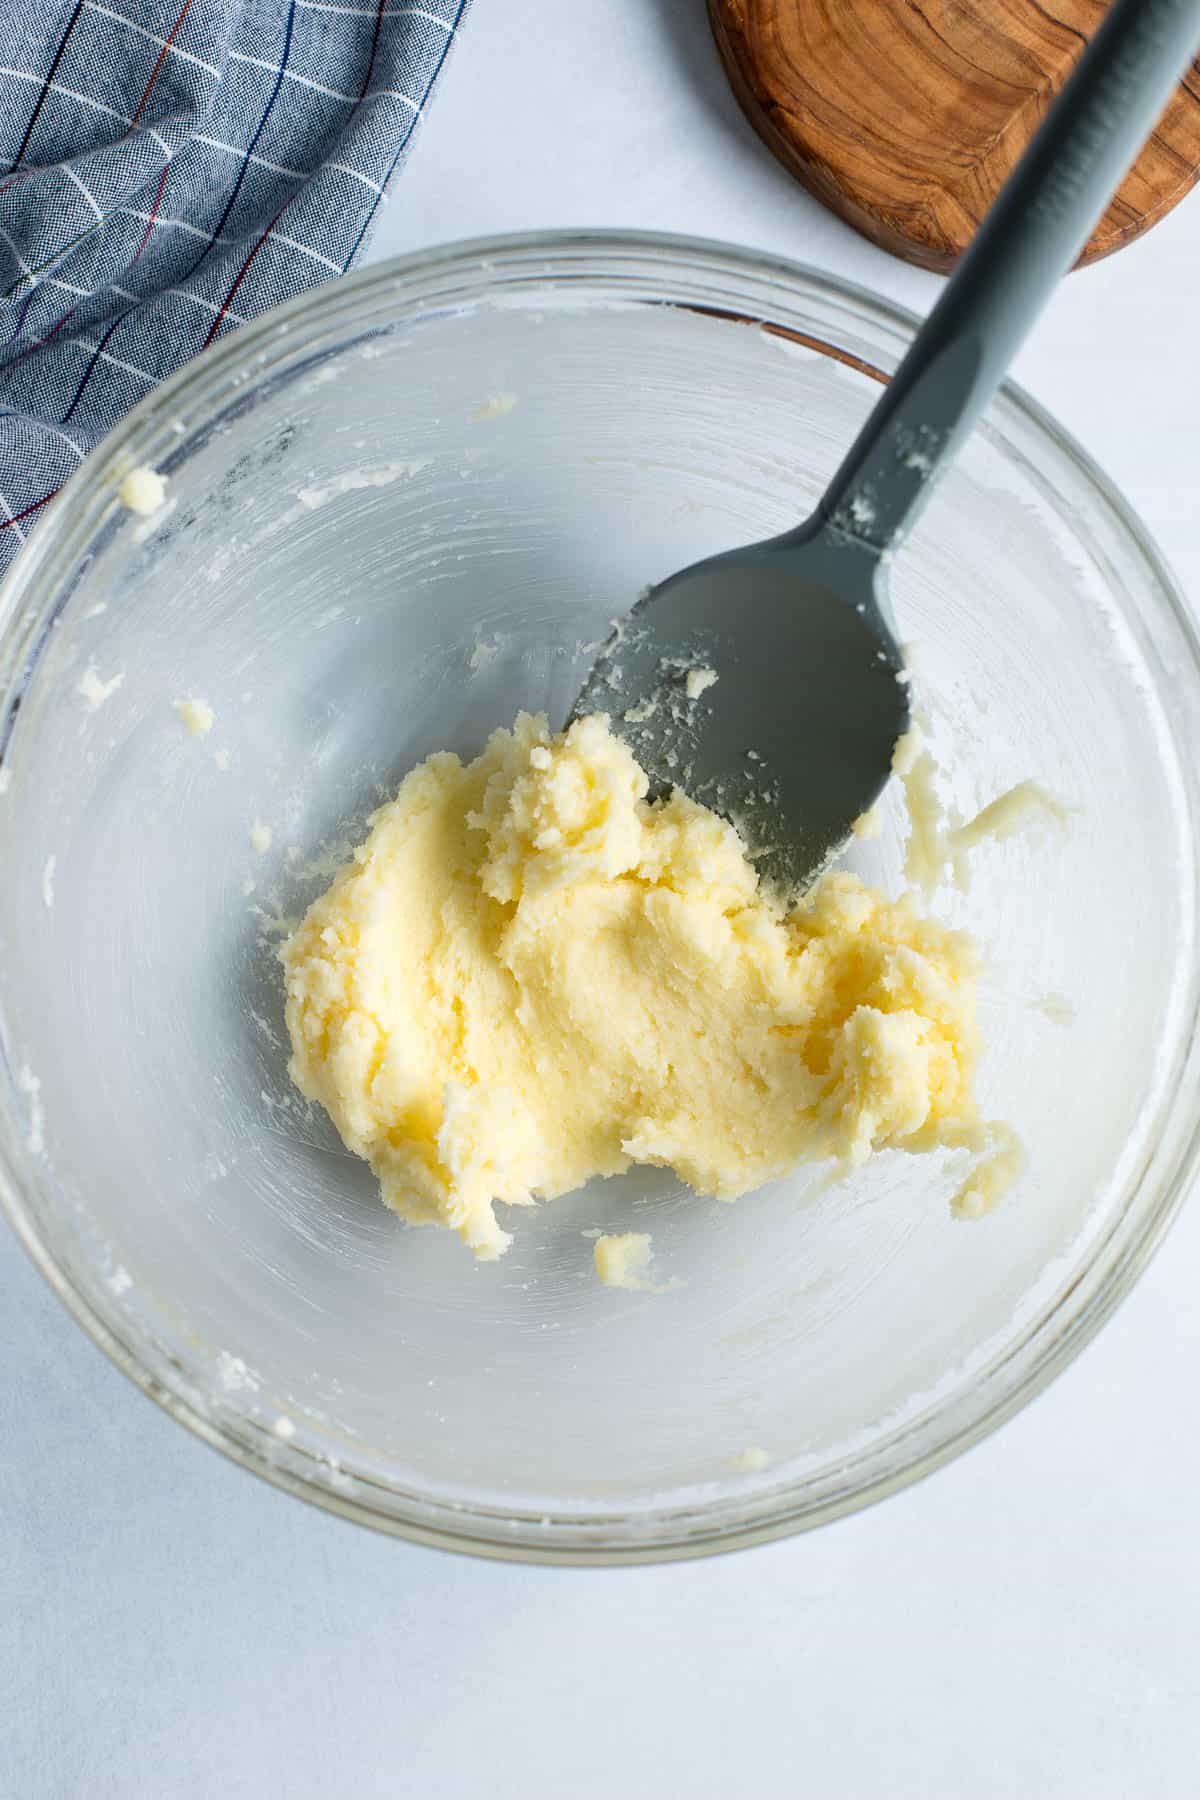
- Step 1: Cream butter and sugar. Beat softened butter and granulated sugar with an electric mixer for 2-3 minutes, or until light and becoming fluffy.
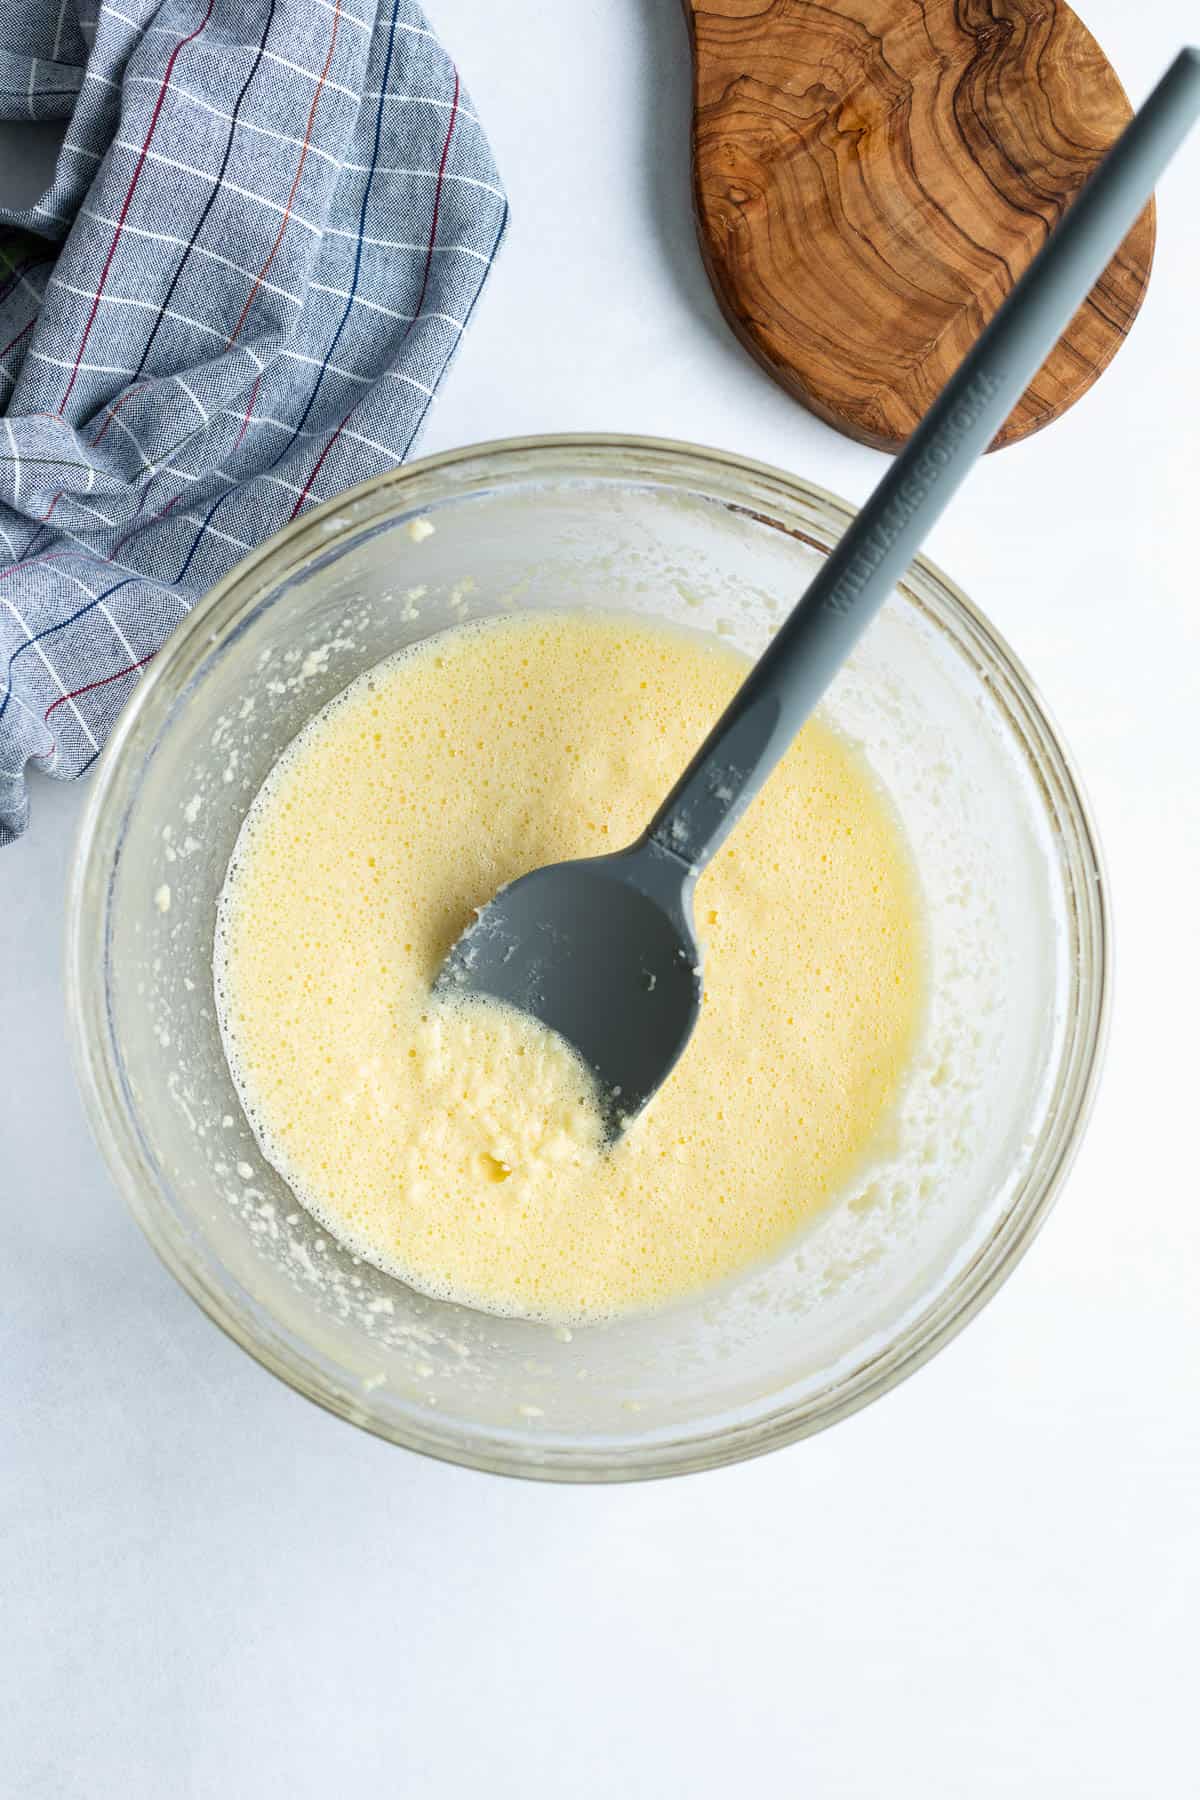
- Step 2: Mix in wet ingredients. Add eggs, then milk and the extracts and beat until combined. Scrape down the bowl as needed.
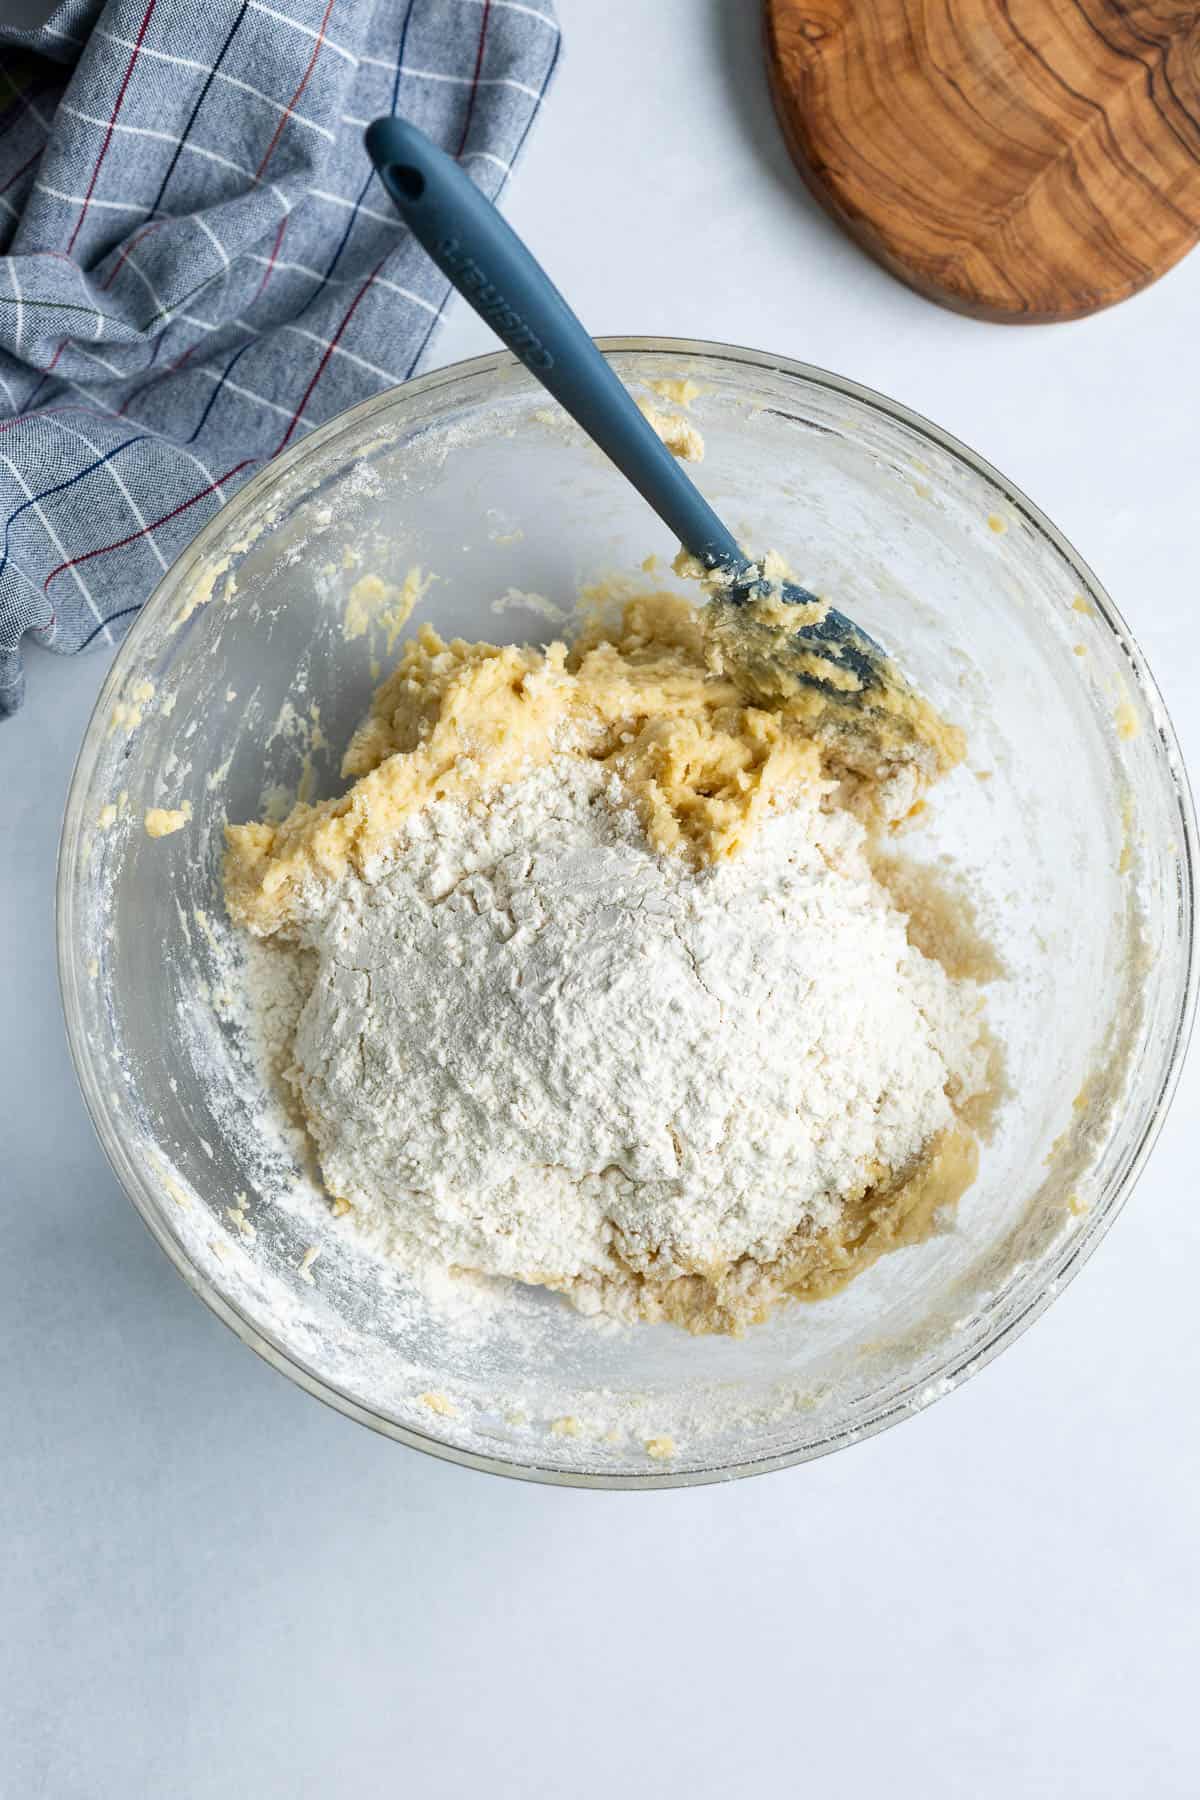
- Step 3: Mix in dry ingredients. Whisk together three cups of flour, baking powder, and salt in a separate bowl, then mix into the wet ingredients in two or three increments.
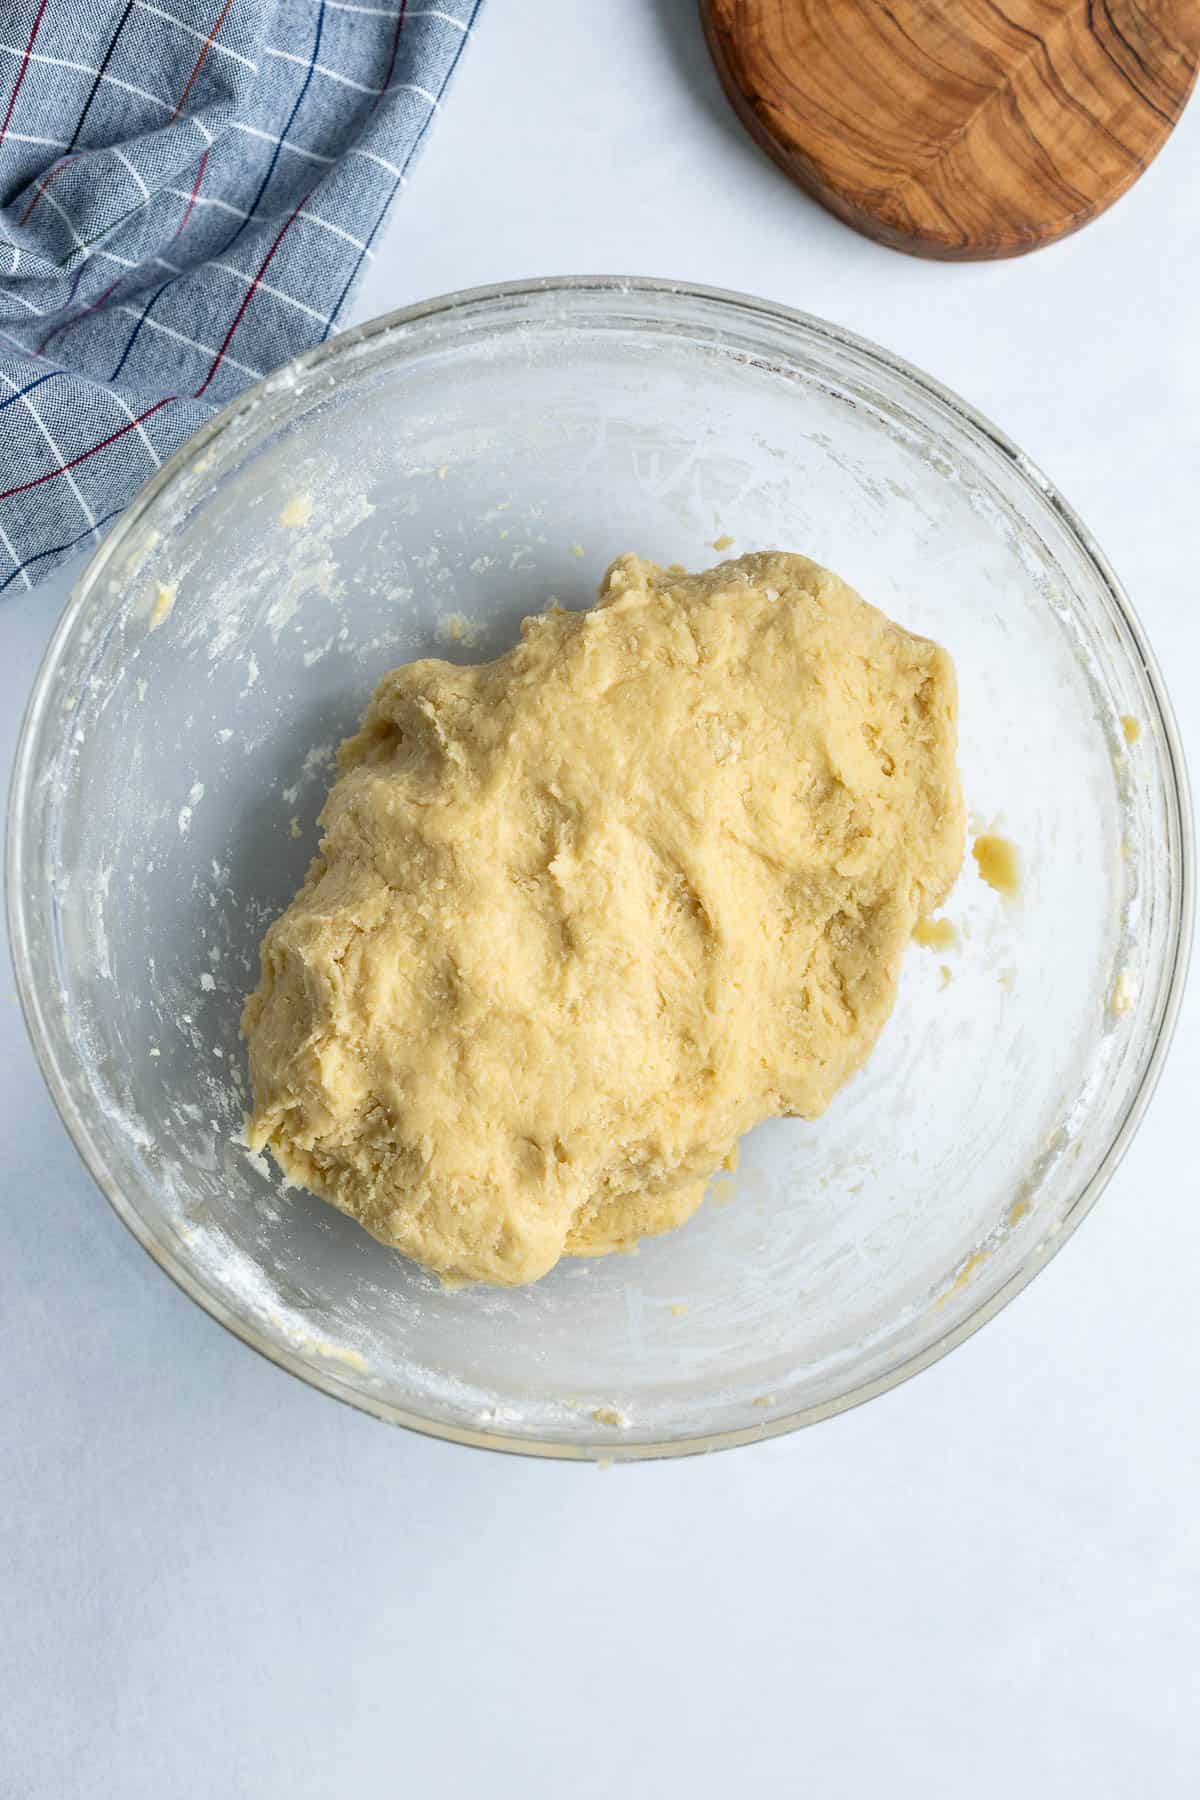
- Step 4: Add flour, as needed. The dough will be very sticky, so add additional flour one tablespoon at a time until it's workable and able to be rolled without too much sticking.
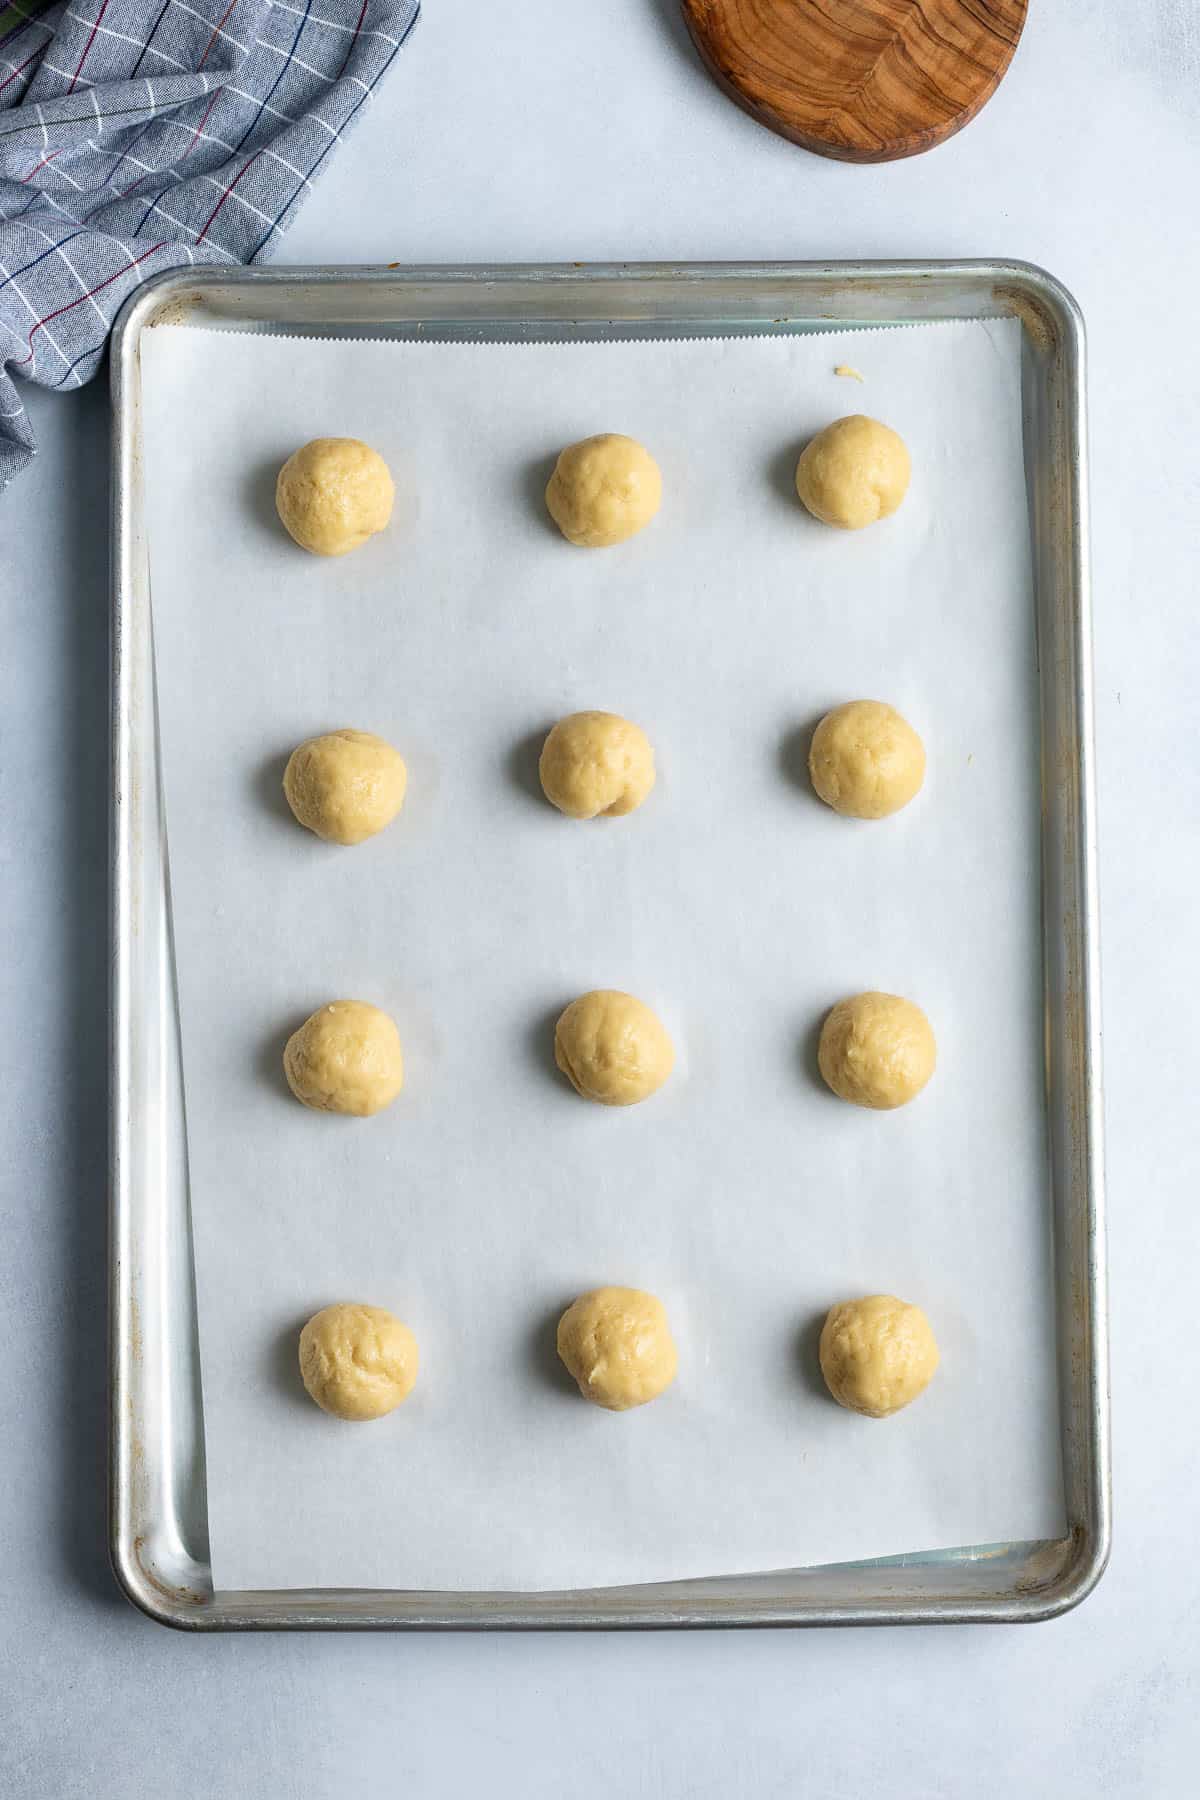
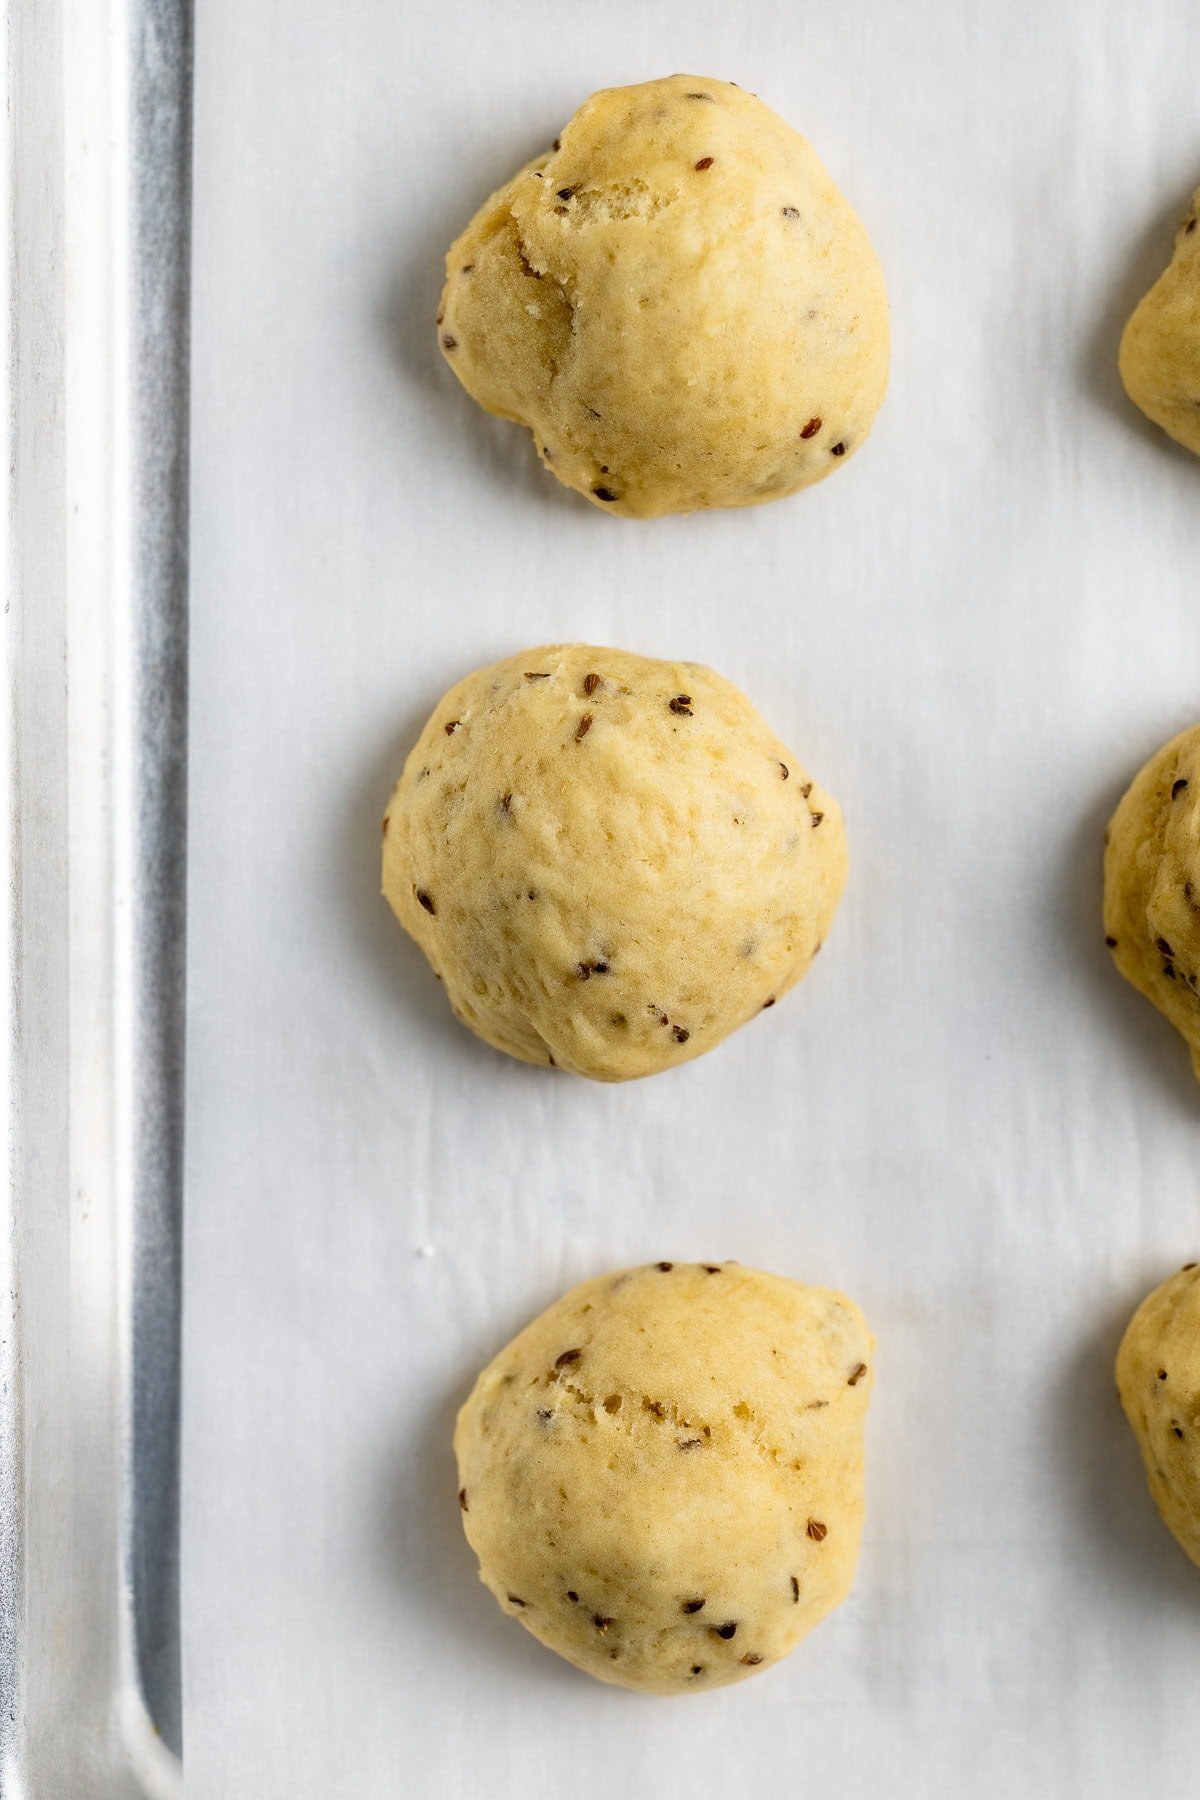
- Step 5: Scoop and roll dough. Scoop 1 ½ tablespoons of dough and roll in a ball. Place a few inches apart on a parchment lined baking sheet.
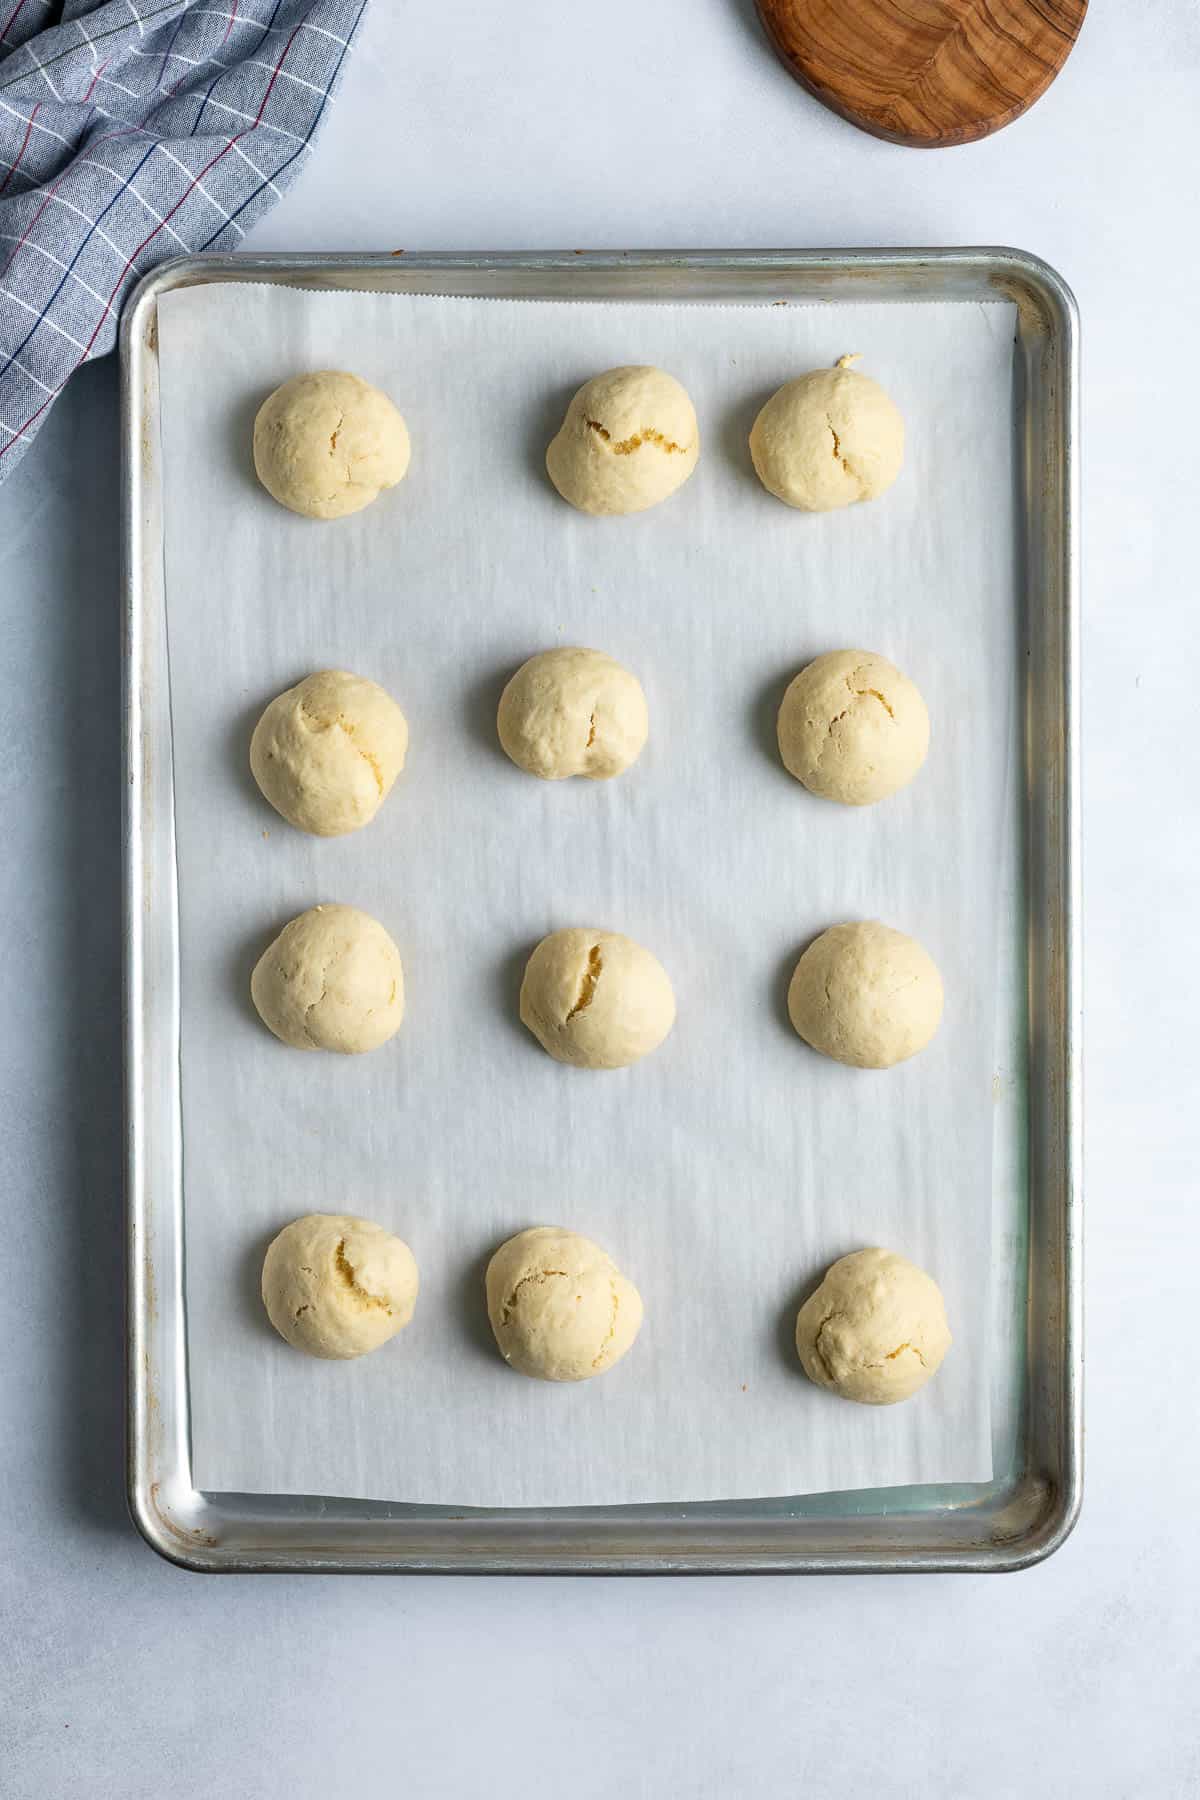
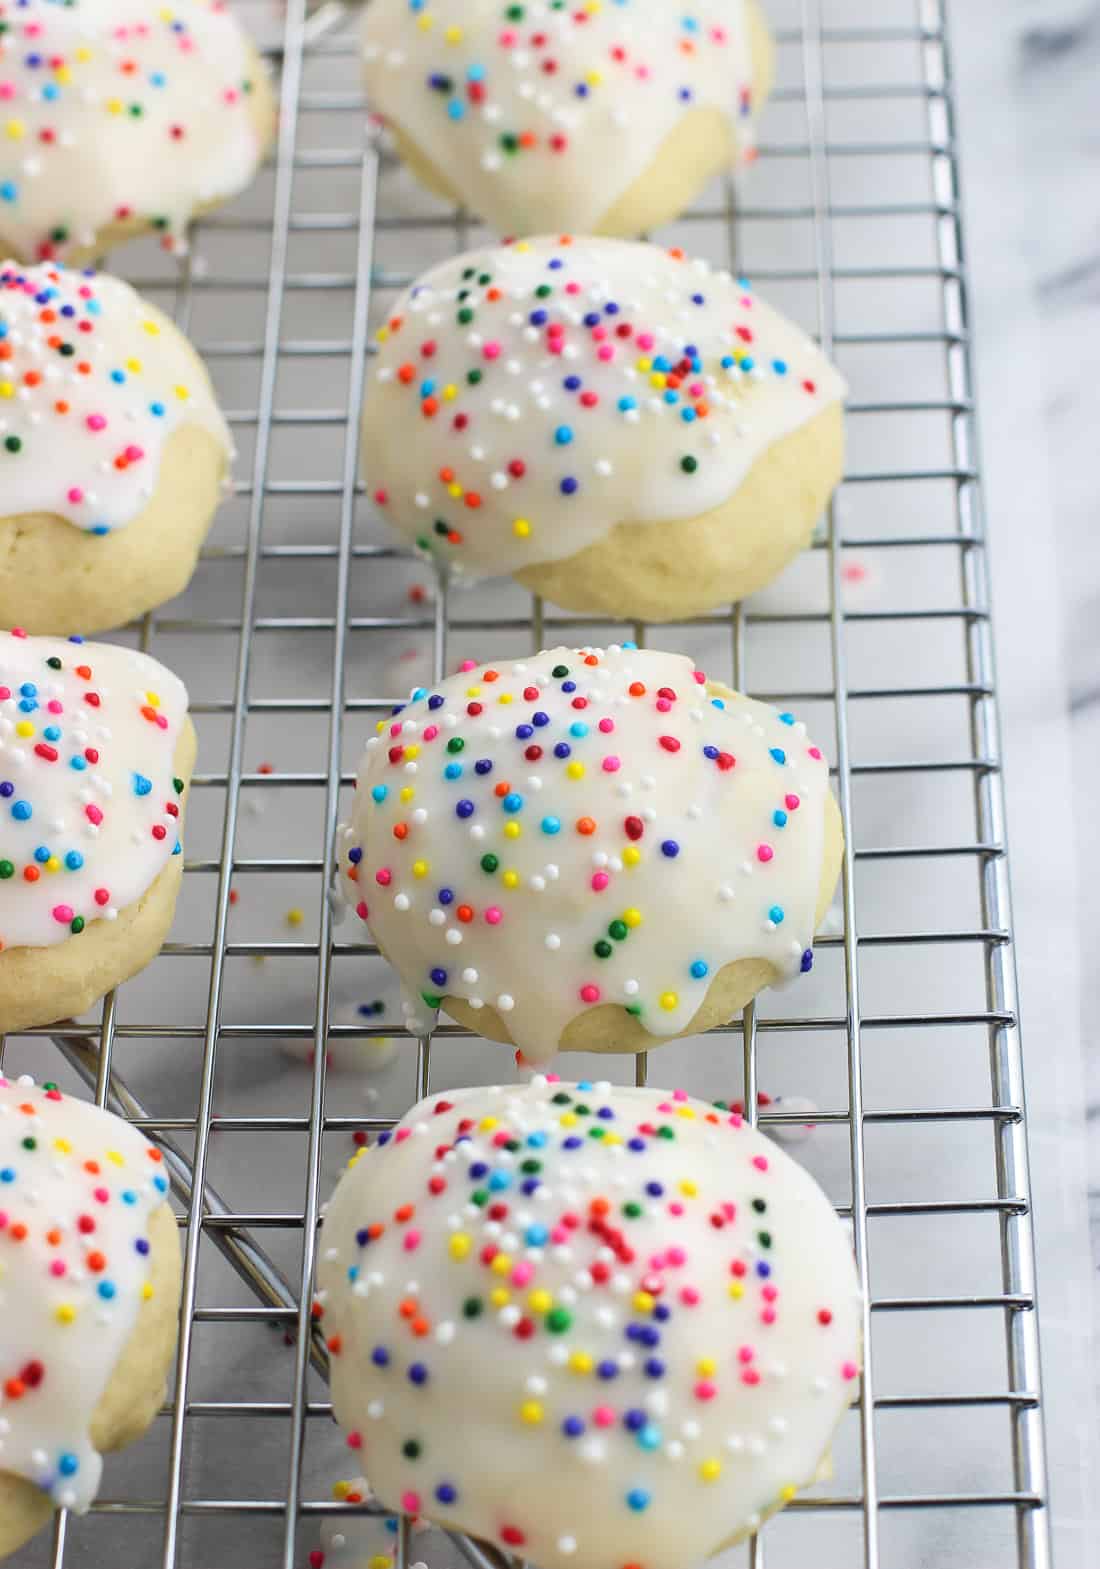
- Step 6: Bake. Bake at 350°F for 10-12 minutes, or until the tops have risen and set and the bottoms are lightly golden-brown. Cracks in the surface are normal and get covered by the icing.

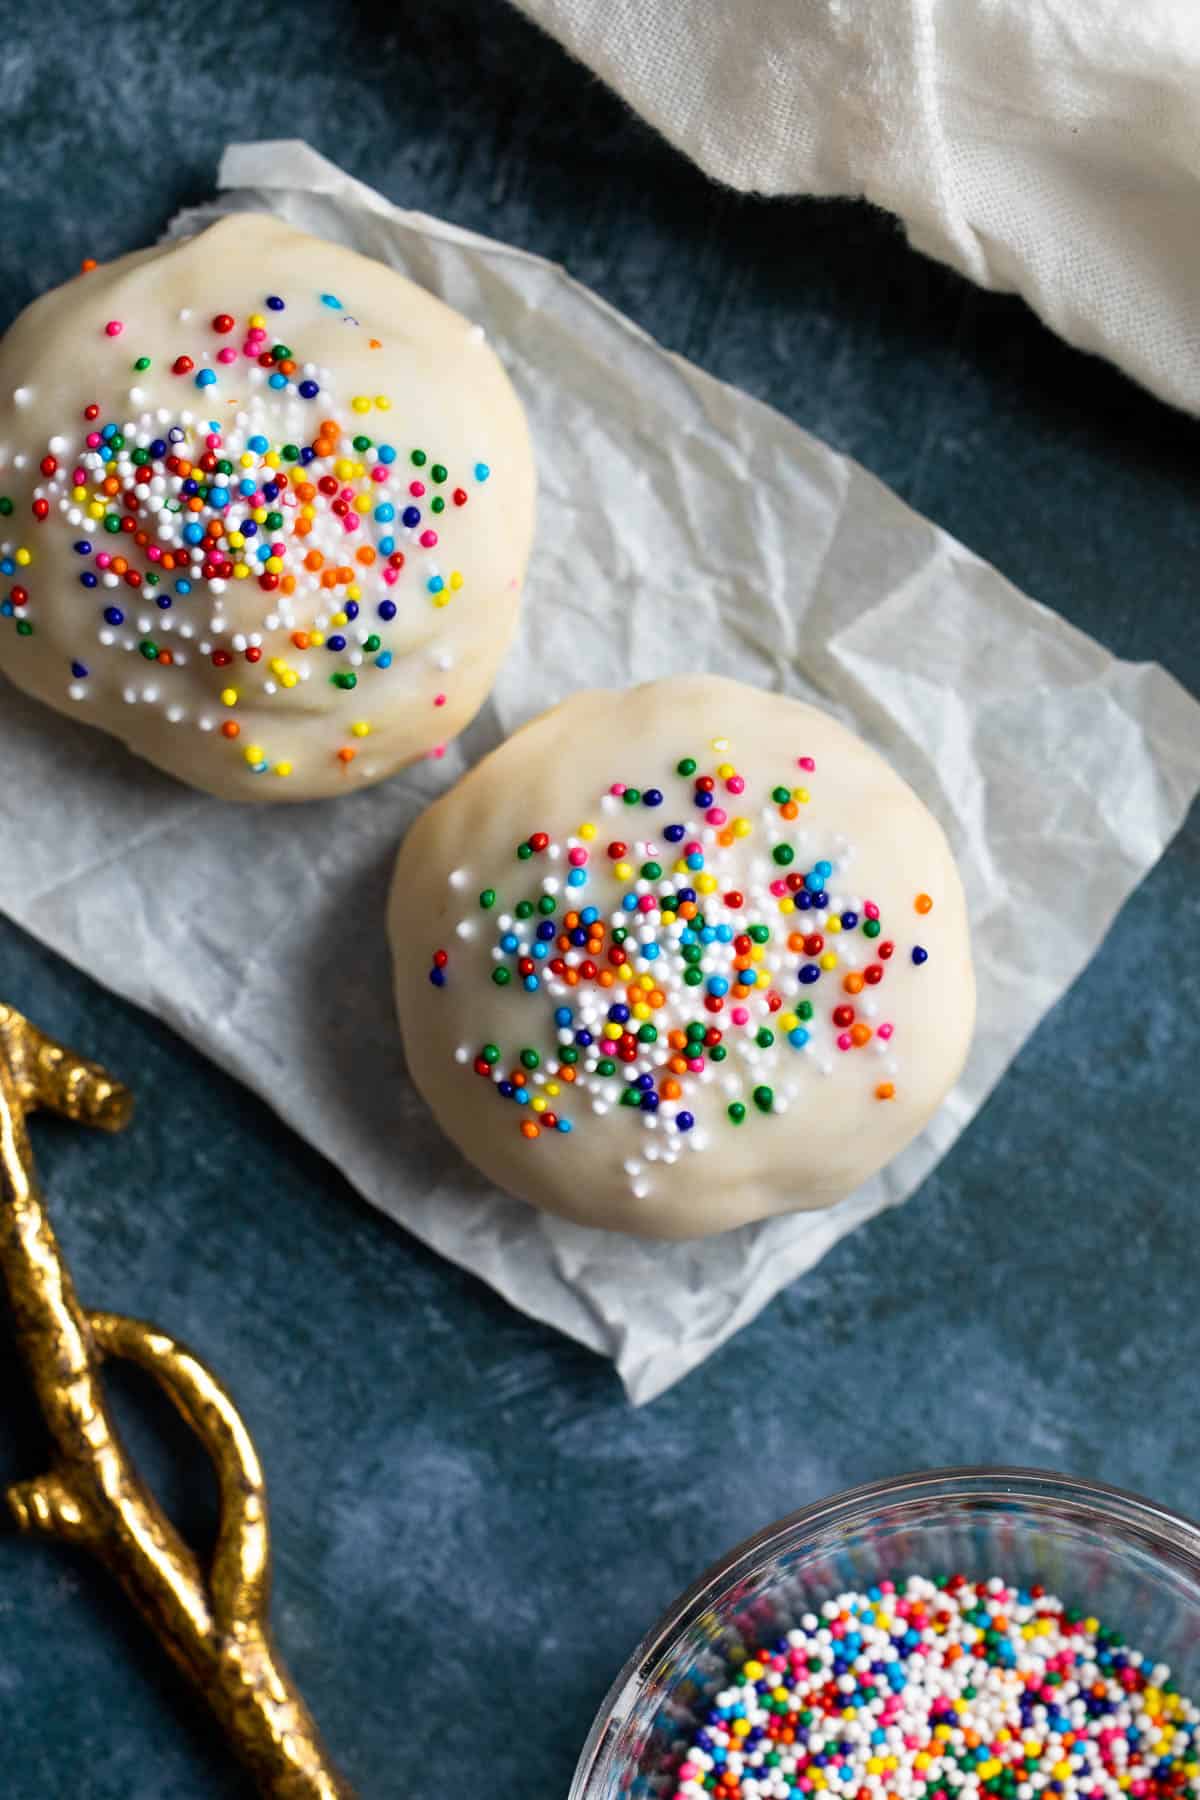
- Step 7: Dip in icing and decorate. Once cooled, whisk the icing. Dunk each cookie into it and sprinkle with rainbow nonpareils or decorations of your choice. Let the icing set before storing or serving.
Expert Tips and Tricks
Freshest Flavor - Make sure your anise extract is reasonably fresh for the best flavor, especially if you don't bake with it all that often. From experience I've noticed an older bottle still within the "best by" date to have a muted, less impactful flavor.
Additional Flour - Once three cups of flour have been mixed into the dough, poke the dough and see how it is. Likely it'll be pretty sticky, so work in additional flour one tablespoon at a time until the stickiness has been reduced. You'll want the dough to be able to roll between your hands with minimal sticking. The ball of dough should be relatively smooth without sticky "spikes". I add anywhere from no additional flour to an extra quarter-cup during this process, depending upon the conditions.
Hand Kneading - Anise cookie dough is fairly thick. If using a hand mixer, it will likely be easier to hand knead in the additional tablespoon(s) of flour rather than contend with the beaters.
Ice in Batches - Dunk then decorate several cookies (around 3-4) at a time to prevent the icing from hardening before you get a chance to add the nonpareils.
Freezing Anise Cookies - You can freeze sprinkled and glazed anise cookies, though you will see a small amount of nonpareil color bleeding. Not enough to be off-putting or an issue, in my opinion. Remove cookies from the freezer the day you'd like to serve them and let them thaw at room temperature for a few hours.
Frequently Asked Questions
Anise cookies can be dry if they're overbaked and/or if too much flour is added to the dough. If you don't have a kitchen scale, measure flour using the spoon-and-level method. First stir/whisk the flour in its canister to fluff it up. Then spoon it into the measuring cup, taking care not to pack it down. Once the measuring cup is overflowing, use a knife or the straight edge of the spoon to level off the top.
These Italian anise cookies can be made several days ahead of time. If doing so, I suggest baking the cookies and then NOT icing them until the day you would like to serve them. Reason being is that the next day and the days beyond, the colors of the rainbow nonpareils bleed onto the white icing and don't look quite as picture perfect as they day they were iced and decorated. Of course if you don't really care about that feel free to ice 'em up right away, or you can omit the sprinkles or use white nonpareils instead.
Anise liqueurs (like Sambuca or Anisette) are tricky as you would likely need to add quite a bit more liquid to the recipe in order to achieve the bold flavor of an extract. It would throw off the texture so I don't recommend using those here.
Substituting Anise Seed for Extract
You can use whole or ground anise seed in place of anise extract in these cookies. While traditional guidance says to use twice as much anise seed when substituting extract, I like to go further and add even more. For this recipe, omit the two teaspoons of anise extract in the dough and replace with two tablespoons of ground or whole anise seed. I found that to be the sweet spot.
I recommend giving them a whack with a meat tenderizer to lightly crush them and/or a rough chop with a kitchen knife to break the seeds into smaller pieces and release more flavor.
One caveat: I would not use whole anise seeds in the icing as it would throw off the texture. To get around that I replaced the anise extract with vanilla and added ⅛-teaspoon of ground anise seed to good results. It dissolves right in.
Anise Cookies for Christmas
Italian anise cookies are a family favorite for Christmastime! I'll switch out the rainbow nonpareils for a Christmas blend of red, green, and white for an extra festive twist. Beyond a sprinkle switch-up, there are a few things to keep in mind when baking them ahead of time and mailing cookies to loved ones.
Cookie Trays: Store anise cookies in containers separate from other cookies as the rainbow nonpareils can bleed onto other cookies as the days go by. Arrange them in a holiday cookie tray when ready to serve.
Mailing: Anise cookies aren't a great cookie to mail because the nonpareils can bleed onto the icing. It's a better bet to mail un-iced anise cookies if you'd like them to be picture perfect upon arrival, or consider omit the nonpareils or using white ones.
More Italian Cookie Recipes
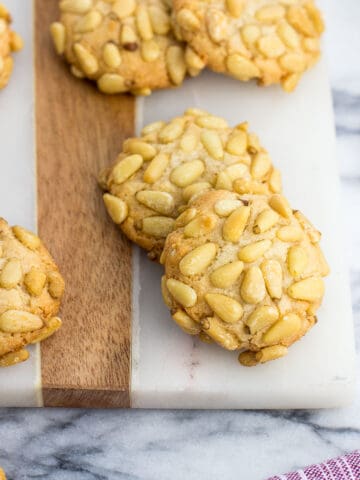
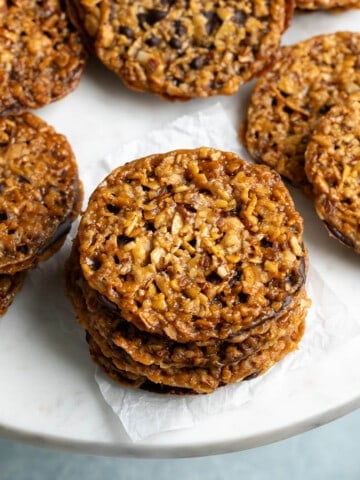
Several types of Italian cookies look nearly identical to anise cookies, specifically anginetti cookies and ricotta cookies. Another variety that has that classic icing and nonpareils topping is cucidati, which have a fabulous spiced fig filling. Delicious! If you're all out of nonpareils, check out these other Italian (/Italian American) favorites.


Did you enjoy this recipe? I’d love for you to leave a star rating and a comment review in the recipe card below!
Italian Anise Cookies
Ingredients
For the Dough:
- ½ cup (113g) unsalted butter softened
- ½ cup (100g) granulated sugar
- 3 large eggs
- ¼ cup (60 ml) milk (I use 2%, use your preferred)
- 2 teaspoons anise extract
- ½ teaspoon vanilla extract
- 3 cups (360g) all-purpose flour, potentially up to 3 ¼ cups (see instructions)
- 1 Tablespoon (12g) baking powder (aluminum-free recommended)
- ¼ teaspoon salt
For the Icing:
- 2 cups confectioners' sugar
- 3 Tablespoons (45 ml) milk
- ¼ teaspoon anise extract
- Nonpareils for decoration
Instructions
For the Cookies:
- Preheat oven to 350°F. Line two large baking sheets with parchment paper and set aside.
- Cream butter and sugar together in a large mixing bowl for 2-3 minutes until smooth and creamy.
- Add the eggs and beat well using a hand or stand mixer, until the mixture is light and looks frothy.
- Add milk, anise extract, and vanilla extract and mix in until combined.
- Add 3 cups of flour (measured using the spoon-and-level method), baking powder, and salt to a separate bowl and whisk until evenly combined.
- In 2-3 increments, add the dry ingredients to the bowl with the wet ingredients, mixing in until just combined.
- The dough will be very sticky. *If needed* add in additional flour one tablespoon at a time, until you can roll a cookie's worth of dough between your palms without too much sticking. Wetting your palms may help reduce the sticking as you form a ball. You may need up to an additional ¼ cup (4 Tablespoons) during this time, but likely less. The amount of flour you need may vary.
- Using a 1 ½-Tablespoon capacity cookie scoop, scoop dough and roll between your palms to form balls. Some of the dough will stick inside the scoop but that's okay. Place dough balls equally-spaced on the baking sheets, leaving about 2 inches between one another.
- Bake for 10-12 minutes, or until cookies are very lightly brown on the bottom. Cracks in the surface are normal and expected. Transfer to a rack to cool completely.
For the Icing:
- Once cookies have cooled completely, whisk together 2 cups confectioners' sugar, 3 Tablespoons milk, and ¼ teaspoon anise extract. Working in batches, dip the tops of each anise cookie into the glaze, and then sprinkle nonpareils over top. Let glaze harden completely before storing or serving.
Notes
- Anise Seed: Ground anise seed and lightly crushed whole anise seeds can be substituted for anise extract. Use two Tablespoons of whole anise seed in place of the two teaspoons of extract in the dough. Lightly crush the seeds with a meat tenderizer or by roughly chopping. Do not use whole seeds in the icing - replace the extract there with vanilla and (optionally) add ⅛ teaspoon ground anise seed.
- Anise Oil/Liqueurs: I haven't gotten my hands on anise oil to know the exact substitution, but it's more concentrated than extract and you'll need to use less. Anise-flavored liqueurs are not recommended as they're less concentrated in flavor and you would need to add too much liquid to the dough to achieve the same flavor.
- Icing: It should be fairly thick. If it's running off the cookies or looking translucent add additional confectioners' sugar to the icing until it reaches the right consistency.
- Storage Instructions: Store anise cookies in an air-tight container at room temperature with parchment paper between layers. It's normal for the rainbow nonpareil coloring to bleed onto the icing as time goes by. Storing cookies in the refrigerator slows down color bleeding, but can make the cookies themselves a bit drier.
- Make Ahead: Bake anise cookies and store or freeze them without icing. Thaw them fully before icing later on.
Would you like to save this?
Plus receive periodic recipe newsletter emails.
Nutrition
Nutritional information is provided as an estimate. As it can vary due to many factors (brands used, quantities, etc.), we cannot guarantee its accuracy.
Food Safety and Nutrition DisclaimerNote: The photos in this post were updated in December 2023 from the initial publish date in 2017. Additional step-by-step photos were added, as well as extra recipe detail. If you're coming back to this post from a bookmarked link, you may recognize one of the original photos below.
Nancy says
The only problem with this recipe is that people won’t stop asking me to make them. So delicious just like my grandmother use to make.