Curious how to caramelize onions? It's not hard! A few kitchen staples are all you need to make this simple condiment that takes any meal up a notch. Caramelized onions make a great addition to sandwiches (especially grilled cheeses), omelettes, frittatas, and more.
Do you think there’s a savory dish out there that wouldn’t be improved by the addition of caramelized onions?
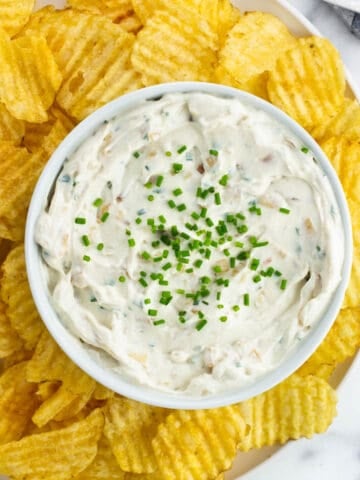
I gave that question a little thought and couldn’t think of anything off the top of my head. Soft and richly coated, it’s amazing what a few simple ingredients and forty-five minutes can do to a raw onion. This homemade sour cream and onion dip is a perfect example.
Just like another impossibly easy cooking procedure that barely counts as a recipe itself (how to roast garlic), knowing how to make reliably soft, deep golden, and never burnt caramelized onions is a kitchen game-changer.
Recipe Ingredients
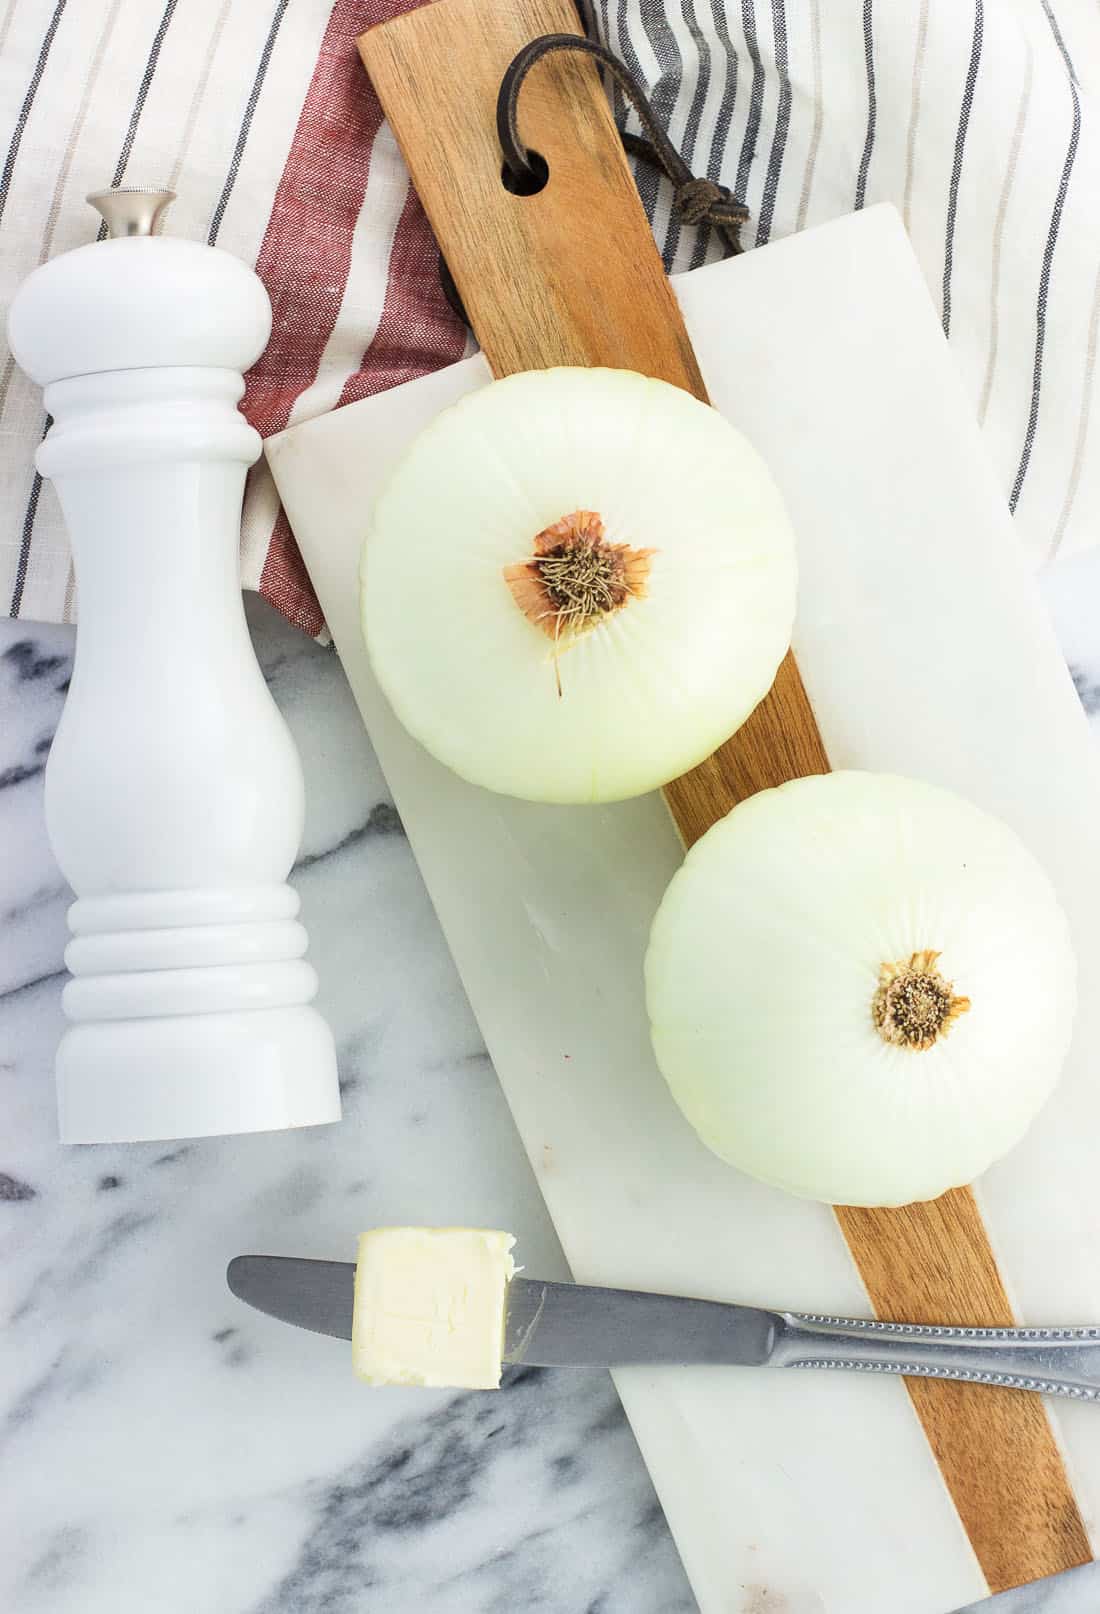
- Onions: Any supermarket onion variety can be used in making caramelized onions, with yellow and white onions being the most prevalent due to their all-purpose flavors. The recipe is written for two larger (or three to four medium) onions, but it can easily be scaled up if you'd like to yield a good amount of caramelized onions at once.
- Butter: Butter provides a rich flavor while caramelizing onions.
- Olive oil: Adding an equal amount of olive oil to the cooking fat helps prevent against the butter burning, as butter has a lower smoke point. This is especially important in a recipe with a longer cook time like this.
- Salt: A good sprinkling of kosher salt is all the seasoning you need to balance the natural sweetness that emerges from the caramelized onions. The amount isn't precise - add as much (or as a little) as you prefer.
Step-by-Step Instructions
There are two main steps to caramelizing onions: prepping the raw onions and stirring, stirring, stirring while they cook down.
Prepping the Onions
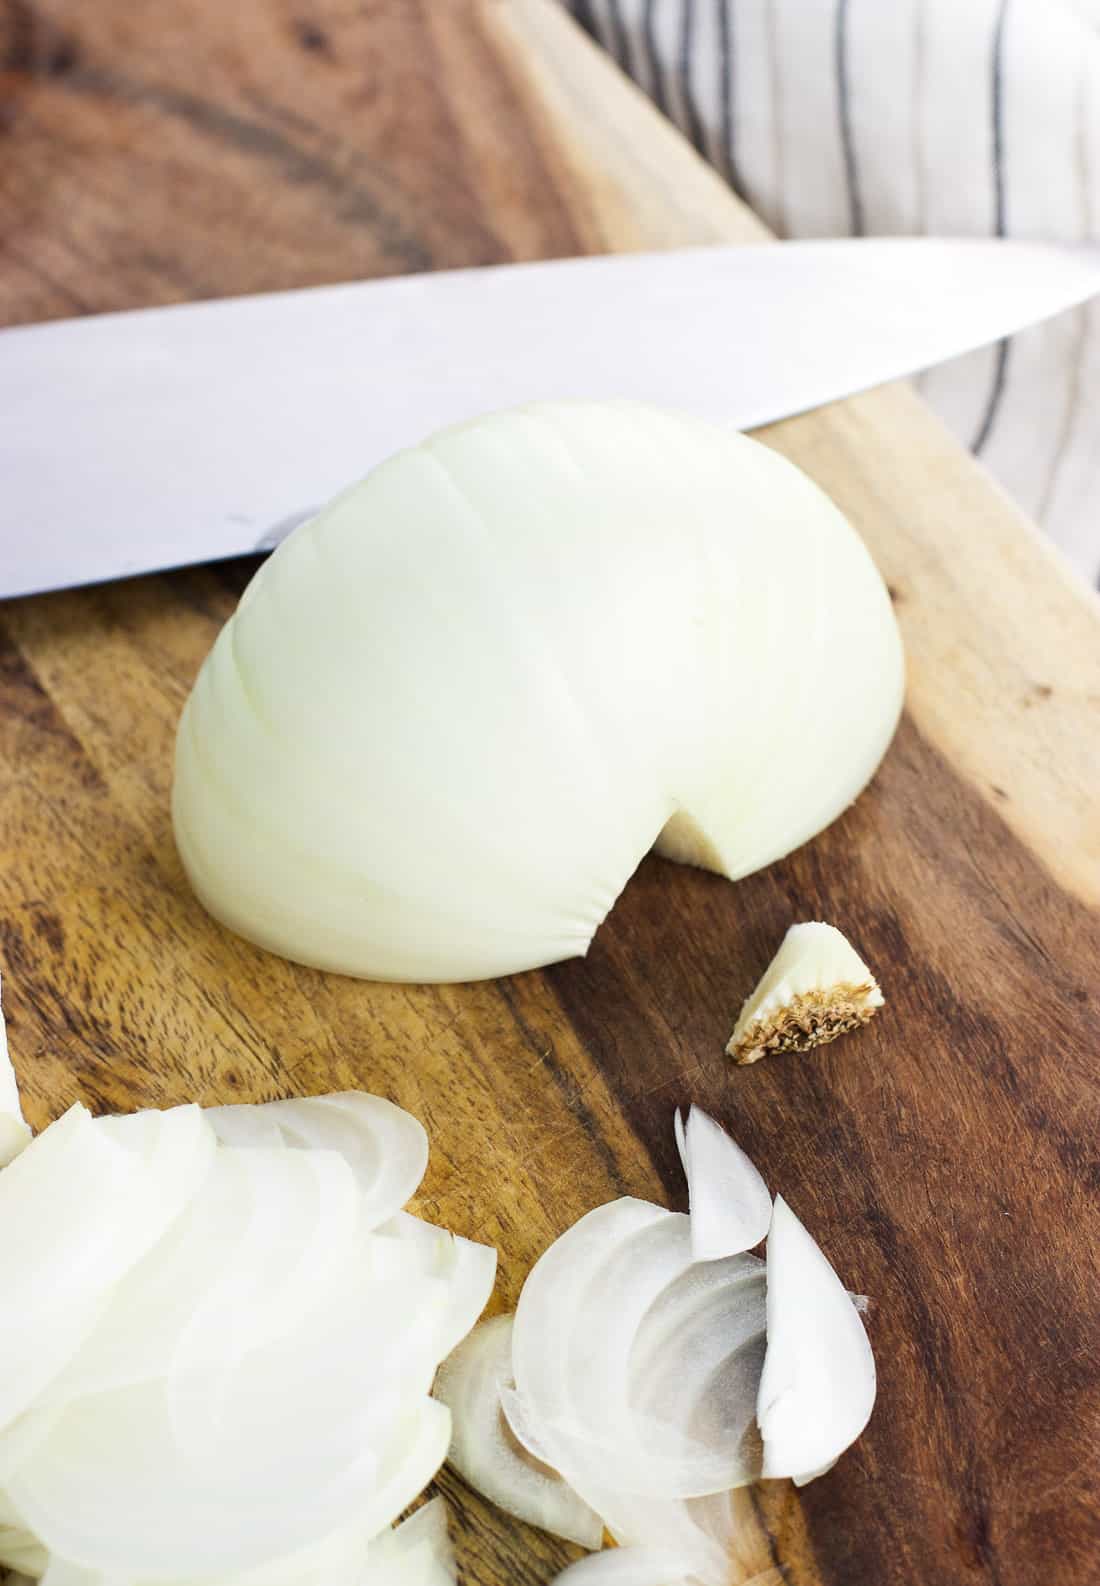
Slice each onion in half from top to bottom (vertically through the ends). Trim off the very top of the stem side and discard, then make a small v-shaped notch around the bottom root piece to remove it fully. Discard that, too.
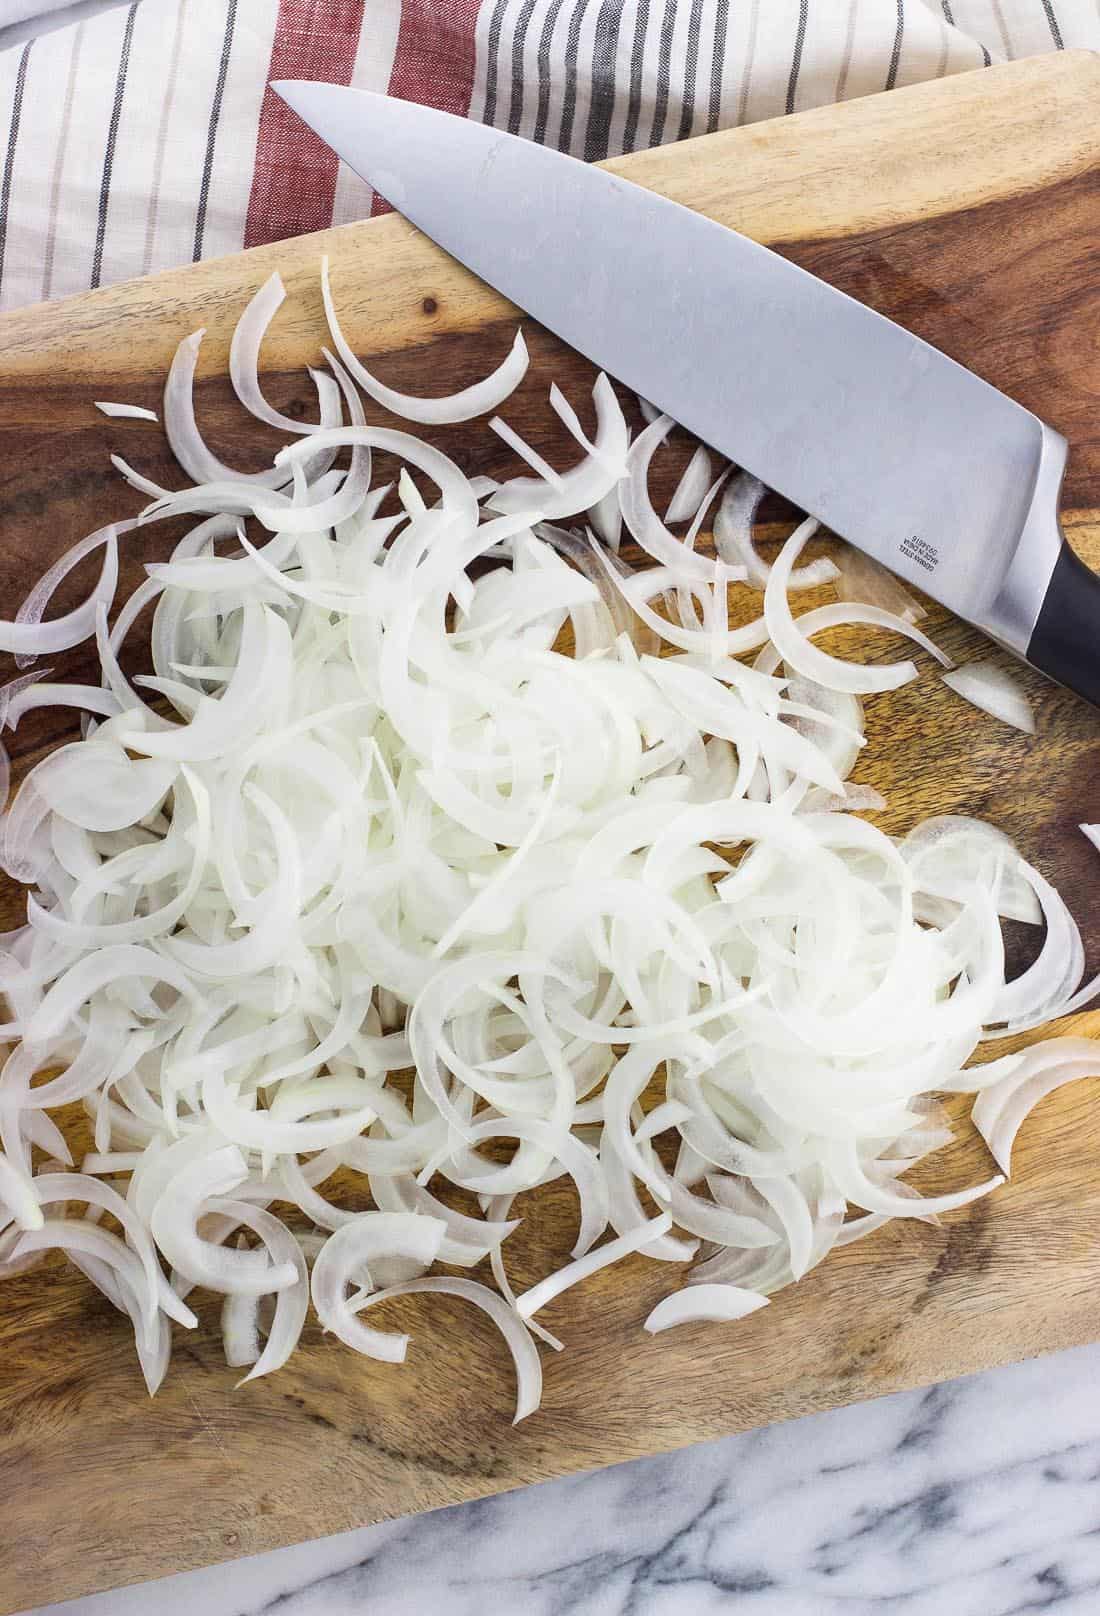
With the onion on the cutting board with the notched-out section at the bottom (facing you), slice the onion into thin vertical strips. The picture below shows what just one onion produced, though you'll be doing this for both.
Caramelizing the Onions
Heat the butter and olive oil in a large pan over medium heat, then add as many onion slices to the pan as can fit comfortably to fill the bottom surface. The onions will reduce in size as they cook and free up room, so add them in one or two more batches over the next 7-8 minutes until all the onions are in the pan.
Give everything a nice seasoning of salt, and then lower the heat. You don't need to measure the salt. I usually add a several hefty turns of my salt mill.
As the caramelized onions cook, they'll slowly become softer and more pliable, but won't begin to turn golden right away. That's okay! Low and slow is what we want.
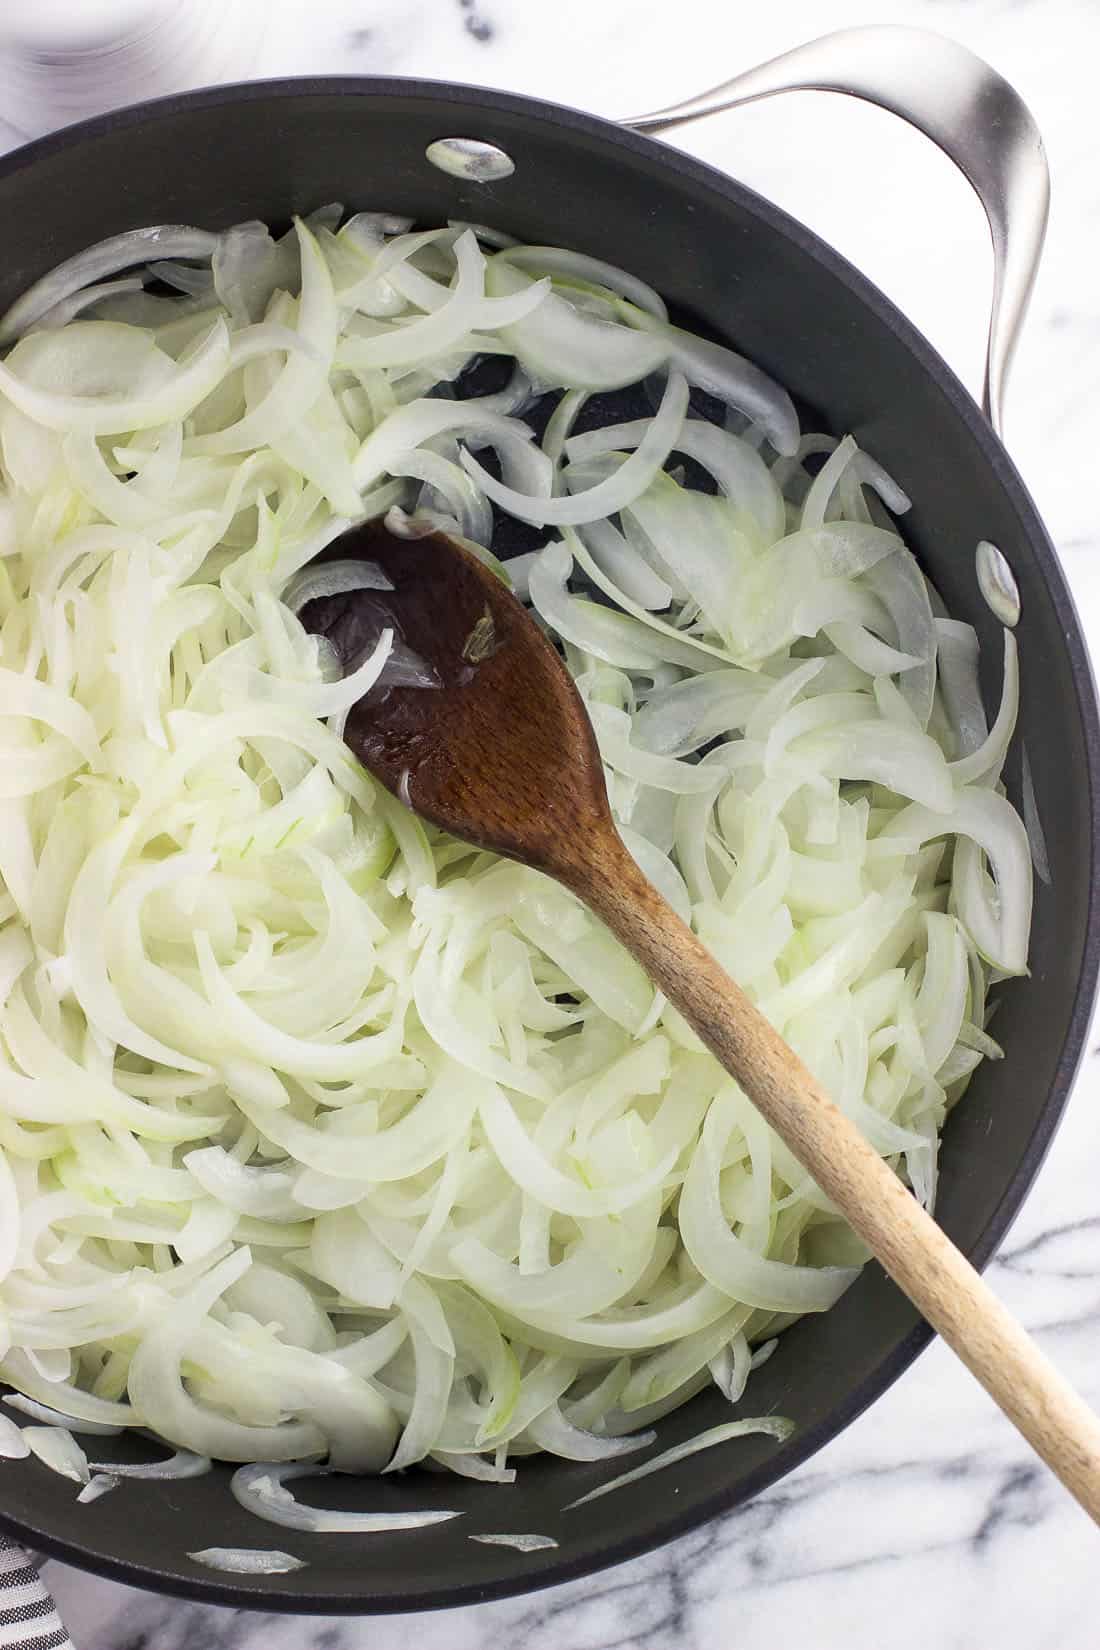
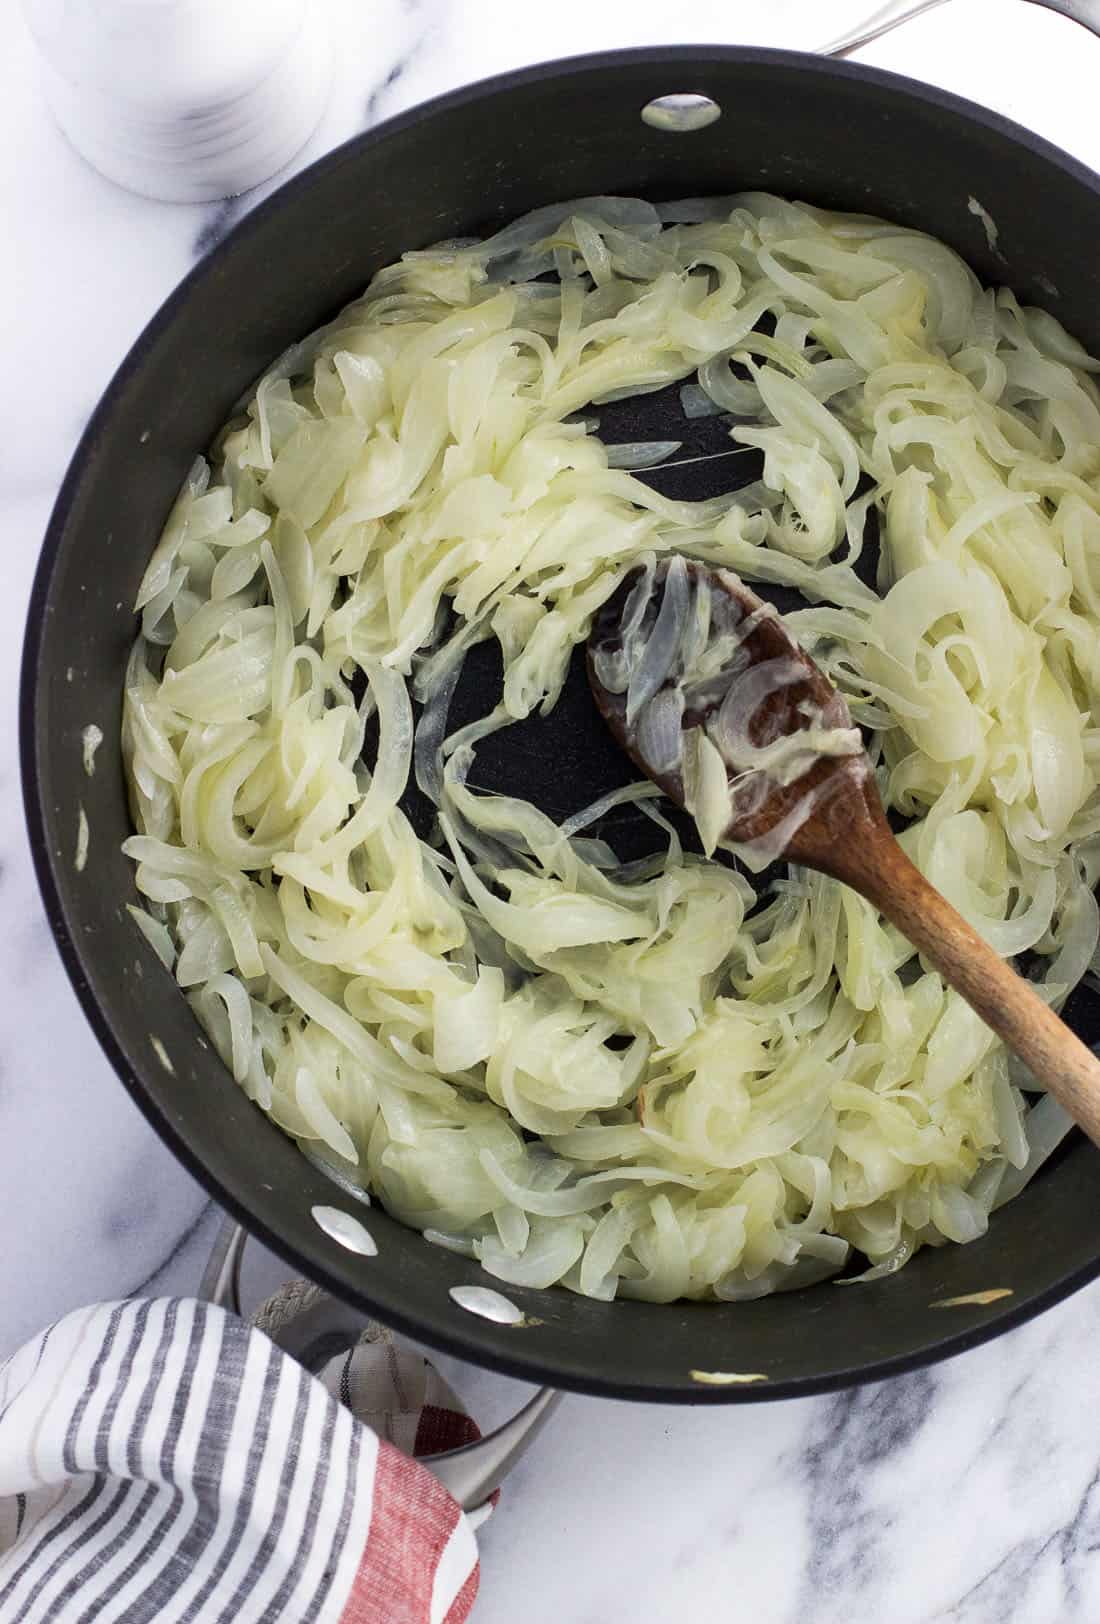
As time goes on, you'll notice the onions continue reducing in size. Keep periodically giving them a stir and keep an eye on them as the time reaches twenty, twenty-five minutes.
(Though every stove top has its own idiosyncrasies and your caramelized onions may cook a little faster or slower.)
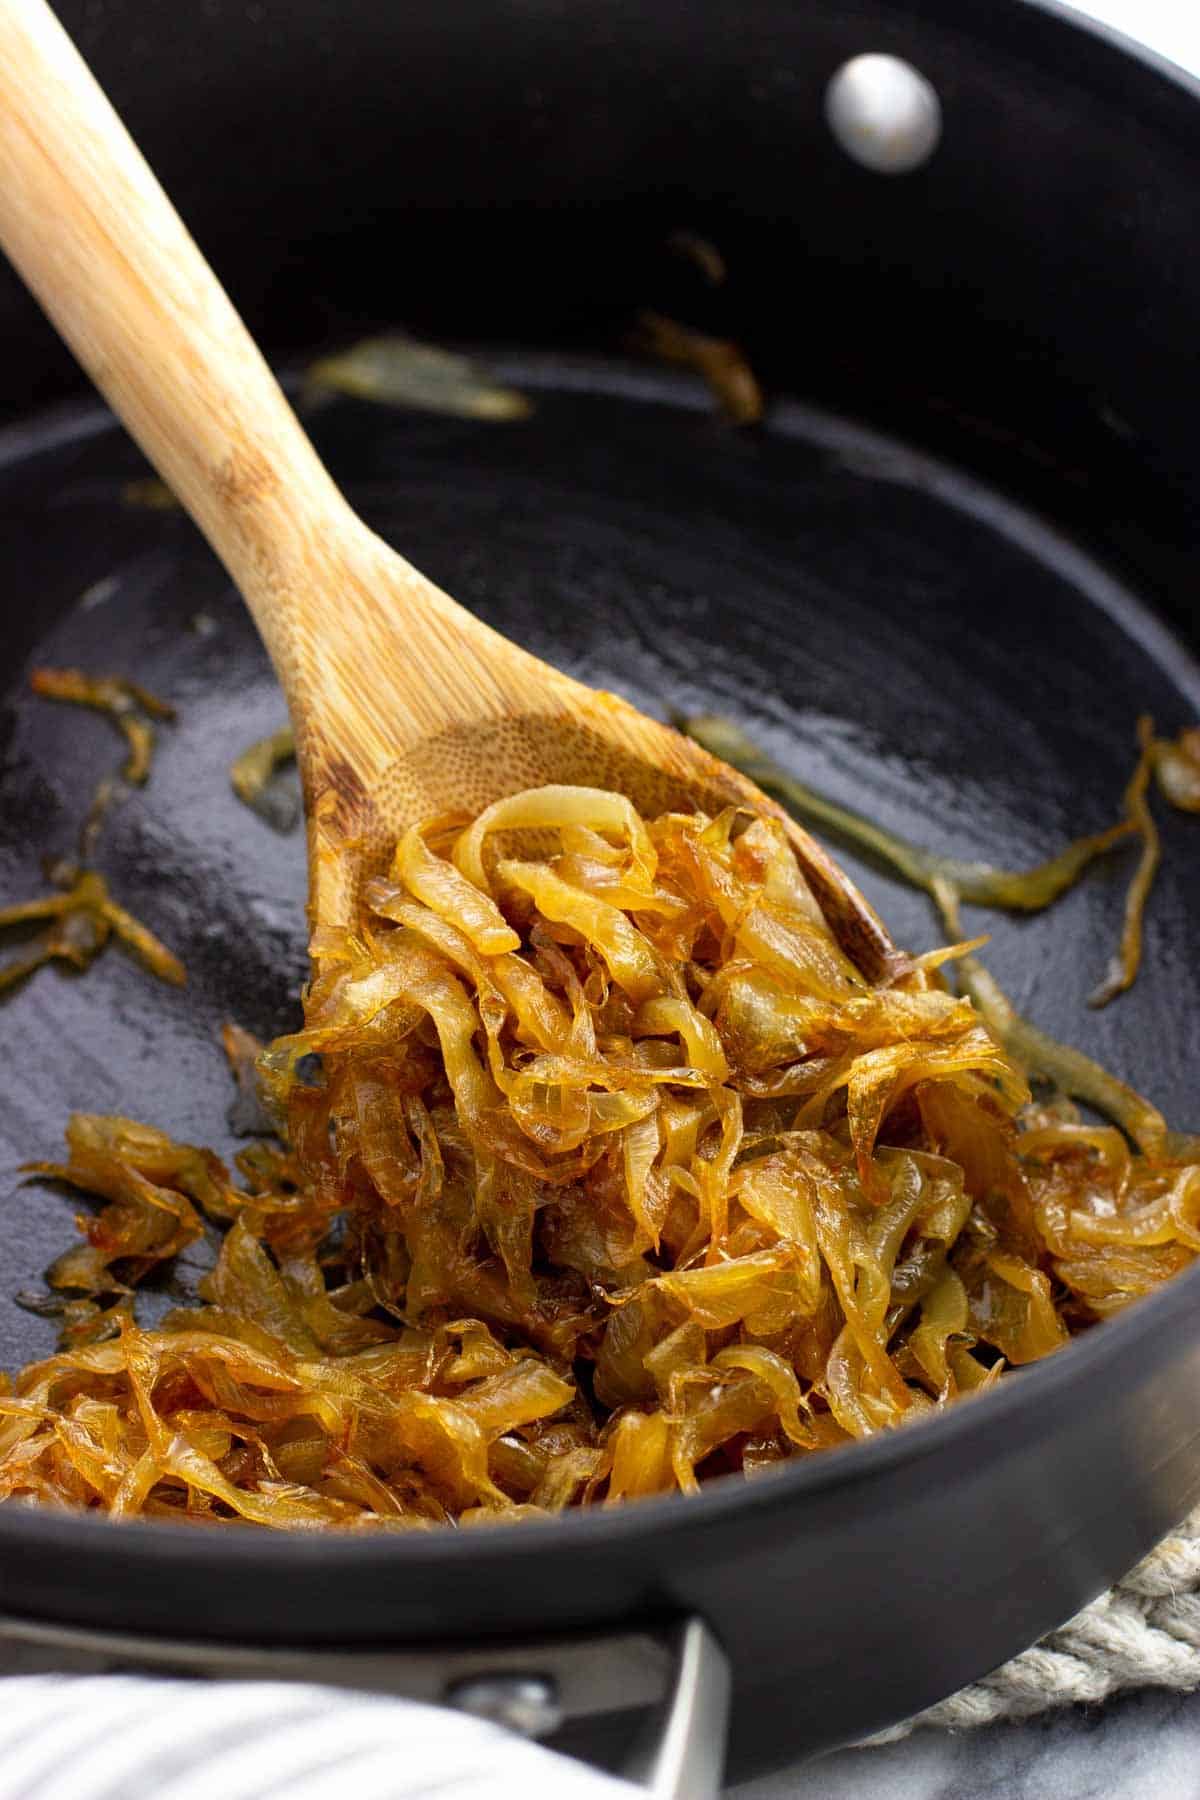
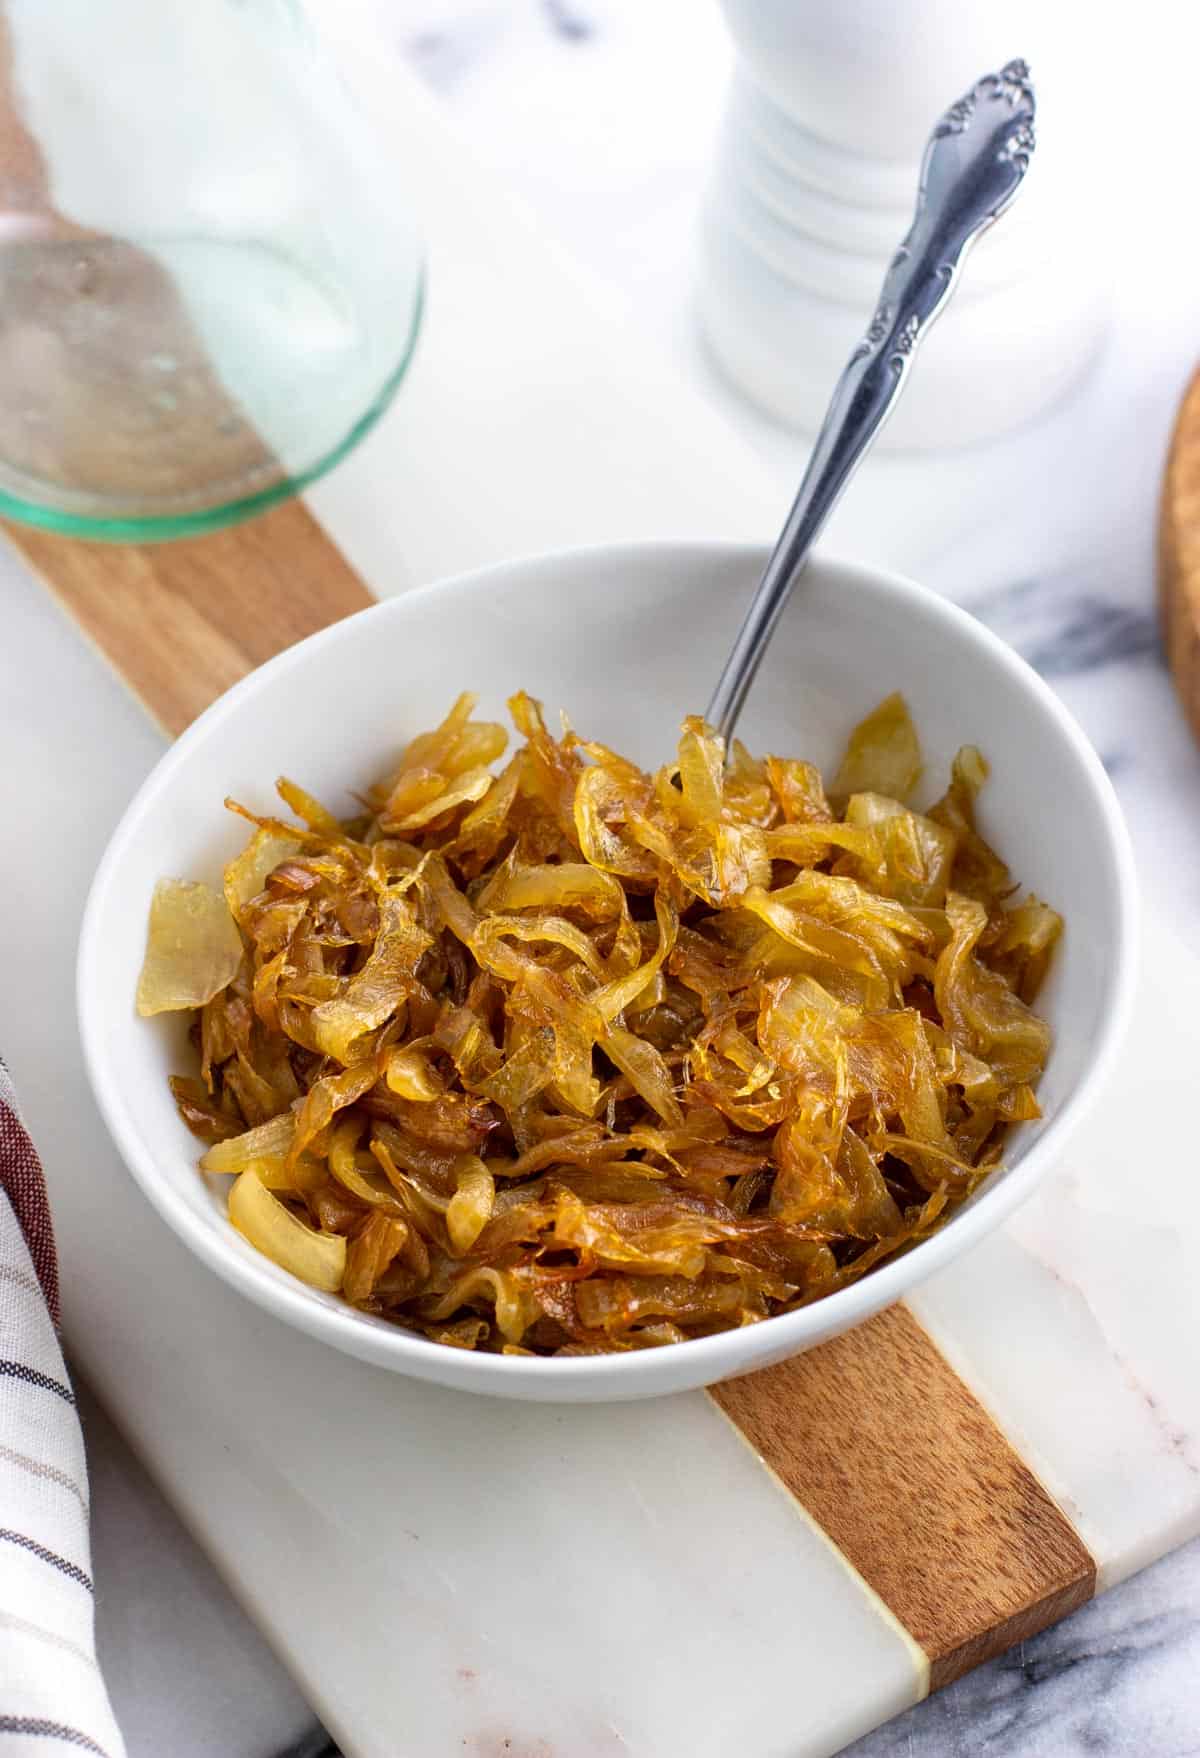
Your mileage may vary, but for me it takes about forty-five minutes to one hour for the onions to reach the wonderfully jammy caramelization you see in the photo below. That's the time between lowering the heat once all the onions are in the pan to the golden-brown color you see here below.
How golden is good enough? Well, that’s kind of up to you. I like to cook the caramelized onions until they're a nice golden brown without any very well done bits, but you can certainly keep them going until you're happy.
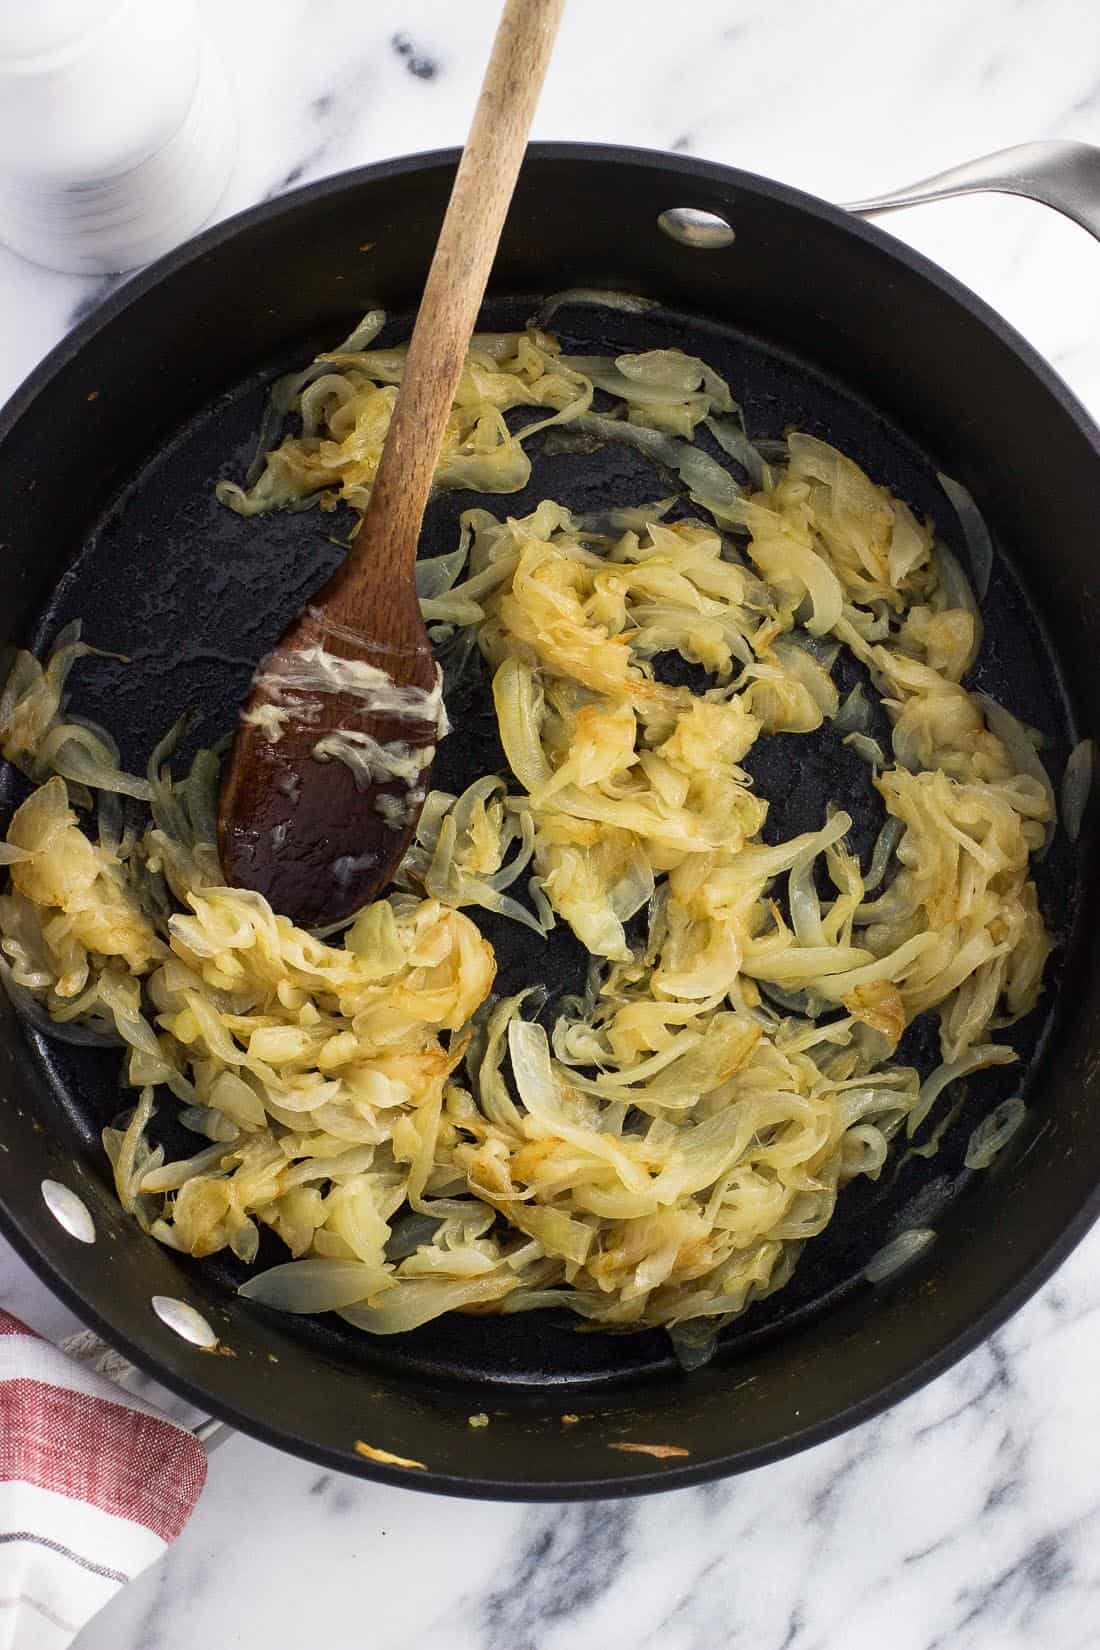
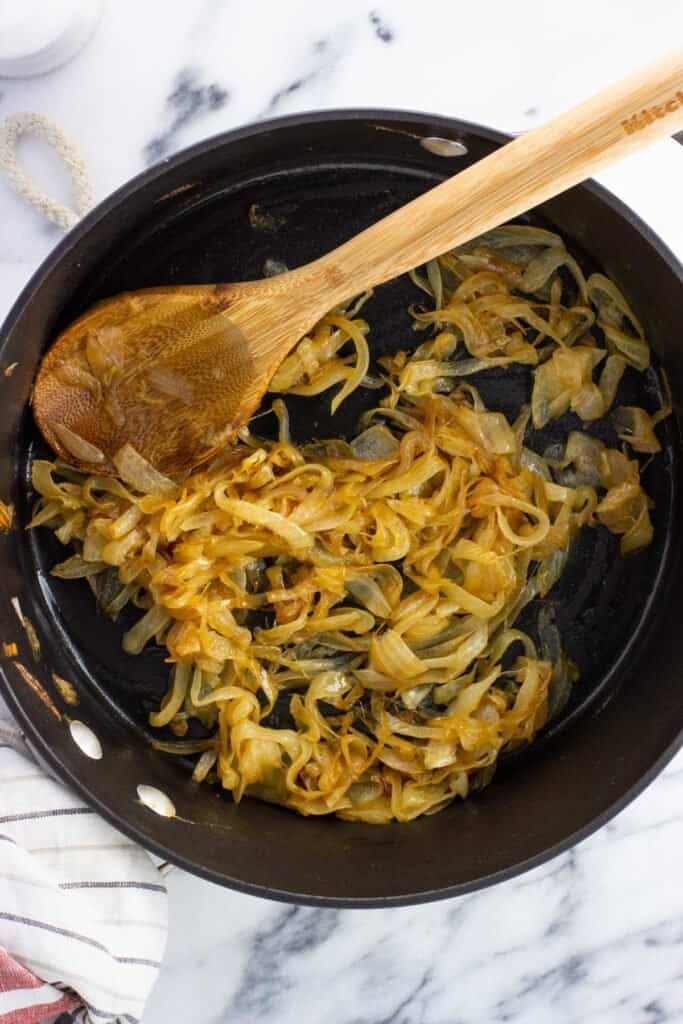
It's wild how much they reduce! Two huge onions worth of slices result in approximately three-quarters of a cup of caramelized onions in total.
Recipe Tips
- The name of the game when it comes to making caramelized onions is low and slow. Thin onion slices are stirred with melted butter, oil, and a pinch of salt over very low heat. It may not seem like much is happening at first, but over time the onions will soften greatly and begin to turn golden. Please ignore the urge to crank the heat up to make it go faster as that won't achieve that jammy consistency we know and love with caramelizing onions.
- All stovetops have their quirks and behave differently. Keep an eye on the onions as they're cooking and adjust the heat as needed so that the onions aren't becoming burnt around the edges before they get a chance to fully soften.
- If you're making caramelized onions for use in a specific recipe, keep in mind that onions reduce considerably as they cook. Scale this recipe up and use more onions if needed. As written, two very large onions will produce about three-quarters of a cup.
- Use your largest pan here to accommodate the large pile of onions. The pan seen in these photos only has a 10-inch diameter but taller sides (three inches). A 12-inch pan would be even better.
Ways to Eat Caramelized Onions
- They make a wonderful addition to sandwiches, panini, and grilled cheeses. This sourdough havarti grilled cheese combines with roasted peppers for a hearty vegetarian sandwich, and have you made an air fryer grilled cheese? So quick!
- You can skip the sauteing onion step in this *best ever* leftover steak sandwich and add these instead.
- Scatter them over your next pizza (here is my go-to homemade pizza dough recipe).
- Add them to scrambled eggs!
Related Recipes
If you’ve enjoyed this recipe, I’d love for you to leave a star rating in the recipe card and/or a comment review below!
How to Caramelize Onions
Ingredients
- 2 large onions (or 3-4 medium/smaller onions)
- 1 Tablespoon (14g) unsalted butter
- 1 Tablespoon (15 ml) olive oil
- ¼ teaspoon kosher salt more to taste
Instructions
- Slice each onion in half vertically from top to bottom, through the ends. Slice off the very top part of the stem, then make two small "v" shaped cuts around the root to remove it from each half of the onion.
- With each onion half aligned with the "v" cut facing you, slice onions vertically lengthwise into very thin slices. After slicing all of the onions, run your hands through the pile of slices to make sure the layers are all broken up and separated.
- Add butter and olive oil to a large pan set over medium heat. Once the butter is melted, add about one-third of the sliced onions to the pan (or enough to cover the surface area of the pan) and stir slices into the melted butter/oil combination. Let cook for 2-3 minutes, or until the onions have reduced slightly and more room opens up in the pan. Add another batch of onions to fill it up again, stirring and waiting a few minutes for them to reduce.
- Continue until all of the onions are in the pan. This takes around 3-4 batches for me, with about 8 minutes between starting with the first batch and adding the last. Season with kosher salt.
- Reduce heat to low. Periodically stir onions as they reduce and eventually become golden and then golden-brown in color over 45 minutes to one hour, though cook them until you're satisfied with the coloring, whether that be medium golden to a deep brown.
Notes
- Please ignore the urge to crank up the heat to make the caramelized onion process go faster. Low and slow is the name of the game to achieve the ideal soft and jammy consistency.
- Keep an eye on the stovetop temperature as the onions are cooking and adjust it even lower, if necessary, to prevent the onions from browning too quickly.
- Two large onions cook down to between two-thirds and three-quarters of a cup. Scale this recipe up and use more onions if you'll need more caramelized onions than what two onions provide.
- Use a nice and big pan here to best fit all of the onion slices. While a 10-inch pan with taller sides does the trick, a 12-inch pan is even better.
Nutrition
Nutritional information is provided as an estimate. As it can vary due to many factors (brands used, quantities, etc.), we cannot guarantee its accuracy.
Food Safety and Nutrition DisclaimerWould you like to save this?
Plus receive periodic recipe newsletter emails.

Comments
No Comments