

Learn how to roast garlic with this easy ‘recipe’ – if you can even call it that! Roasted garlic cloves bring a mellow but complex flavor to savory recipes and has a wide variety of uses.
Of all the how-to recipes on this site, homemade taco seasoning takes the cake for the one I make the most frequently. Roasted garlic is the runner-up.
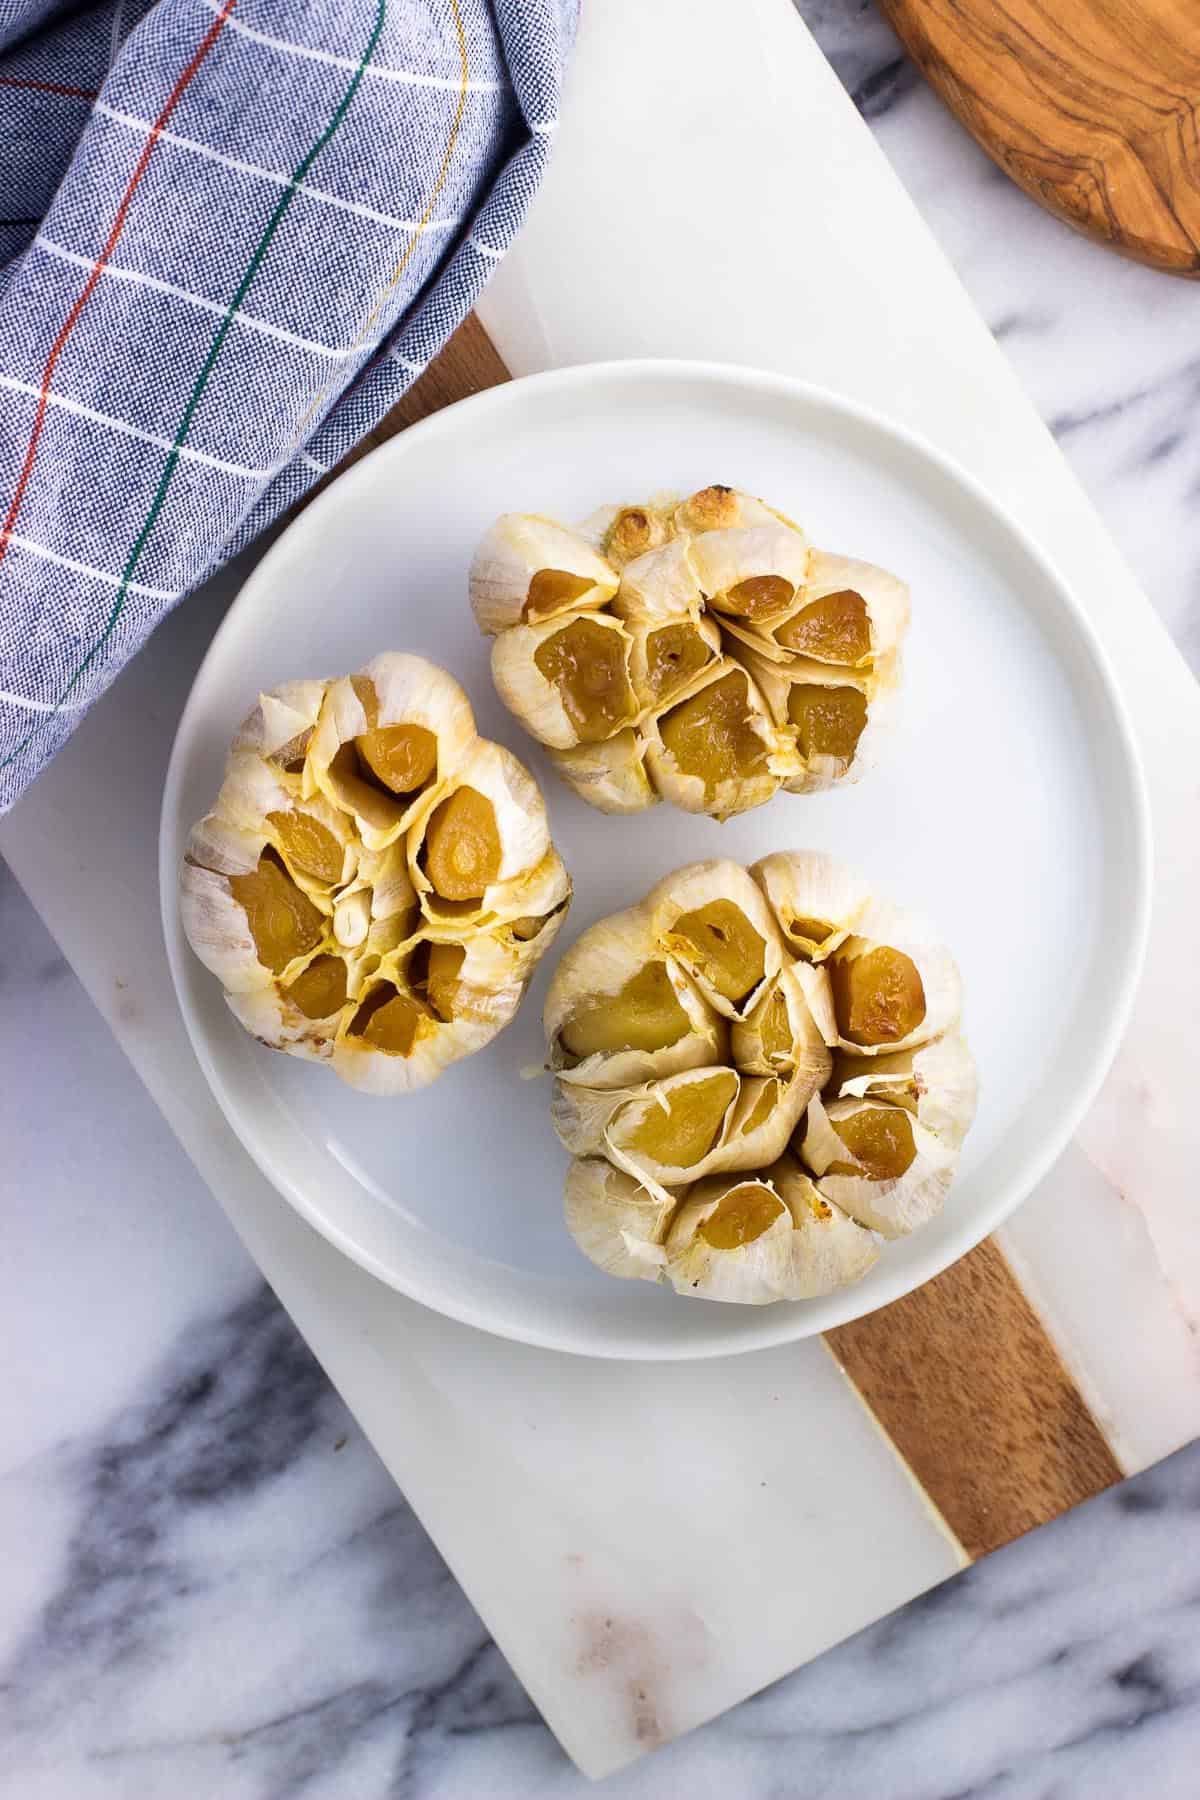
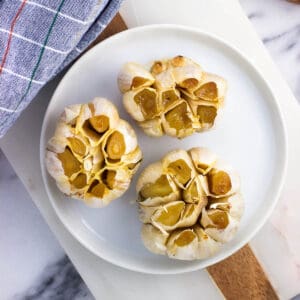
While garlic is certainly known for its bold flavor, roasting it in the oven gives it a ton of depth and mellows out the flavor significantly.
You probably wouldn't consider pressing a clove or two of garlic and eating it raw on a crusty piece of bread, but cloves of roasted garlic? Yes, please. Roasting garlic turns a hard, pungent clove into a creamy and perfectly spreadable delicacy with myriad uses.
Two Simple Ingredients
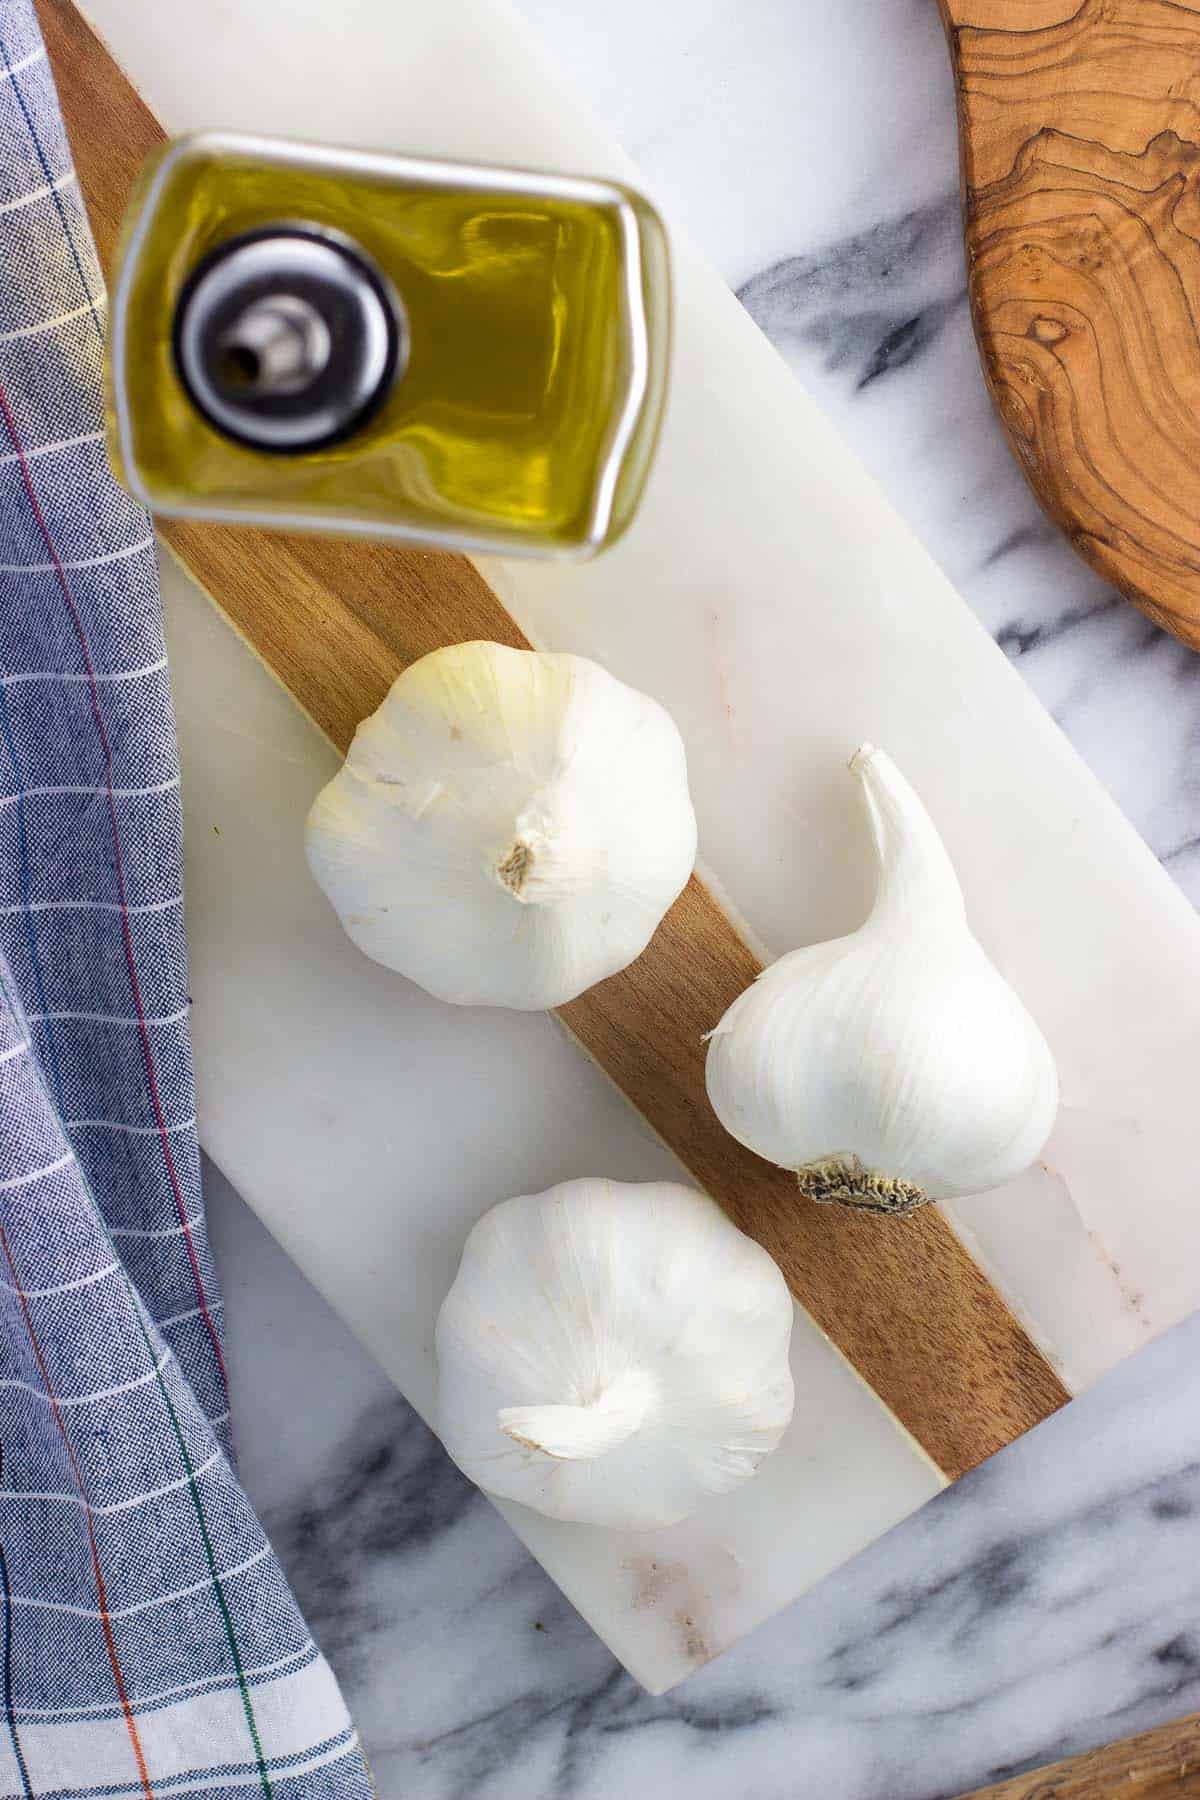
- Garlic: Bulbs of any size can be roasted, or even bulbs with a few cloves missing, so long as there's one layer of the papery skin left covering the cloves. When choosing garlic at the store, look for heads that feel firm when you squeeze them and avoid bulbs with cloves that have darkened and wrinkled spots.
- Olive oil: While technically a variety of cooking oils can work for roasting garlic, olive oil pairs so well with the garlic flavor that it's all I ever use or recommend. You will need approximately one-and-a-half teaspoons of oil per every whole head.
Step-by-Step Instructions
- For each garlic bulb you're roasting, peel back and discard all but the innermost layer of skin. The skin is delicate and tears fairly easily, but it's not a big deal if there are a few tiny rips in it.
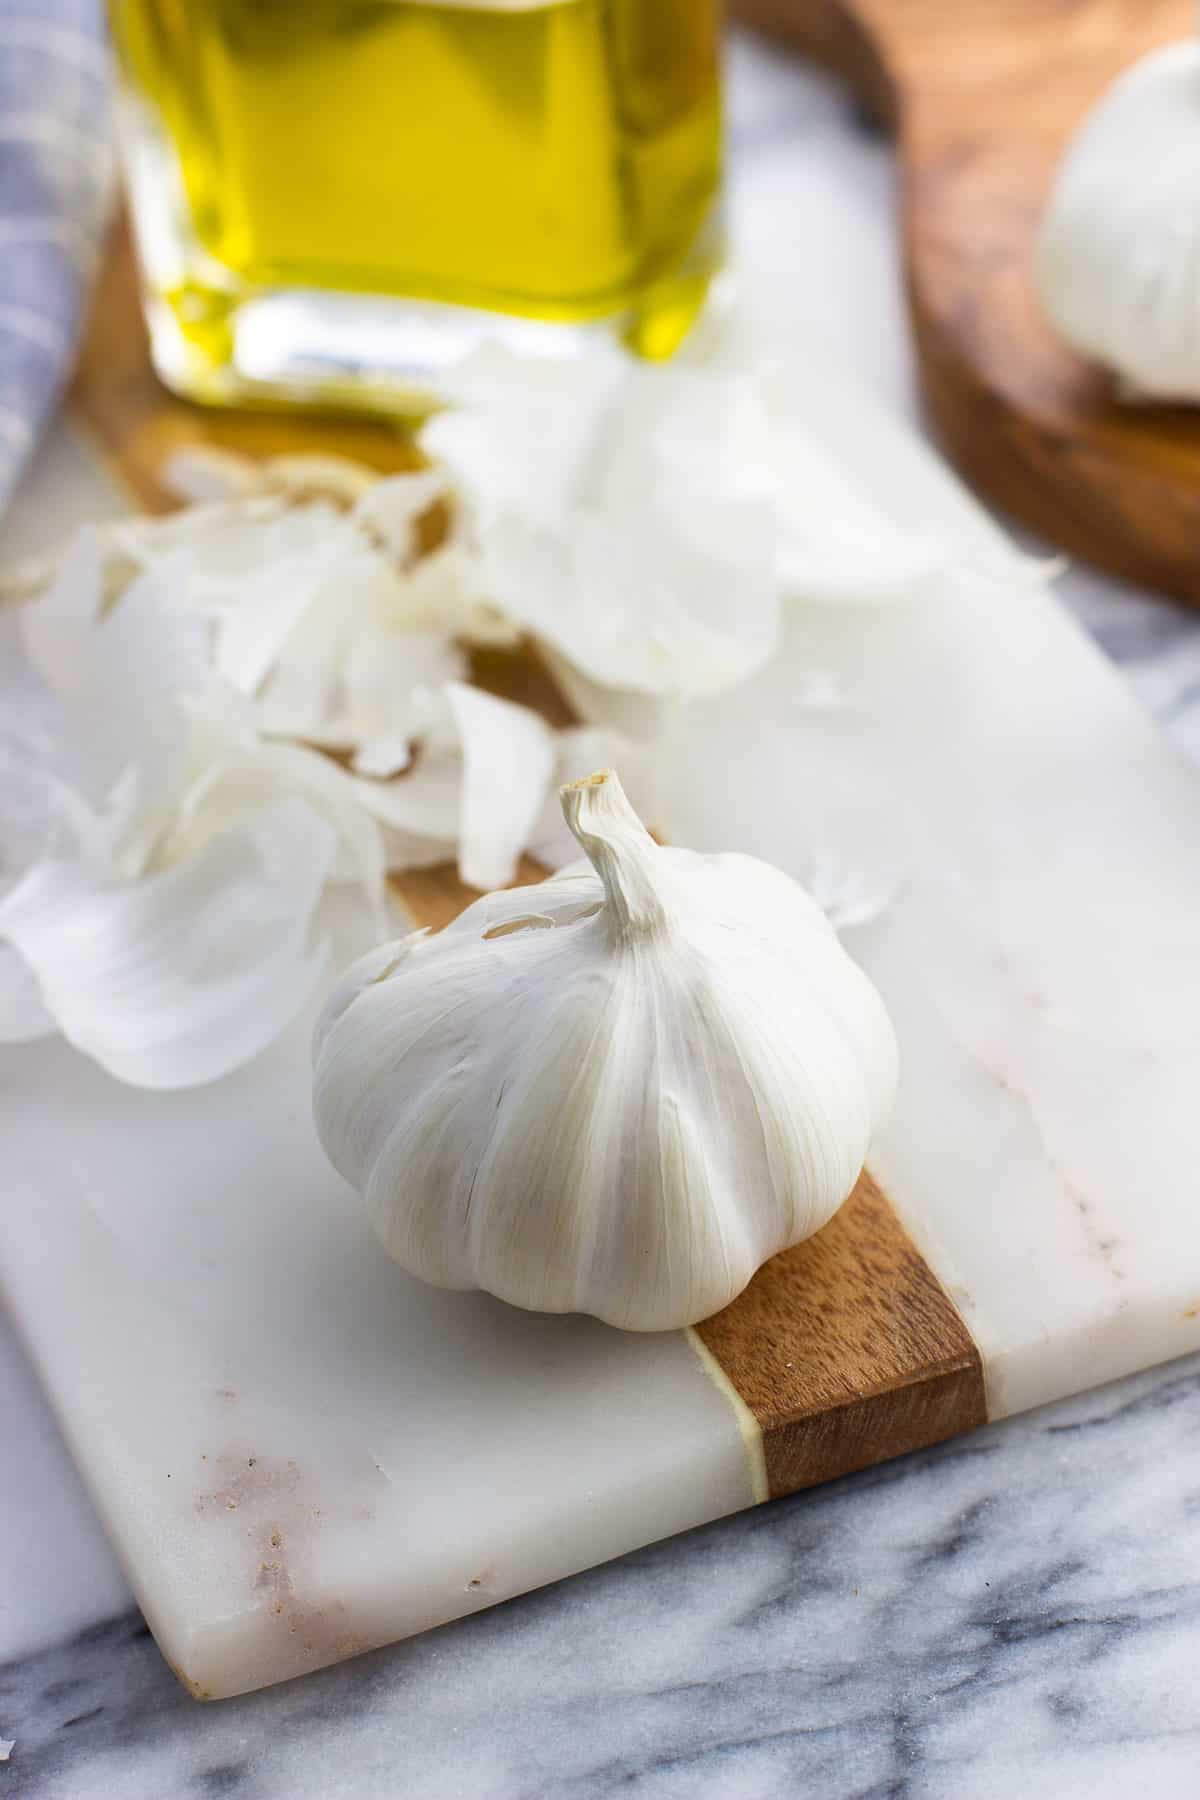
- Slice off the top quarter-inch of each bulb to expose the cloves. If some of the outer cloves are lower down on the bulb, make additional slices to ensure you get the tops of each clove. I save the sliced off bits of garlic for use in recipes that call for minced garlic.


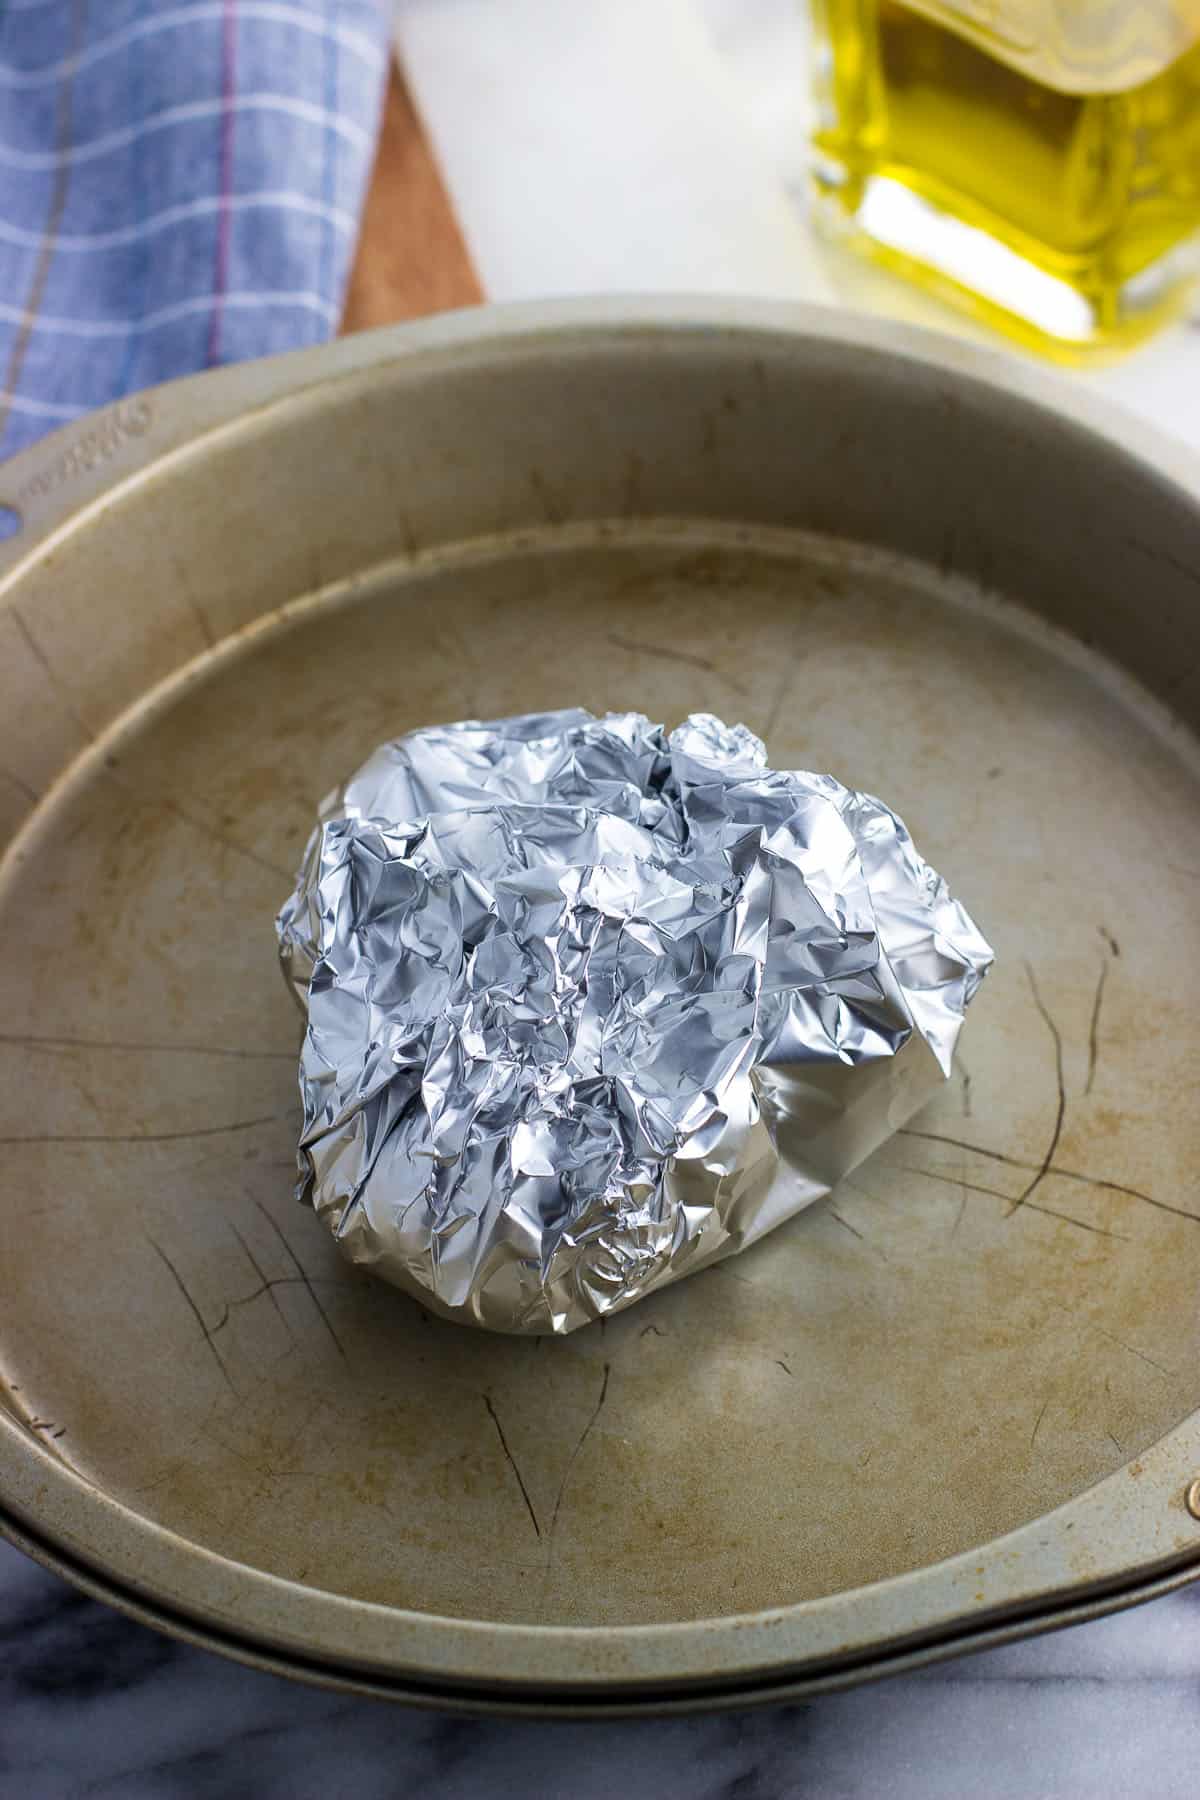
- Place prepped garlic bulbs next to one another on a sheet of aluminum foil. Slowly drizzle one-and-a-half teaspoons of olive oil on top of each bulb, aiming for it to completely cover the cut surface and trickle down into all of the spaces between the cloves.
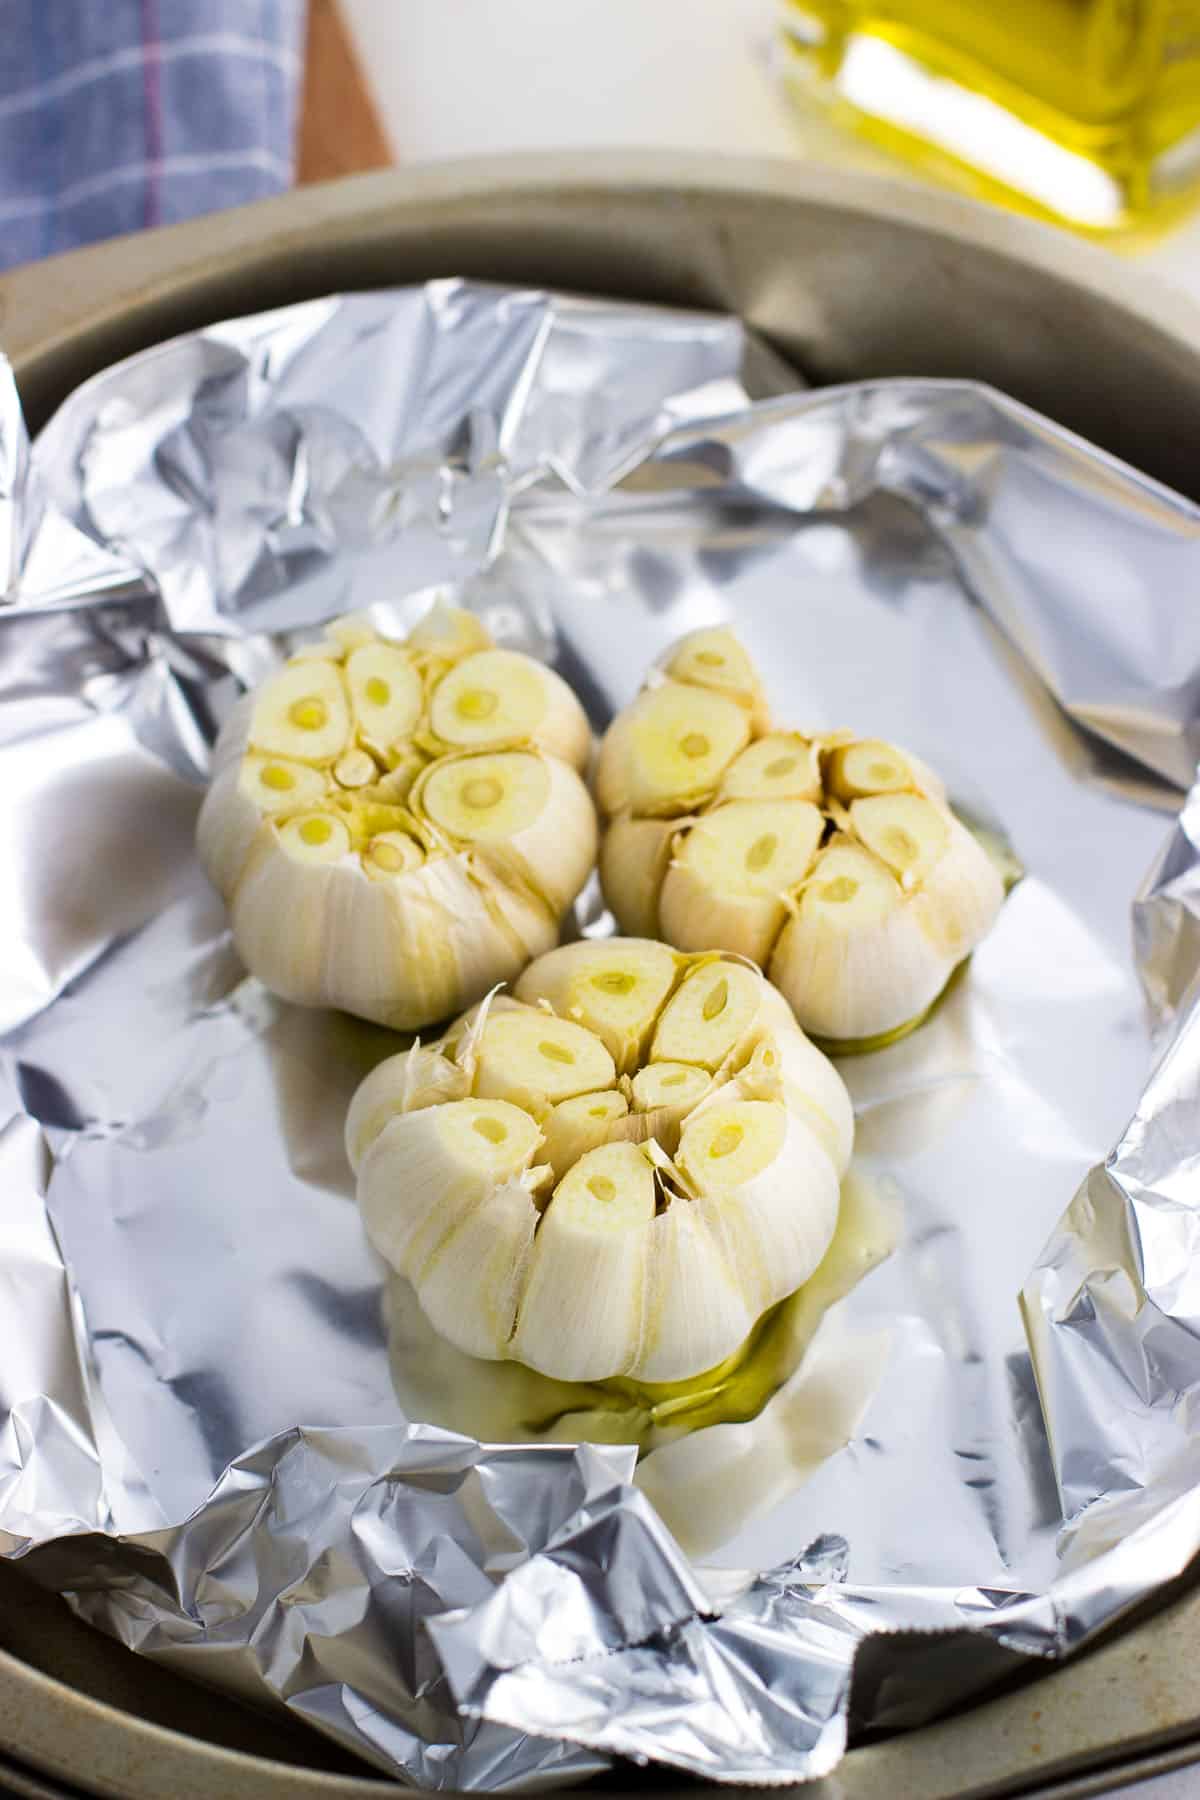
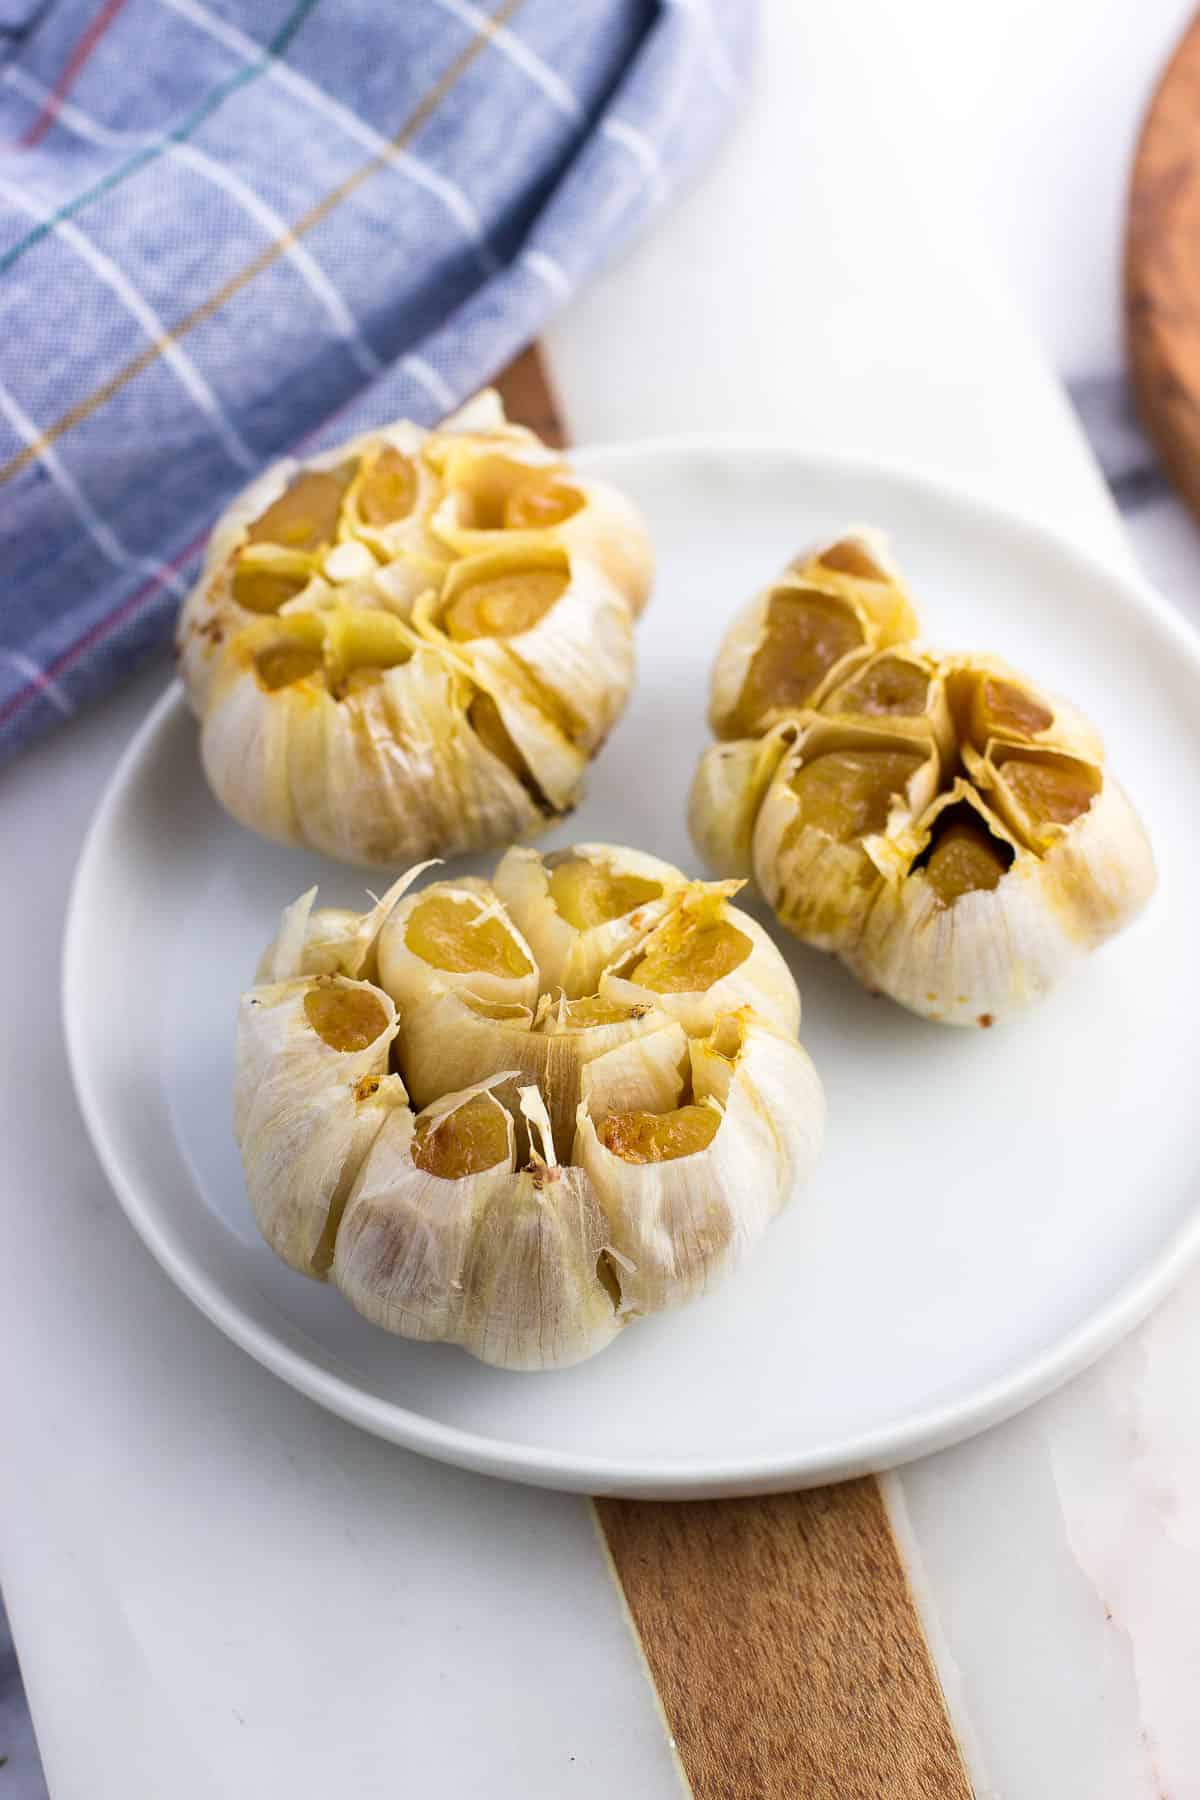
- Wrap the foil around the bulbs to cover them completely. Place the foil pack on any sort of baking dish (to prevent drips in the oven just in case the foil tears and leaks) and bake at 400°F/204°C until the garlic is a deep golden-brown and soft enough that a fork can very easily be inserted into a clove. This will take around 40 minutes or longer depending on your oven.
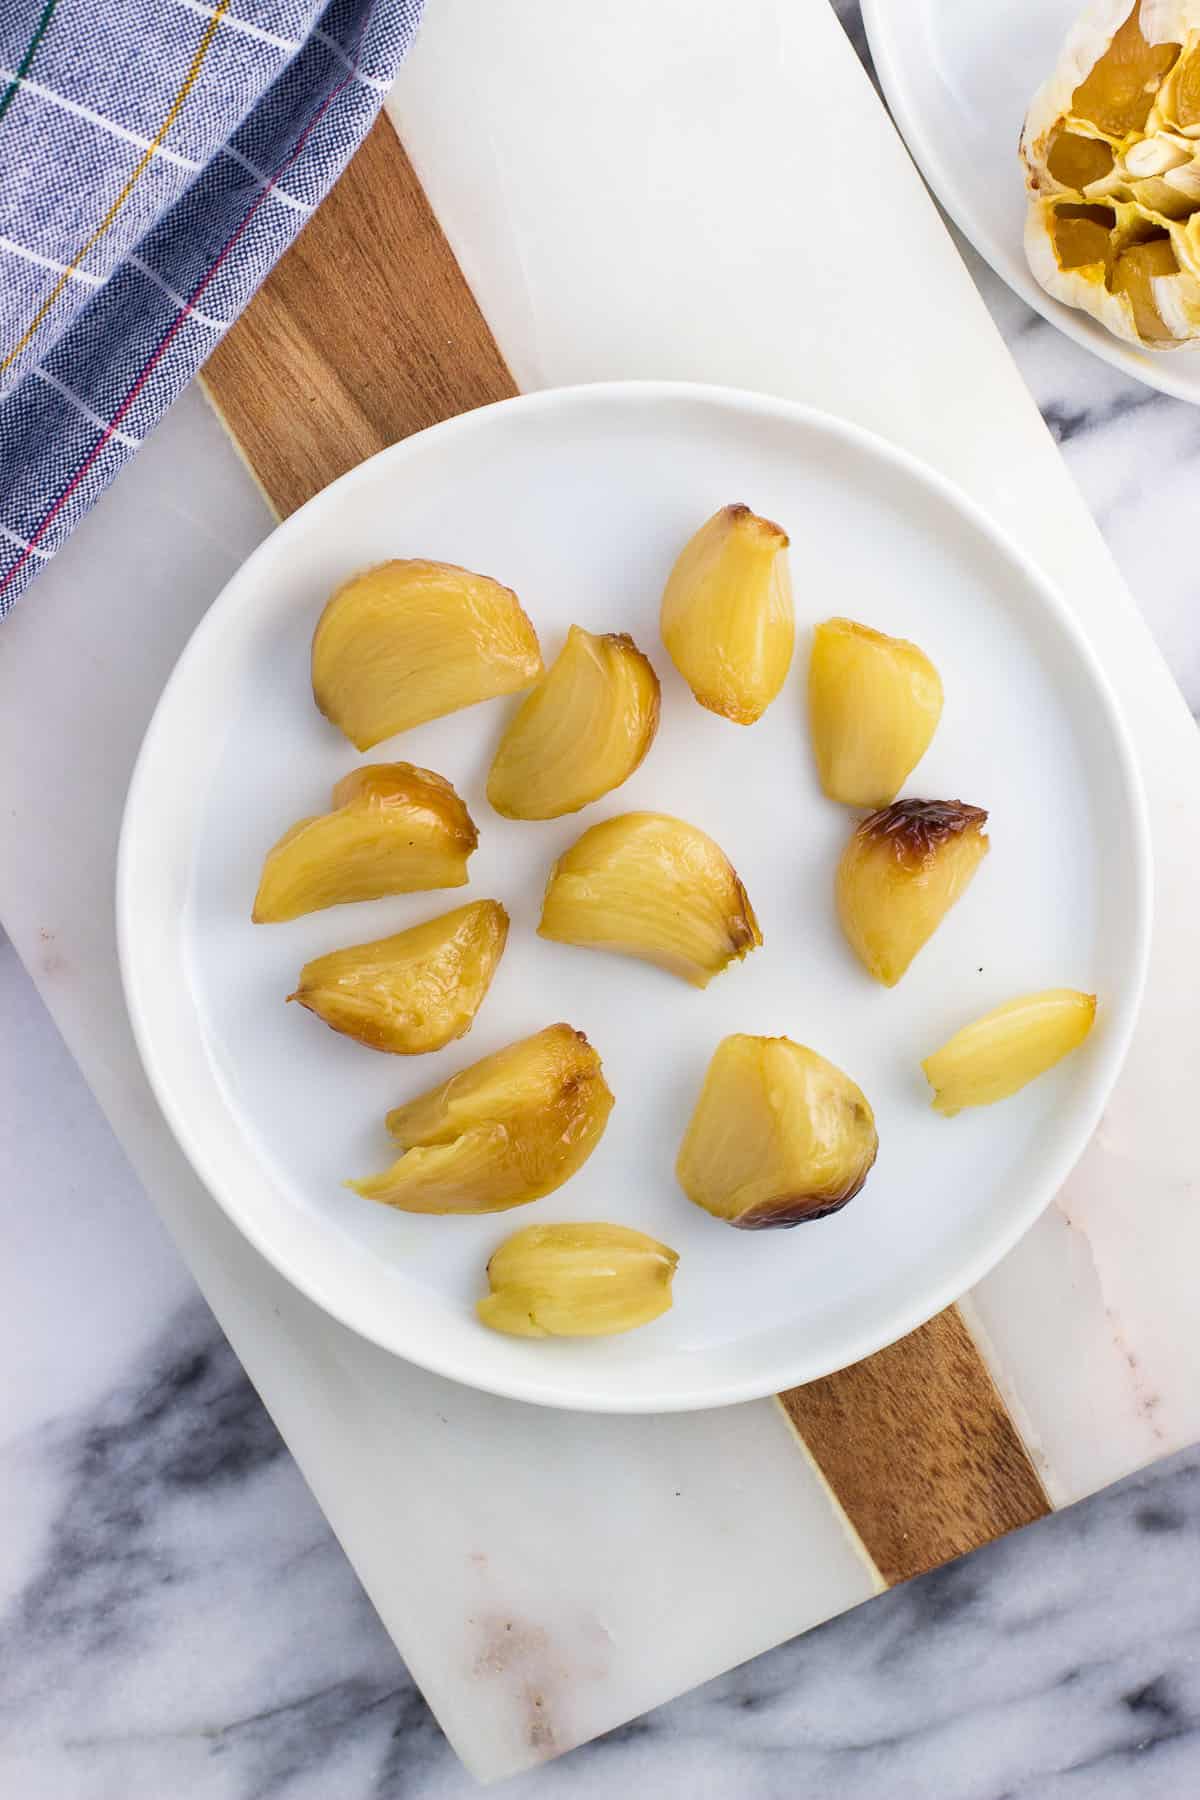
- Let the roasted garlic cool enough to handle, then squeeze and press out each clove to remove it from the bulb. Slicing the skin around each clove will open it up so you can more easily remove whole cloves and not mushed ones.
What To Do With Roasted Garlic
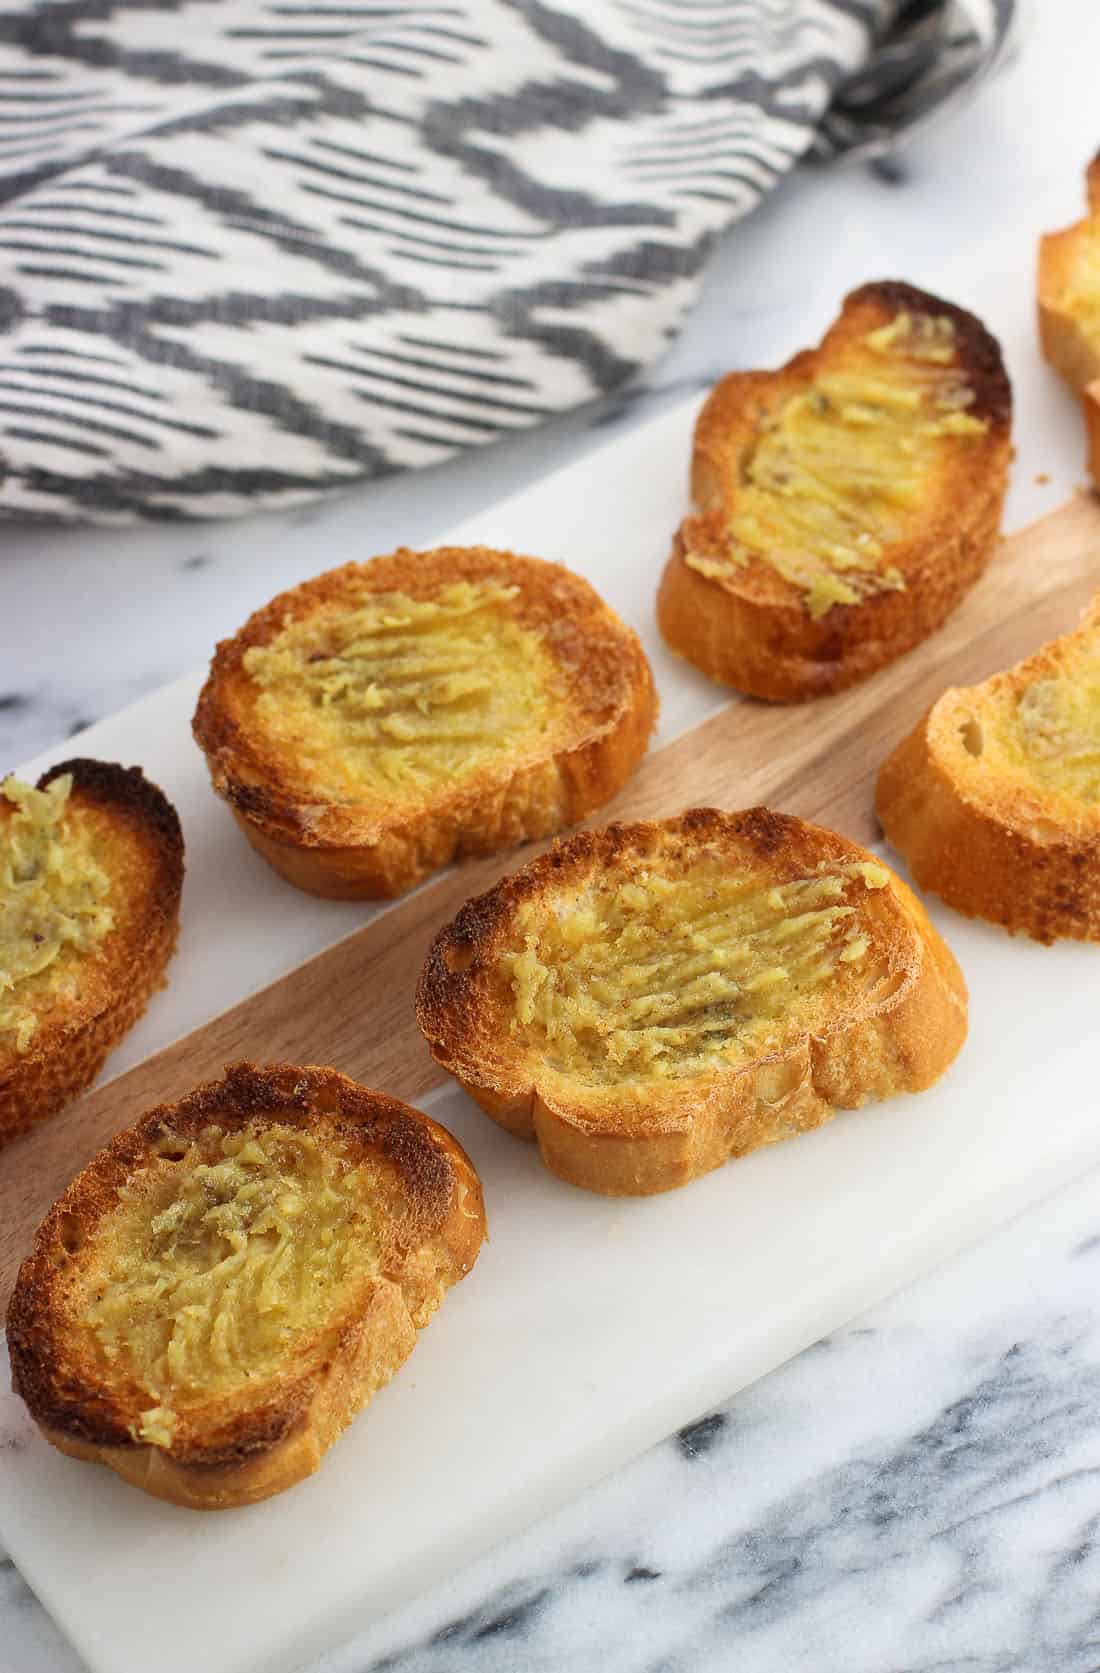
Once you know how to roast garlic, the sky's the limit for its recipe uses. At its very basic, it's incredible spread on crostini (below). Brush baguette slices with olive oil, then bake them in the oven until just crisped up but with some give still. Spread a clove on each piece of toast and enjoy. I love these served with soup.
Beyond the basics, roasted garlic has so many other uses. The flavor of roasted garlic is way more subtle than fresh garlic, so don't be afraid to use many more cloves in something than you would raw.
- It adds a modern touch to a traditional side dish. Roasted garlic creamed corn is one of my go-to slightly lightened-up Thanksgiving recipes.
- Two whole bulbs are used in homemade roasted garlic hummus for a delicious garlic flavor that isn't too strong (like some store-bought kinds can be).
- Whole cloves are a TREAT as pizza toppings. You can see this in action on one of the photos in my homemade pizza dough post.
Recipe FAQs
Keeping the inner layer of skin on the garlic allows the oil to remain covering the cloves as it roasts. It also offers a layer of protection against the garlic from burning during its extended (forty minutes or longer) time in the oven.
Yes! The act of roasting takes all the unpleasant bite out of raw garlic and makes it perfectly palatable to eat by itself, spread on bread, or used as a pizza topping.
Always store roasted garlic in the refrigerator. You can keep the cloves in the bulb casing and remove them as needed for recipes, or you can remove the cloves from the start and store them separately. It should stay in the fridge for around 10 days to two weeks.

Did you enjoy this recipe? I’d love for you to leave a star rating and a comment review in the recipe card below!
How to Roast Garlic
Ingredients
- 1 head of garlic
- 1 ½ teaspoons olive oil
Instructions
- Heat oven to 400°F. Remove all but the innermost layer of the garlic skin from the bulb.
- Slice off the top ¼-inch of the garlic bulb and place the bulb cut side-up on a sheet of aluminum foil placed on a baking dish. If some of the outer cloves are lower on the bulb, make additional cuts to slice off the tops of those cloves, too.
- Slowly drizzle olive oil over top of the bulb, ensuring that the oil covers the entire cut surface and drips down in the nooks and crannies between the cloves.
- Wrap the bulb in the foil and place on a baking dish. Roast for 40 minutes, or until the cloves are a deep golden-brown and a tester inserted into the middle of the centermost clove can be easily inserted and removed. The roasted garlic is ready to use in recipes right when it's done, though it helps to allow it to cool slightly in order to be handled.
Notes
- You can place the foil-wrapped garlic packet directly onto an oven rack set in the middle of the oven to roast instead of on top of a baking dish. If going that route, I recommend using heavy-duty foil or doubling up on the foil to ensure it doesn't rip and drip in the oven.
- Once the garlic is roasted, slice a small slit in the walls between the cloves in order to easily remove the whole cloves. If keeping them whole isn't a big deal, you can squeeze the cloves out instead.
Would you like to save this?
Plus receive periodic recipe newsletter emails.
Nutrition
Nutritional information is provided as an estimate. As it can vary due to many factors (brands used, quantities, etc.), we cannot guarantee its accuracy.
Food Safety and Nutrition Disclaimer
Jill says
I love this recipe and appreciate the easy, step by step instructions!
Alyssa says
I'm so happy to hear this, Jill! 🙂
Mary R. says
This is the first time doing this at my young age of 60. WHY did I wait so long?! Making your own garlic bread with this scrumptious garlic is unbeatable!
Thank you
Alyssa says
You're very welcome, Mary! I'm so glad you like it. It's SO good in garlic bread. 🙂
Vicki says
I hate wasting the top that is cut off, can I just cut in half & roast both halves?
Alyssa says
Hi Vicki, I think that would work just fine!
Ann Reece says
So easy please! Thank you for posting as I’m making hummus for a book study evening!
Alyssa says
You're very welcome! Love this in hummus. 🙂 Hope you enjoy.