
Homemade Old Bay buns are chewy and springy, making an extra flavorful bun for burgers or sandwiches. Simple kitchen staple ingredients are all you need to make these easy buns. They're also great as dinner side dish rolls!
Once we finally moved into an apartment of our own, can you guess what the very first ingredient was to grace our kitchen pantry? Not any of the usual suspects like flour or sugar, though they were close behind. It was Old Bay seasoning.
That's an essential, right? If you're Brian, then the answer is yes - definitely. You can take the guy out of Maryland, but you can't take the Maryland out of the guy.
Not that I mind. I've been enjoying Old Bay on crabs (classic but enjoyed infrequently), steamed Old Bay shrimp (much easier to set up at home!), and eggs (slightly less classic). And now in homemade Old Bay buns, which are perfect for sandwiches, burgers...or just ripping off pieces and snacking. No judgment here as I'm guilty of all three.
Especially the third.
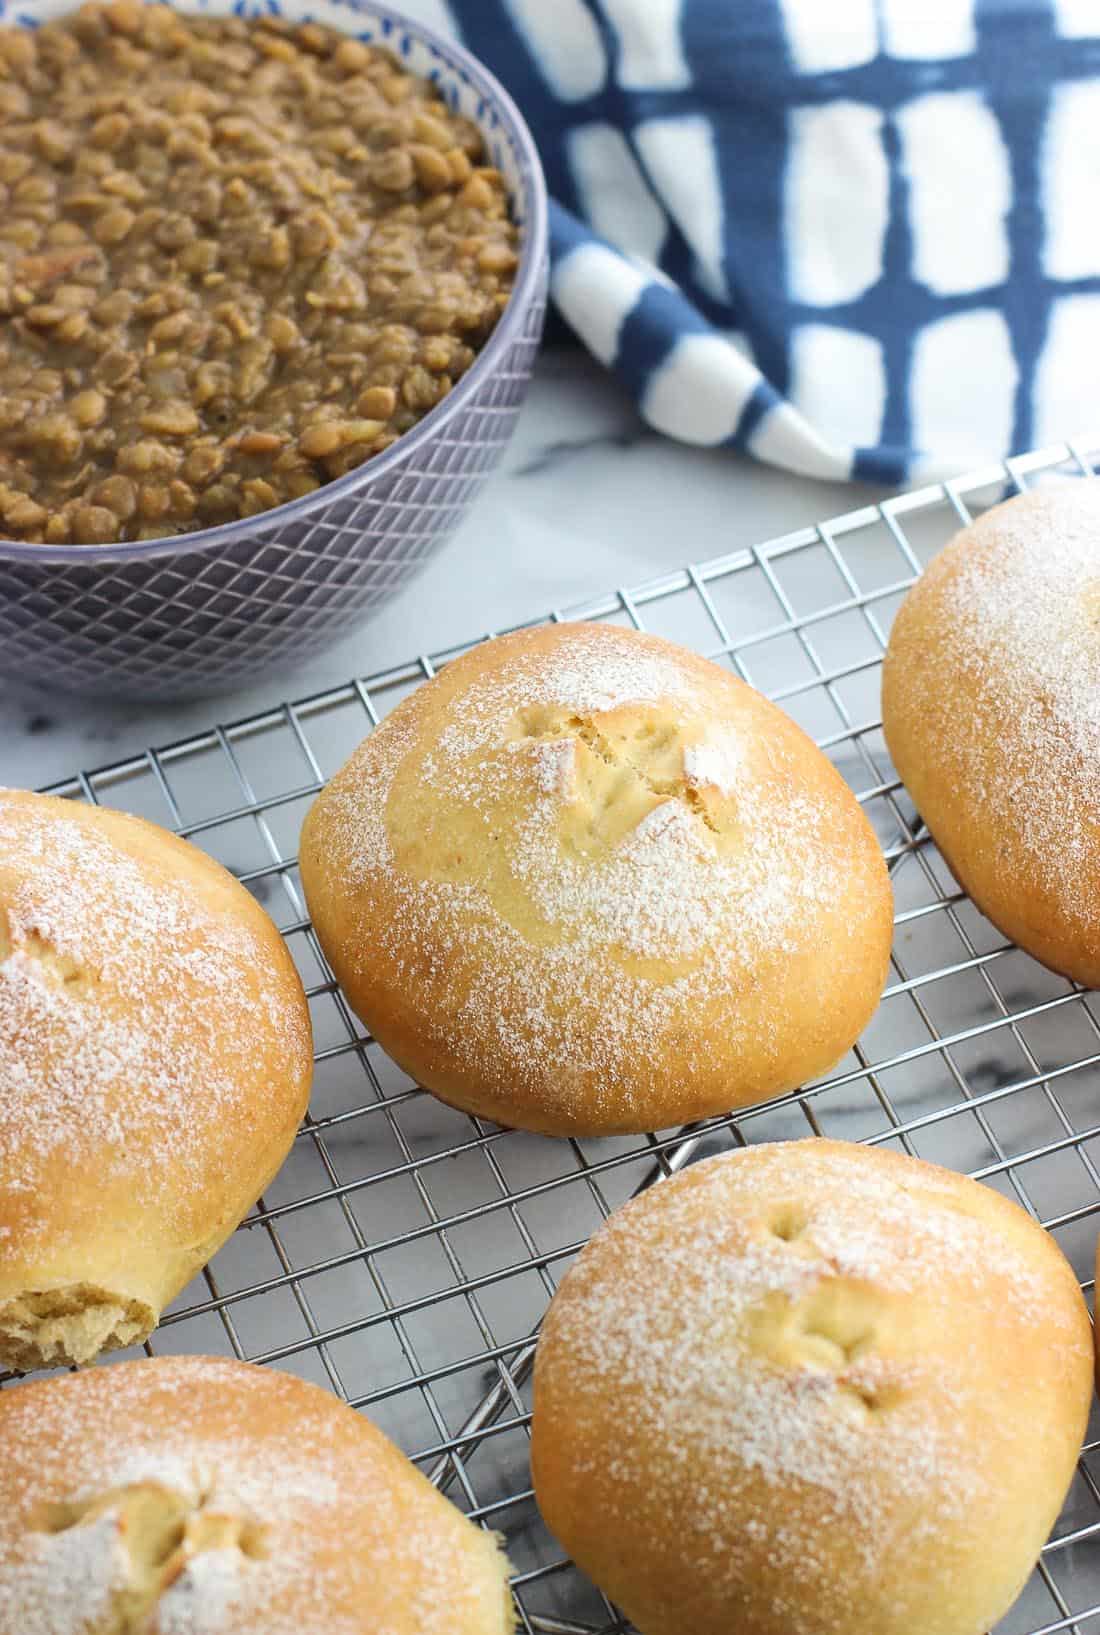
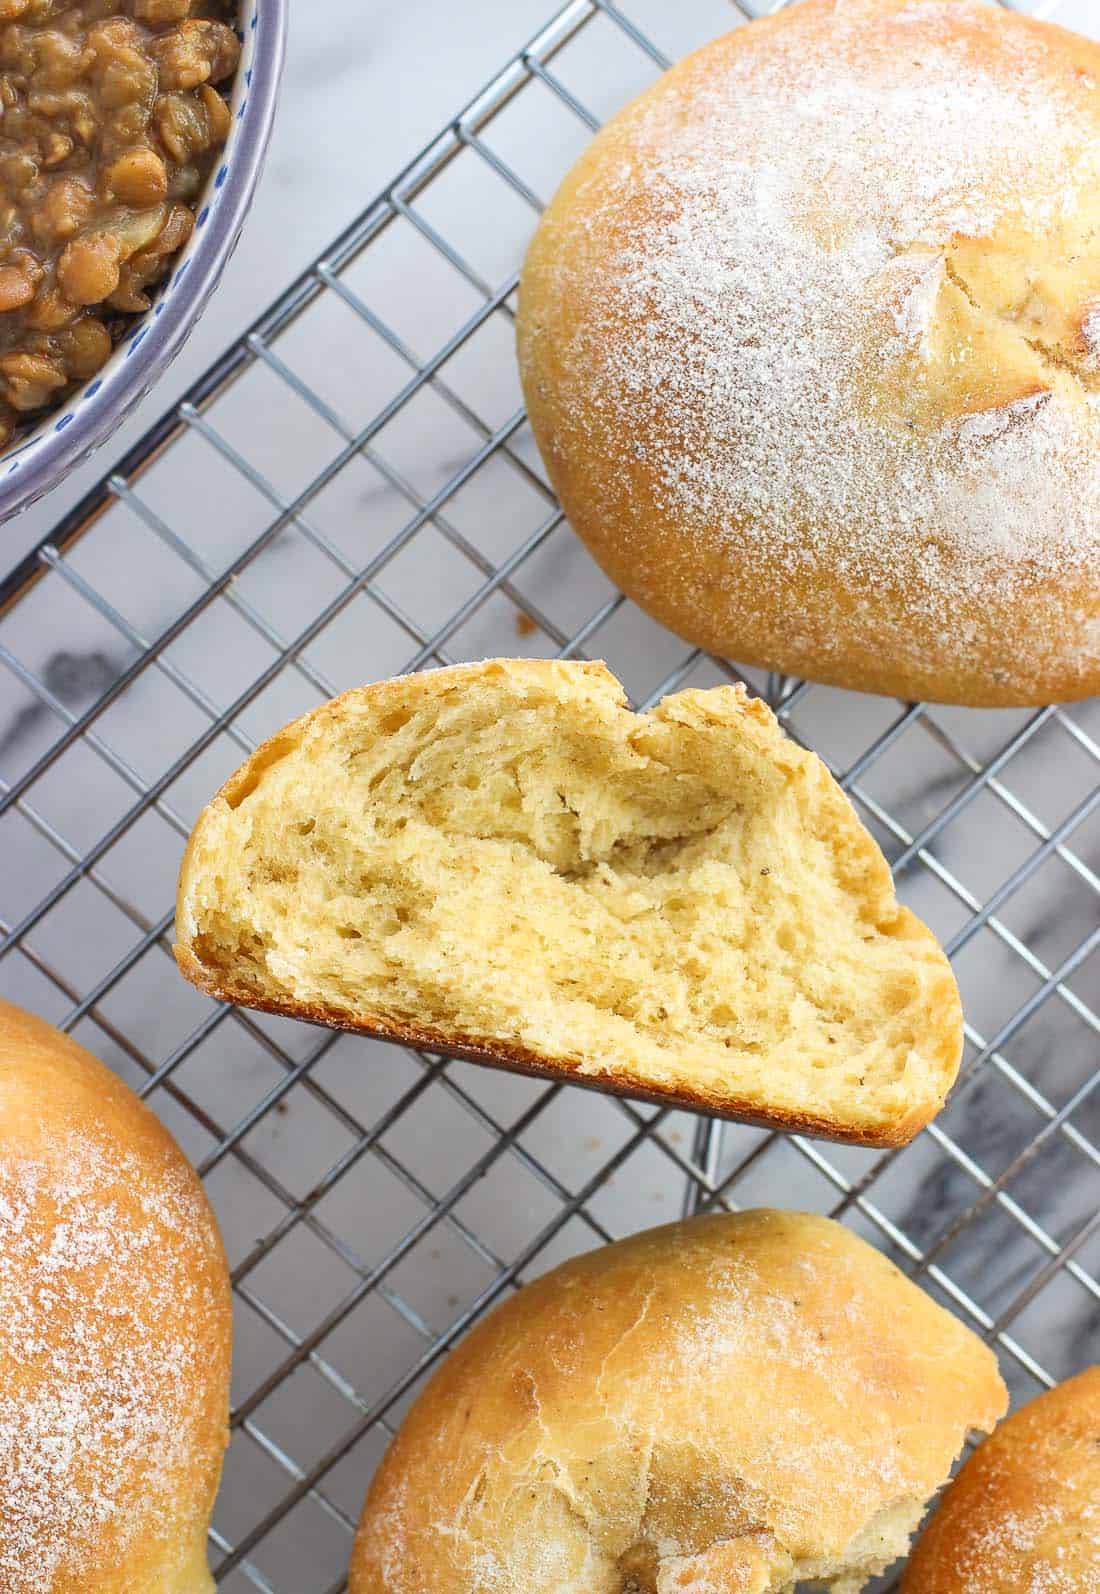
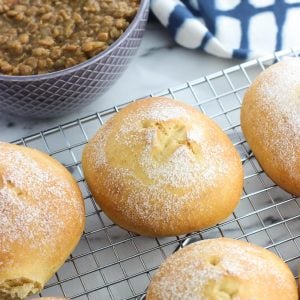
These Old Bay buns (or Old Bay rolls? Either works.) contain all of the features you'd hope for in a bun. For starters, they have a hearty crust that juxtaposes perfectly with their soft and springy interior.
Recipe ingredients
Standard bread-baking ingredients are at play here, including warm water, yeast, all-purpose flour, and sat. The others are also pantry staples but are a little less standard: olive oil, honey, garlic powder, and Old Bay seasoning.
One thing that I love about breads is when you can taste a hint of the olive oil. That's happening here. You also taste a slight zip from the Old Bay and garlic powder, tempered by two tablespoons of honey. It's a tasty yet refined zip in that it won't get in the way of whatever flavor you've got going on between the two bun halves if it's unrelated.
Recipe steps
Please don't be intimidated by this recipe if you're a little leery about working with yeast. As long as your yeast is still alive and your water temperature is in the right range, you should have no problems at all making these Old Bay buns.
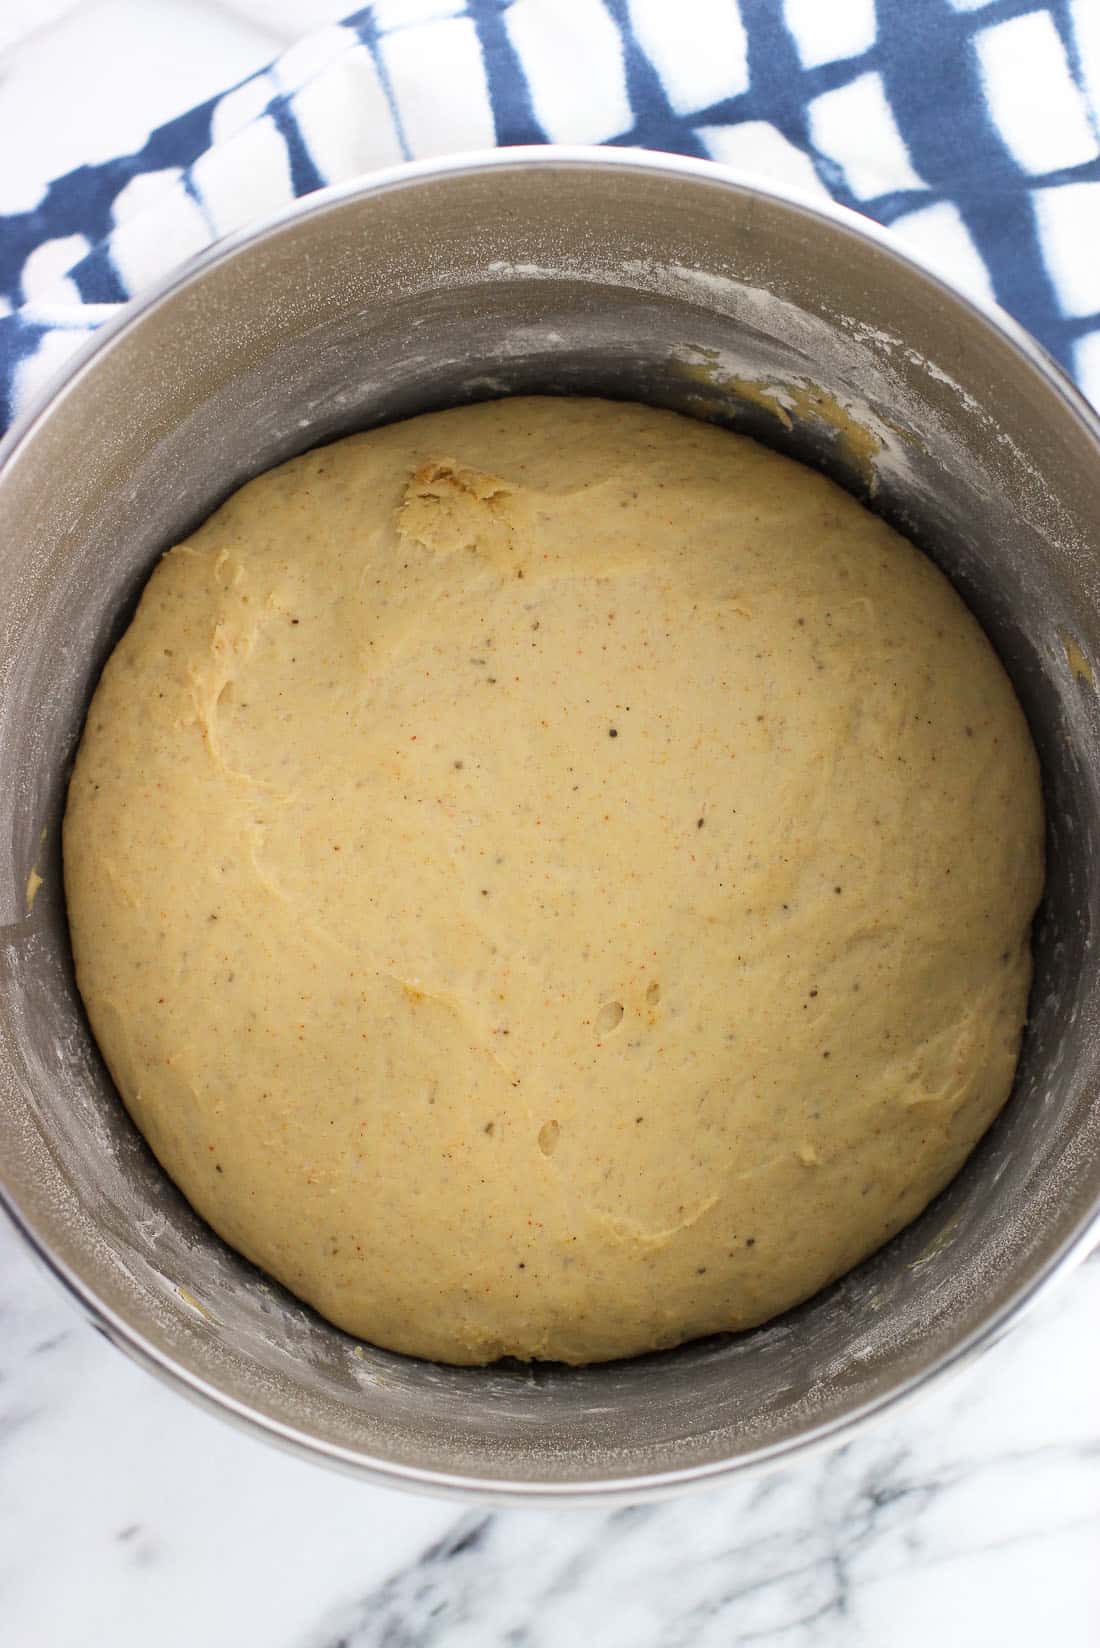
Start by combining the yeast, warm water, and a little bit of flour in the bowl of a stand mixer and let it sit for ten minutes or so to activate (get frothy). Add the olive oil, honey, garlic powder, Old Bay, and salt and stir to combine. Then add the remaining three cups of flour.
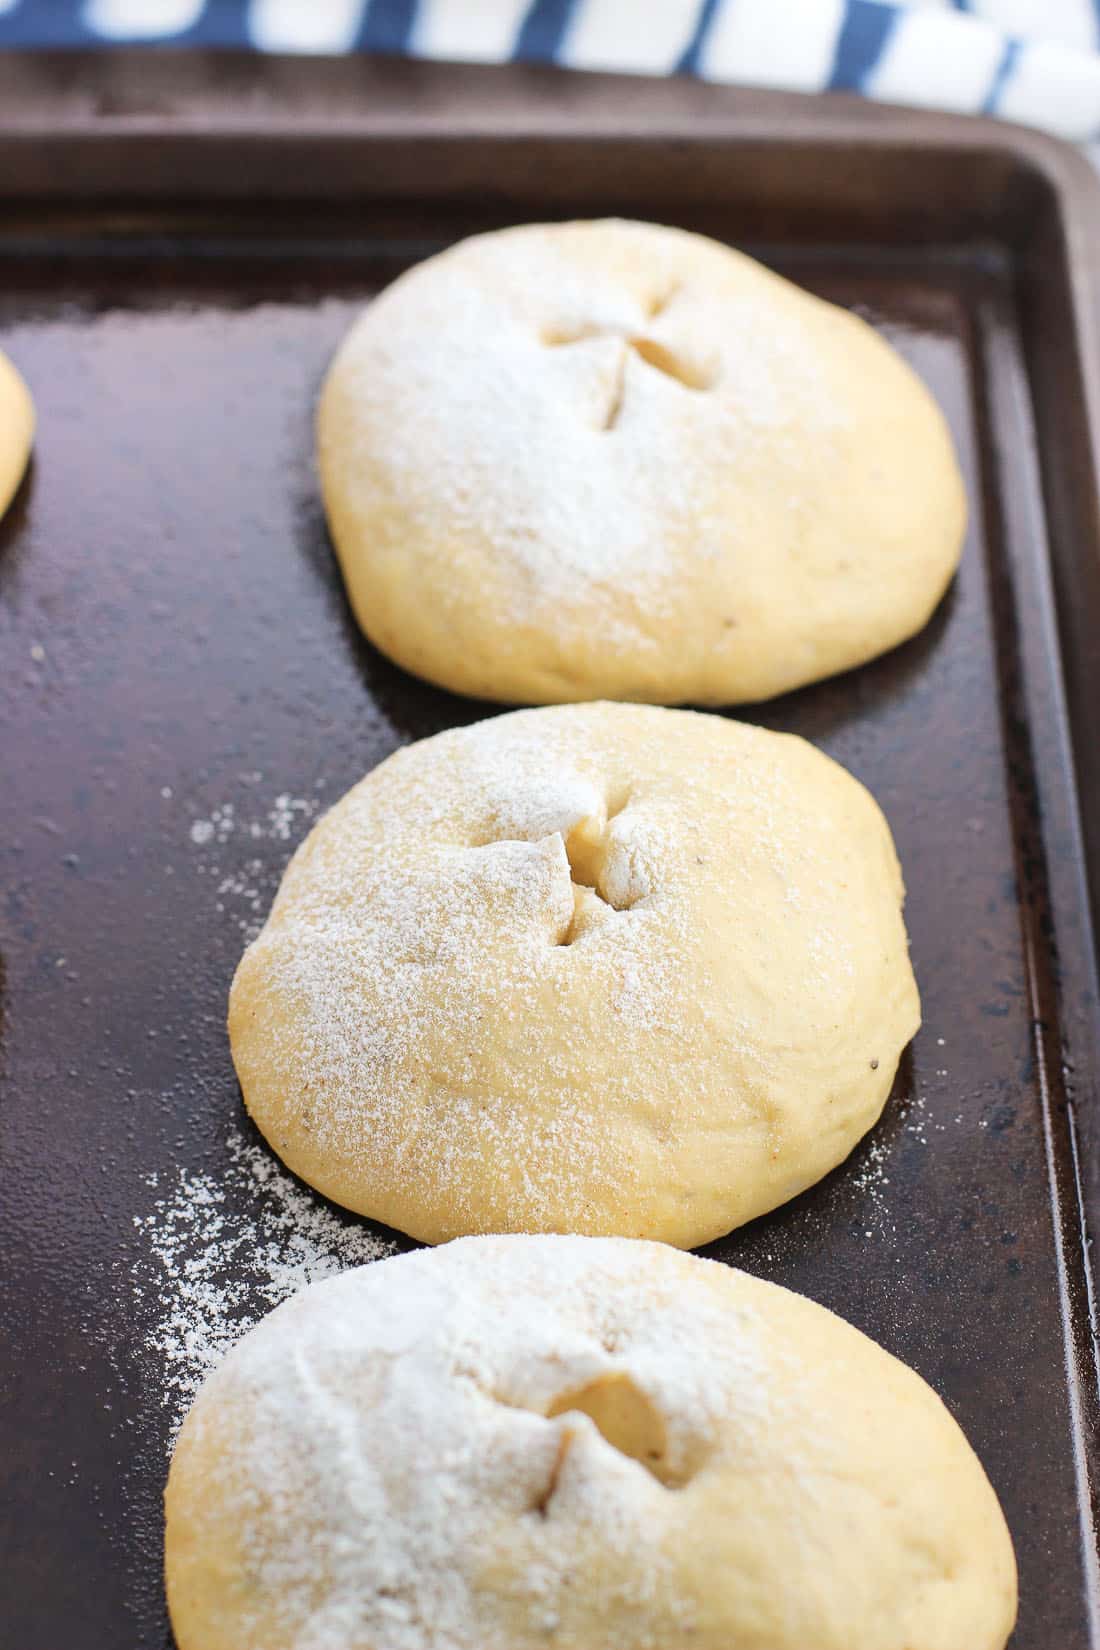
Mix until a dough forms, then leave the dough for its first rise, about one hour or until the dough has doubled. Then separate out and form eight buns and let them rise a second time on a greased baking sheet for about forty minutes. After a quick bake (just 15-18 minutes) these warm and springy rolls are ready for serving.
While this recipe isn't difficult, you can't really speed up the rise time so I'm not going to suggest these as a quick, after-work meal. However it's the perfect recipe for making on a Sunday afternoon and enjoying as the week progresses. Or you can freeze half the batch and defrost over the next few weeks when you're in serious need of a homemade bread fix. Which, at least for me, happens when I most certainly don't have homemade bread time.
Love that freezer. ♥
Serving suggestions
I love to serve these Old Bay buns alongside soups that also feature Old Bay. Spicy lentil soup with bacon, and creamy chicken and rice soup are two recipes on the blog that fit the bill. Both household favorites.
On the sandwich front, my top choice is curry chicken salad. The warm flavors match up very well!
Recipe notes
- You'll want to use a large baking sheet as the rolls expand, though it's not a big deal if a few bump into each other while baking. They will easily pull apart once done.
- To get that freshly baked feel back after a couple of days, I wrap leftover Old Bay rolls in aluminum foil and place them in a 350°F oven for ten or so minutes. Wrapping them in foil prevents them from browning while they heat, and revives that fresh bread flavor.
Homemade Old Bay Buns
Ingredients
- 1 cup warm water between 110-115°F
- 1 tablespoon active dry yeast
- 3 ¼ cups all-purpose flour divided
- ¼ cup olive oil
- 2 tablespoon honey
- ½ teaspoon garlic powder
- 1 tablespoon Old Bay seasoning
- 2 teaspoon salt
Instructions
- In the bowl of a stand mixer, pour water, then yeast. Using a whisk, stir in ¼ cup of the flour. Let mixture sit for approximately 10 minutes, or until it is frothy and yeast has activated.
- Add olive oil, honey, garlic powder, Old Bay seasoning, and salt and whisk again until all ingredients are combined.
- Add the rest of the flour (3 cups) and mix, preferably with dough hook, on low speed until mixture takes the form of a solid dough, approx. 2-3 minutes. Add a little additional flour if needed to prevent dough from being too sticky.
- Grease a large bowl and add dough, brushing the top with olive oil. Cover bowl with plastic wrap or a damp cloth towel. Place bowl in a warm place for dough to rise. You want the dough to double, which should take about one hour (more or less given the temperature of your kitchen).
- Once dough has doubled, grease a baking sheet and set aside. Place dough on a lightly-floured work surface and push down to reduce air bubbles (extra kneading is not necessary). Separate dough into eight equal sections, and work each section into a circular shape by transferring dough back and forth in your hands. Place each dough ball at least 1 ½-inches apart on baking sheet. Cover rolls on baking sheet with plastic wrap (loosely) and let rise again for 35-40 minutes. Toward the end of the rise time, preheat oven to 400°F.
- Once oven has preheated and rolls have risen for the second time, sprinkle tops of rolls with a little bit of flour and snip an "x" into the tops of rolls with kitchen shears (optional). Bake for 15-18 minutes, or until crust of rolls are golden brown and rolls are cooked through. Remove to wire rack to cool. Rolls can be served warm or room temperature.
Notes
Would you like to save this?
Plus receive periodic recipe newsletter emails.
Nutrition
Nutritional information is provided as an estimate. As it can vary due to many factors (brands used, quantities, etc.), we cannot guarantee its accuracy.
Food Safety and Nutrition DisclaimerAdapted from "Pesto Rolls" in The Art & Soul of Baking cookbook by Sur La Table and Cindy Mushet.
Marisa Franca says
Well, this is a new one on me. We always have Ole Bay in the house -- a huge container, yet I never thought of adding it to my homemade bread. What a novel idea!! We love the taste now I'm inspired to go and make up a batch of buns.
Jessica says
I find this super funny because I live in Maryland now, but am not originally from here. Everything is Old Bay laced and it has certianly grown on me!
Zainab says
I could eat a dozen of these!!! Seriously.
Alyssa says
Haha, I'm so with you Zainab!!
Kathy @ Olives & Garlic says
Old Bay Buns, get out! LOVE the idea. One of my favorite spices. I can imagine so many great sandwiches with these buns.
Alyssa says
Thanks Kathy! I LOVE Old Bay, too. It has such a distinct flavor. It definitely jazzes up sandwiches!
Annie @Maebells says
Looooove these! I use Old Bay all the time and I am amazed when I get emails or comments that say they don't know what it is! They are totally missing out!
Alyssa says
Old Bay is such a great spice - I love cooking with it (and now baking!). Thanks Annie! 🙂