
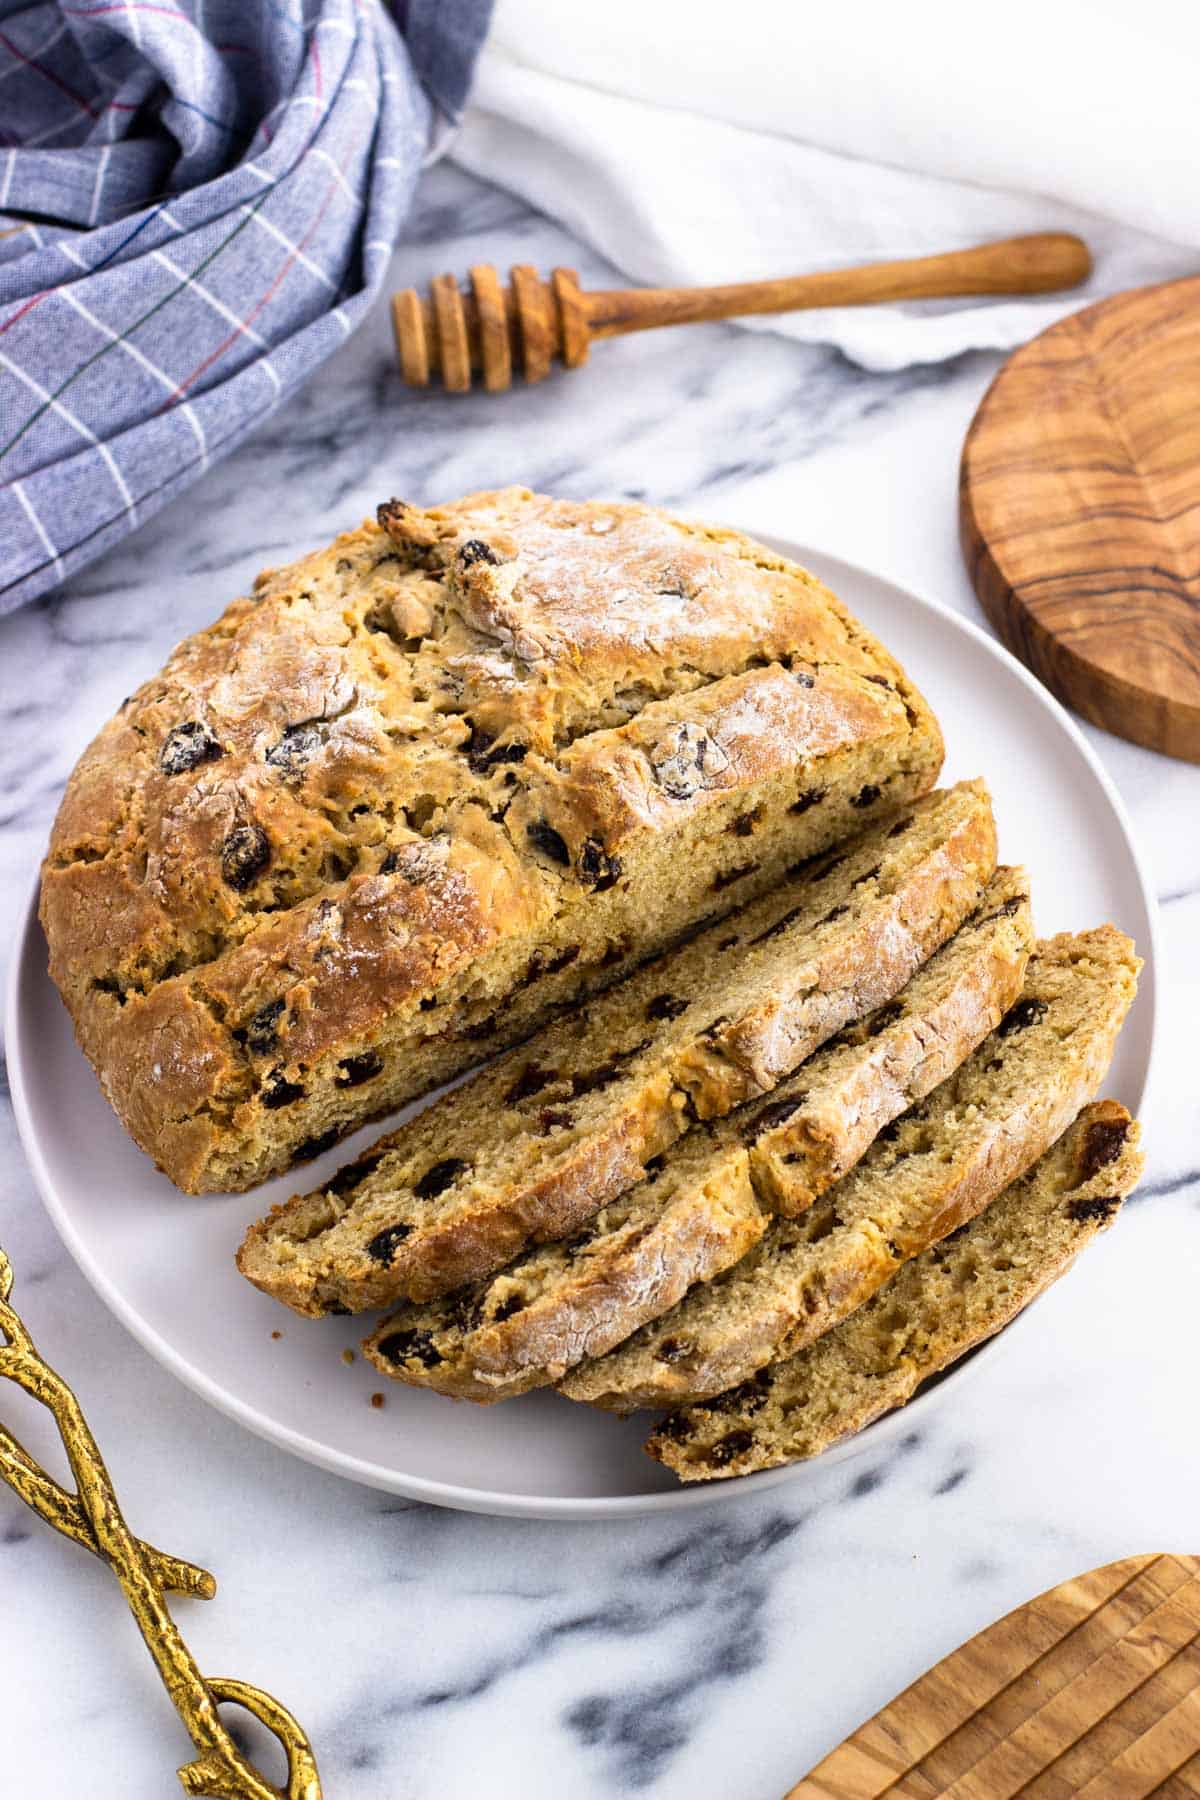
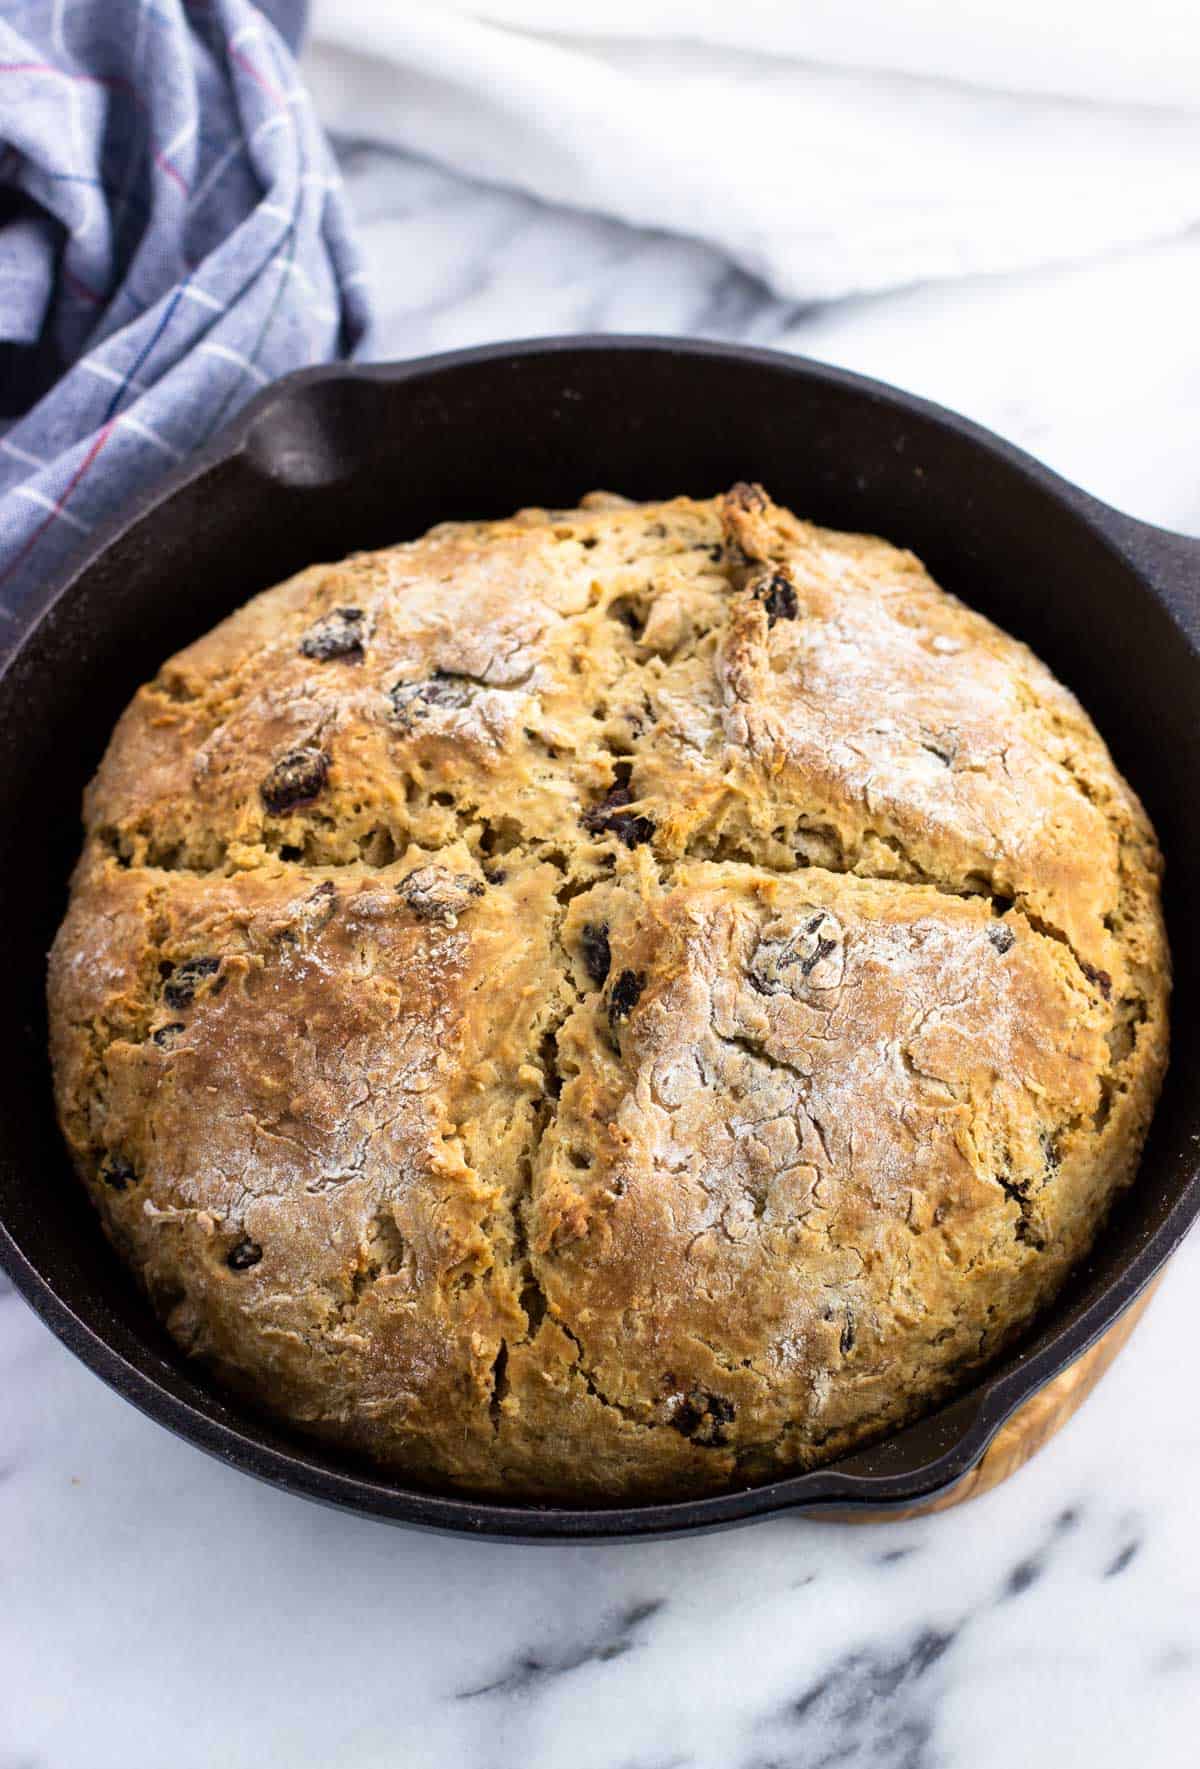
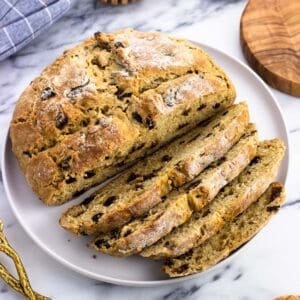
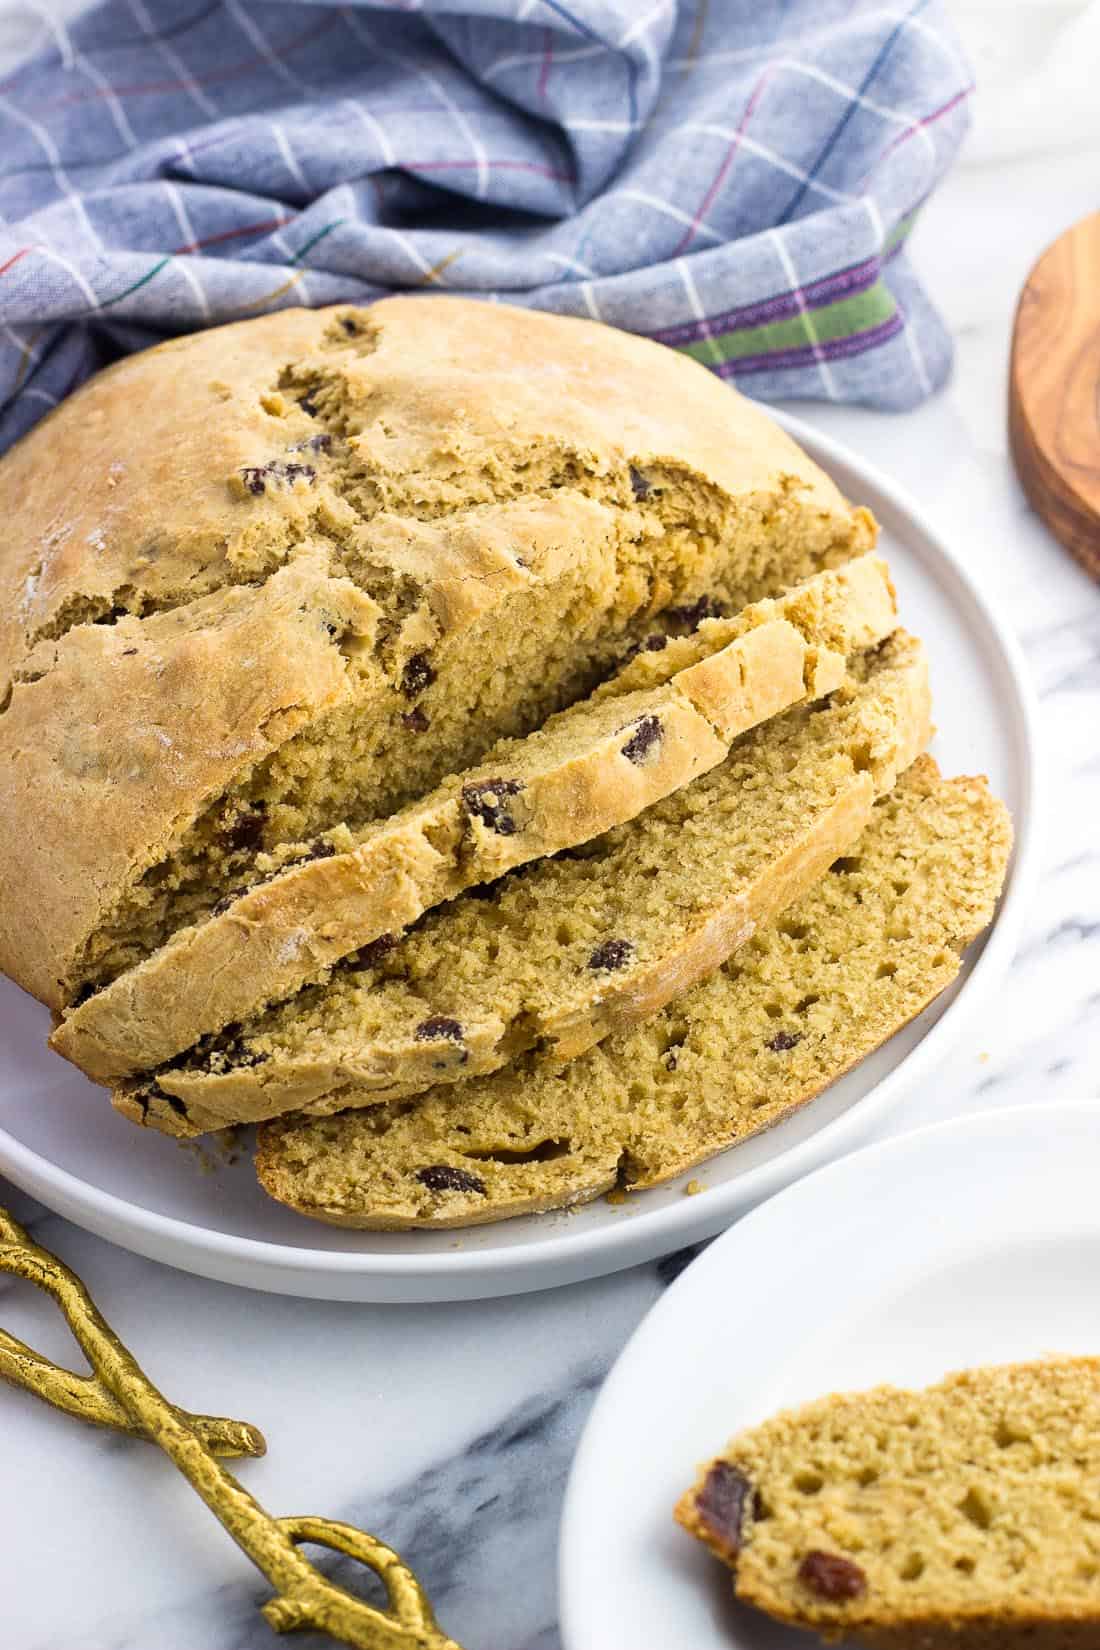
With a tender, not dry texture, maple flavor, and plump raisins, this maple Irish soda bread is sure to please! This easy quick bread recipe is on the smaller side and requires no kneading or rise time.
I'm really not one for holiday-themed treats (only because I'm not that artistic and lack the patience to closely zhush decorations) but I'm all in on simple and rustic festive recipes.
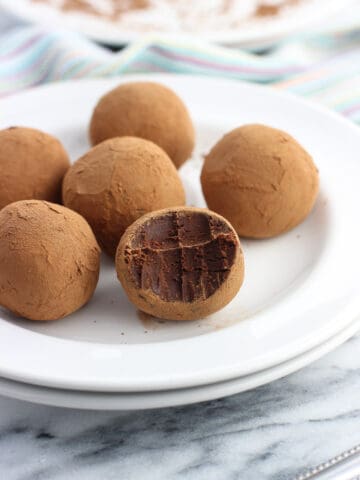
Irish cream truffles fit the bill, as does this maple Irish soda bread. While it's far from authentic by any stretch, I look forward to making this slightly sweeter, maple-tinged version each St. Patrick's Day. In fact this year I've even gotten a request to bake this bread year-round!
To note, this take on Irish soda bread is roughly half the size of many recipes, making it a great option for a smaller crowd looking to getting through the whole loaf while it's nice and fresh.
Why This Recipe Works
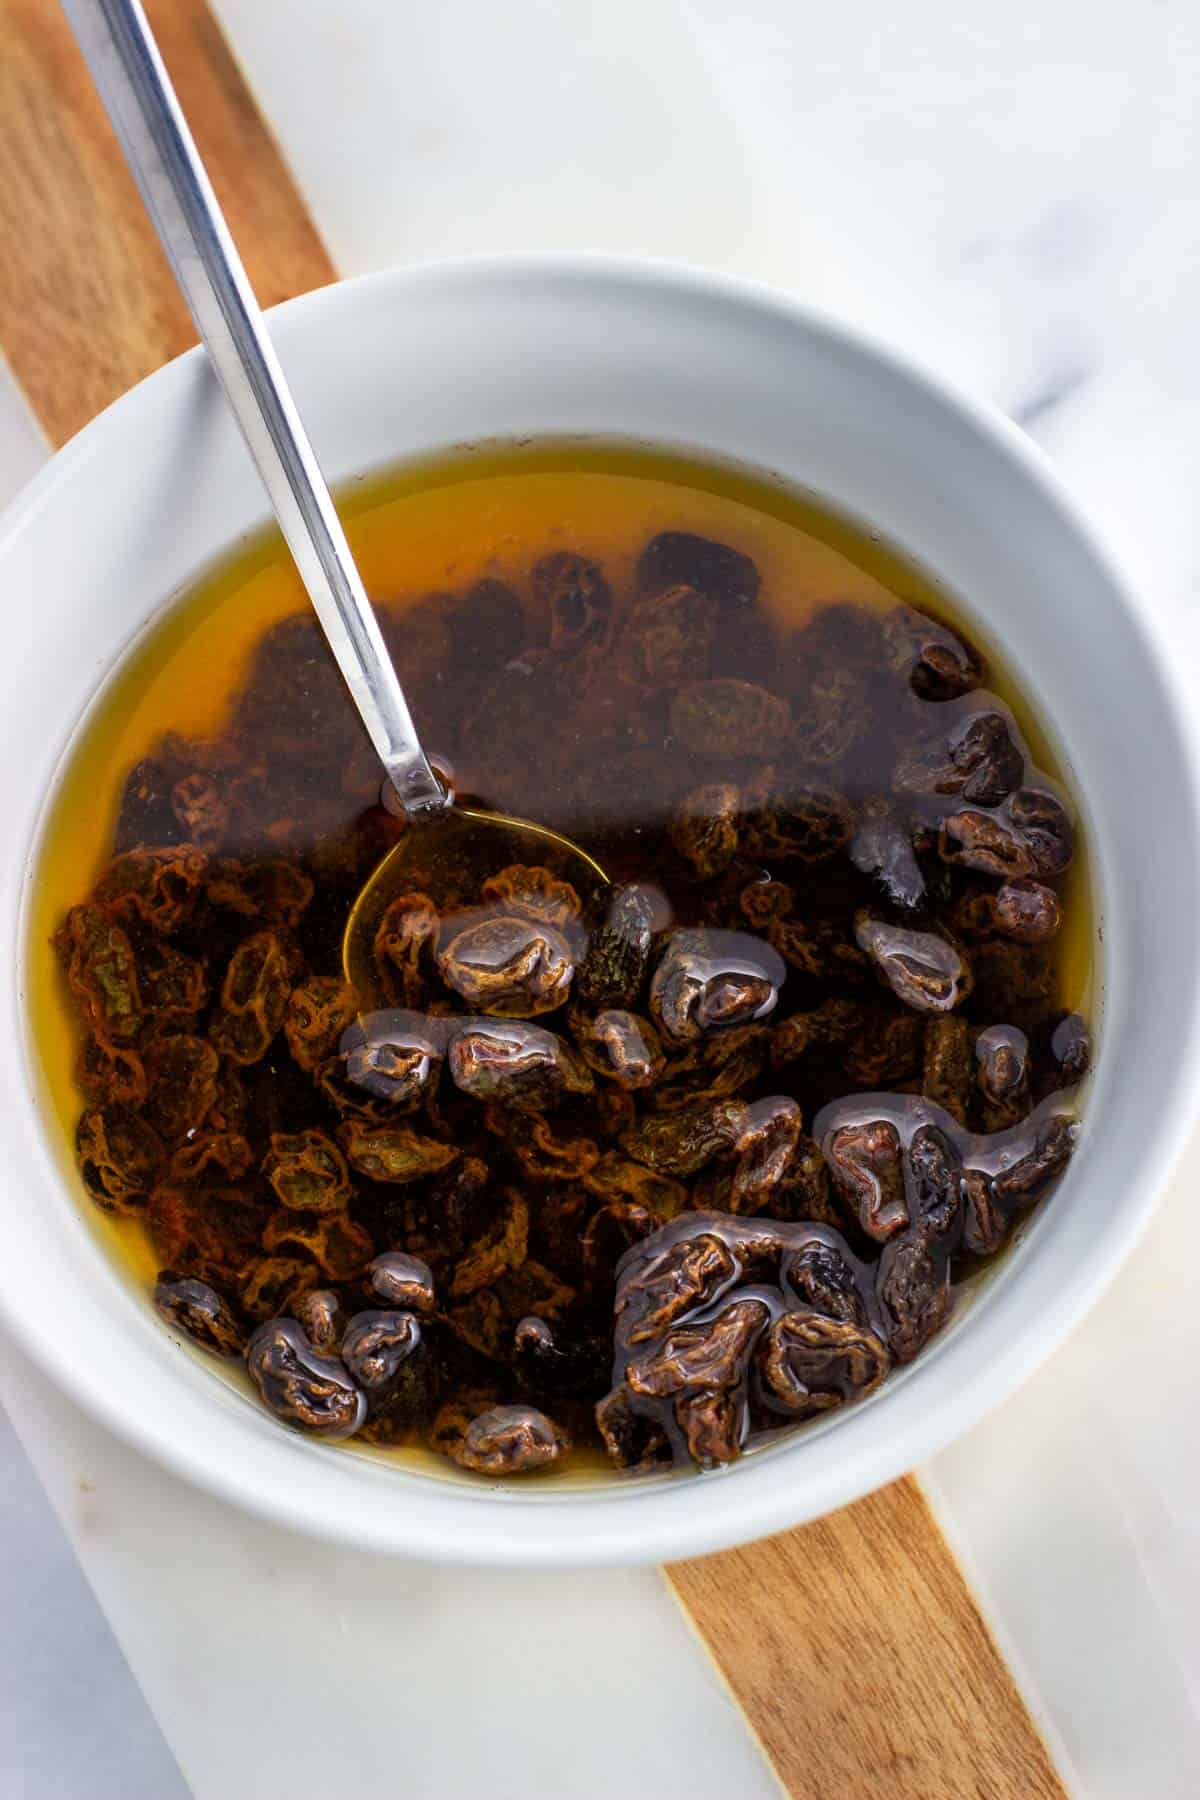
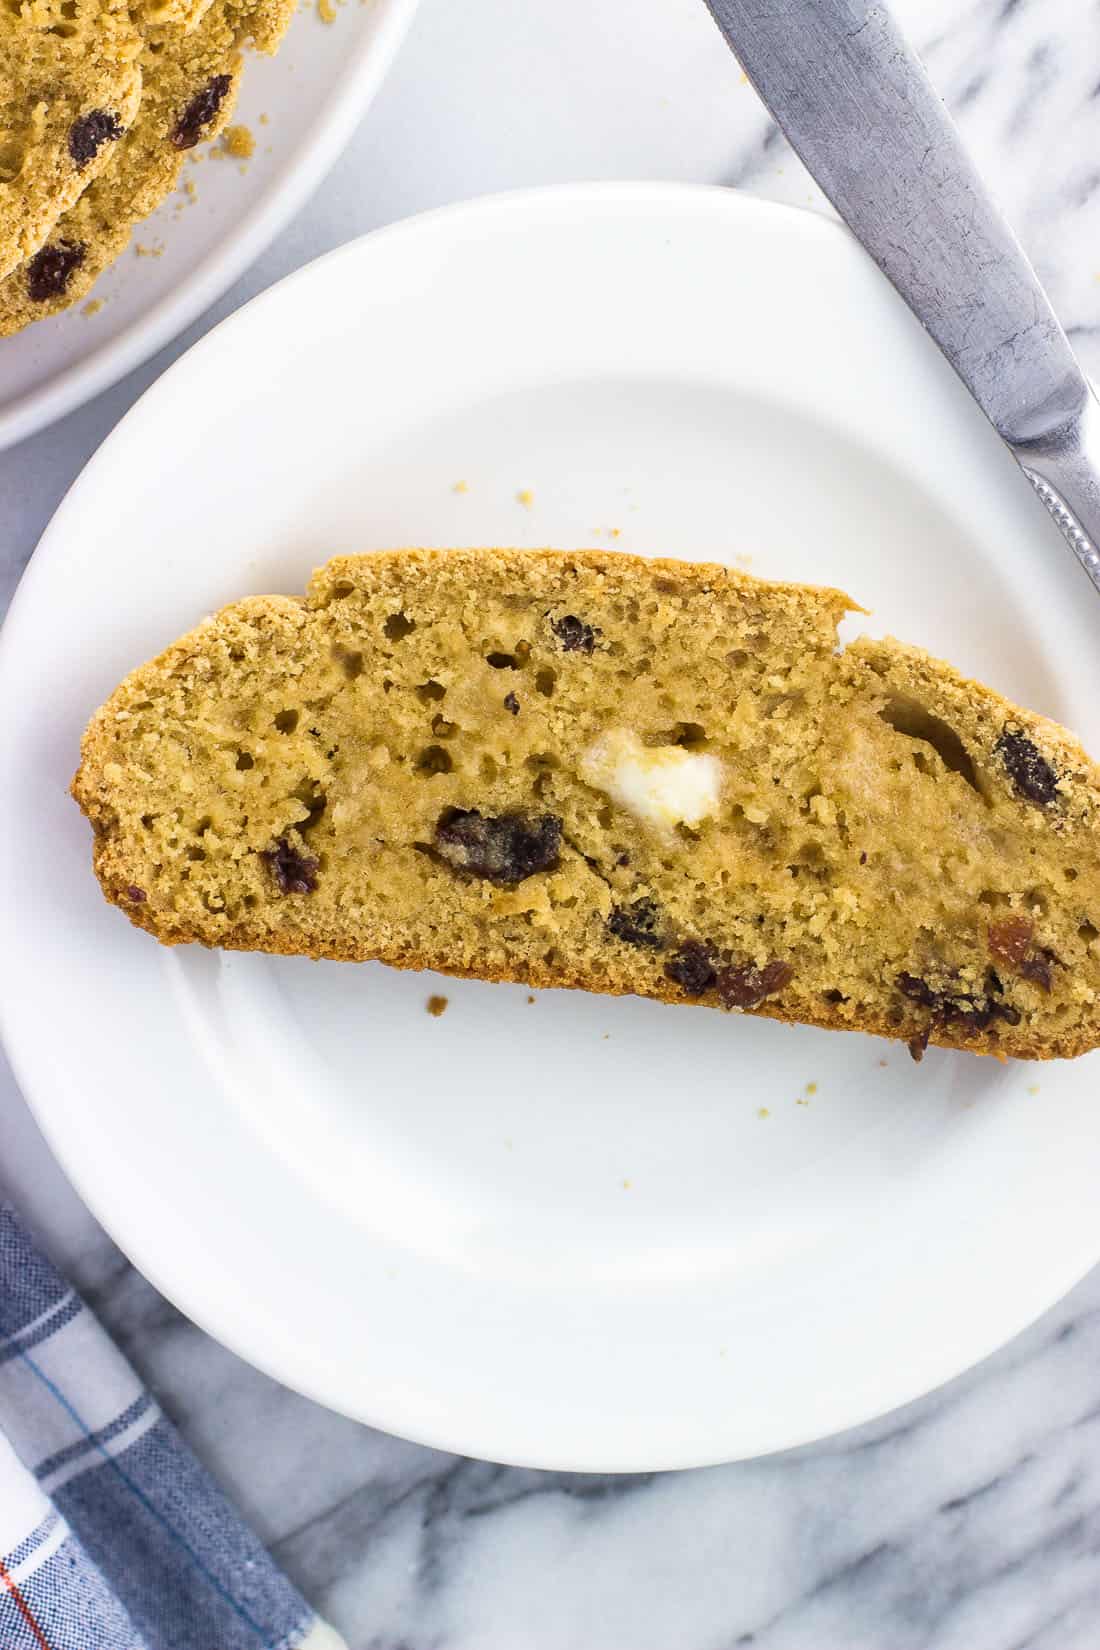
- Soaking the raisins plumps them up considerably, providing little juicy bursts throughout the bread after it's been baked.
- Skipping the frankly unnecessary kneading step often found in soda bread recipes saves you a whole heap of trouble as this is a wet and sticky dough. It comes together just fine in a bowl, and eliminates the risk of adding too much flour to combat the sticking, which can lead to dryness.
- Slightly increasing the sugar and adding baking extracts (maple and vanilla) provides such a nice, rich flavor that truly makes this maple-version of a traditional bread something special.
Recipe Ingredients
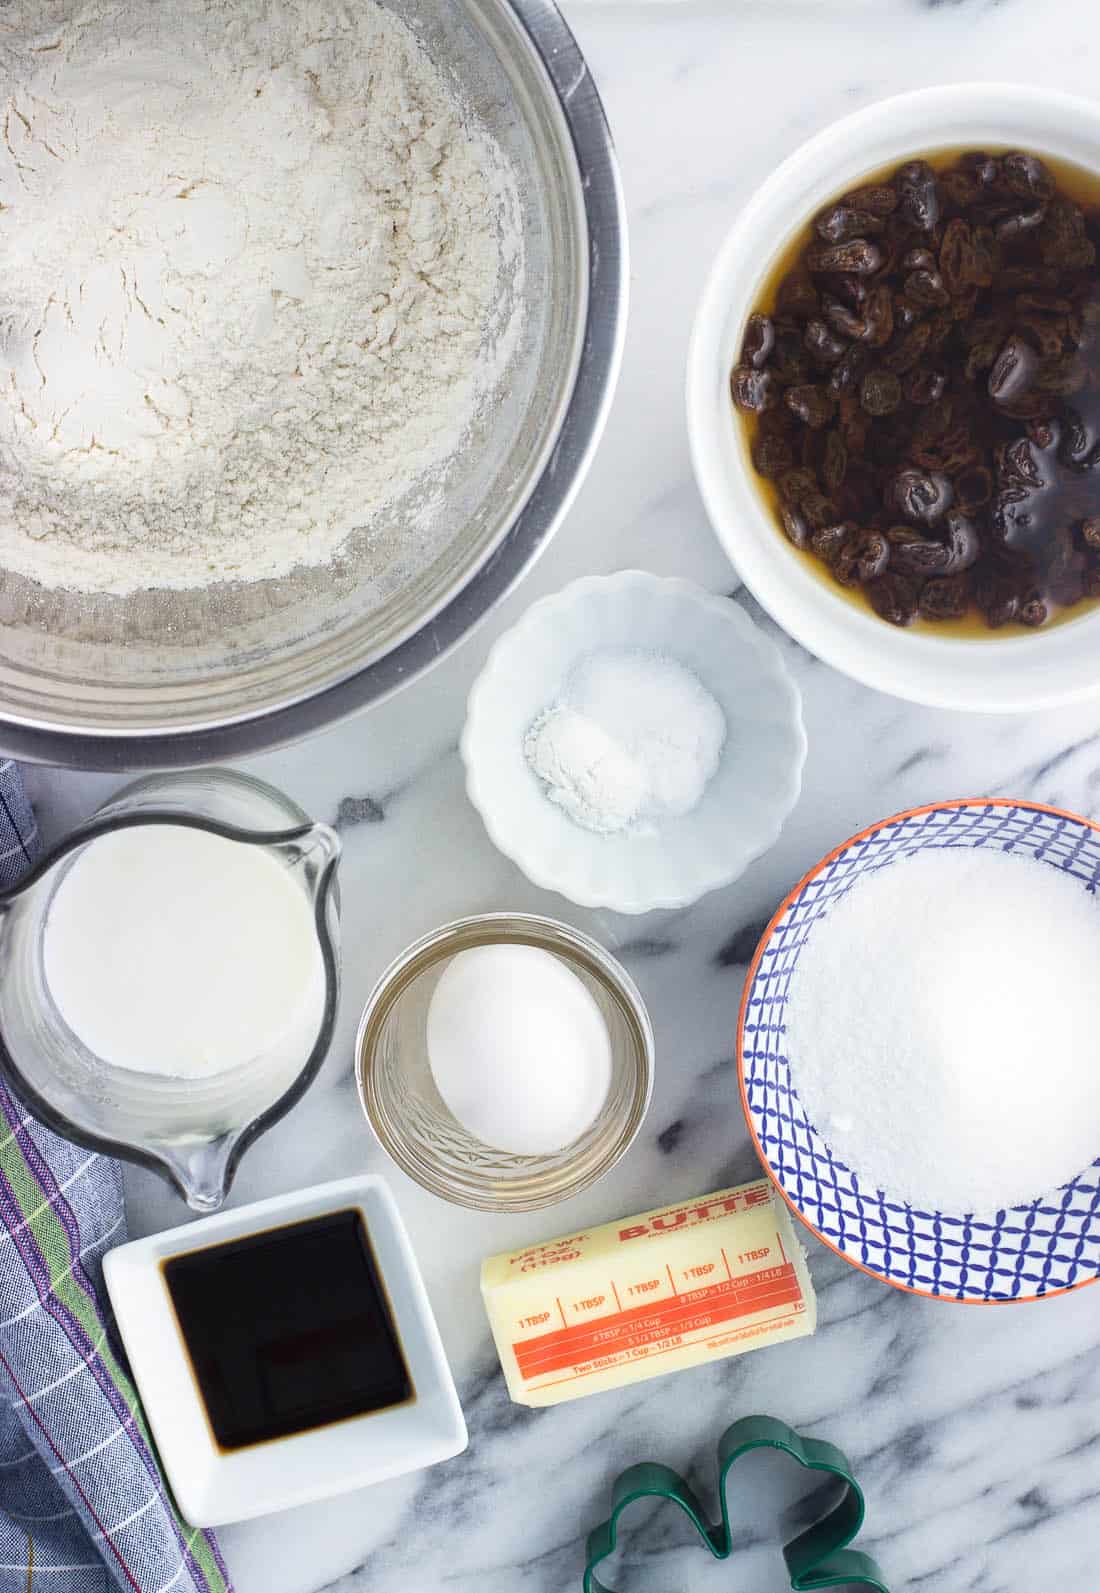
Irish soda bread at its base consists of just a few ingredients. It qualifies as a quick bread because it rises from baking soda and not yeast. That means it's quick to make (yeah!) and is generally less fussy. This version, while including additional ingredients, is still straight-forward using mainly staples.
- Flour: While some Irish soda bread recipes call for less common/specialty flours (wholemeal, bread, etc.), standard all-purpose flour works great here. If not weighing it be sure to measure using the fluff-scoop-level method (detailed in the recipe card).
- Baking soda: This is the "soda" part of Irish soda bread, which provides all of the leavening here.
- Butter: Cutting small pieces of chilled butter into the dry ingredients benefits the bread's structure. While baking these little bits of butter melt to provide a flaky texture.
- Buttermilk: The other side of the leavening equation, this provides the acid to which baking soda needs to react in order to create rise. I've found homemade buttermilk substitutes work just as well in this recipe.
- Maple extract: This unexpected baking extract provides a warm, background maple-y flavor that meshes very well with these ingredients and lower-sweetness bread.
- Raisins: Rehydrating the raisins in hot water (or bourbon!) before adding them to this bread dough brings through extra moisture in the cooked bread slices. As Irish soda bread has a moist dough but not-overly-moist baked texture, bits of controlled moisture work very well here.
Step-by-Step Instructions
- Start by soaking the raisins in a hot water/brown sugar mixture (or bourbon) to rehydrate them. This gives them a flavor boost and allows them to become perfectly plump and juicy in your baked bread. Let them sit while you prepare your pan, heat the oven, and measure out the rest of the ingredients.
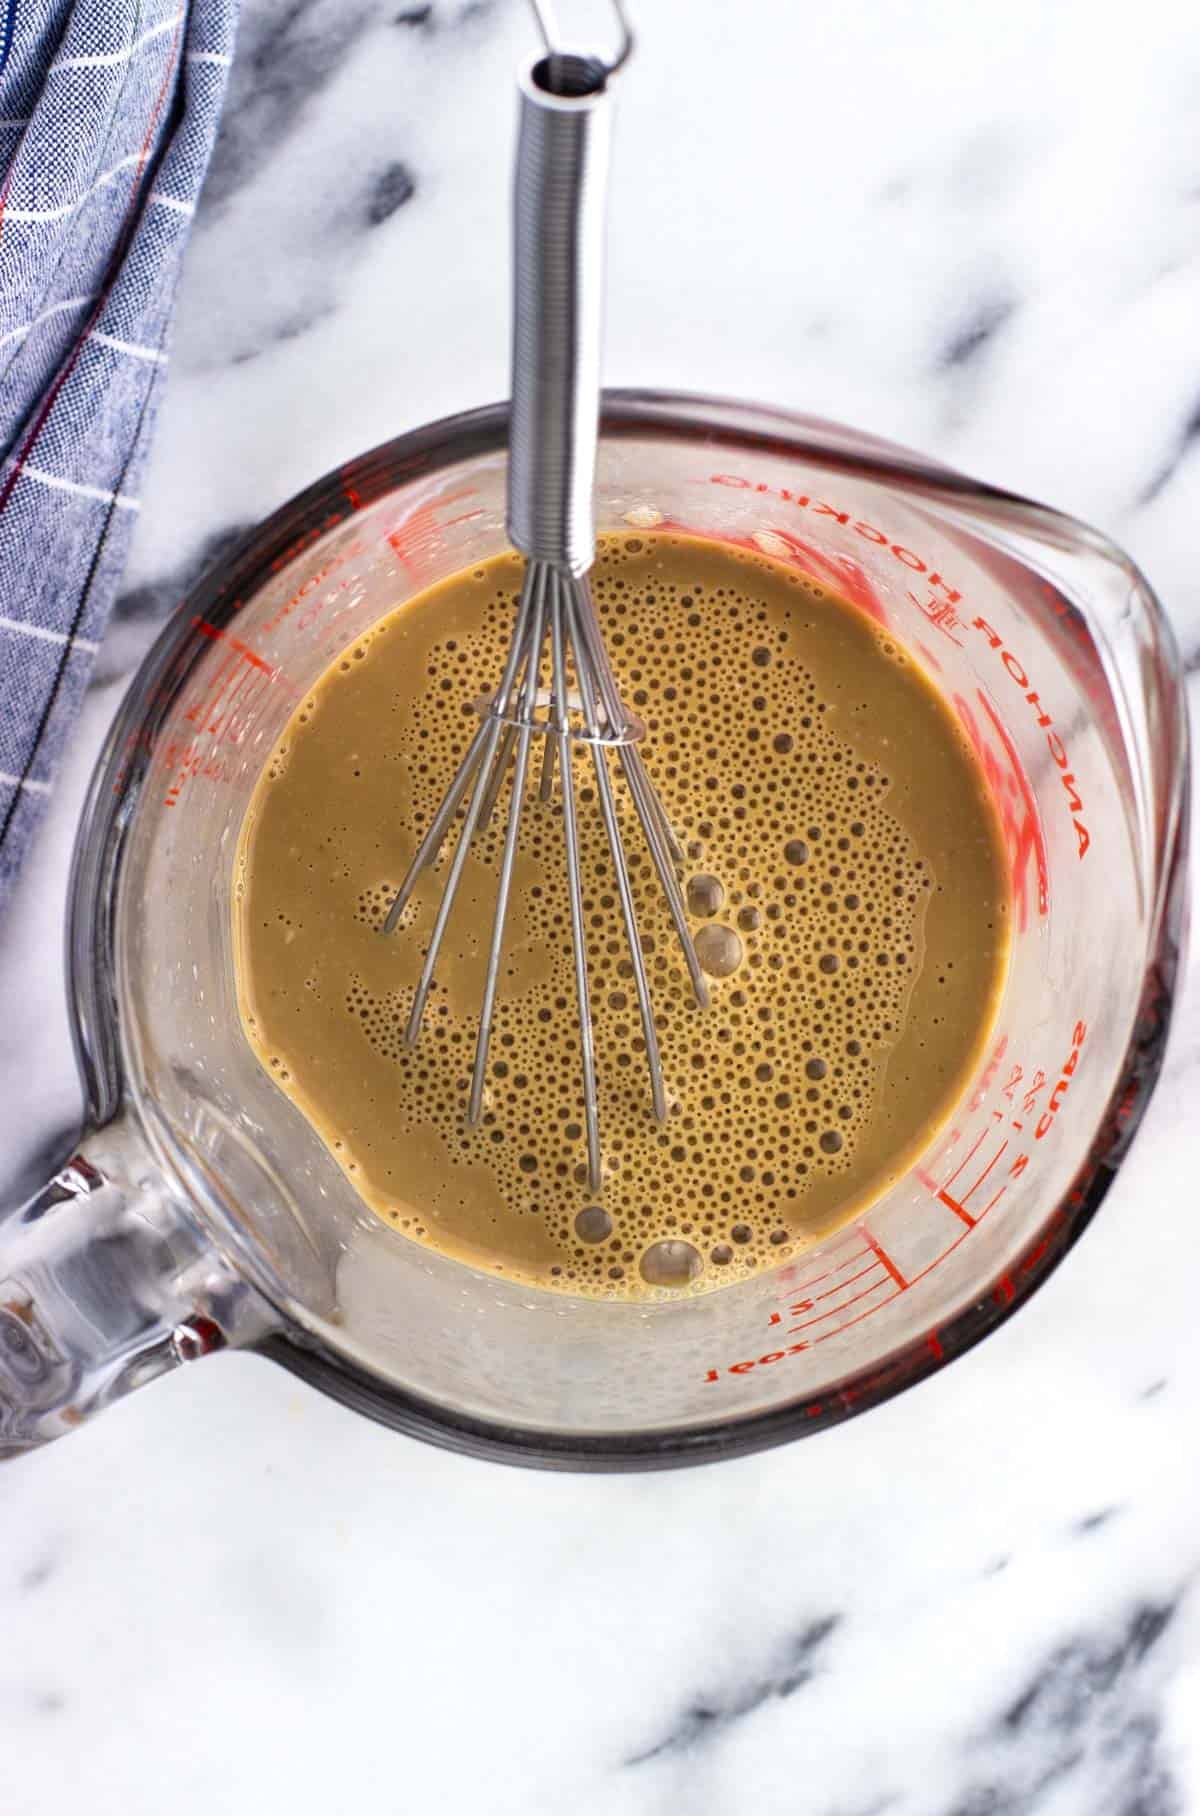
- Whisk together the wet ingredients well in a measuring cup or bowl.
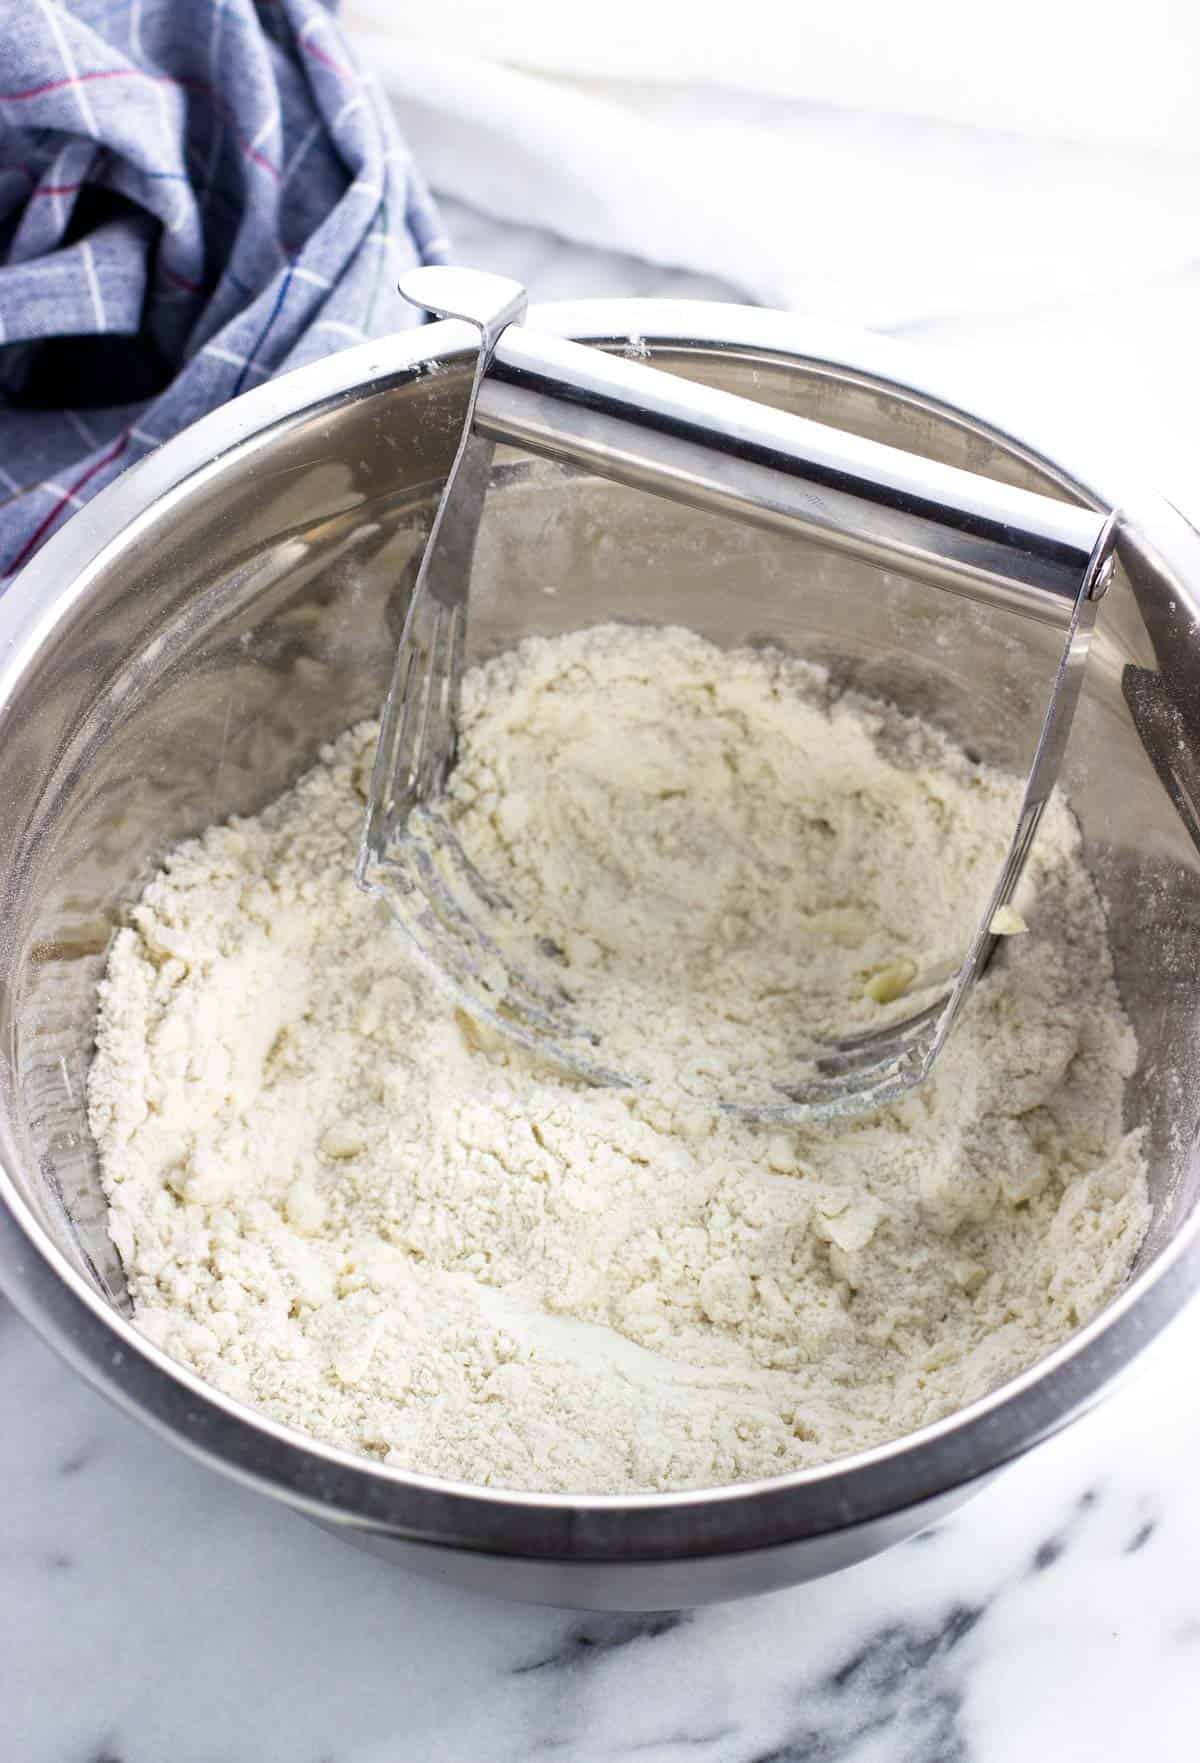
- Whisk together the dry ingredients in a bowl, then cut in the chilled butter with a pastry blender or with your hands. Aim for the butter pieces to end up pea-sized.
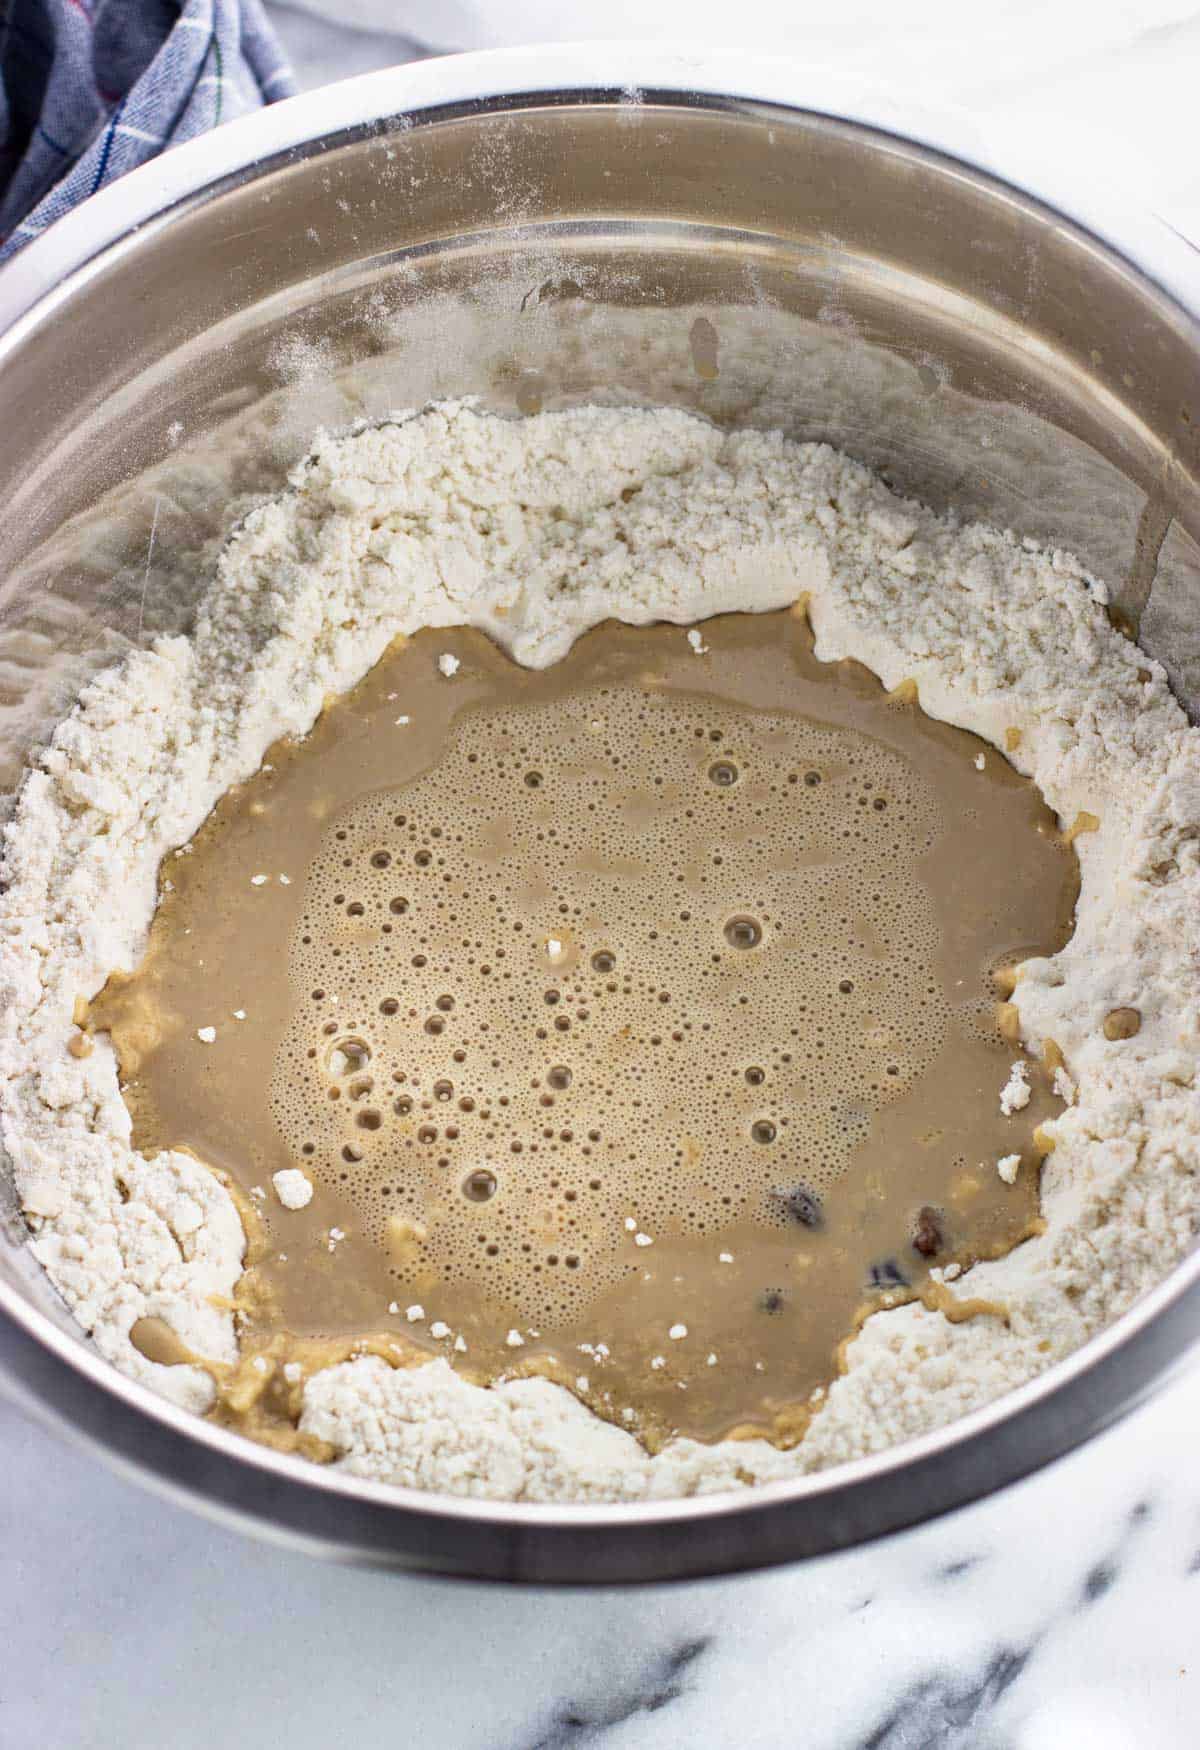
- Pour in the wet ingredients, then drain the raisins and add them as well.
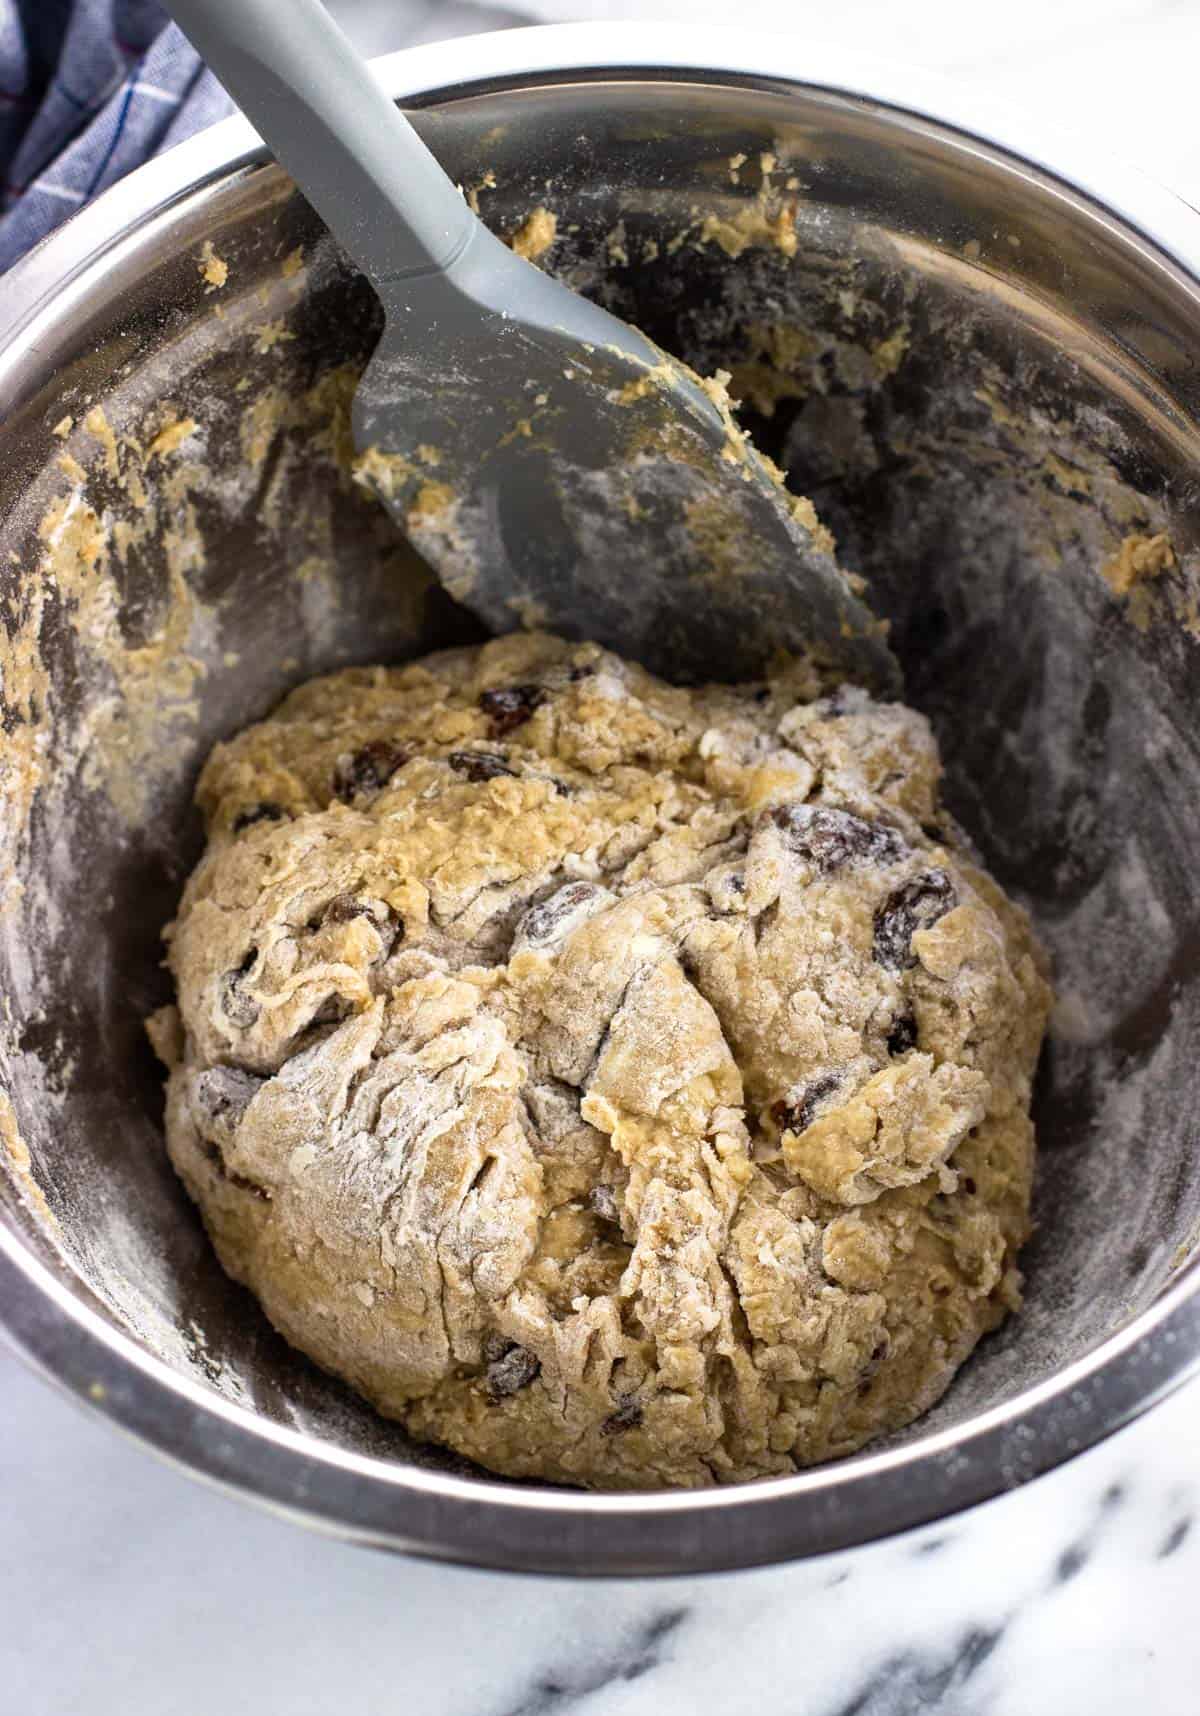
- Combine the wet and dry ingredients by hand with a spatula or spoon, mixing until the flour has just about all worked in. This will not be a smooth dough, rather it's pretty rough, shaggy, and lumpy.
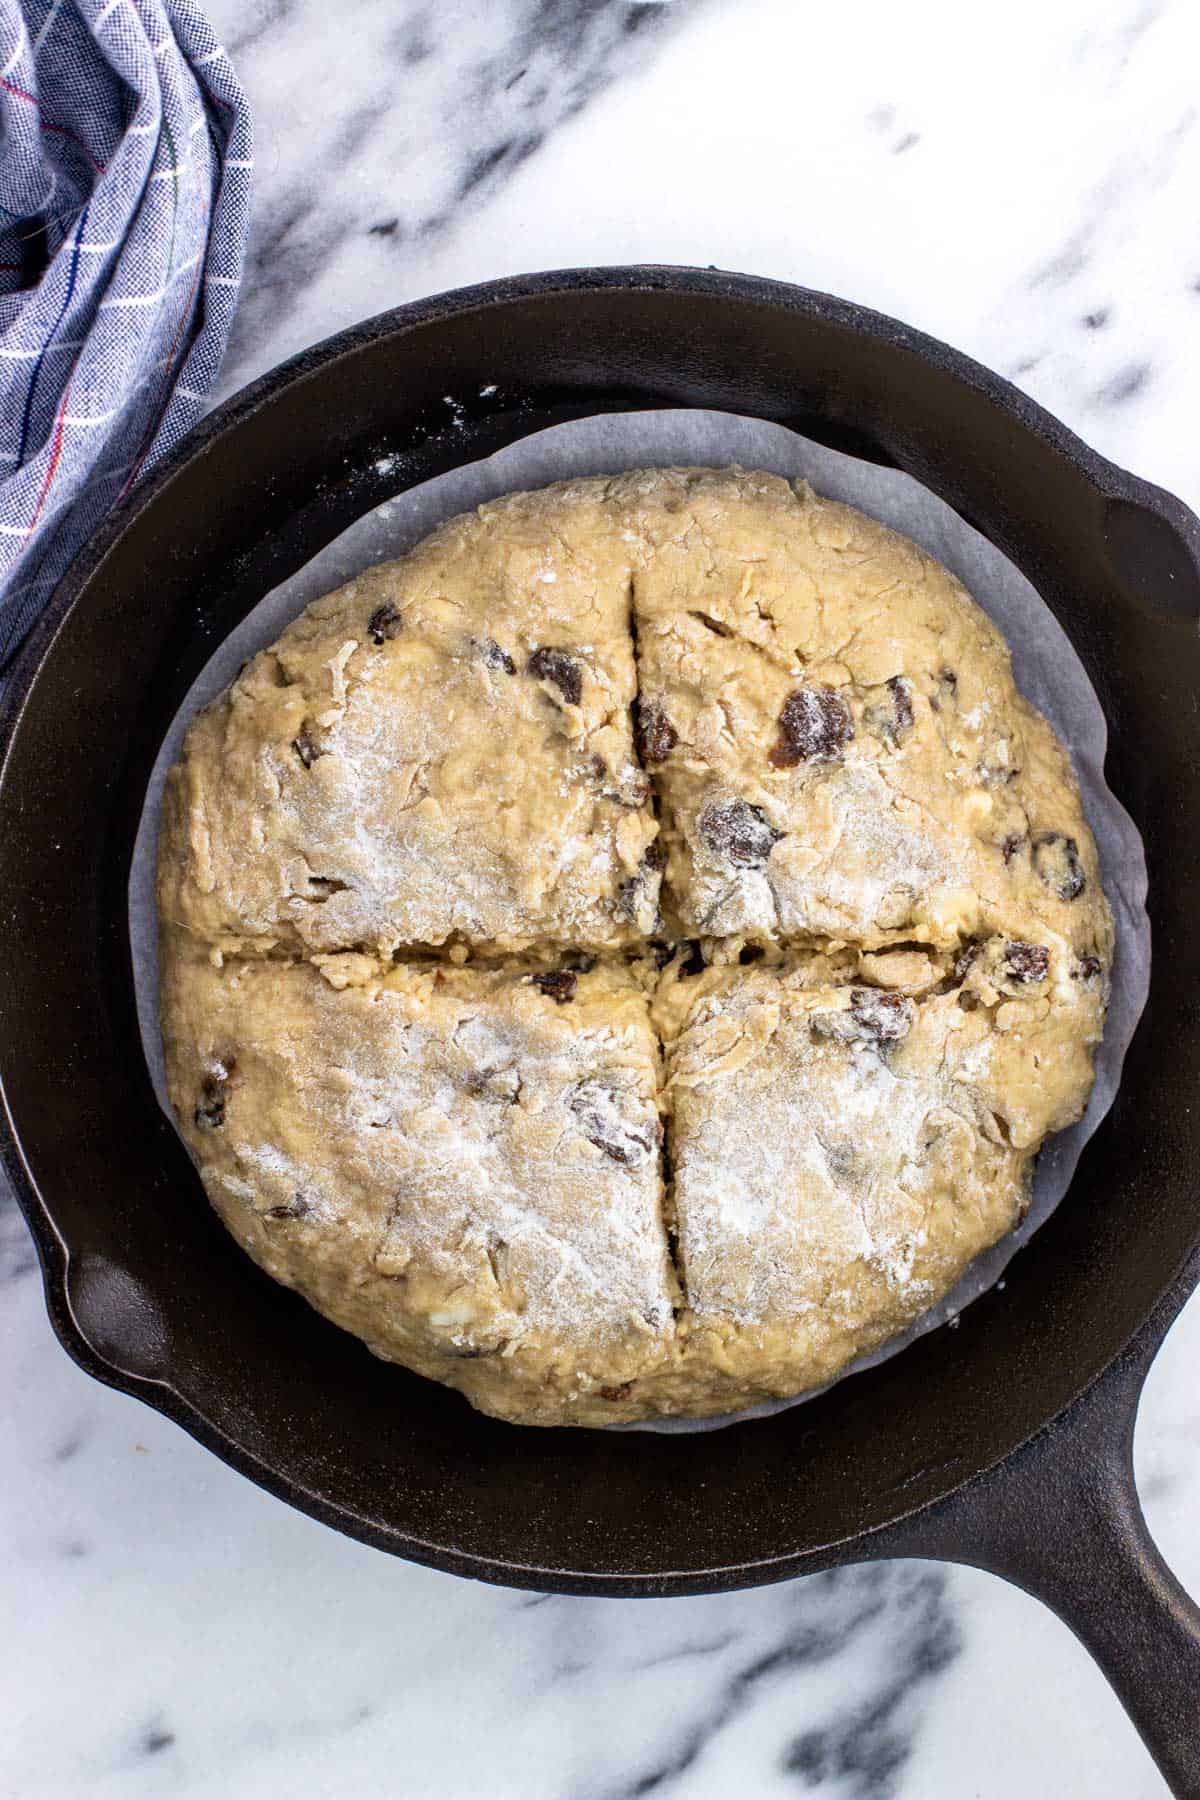
- Use the spatula to lift up the ball of dough and hold it in your hands. Lightly move it back and forth to form a rounder ball, work in some of the excess surface flour, and smooth out some of the bigger cracks. Add a tiny bit of extra flour during this time if needed. Add the ball of dough to the prepared pan and cut an "X" into the top surface.
- Bake for 35-40 minutes or until the top is golden-brown and a tester comes out clean. Let it sit in the pan for 10 minutes, then transfer to a wire rack to cool down some.
Recipe Tips and Tricks
- Check to make sure your baking soda is active before baking this Irish soda bread as it's the only leavening ingredient here. Do this by placing a scoop of baking soda in a roomy bowl and then pouring a little drizzle of vinegar over top. It should start aggressively fizzing right away. If it doesn't, your baking soda has lost effectiveness and I recommend buying a new one for baking.
- Maple syrup will not work as a substitute for maple extract. The amount that would be necessary to provide a discernible flavor once baked would be far too much liquid and mess with the consistency.
- The more you handle this dough the stickier it becomes, with more and more flour becoming necessary in order to control it. More flour leads to a drier baked good, which is a common complaint about Irish soda bread. This is why I recommend skipping the kneading entirely and simply shaping it into a ball with your hands from the bowl.
- Slicing an "X" into the top of the Irish soda bread helps the center of the bread rise in the oven. Aim to slice it around a half-inch deep, carefully wiping the knife clean after each cut as the dough inside will be sticky.
- A smaller-size cast iron skillet fits this maple Irish soda bread perfectly. I bought an inexpensive 8-inch Lodge cast iron skillet (Amazon affiliate link) seven years ago and it has held up perfectly. Be careful to put handle-mitts on it when it's not in the oven to prevent you from burning your hands.
Related Recipes

Did you enjoy this recipe? I’d love for you to leave a star rating and a comment review in the recipe card below!
Maple Irish Soda Bread
Ingredients
For the Raisins:
- ½ cup (80g) raisins
- ½ cup (120 ml) hot or boiling water (or bourbon)
- 1 Tablespoon (12g) brown sugar
For the Dough:
- 2 cups (240g) all-purpose flour plus 1-2 Tablespoons more for handling, if needed
- 3 Tablespoons (36g) granulated sugar
- ½ teaspoon baking soda
- ¼ teaspoon salt
- ⅔ cup (160 ml) buttermilk (see note on DIY substitute)
- 1 large egg yolk
- 3 Tablespoons (42g) unsalted butter, chilled and cut into half-inch pieces
- 1 teaspoon maple extract
- ½ teaspoon vanilla extract
Instructions
- If you'll be making a homemade buttermilk substitute, start this first. Add two teaspoons of white vinegar to a measuring cup, then pour in the milk of your choice up to the ⅔-cup line. Let it sit for at least 10 minutes before adding it to the recipe as indicated. Skip this step if using straight-up regular buttermilk.
- Add raisins to a heat-safe cup or bowl, then pour water (or bourbon) over top. Stir in brown sugar until dissolved. Let the raisins sit while you prepare the rest of the recipe, making sure that all of the raisins are submerged.
- Preheat the oven to 400°F (204°C). Grease an 8" cast iron skillet or baking pan and set aside. The pan can also be lined with parchment paper.
- Whisk together 2 cups of flour, granulated sugar, baking soda, and salt in a mixing bowl for one minute. This ensures the baking soda is very well dispersed.
- In a separate bowl or large measuring cup, whisk together together the buttermilk, egg yolk, maple extract, and vanilla extract until evenly combined.
- Add the chilled butter pieces to the bowl of dry ingredients and cut into using a pastry blender (or your hands) until the butter is in pieces around the size of a pea.
- Make a well in the center of the flour mixture and pour in the combined wet ingredients. Drain the raisins and add them to the bowl, too.
- With a spatula or spoon combine the wet and dry ingredients, scooping the dry ingredients from the outer edge of the bowl into the center well. The dough will come together in a rough-looking ball with lumps and a shaggy consistency. Stir until the flour has just about all been absorbed - do not overmix as this will lead to a tougher texture.
- The dough will have formed a ball but will likely be very wet and sticky at this point. Gently work in additional flour as needed until the surface of the ball of dough looks to be able to lifted and held in your hands without major sticking. I add around 1 Tablespoon of flour at this point, potentially a sprinkle more.
- Use the spatula to lift the ball of dough into your floured hands. Transfer the dough back and forth between your hands to shape it into a rounder ball, lightly smoothing out any larger cracks or areas of excess flour in the process. Handle the dough as little as needed. Place the dough into center of the prepared skillet, then slice a half-inch deep "X" into the top with a sharp knife.
- Bake for 35-40 minutes, or until the bread is golden-brown, has a hollow sound when the surface is "knocked" and a tester comes out clean. If you want to get really in-depth, the center of the tallest point should register an internal temperature around 205°F. Place a handle-mitt on or wrap a dish towel around the handle of the cast iron pan once it's out of the oven to prevent you from grabbing the hot handle and burning yourself.
- Let the bread rest in the pan for 10 minutes, then carefully transfer to a wire rack to cool before slicing. Serve warm or at room temperature.
Notes
- Don't make this batter ahead of time, as baking soda's effectiveness diminishes the longer it sits after interacting with liquid. Bake this dough right after mixing it up.
- Irish soda bread dough is notoriously wet and sticky, so aim to handle it the least amount needed. Too much handling will require more flour to combat the growing stickiness, which runs the risk of producing a drier-than-ideal loaf.
- The dough is added to a cold skillet. I don't recommend pre-heating the cast iron skillet as that can form a too-tough crust on the bottom.
- Storage Instructions: Wrap cooled Irish soda bread snugly in plastic wrap, then transfer to an air-tight container and store at room temperature for up to several days. It can also be transferred to a freezer-safe container and frozen for 3 months, after which it may develop a staler taste.
- Reheating Instructions: Remove any plastic wrap there may be on the bread and wrap the loaf (or partial loaf) in aluminum foil. Bake in the center of a 350°F oven until just warmed throughout, 10-15 minutes.
Would you like to save this?
Plus receive periodic recipe newsletter emails.
Nutrition
Nutritional information is provided as an estimate. As it can vary due to many factors (brands used, quantities, etc.), we cannot guarantee its accuracy.
Food Safety and Nutrition DisclaimerNote: This recipe has been adapted from King Arthur. It has also been updated in 2022 from its initial publish date with slight changes to the recipe, though a very similar and tender result. A photo of the original recipe is featured below if you are returning to this post via Pinterest or a bookmarked link.
Sherr says
This was delicious. As recommended, paired it with the Guiness Beef Stew. Great flavors together. I did use the optional bourbon soak and that was fantastic. Also switched the raisins for currants since I like the texture and flavor a bit better. Otherwise made exactly as posted including benefiting from the helpful tips on testing the baking soda and handling the dough! Thanks for sharing.
Alyssa says
I'm so happy you loved this bread! Great idea to use currants here. Thank you for sharing your thoughts!
Alyssa says
Thanks Jess! 🙂
Cailee says
How cute and fun!! These look amazingly delicious not to mention the fact that they are totally adorable! Great recipe! 🙂 Love it!!
Alyssa says
Thanks Cailee! I'm a sucker for holiday-inspired treats...I had to make these shamrock-shaped! 🙂