
Stabilized whipped cream makes a big difference in pies, trifles, and many more desserts with whipped cream. A quick and easy extra step helps ensure leftover portions of whipped cream stay fluffy for days.
Stabilized whipped cream barely counts as a recipe, but it's a real game-changer as far as homemade whipped cream goes. It extends its longevity for days.
Homemade whipped cream is a special treat on sweets like pie and in trifles, but tends to lose its 'fluff' the longer it's been since it was made. Because desserts like trifles and no-bake cakes can be large-yield recipes, who wants leftover servings to be bogged down by weepy, deflated whipped cream?
Definitely not me. All that time and effort layering ingredients in a pretty way should be enjoyed and appreciated to its fullest. And no one's wasting dessert on my watch. 🙂
Recipe Ingredients

- Heavy Whipping Cream: This has a minimum fat percentage of 36%. Whipping cream (not labeled 'heavy') is a level below at 30-36%, Since it's the cream's fat content that causes it to thicken and fluff up, generally speaking the higher the better.
- Gelatin: Dissolving gelatin in water and slowly incorporating it into the cream is the secret to stabilized whipped cream. This helps maintain perfect whipped cream structure for days. Choose unflavored for standard whipped cream, though it would be fun to experiment with flavors.
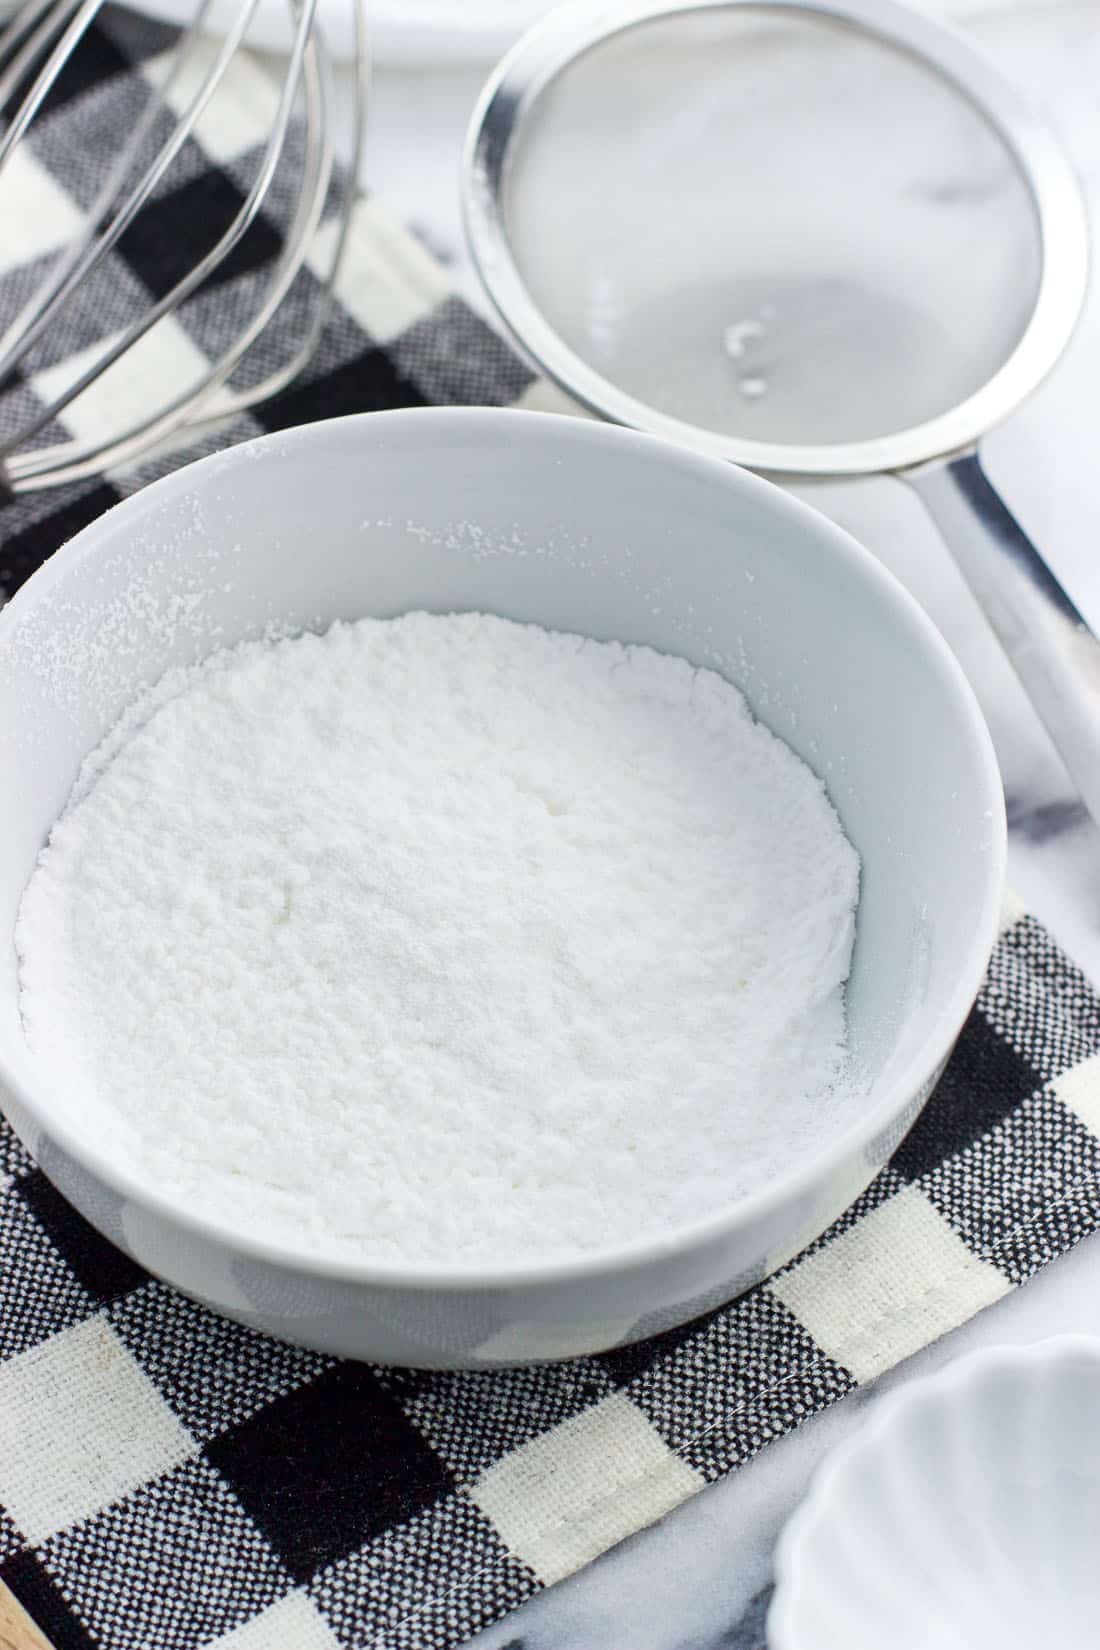
- Confectioners' Sugar: Powdered sugar has much finer granules than granulated sugar and more easily works into the cream to provide sweetness without being gritty. Sift it to eliminate any lumps.
- Vanilla Extract: While not entirely necessary in order for cream to whip, it adds a delicious dessert-like flavor to whipped cream.
How to Make Stabilized Whipped Cream
- Sift the confectioners' sugar through a fine mesh sieve. I like to do this separately at the beginning into a bowl instead of sifting it into the cream as it takes too long that way.
- Sprinkle the gelatin over top of the water in a small saucepan. It'll look grainy and lumpy, but that's okay.
- Put the pan on the stovetop over low heat for just a few minutes, which will liquify everything into a smooth, thin mixture. Since coldness is important for making whipped cream, let this liquified gelatin mixture sit for a few minutes to cool down some before continuing.
Tip: You can also gently heat the water to dissolve the gelatin in a heat-safe bowl in the microwave.

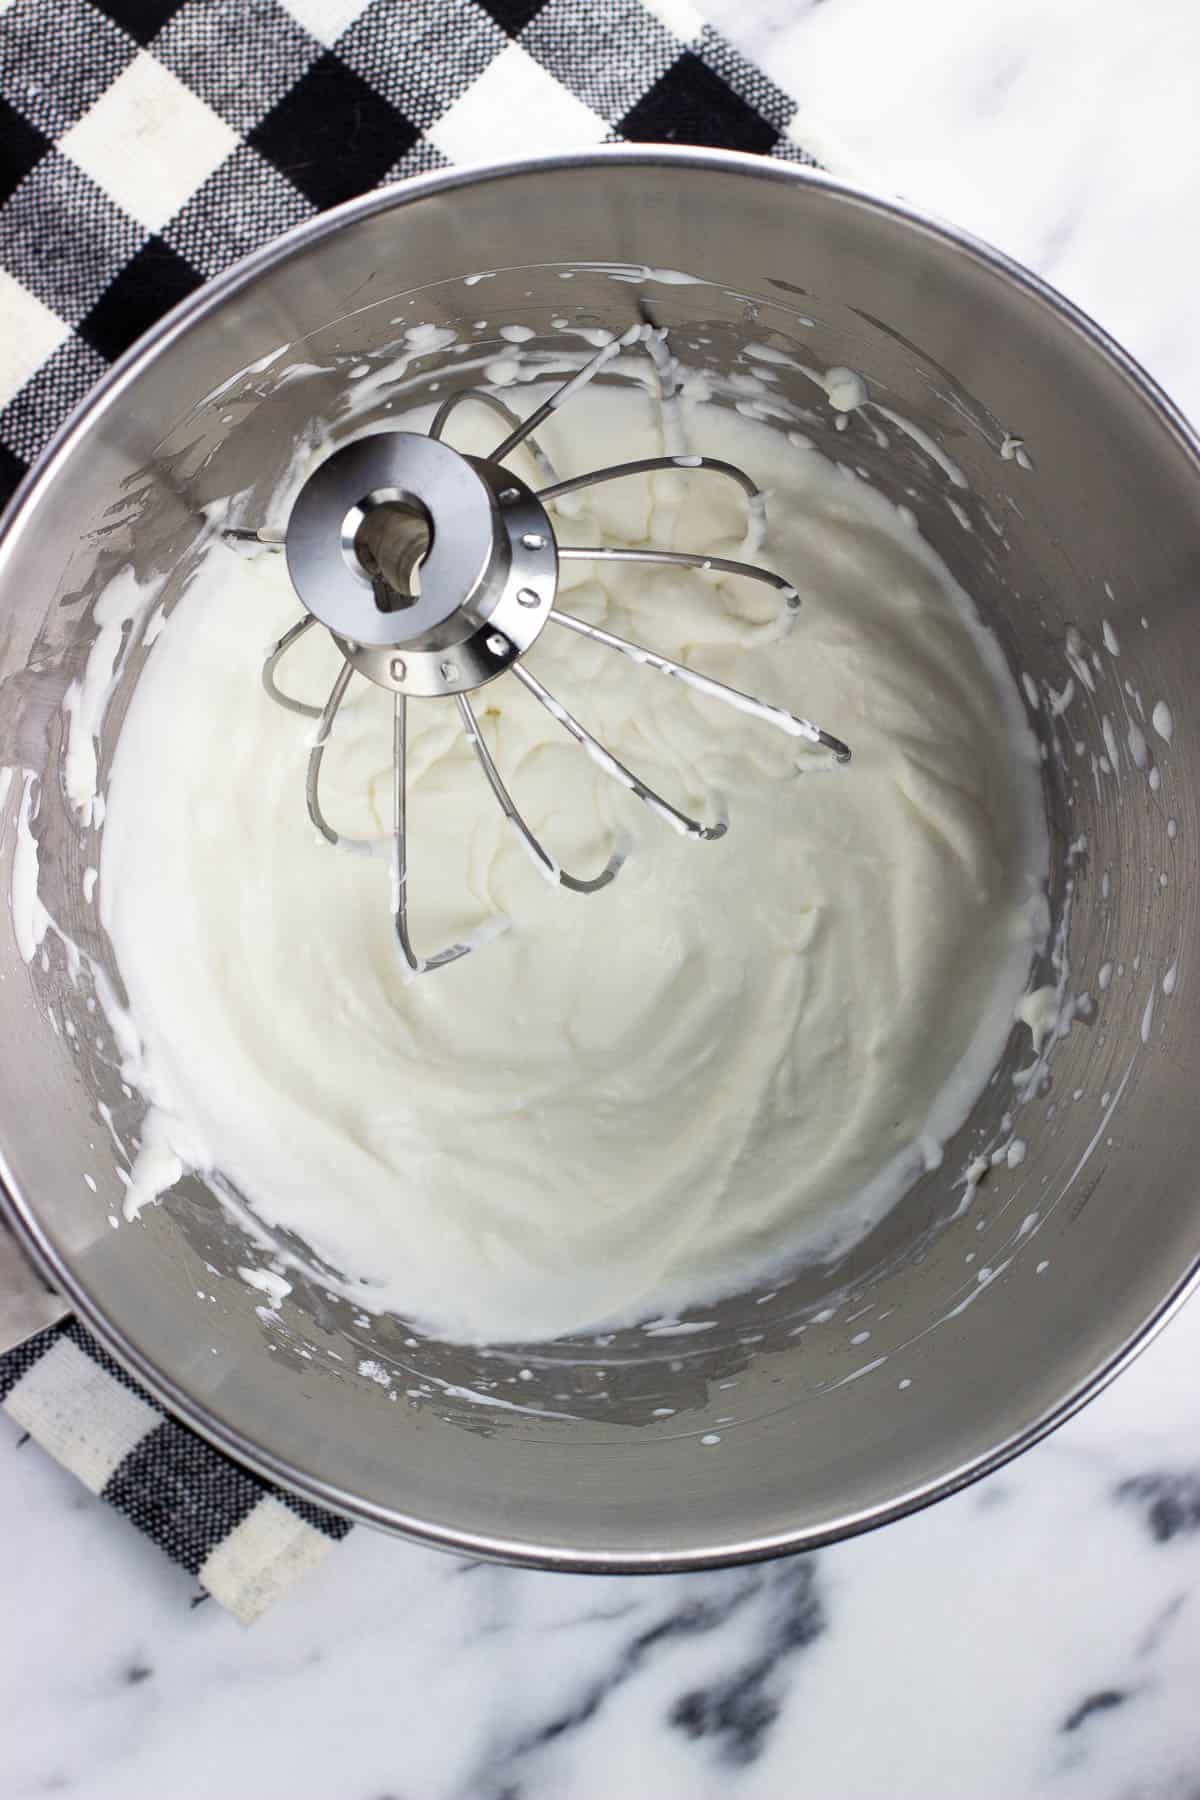
- Pour chilled cream into the bowl of a stand mixer and add the sifted powdered sugar and vanilla extract. Beat on high speed until soft peaks are beginning to form.
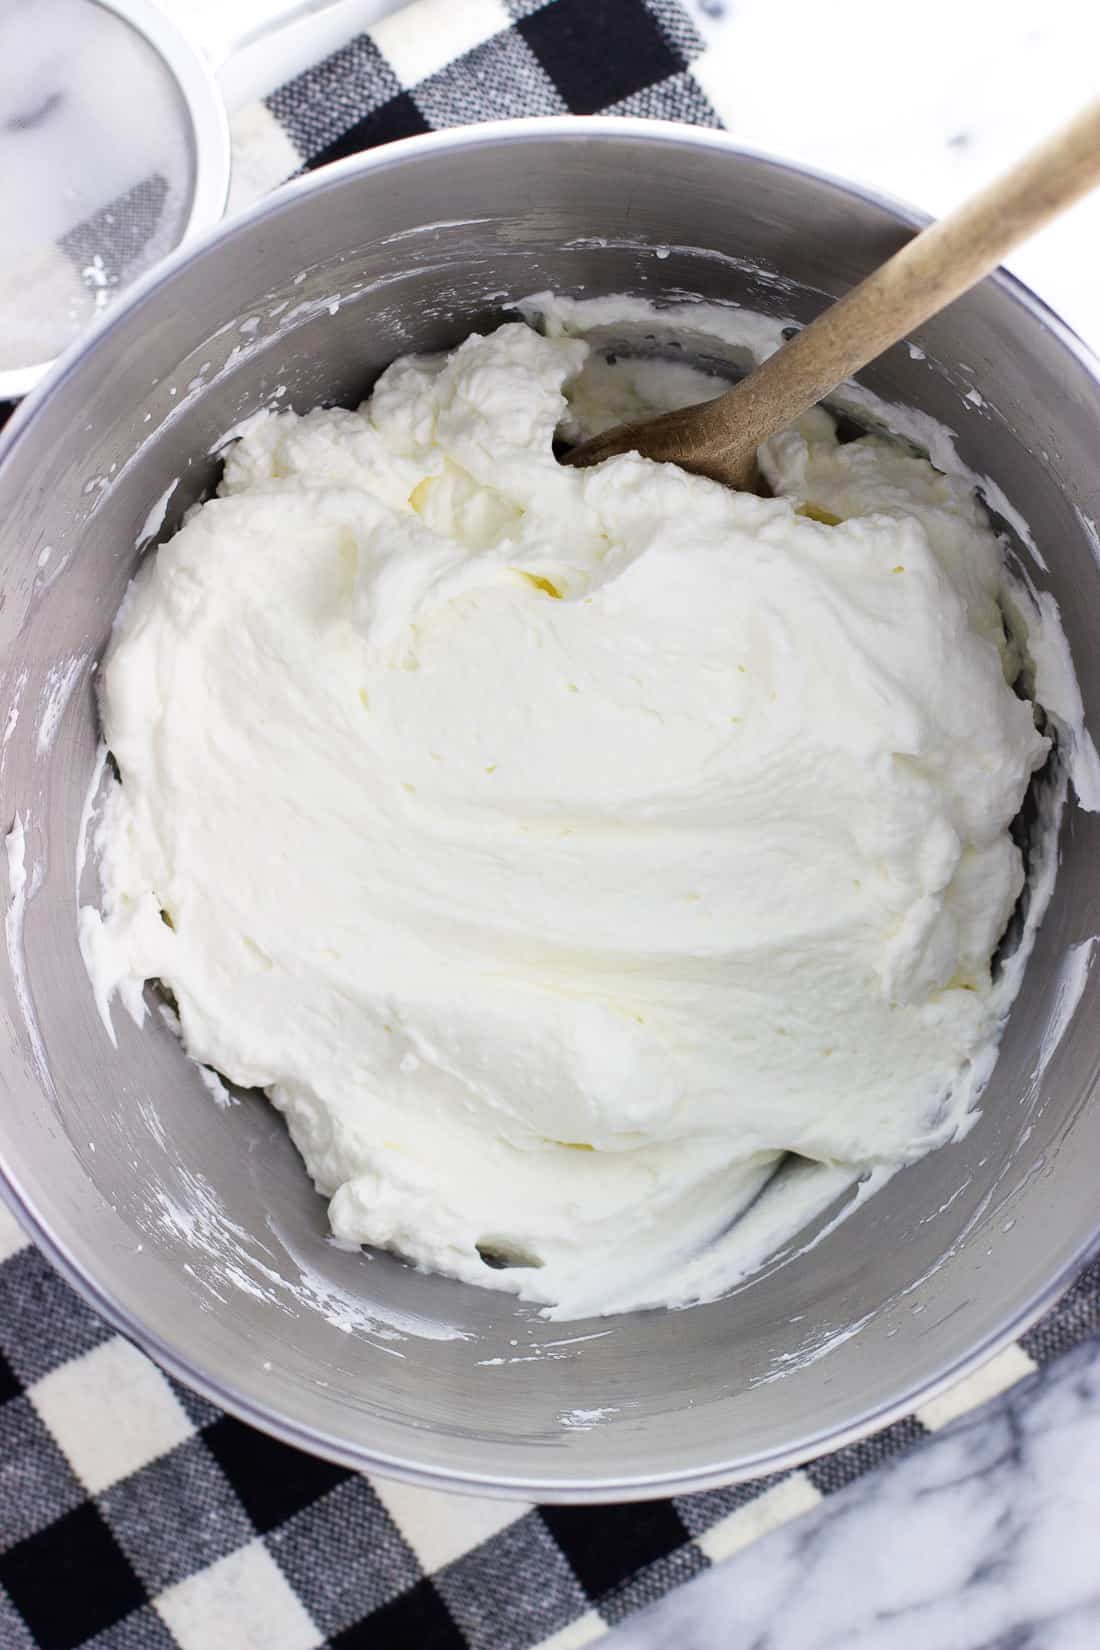
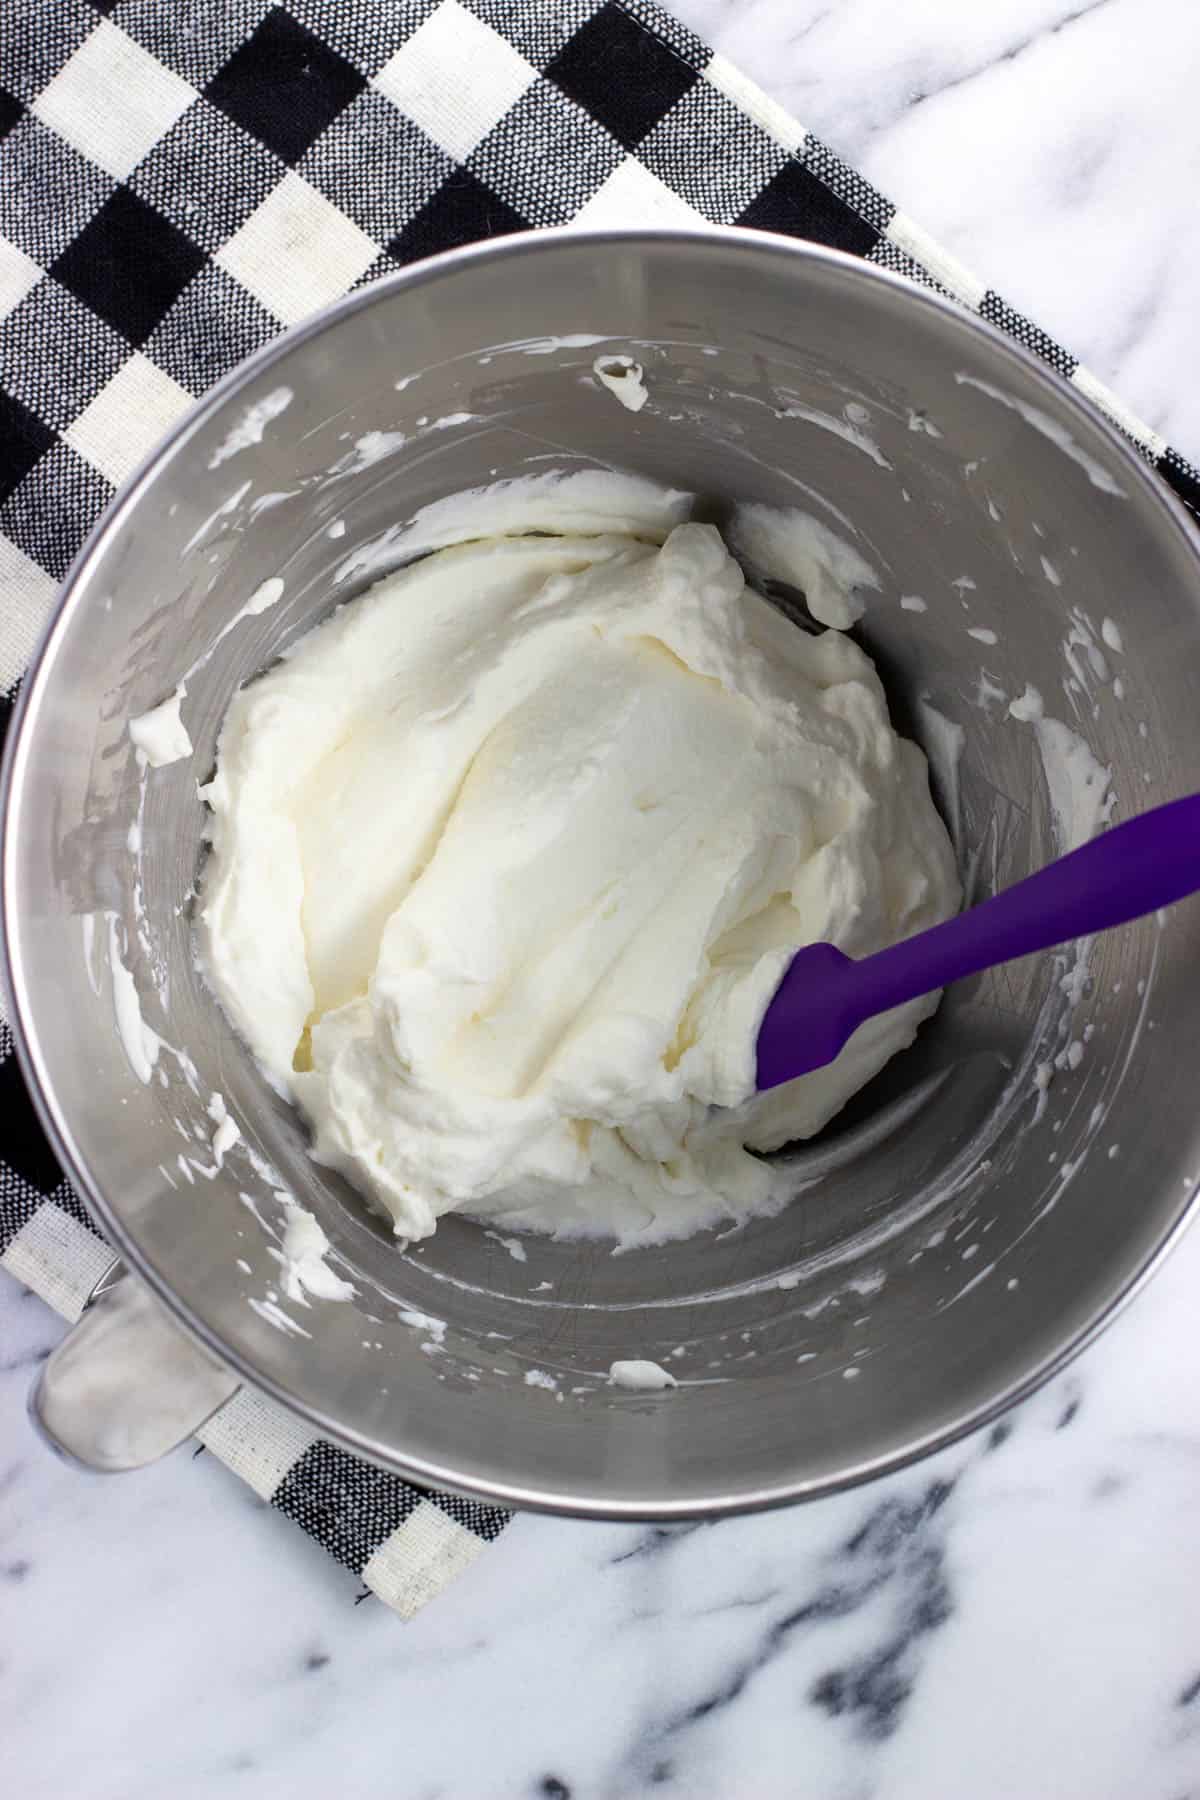
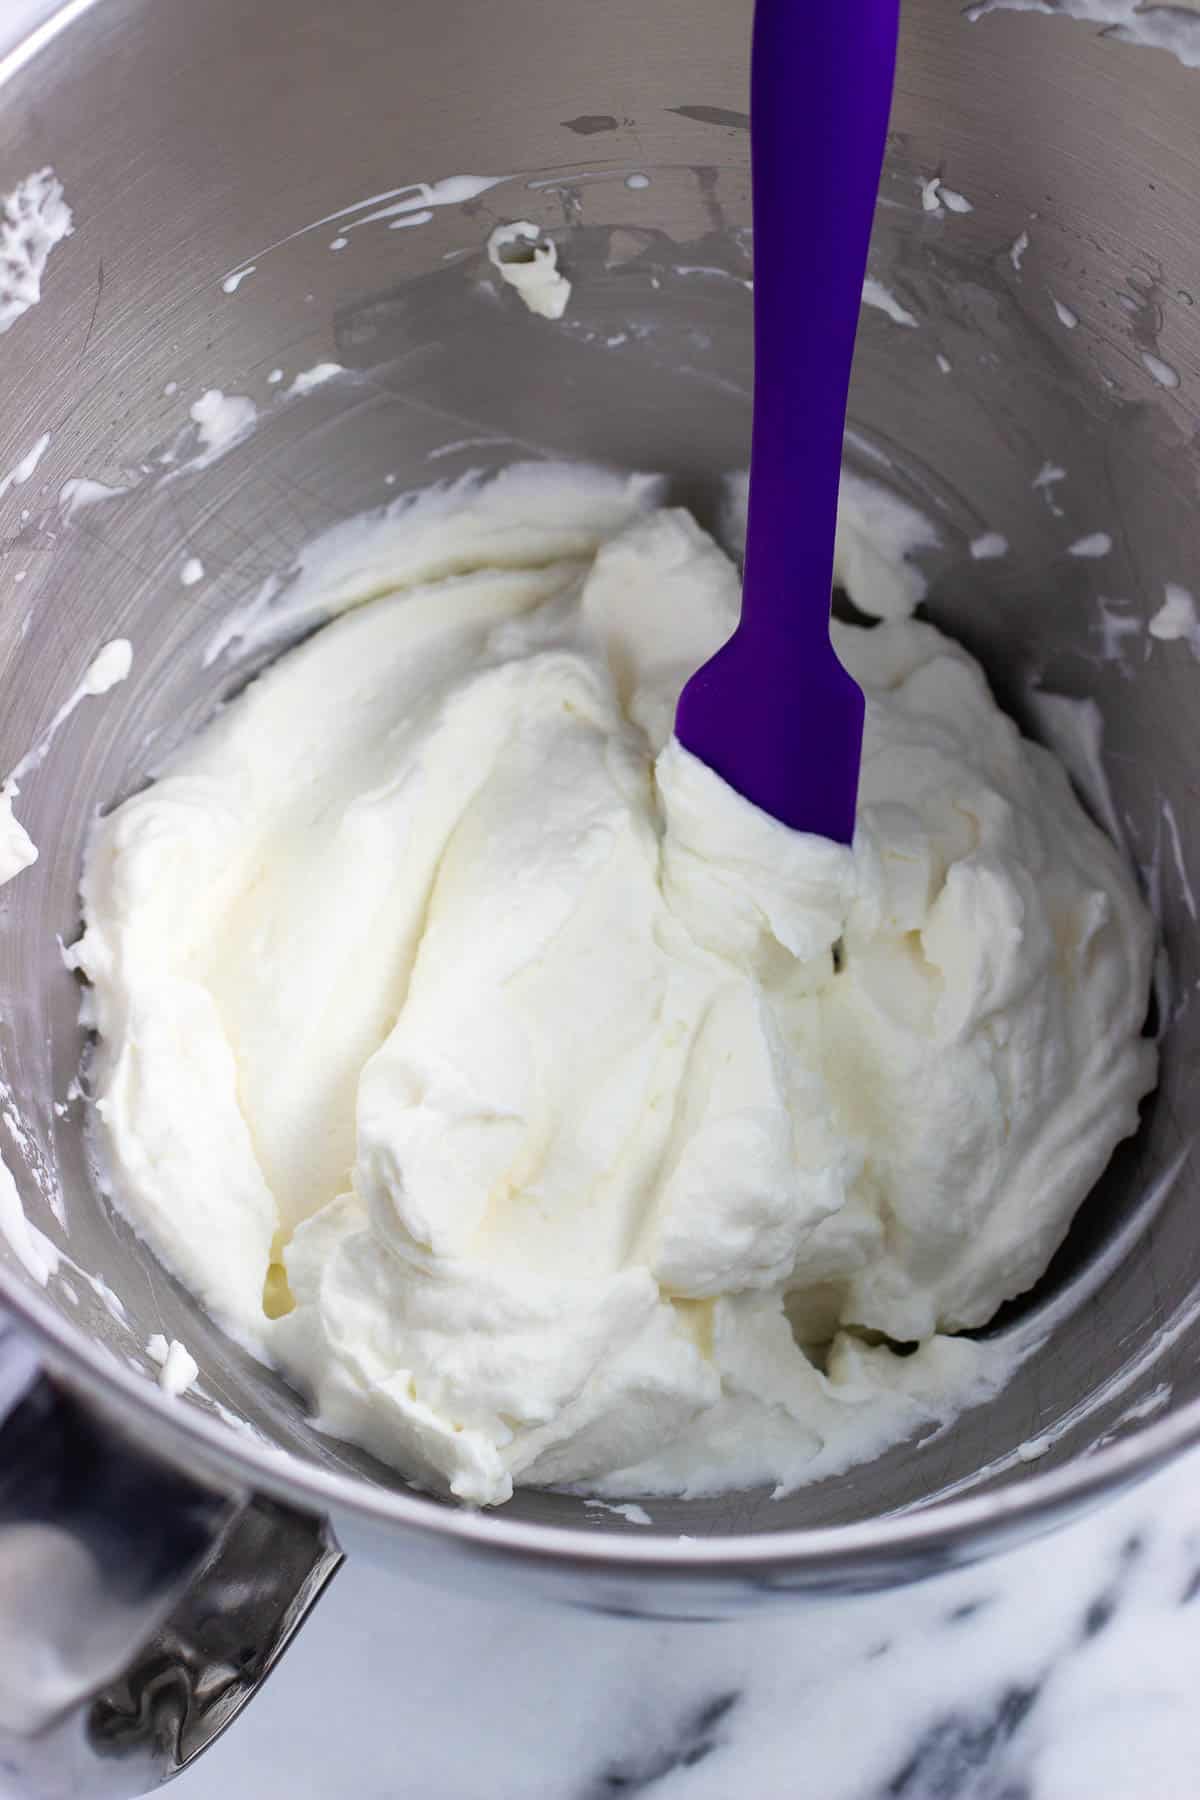
- Reduce speed to medium and slowly drizzle in the gelatin/water mixture. Continue to beat until stiff peaks form and the stabilized whipped cream is as fluffy as you like it.
Recipe Tips and Tricks
- Cold Cream and Tools - Cream whips up most effectively when it's as cold as possible. Keep your cream in the fridge right up until you'll be using it, and it doesn't hurt to stick your metal mixing bowl and mixer attachment in the fridge or freezer for a brief time to ensure they're well-chilled, too.
- Smooth Gelatin - Make sure the gelatin/water is still liquid when you pour it into the whipped cream. If it has begun to thicken up, briefly set it back on the stovetop (or give it a quick burst in the microwave) until just liquefied again.
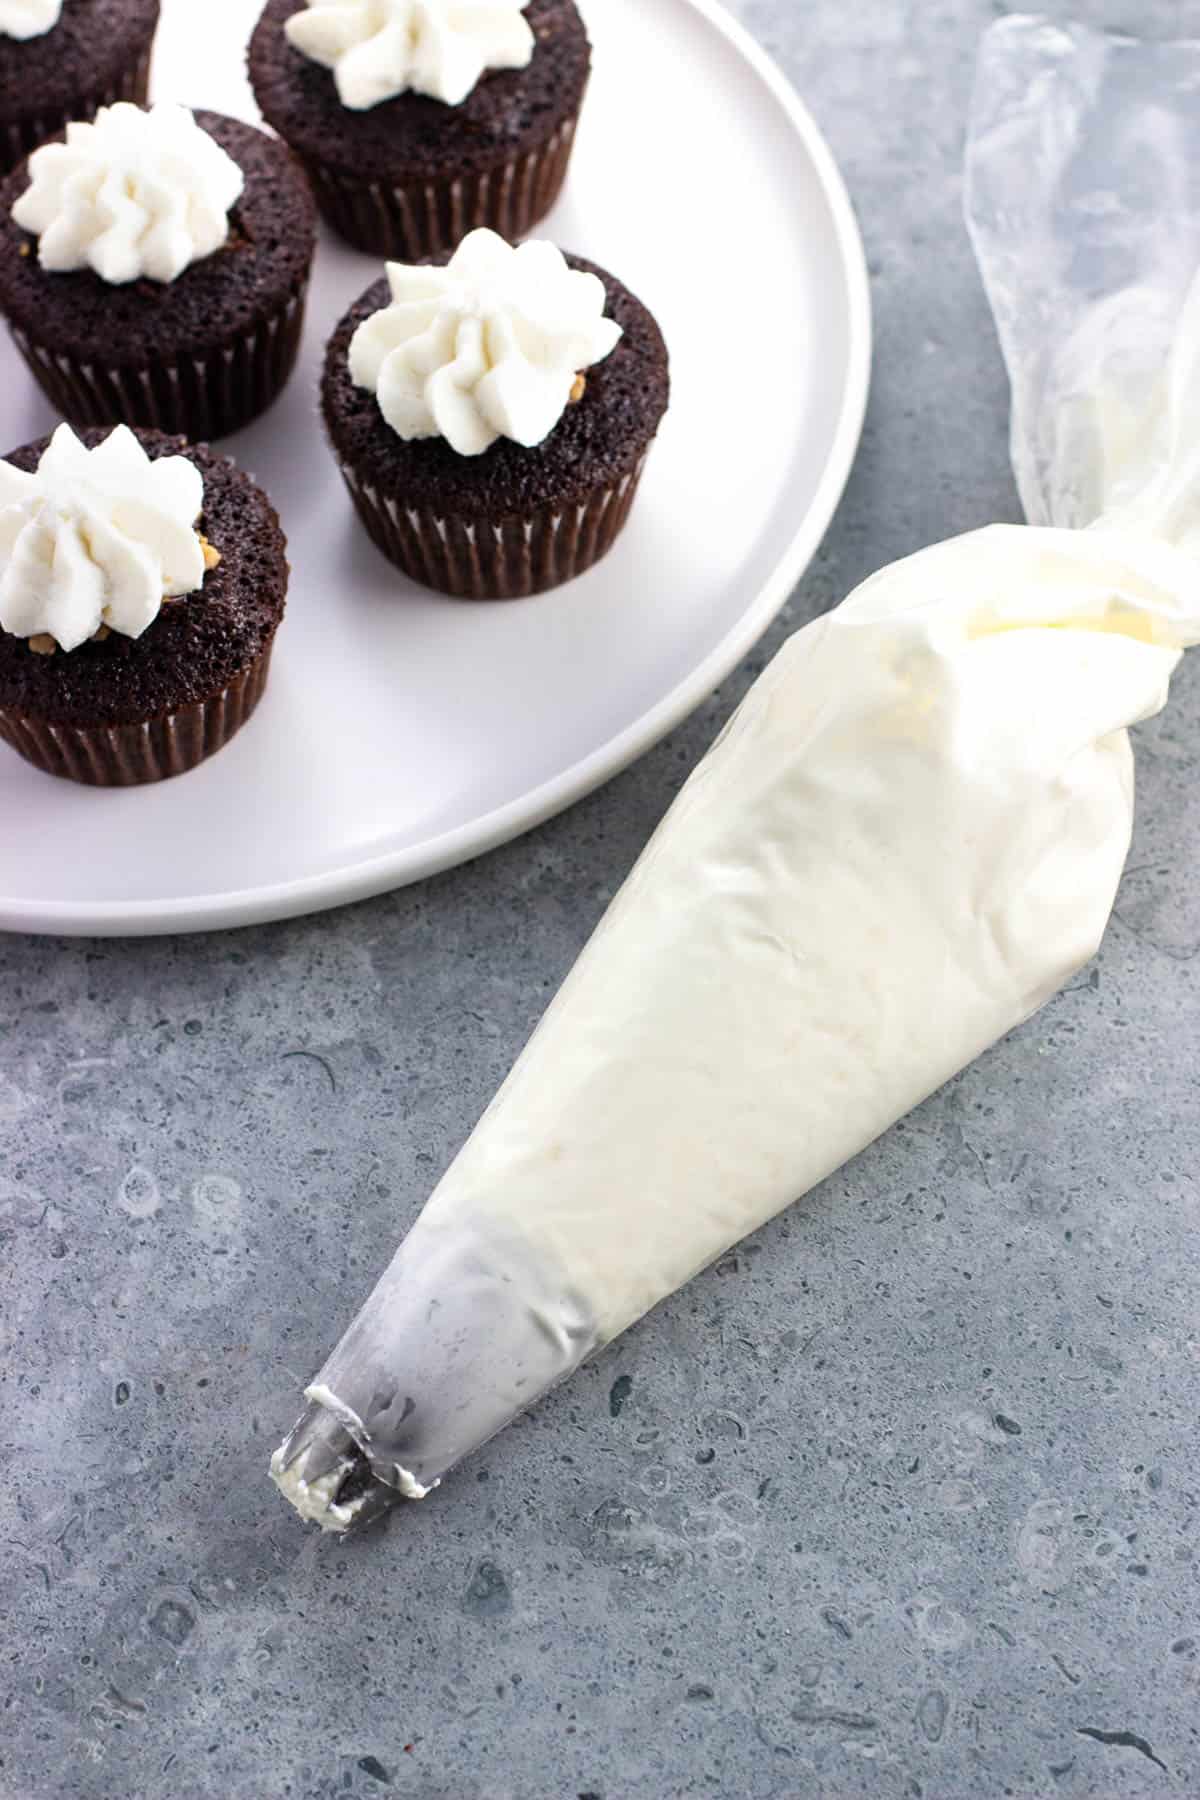
- Serve Now or Later - Once you've whipped the cream, it's ready to be piped onto your favorite desserts or can be stored in the refrigerator until ready to use.
- Consider Your Audience - Gelatin is animal-derived/made from collagen, so do keep your crowd in mind if you'll be serving dessert to vegetarians. Whipped cream isn't necessarily an ingredient vegetarians might think to ask about. I know they make vegan gelatin alternatives, but I haven't used them and don't know how they'd do in whipped cream.
Recipe FAQs
Heavy cream (minimum 36% milkfat) will be your best option for whipped cream as fat gives the cream structure to reach stiff peaks when whipped. Plain whipping cream (30-36%) will do in a pinch, especially with gelatin giving it a boost, but might not be as fluffy. Milk of any kind, even whole milk (3.25%), is not a good option.
Whipped cream, especially stabilized whipped cream with gelatin, freezes surprisingly well! Pipe dollops of it onto a parchment-paper lined sheet pan and freeze until firm, then transfer to an air-tight container or freezer zip-top bag and freeze. Add dollops to hot beverages, warm pie, or your dessert of choice (it may require a few minutes to thaw).
Yes. I use instant pudding mix to stabilize and flavor the whipped cream in my flag ice cream cake. Instant pudding mix does not contain gelatin, rather it relies on starches to thicken and hold shape. It lasts well when refrigerated or frozen.
Ways to Use Stabilized Whipped Cream
Now that you have a big batch of whipped cream, why don't you try it out in a few dessert recipes? Stabilized whipped cream really shines in trifles, as it holds its own when layered between cookies, cakes, and puddings. The last scoop left will be as good as the very first one!
Whether you're a chocolate or vanilla lover or prefer brownies over cake (or vice versa!), one of these four trifle recipes is sure to hit the spot. When made with stabilized whipped cream, I can vouch that leftovers will stay in the fridge for days.
- Chocolate Toffee Fudge Trifle
- Salted Caramel Brownie Trifle
- Mint Chocolate Brownie Pudding Trifle
- Pound Cake Trifle
Note: Extra photos were added to this post in July 2023 from its initial publish date in 2019. The recipe was also halved.

Did you enjoy this recipe? I’d love for you to leave a star rating and a comment review in the recipe card below!
Stabilized Whipped Cream
Ingredients
- 1 ½ Tablespoons cold water
- 1 teaspoon unflavored gelatin dry
- 1 cup heavy whipping cream
- ¼ cup confectioners' sugar sifted
- ¾ teaspoon vanilla extract
Instructions
- Spoon confectioners' sugar into a measuring cup, then level it off. Sift the sugar into a bowl and set it aside for now.
- Add water to a small saucepan (or heat-safe bowl) and sprinkle gelatin over top. Wait a few minutes to allow the mixture to thicken up.
- Set the saucepan on the stove over low heat for just a minute or two, or until the gelatin dissolves. Once dissolved, remove the saucepan from the heat to let the mixture cool slightly for a few minutes. This can also be done in 5-10 second bursts in the microwave.
- Add the cream, sifted confectioners' sugar, and vanilla extract to the bowl of a stand mixer and beat at high speed until the cream begins to thicken and soft peaks are just beginning to form.
- Check on the gelatin mixture - if it is no longer smooth, briefly place the saucepan back on low heat or give the bowl a brief spin in the microwave in order to fully liquefy it again. Then reduce the mixer speed to medium-low and slowly pour in the slightly-cooled gelatin mixture. Increase mixer speed back to high and whip until whipped cream is fluffy and stiff peaks have formed.
- The stabilized whipped cream is ready to pipe or serve immediately, or can be refrigerated for a day (or longer!) until ready to use.
Notes
- Reduce the confectioners' sugar if you'd prefer a less sweet whipped cream.
- Sift the confectioners' sugar after it has been measured.
- Cream doubles in volume once whipped, so this recipe as-written will yield roughly two cups of whipped cream.
Would you like to save this?
Plus receive periodic recipe newsletter emails.
Nutrition
Nutritional information is provided as an estimate. As it can vary due to many factors (brands used, quantities, etc.), we cannot guarantee its accuracy.
Food Safety and Nutrition Disclaimer
Paula says
I have made stabilized whipped cream many times, using one recipe. However, I couldn’t locate it and decided to try yours. I had the same result as Jennifer, noted above, thick strands mixed in the whipped cream. I used the mixture right away, piping it in a Paris-Brest. Not sure why this occurred, but will go back to searching for the recipe I misplaced as that was foolproof.
Alyssa says
Hi Paula, I'm sorry this recipe did not work for you. I have never had this happen so I'm unsure what caused the strands you mention. Thanks for sharing your experience with it.
Nathan Z says
Would this work if you are using an ISI cream whipper?
Alyssa says
Hi Nathan, I have never used one so I couldn't say for sure. Please let me know if you give it a shot!
Jennifer says
Hello.. I have tried using gelatin and I keep running into an issue.. after sitting over night in the fridge when I got to pipe there are tick string like gelatin that forms within the whip cream. Any thoughts as to why? I have moved on to trying to find something else. it is so frustrating. Any opinion on that would be great! Thank you!
Alyssa says
Hi Jennifer, hmm I haven't experienced that issue before. Is the gelatin dissolved fully in the hot water before being added to the whipped cream? Also perhaps the gelatin/water mixture could have thickened up too much as it was cooling and caused the texture issue?
Teri says
I plan on making a Whoopie Chocolate Cake for the week end, I would love to use this Stabilized whip cream rather than Marshmallow cream, would your recipe work just as well? I keep Heavy Whipping Cream on hand and will be using it, I also use this cream for my 2 ingredient wonderful biscuit mix that I make often.
Alyssa says
Hi Teri, so sorry for the delay in my reply! I haven't used this stabilized whipped cream in a recipe quite like that so I couldn't say for sure. Is it a cake like a giant chocolate whoopie pie? Yum! My concern would be that it might not be strong enough to hold up a whole cake layer while still maintaining a thick layer of the cream to be visible from the sides. I'm sure it would be delicious, but it might not be structured enough to be picture perfect. I'm sorry that I'm not more helpful!
Marcia says
Thanks for this helpful way to stabilize whipped cream. For years I have used WhipIt and it is hard to find nowadays. I knew if I googled I would find a way! I am greatful beyond words’.
Alyssa says
You're very welcome! Glad it's helpful. 🙂
Mary says
If I double the recipe I need to double the gelatin correct?
Alyssa says
Hi Mary, I haven't doubled this recipe before so I can't say for sure, but I would. If you're using loose gelatin (and not in packets) you can probably get away with using 4 teaspoons.
Christina says
I use it when I make cheesecakes and it makes a wonderful topping that doesn’t melt.
Alyssa says
That sounds like a great use, Christina! Love cheesecake.
Marjory says
Worked like a charm! I use this to combine with cream cheese for a no-bake stuffing for strawberries. So good!
Noelle says
This recipe was so easy and it turned out perfect!! Keeping this one for a long time
Liss says
Turned out wonderfully
Alyssa says
Glad you liked it! 🙂
Beverly S says
Can I use this adding amaretto, for a chocolate amaretto cake or would that be too much amaretto.
Alyssa says
Hi Beverly, hmmm I'm really not sure. You could start with adding just a little and take a taste? It's always easier to add more than to have to bump up the other ingredients to dilute. That cake sounds delicious, though!
Allynne says
Perfect whipped cream!
Alyssa says
So glad you liked it!
Diane says
Would this work without sugar? Appreciate the recipe!
Alyssa says
Hi Diane, it will work just fine without it! 🙂