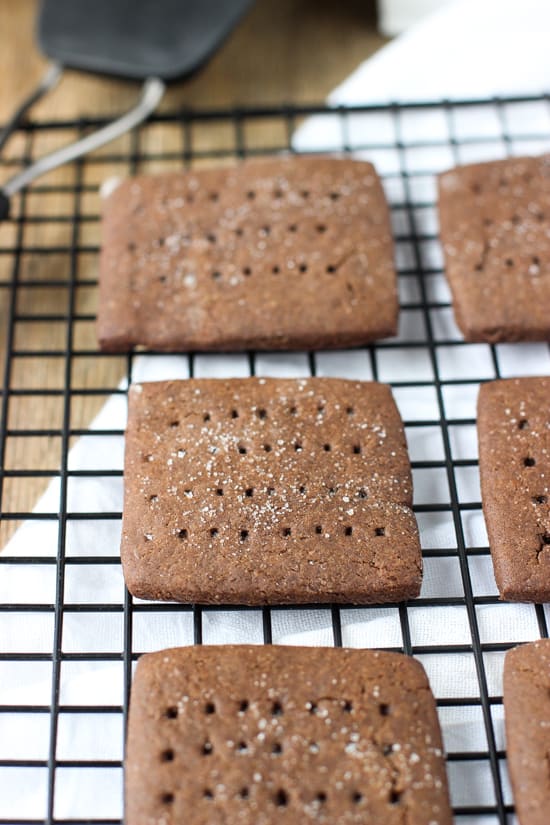
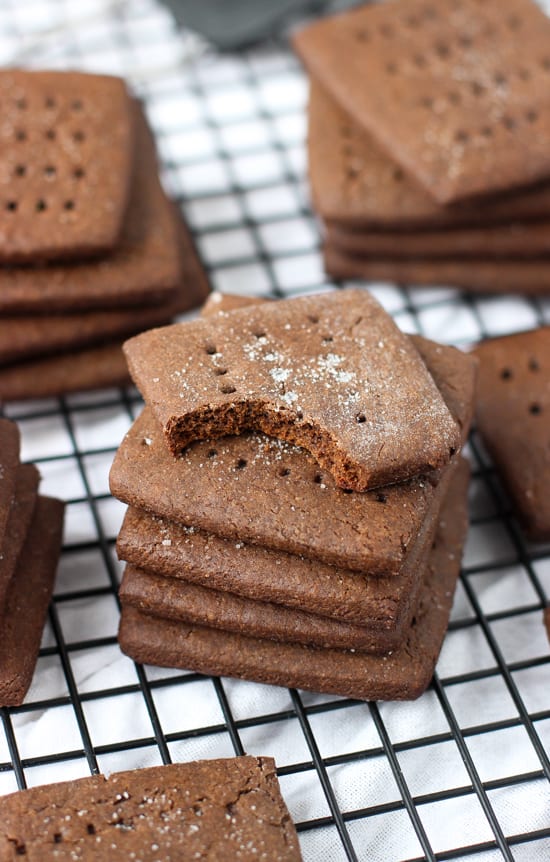
This recipe for chocolate graham crackers features a deep, ultra chocolate-y flavor and classic sugar-dusted tops, just like the store-bought version. This homemade version is a little thicker and just a little bit softer than their inspiration, making them an even better treat!
When I lived in San Diego, one item our grocery store never seemed to stock (well, besides ziti) was chocolate graham crackers.
What's with that? They're delicious just on their own, and crushed to form the crust of my family recipe sour cream cheesecake? Sublime. So I decided to take matters into my own hands and make my own!
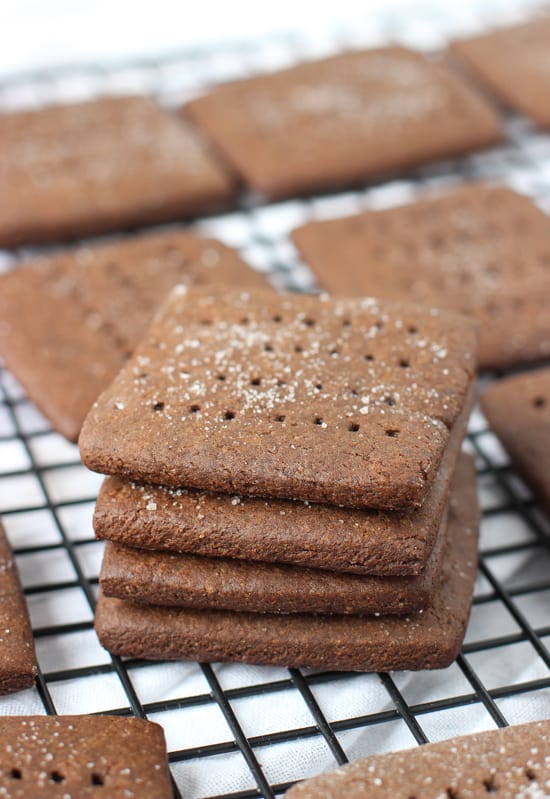
These homemade chocolate graham crackers are crisp to bite into, but are a little softer and thicker than their store-bought counterparts. That just means you'll make less crumbs. 🙂
But what's the same is that they have that deep chocolate-y flavor you're expecting. And while it does nothing for the taste, I pressed the tines of a fork into their tops to make those quintessential dotted line rows that grahams have. Dusting the tops with granulated sugar also do the trick to make them look more authentic.
Recipe ingredients
Besides the basic ingredients used here, this recipe is a great one to make when you're in the mood for a homemade chocolatey cookie, cracker, or biscuit and don't have any eggs, because none are needed here.
Let's talk about the flour. Traditional graham crackers use graham flour, which is a type of coarsely-ground whole wheat flour, to give them an extra hearty flavor. I'm not a graham purist because I enjoy using entirely all-purpose flour here and don't find any thing to be lacking. The chocolate flavor takes over the flavor here when compared with regular graham crackers so any taste difference from the flour is not on the forefront.
That said, if you'd like to lean more traditional, this recipe always works if you substitute in up to half of the flour with whole wheat or white whole wheat. See below for my tips on measuring flour correctly!
For a (small) bit of leavening, this recipe uses baking soda. Baking soda requires an acidic ingredient in order to react, and the unsweetened cocoa powder is its slightly-acidic pairing here. Note that I use a "natural" cocoa powder and not "dutch-process" cocoa, which per Cook's Illustrated, has been neutralized and wouldn't work to activate the baking soda.
Rounding out the ingredient we also have chilled and cubed unsalted butter, granulated sugar, salt, your preferred variety of milk, and vanilla extract.
Recipe method
First whisk together the dry ingredients, including the flour(s), cocoa powder, baking soda, and salt. Then cut in the chilled butter pieces using a pastry blender, two forks, or even your fingers. Break the butter up until it's in crumbly small pieces. The mixture won't be uniformly smooth. Much like with a pie crust, the small pieces of butter help form flakiness.
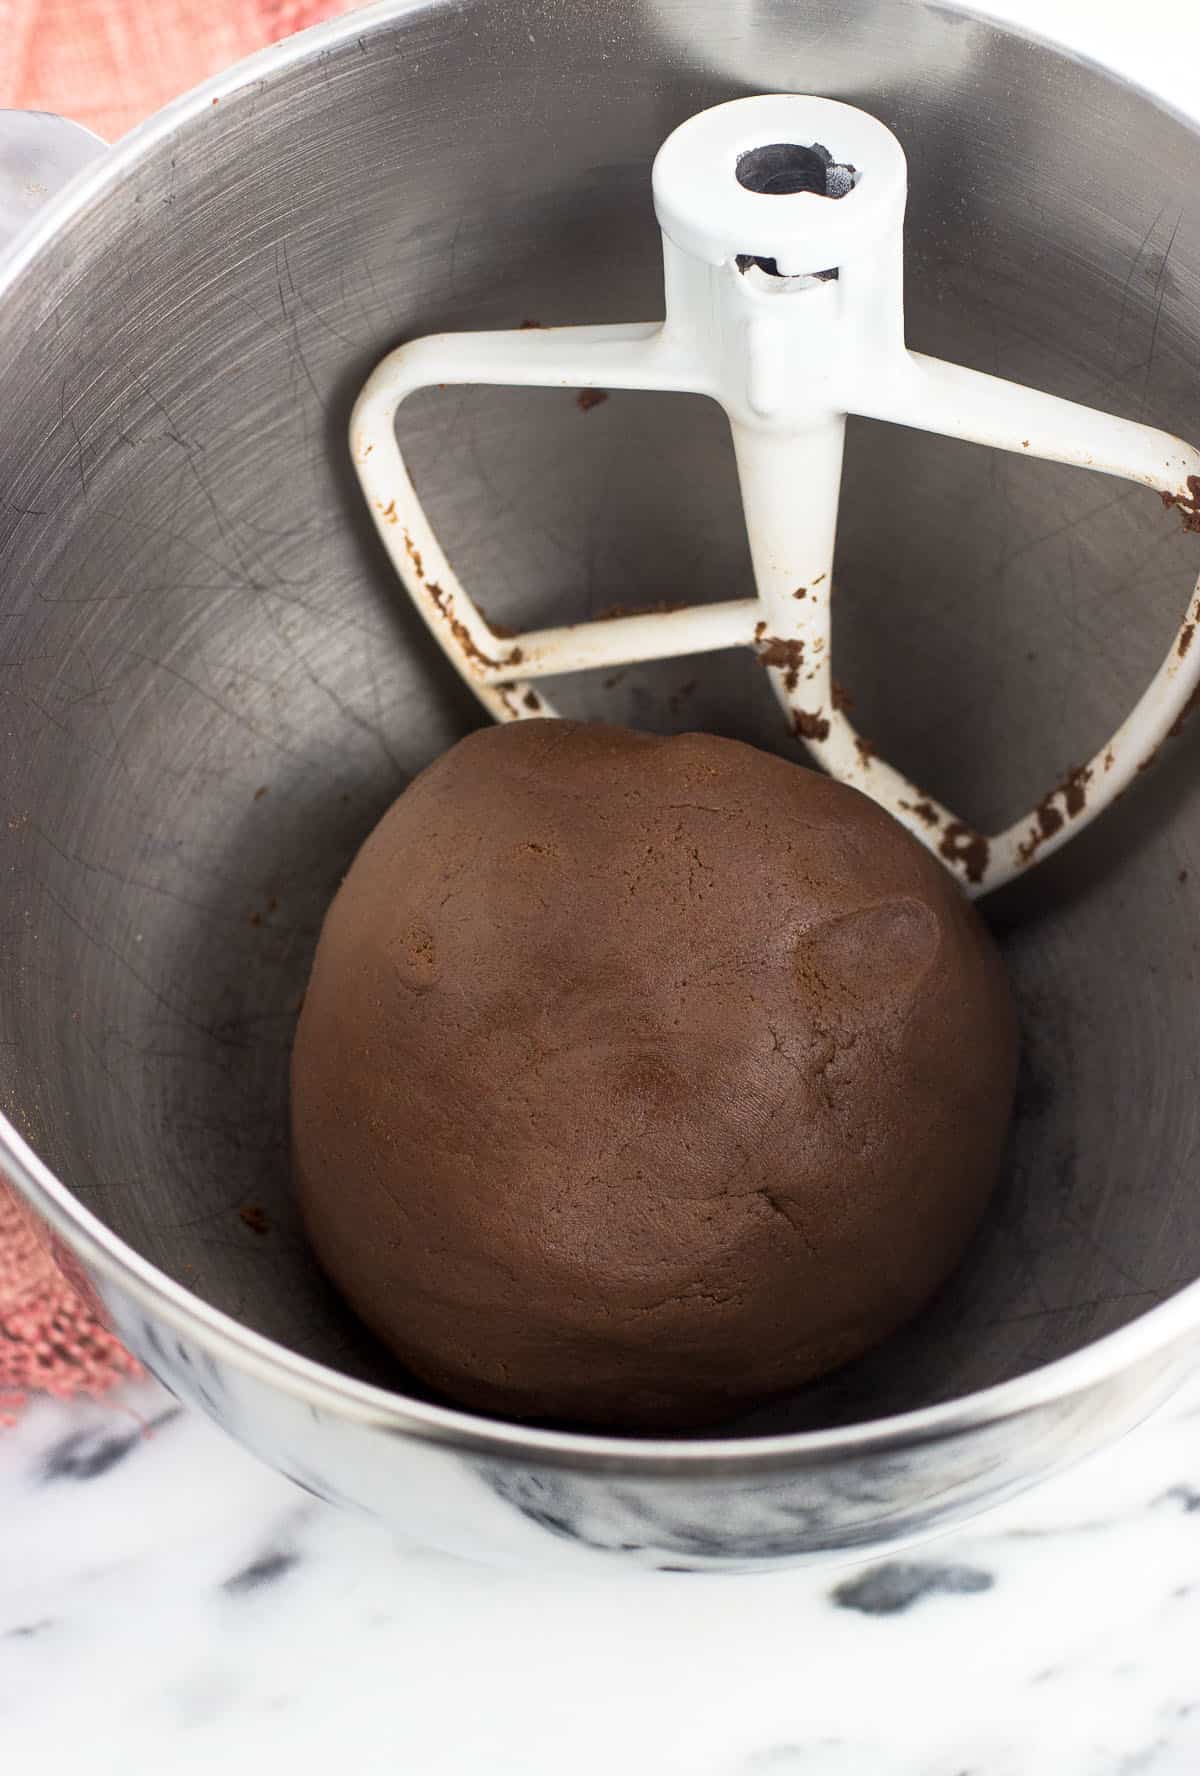
Separately mix together the wet ingredients: granulated sugar, milk, and vanilla extract. Pour the wet ingredients in with everything else and mix until a ball of dough forms. At first the mixture will look too dry, all sandy and crumbly. But within a minute everything should moisten just right to form a cohesive ball of dough.
If after some time it's still too dry, pour in additional milk a tablespoon or so at a time until it reaches the desired consistency.
Chill the ball of dough for an hour, or up to overnight. If chilling overnight, you may need to give it some time to sit out at room temperature in order for it to reach a rollable consistency.
Roll out the dough on a piece of parchment until it's around ⅛" in thickness. This helps these chocolate graham crackers end up a little thicker and a bit softer than the store-bought ones. You can roll it thinner to around 1/16" if you'd like, but keep an eye on them in the oven because they'll bake quicker.
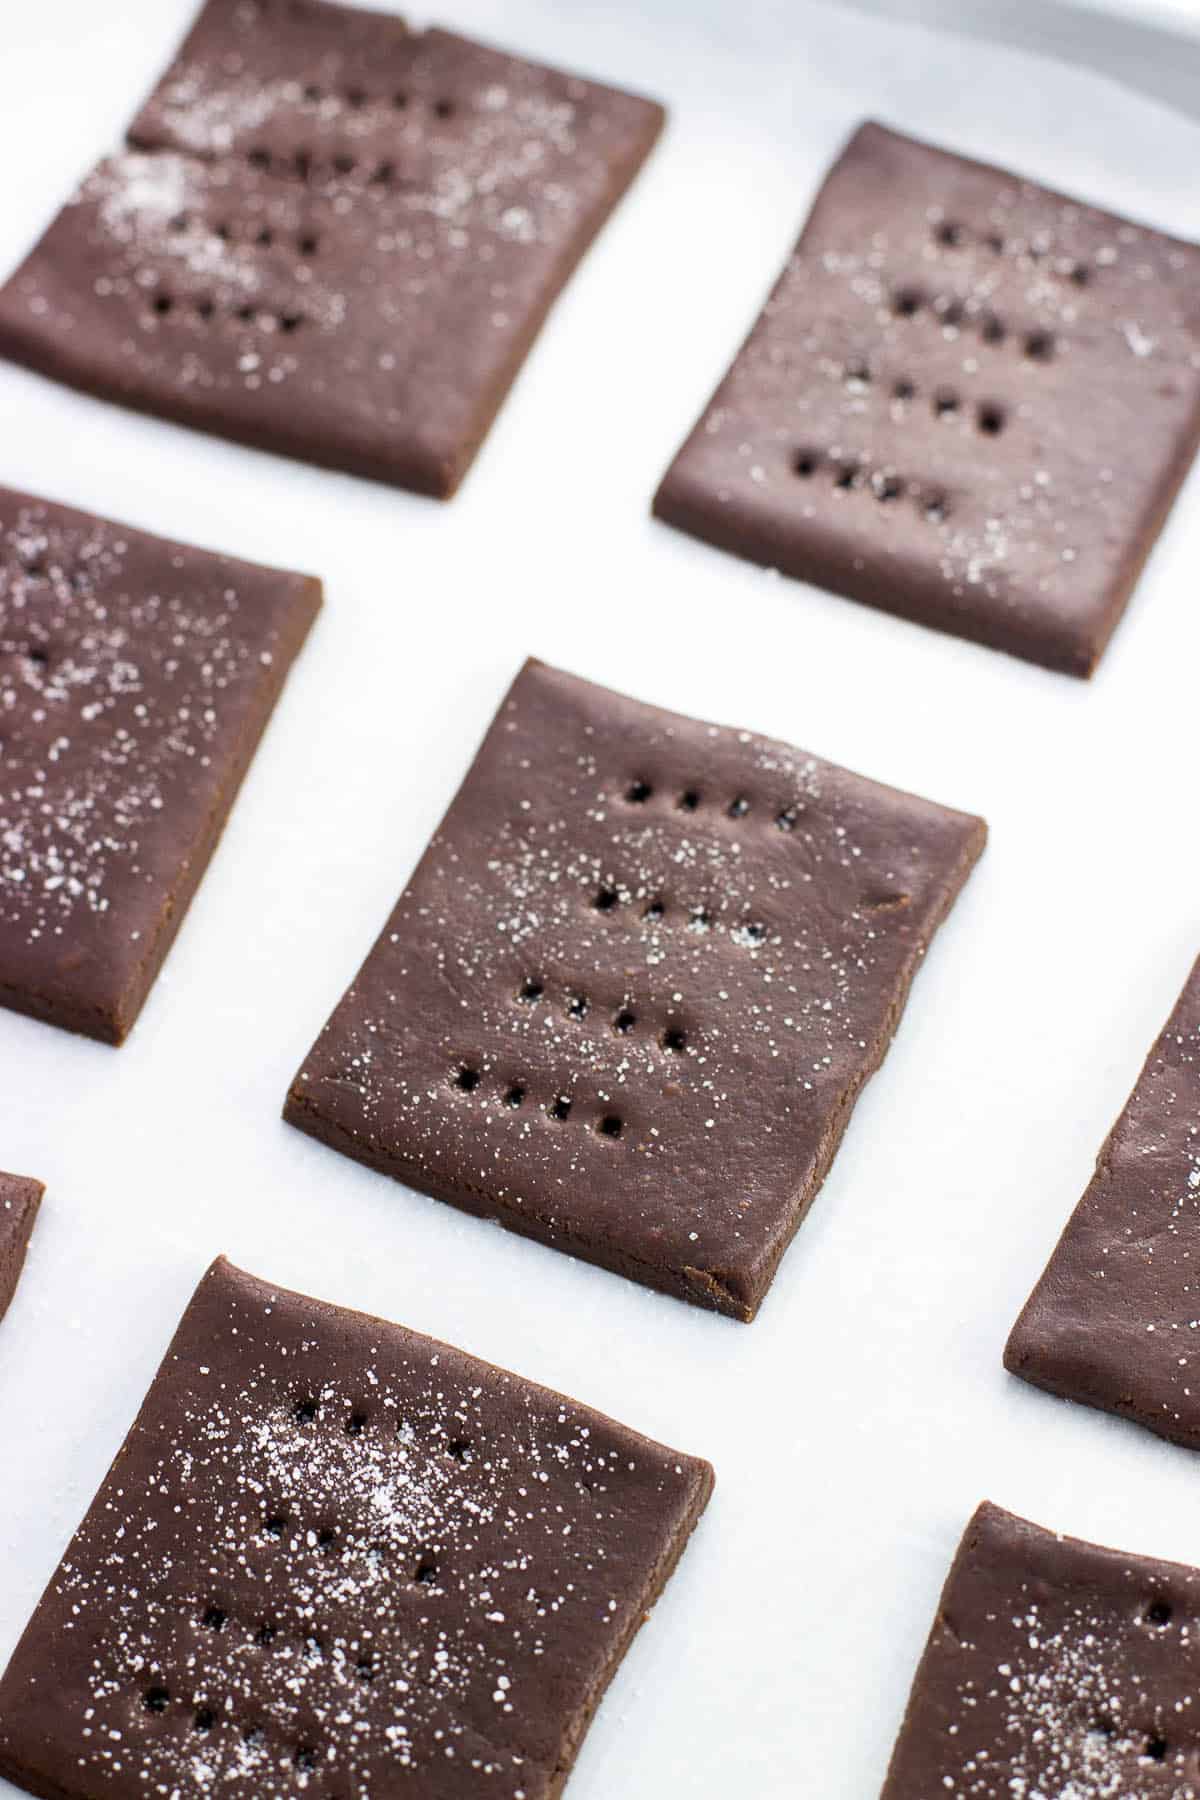
Once rolled out, slice the dough into squares using a pastry wheel or a pizza cutter. Press the tines of a fork into the top, then sprinkle each graham with granulated sugar, lightly pressing the sugar into the surface of the cracker.
Bake for around fifteen minutes, maybe a bit more, or until the edges are firm and the tops spring back when lightly pressed. They will crisp up some as they cool so they won't be at perfect graham hardness when they come out of the oven. If they're not as crisp as you'd like after they've cooled some, you can put them back in the oven until they're to your liking.
Recipe notes
- To measure the flour(s), stir up the flour in its bag or canister to "fluff" it up. Then spoon it into your dry measuring cup, taking care not to pack it in. Once the cup is full, use the straight handle of the spoon (or a knife) to level it off, letting the excess fall back into the bag.
- Natural cocoa powder (and not Dutch-process) is used here as it's acidic and allows the baking soda to activate. If all you have is Dutch-process, you might consider using buttermilk (or homemade buttermilk) here to provide the necessary acidity, though I haven't tried this way myself.

Homemade Chocolate Graham Crackers
Ingredients
- 2 ½ cups all-purpose flour (see note)
- ½ cup unsweetened cocoa powder natural, not Dutch-process
- 1 teaspoon baking soda
- ½ teaspoon salt
- 7 tablespoon unsalted butter, chilled and cut into small pieces
- 1 cup plus 1 tbsp granulated sugar divided
- 6 tablespoon milk (any will do)
- 2 teaspoon vanilla extract
Instructions
- Whisk together flour, unsweetened cocoa powder, baking soda, and salt in a large bowl. Cut in the chilled butter pieces using a pastry blender, two forks, or your fingers until they're around pea-sized or smaller. The mixture will not be uniformly smooth and that's okay.
- In a separate bowl, mix together one cup of sugar, milk, and vanilla extract until evenly combined.
- Pour the wet ingredients into the bowl with the flour/butter mixture and mix (ideally using an electric mixer) until the batter forms a ball of dough. At first the mixture might look too crumbly and dry, but after 30 seconds it will moisten and start to become a cohesive, not-sticky dough. If it's still too dry, add additional milk one tablespoon at a time until the dough forms.
- Chill dough for at least one hour, up to overnight. If chilling for a longer time frame, you may need to leave the dough out at room temperature for a short period of time until it warms up a bit and becomes rollable.
- Once the dough has chilled, preheat oven to 350°F.
- Roll out the dough on parchment paper until dough is approximately ⅛" thick, or thinner if you prefer. Cut dough into squares using a pastry/pizza wheel, and using the tines of a fork, lightly imprint dotted line rows into tops of the grahams.
- Transfer the parchment paper onto a baking sheet and arrange a bit of space between each graham cracker. Sprinkle remaining granulated sugar over top of each cracker, and lightly press down sugar on the surface with the back of a spoon so it adheres.
- Bake for 14-18 minutes, or until the edges are firm and the centers spring back lightly when pressed. They will not be totally hardened coming out of the oven, but will crisp and firm up additionally as they cool. Store in an air-tight container only when cooled completely.
Notes
Nutrition
Nutritional information is provided as an estimate. As it can vary due to many factors (brands used, quantities, etc.), we cannot guarantee its accuracy.
Food Safety and Nutrition DisclaimerNote: The pictures in this post were updated April 2015. Additional recipe instruction and detail was added June 2020 per reader feedback -- thank you!
Would you like to save this?
Plus receive periodic recipe newsletter emails.

Nancy says
Fyi. After mixing the dough I divide it in 3. I then take 1/3 and place it in a gallon zip lock bag that I coat with a few tsp of flour. Then i roll the dough in the bag and seal. Repeat with the other 2 portions. Now lay these 3 bags in the fridge When you are ready to bake cut the edge of the bag with scissors and then slice your grams with a pizza cutter. This makes for uniform size and easy clean up !
Alyssa says
That's a great tip, Nancy. Thanks for sharing!