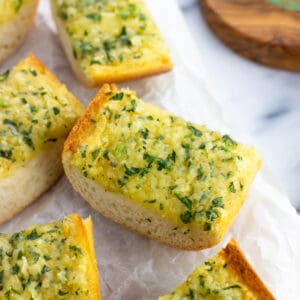
Garlic lovers will flip over this ultimate roasted garlic bread recipe. Three forms of garlic provide a rich flavor in this classic side dish with several prep-ahead options. The crust bakes up crisp with the center softening just right.
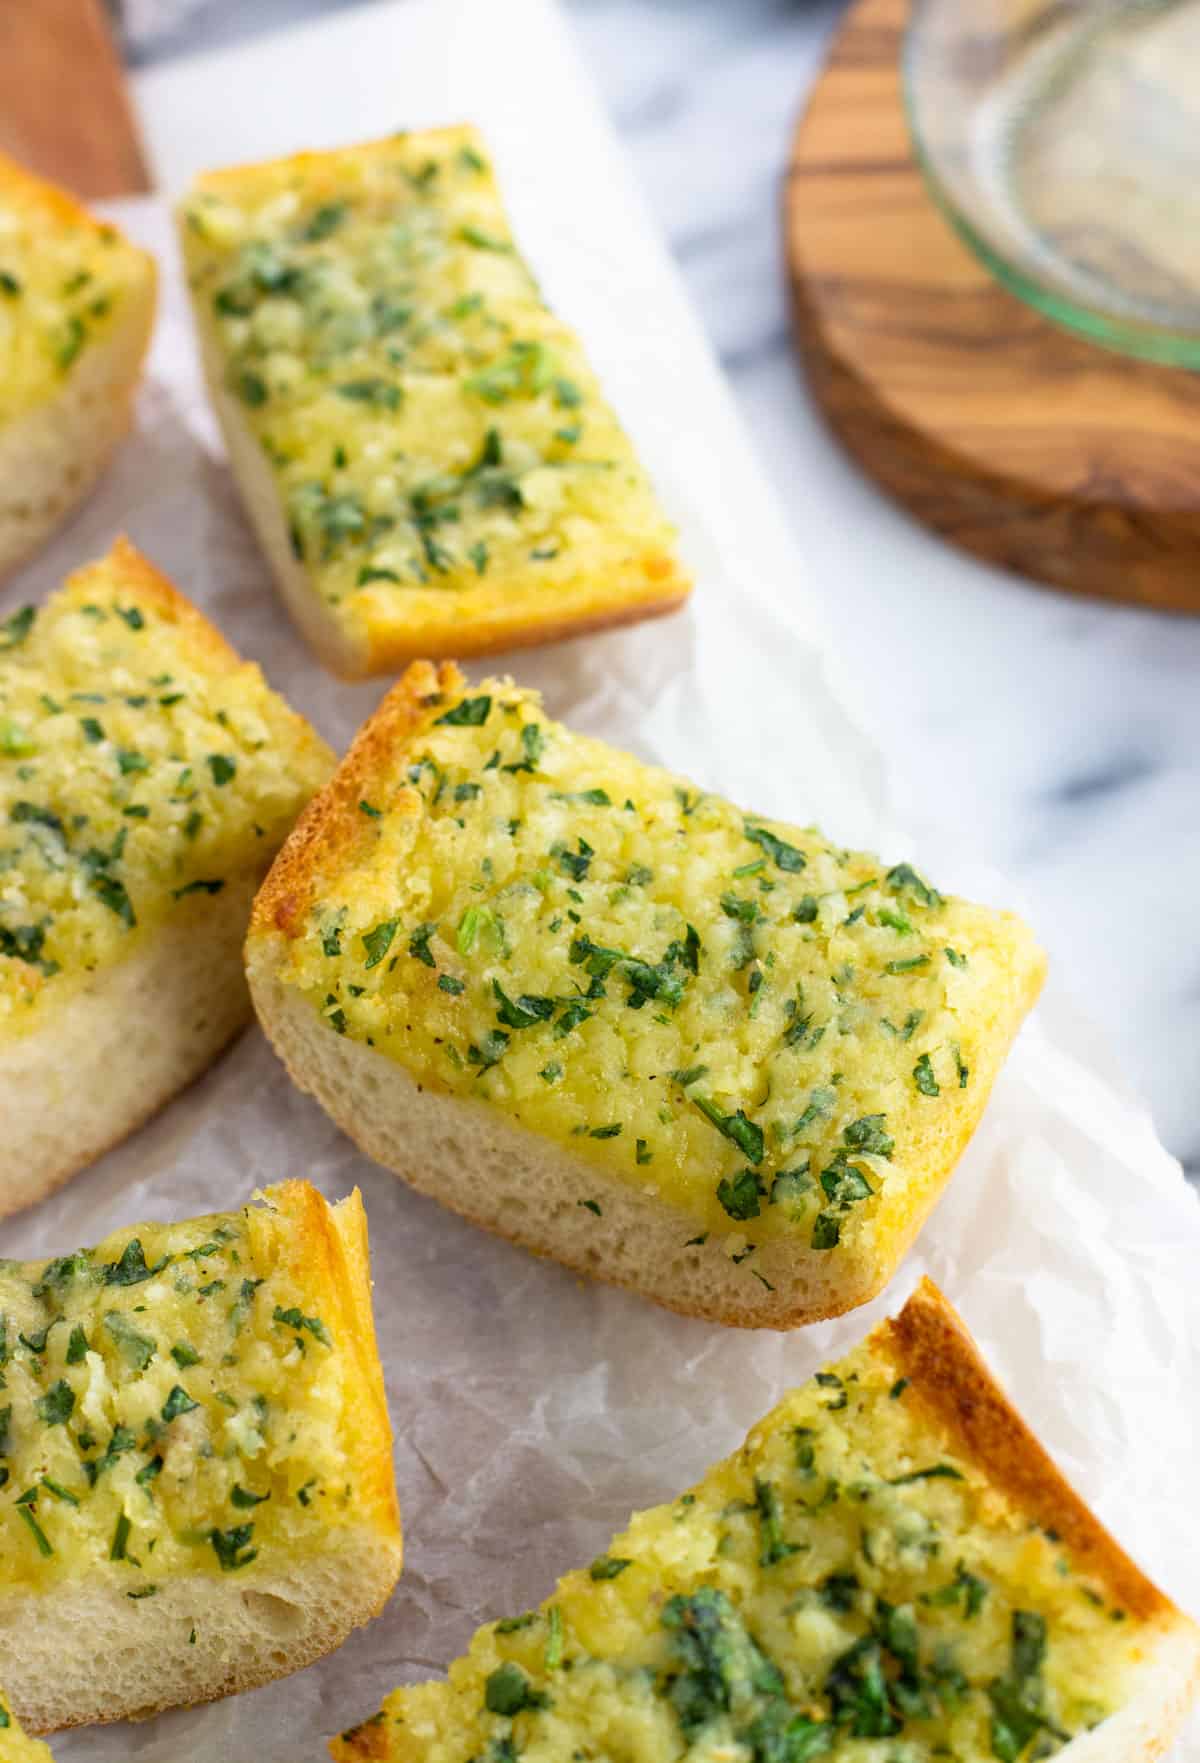
Once you get on the roasted garlic train, it's hard to get off.
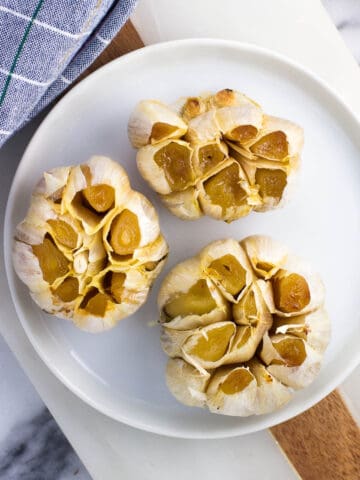
A little drizzle of olive oil, whole garlic cloves, and 45 minutes are all you need to make roasted garlic, which then goes on to become a flavorful, impactful ingredient in various recipes. The bit of pre-planning it requires is totally worth the pay out.
I took roasted garlic butter to the next level and zhushed it into becoming this ultimate roasted garlic bread. And I don't take the word "ultimate" lightly. This bread is bursting with deep and rich garlic flavor for a seriously upgraded side dish classic.
Reasons to Love This Recipe
- Good texture. You get the best of both textures: a crunchy, golden-brown crust with a soft and garlicky surface to bite into. You won't scratch your mouth up! The garlic and butter mixture doesn't sink entirely through and sog up the whole bread making it greasy.
- Three types of garlic. It bears repeating: there are three forms of garlic here. Roasted garlic, fresh garlic, and garlic powder, each providing a different flavor note.
- Prep-ahead friendly. Homemade garlic bread is easy to prep ahead, with either the roasted garlic, the garlic spread, or the whole loaf. Simply assemble, then freeze unbaked for a future meal shortcut.
Recipe Ingredients
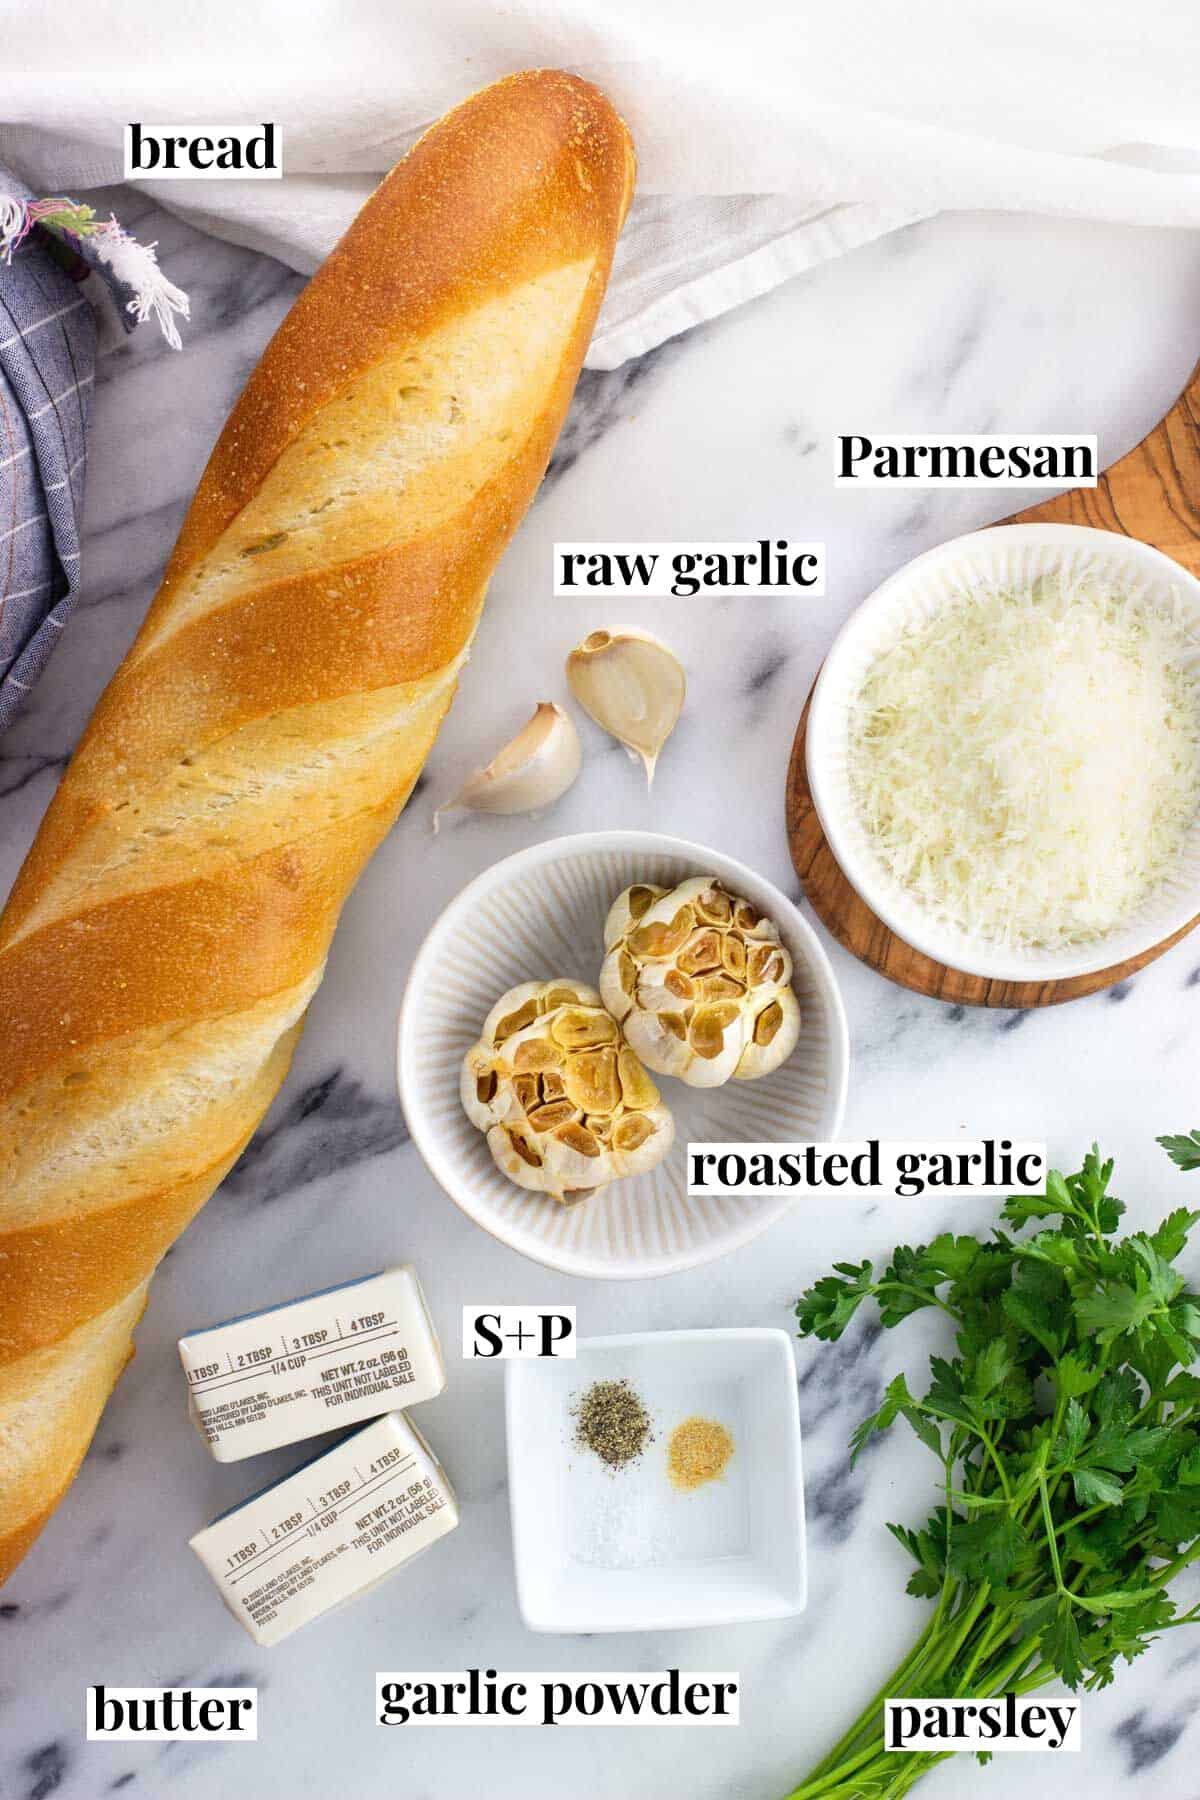
- Bread: Go for a longer, thin loaf of bread, such as Italian bread, French bread, or a French baguette.
- Butter: This recipe calls for unsalted, but if using salted, omit the added salt. It will need to be softened to room temperature so it can easily combine with the other ingredients.
- Roasted Garlic: Three whole bulbs of garlic are roasted and then mashed into a roasted garlic paste. The flavor of roasted garlic is a WHOLE lot mellower than raw garlic, so don't be put off by this amount.
- Raw Garlic: Two cloves are pressed or minced very finely for the spread.
- Garlic Powder: Just a bit (⅛ teaspoon) is also added to the spread to complete the garlic trifecta. This provides a tiny punch to the flavor.
- Parmesan: Another hard Italian cheese, like Pecorino Romano, works as well.
Step-by-Step Instructions
Tip: Follow the link for a more in-depth look at how to roast garlic. I recommend making more than just the number of bulbs needed for this roasted garlic bread as you'll want to use it in other recipes, too!
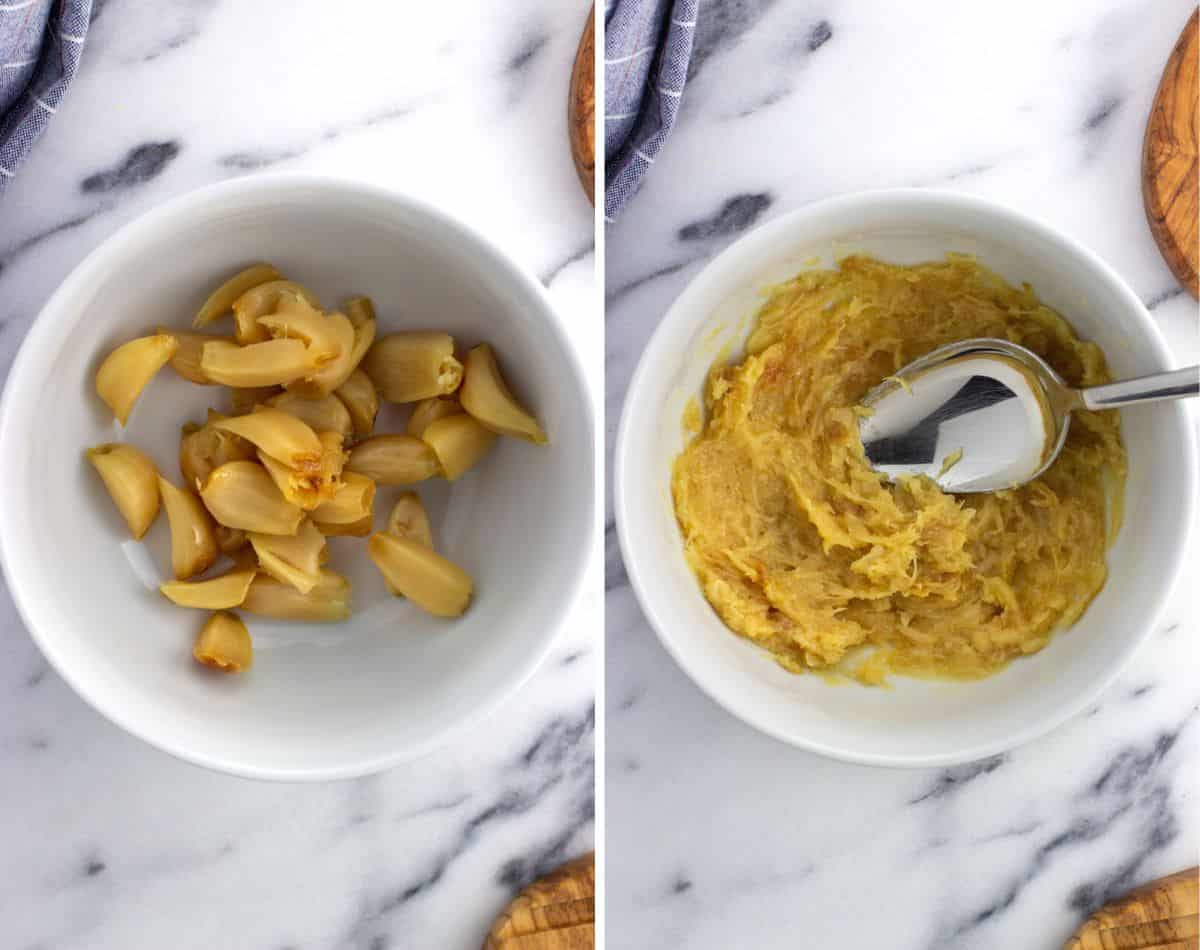
- Roast the garlic. Peel all but the innermost layer of skin from each bulb of garlic, drizzle with olive oil, then wrap in foil. Roast on a pan in a 400°F oven for 45 minutes, then let the heads cool.
- Mash garlic paste. Squeeze out the roasted garlic cloves from the heads into a bowl. Mash the cloves into a paste with a fork or a spoon. Try to remove as many lumps as you can, but it won't be fully smooth.
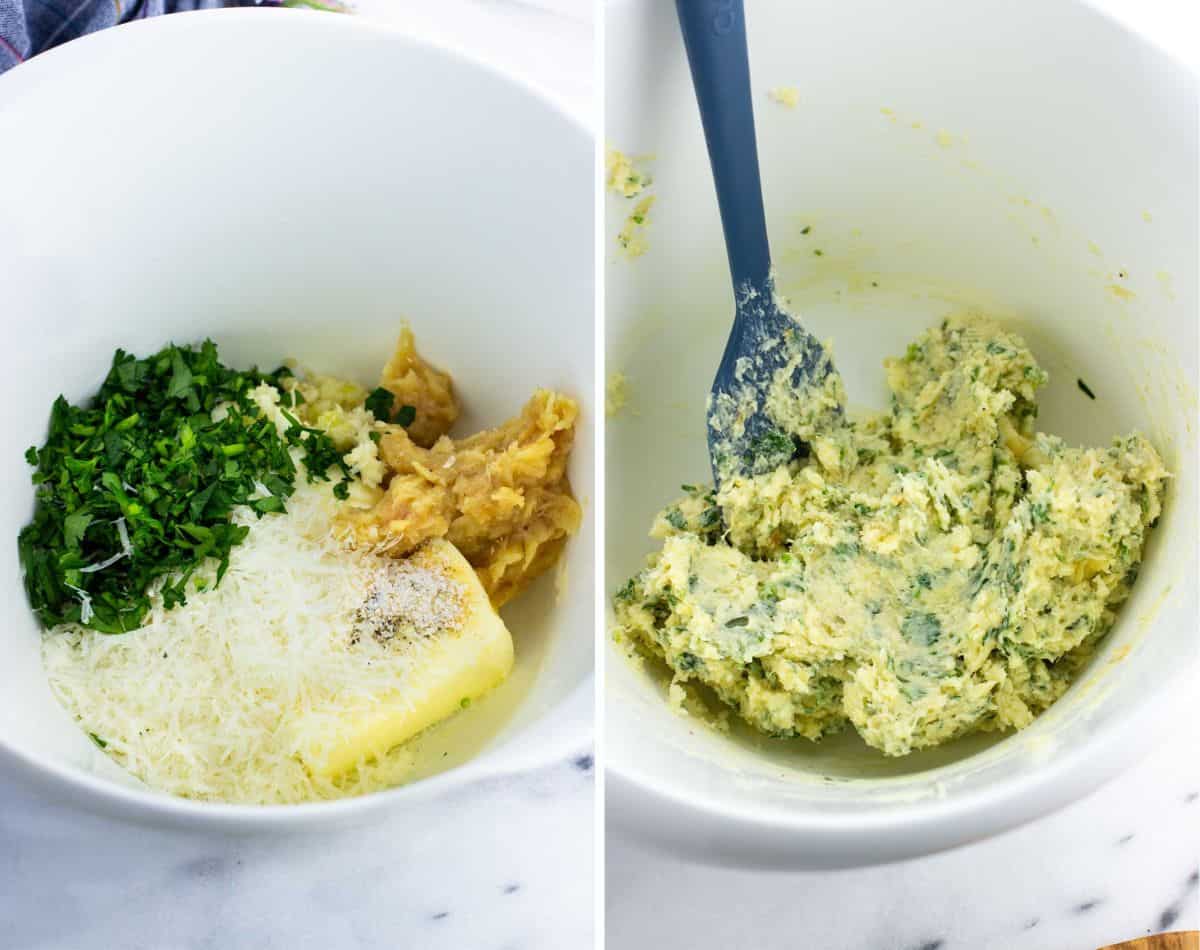
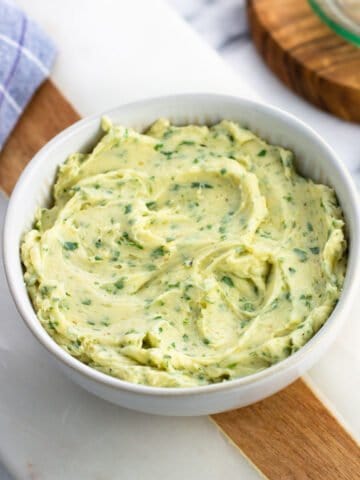
- Add more ingredients. Add the roasted garlic paste to a bowl with softened butter, Parmesan, parsley, raw garlic, garlic powder, salt, and pepper.
- Combine. Stir/mix until all of the ingredients are evenly combined. You can do this by hand or with an electric hand mixer.
- Assemble. Cut the loaf of bread in half lengthwise and spread the softened garlic butter mixture over each cut surface, all the way to the ends. Place open-face on a sheet pan.
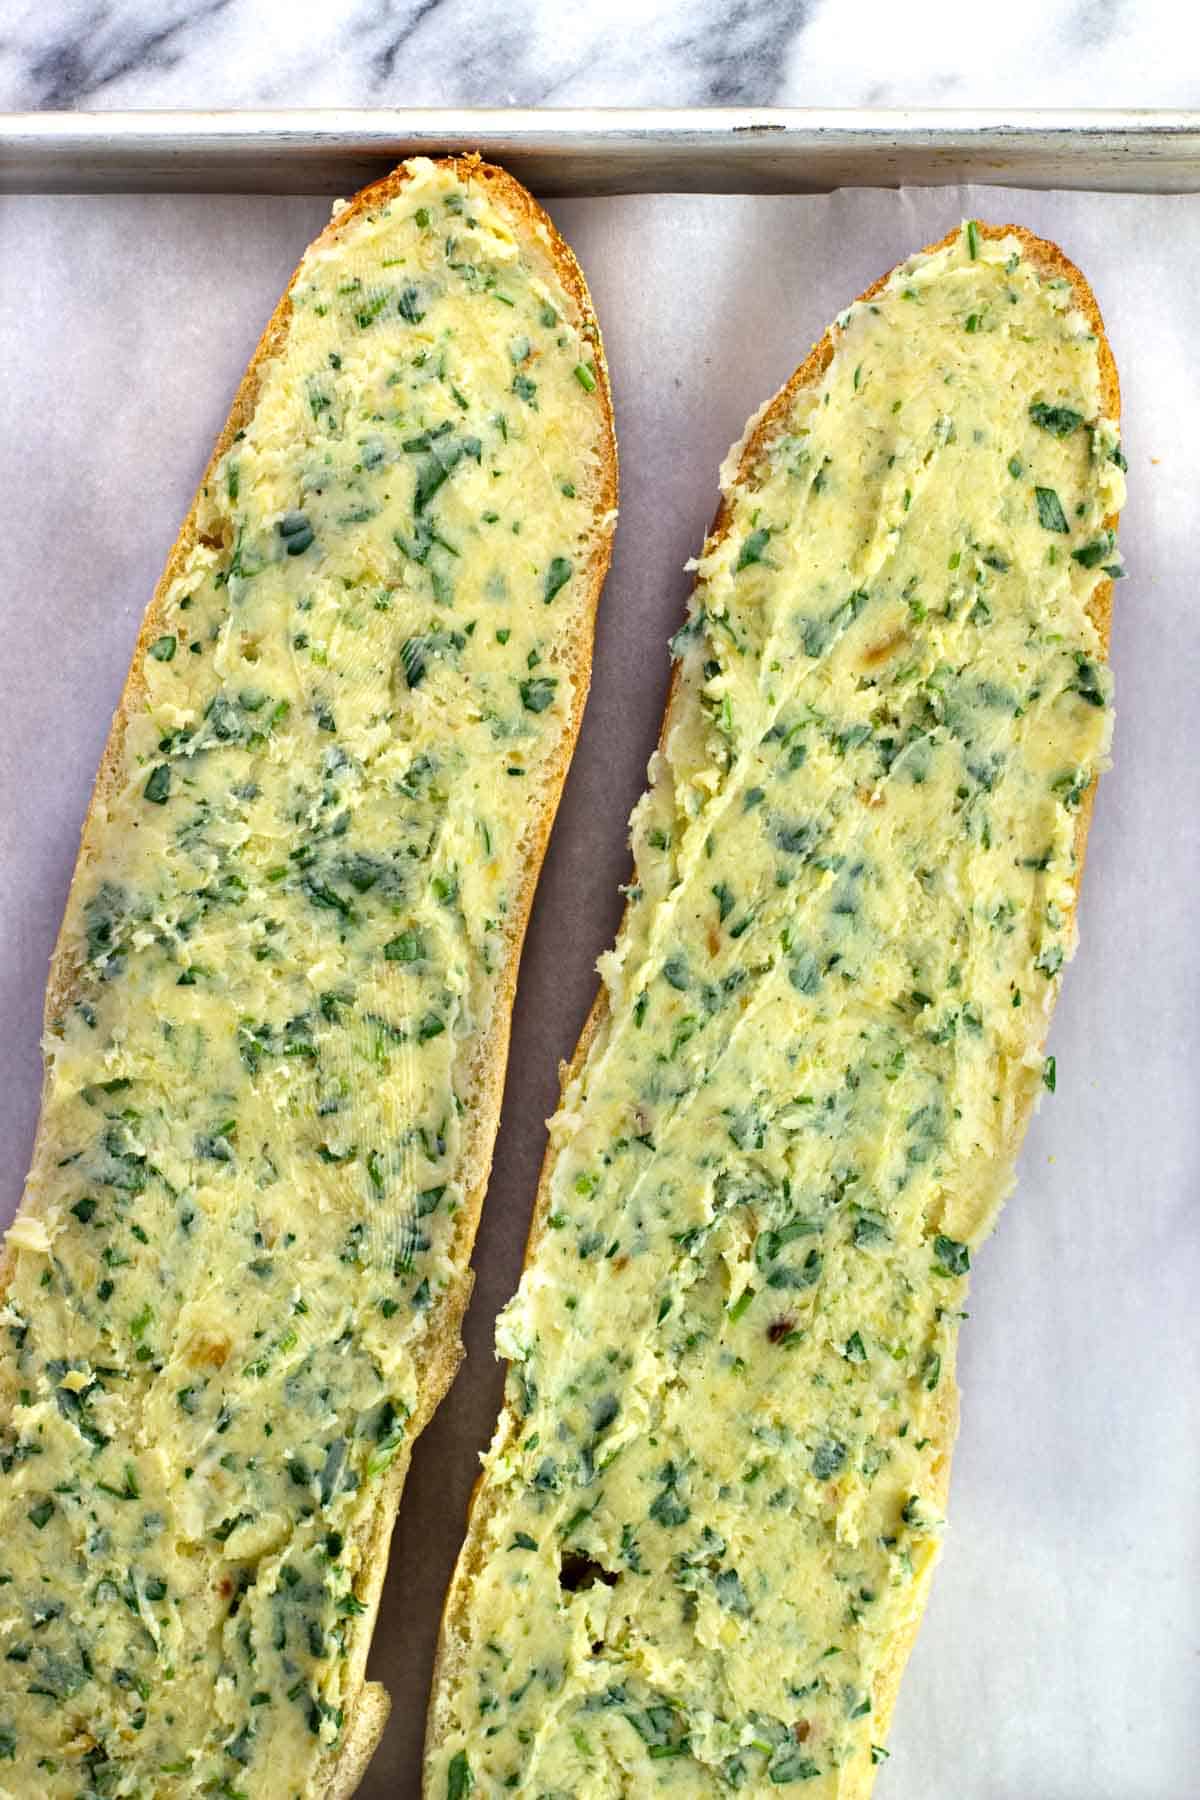
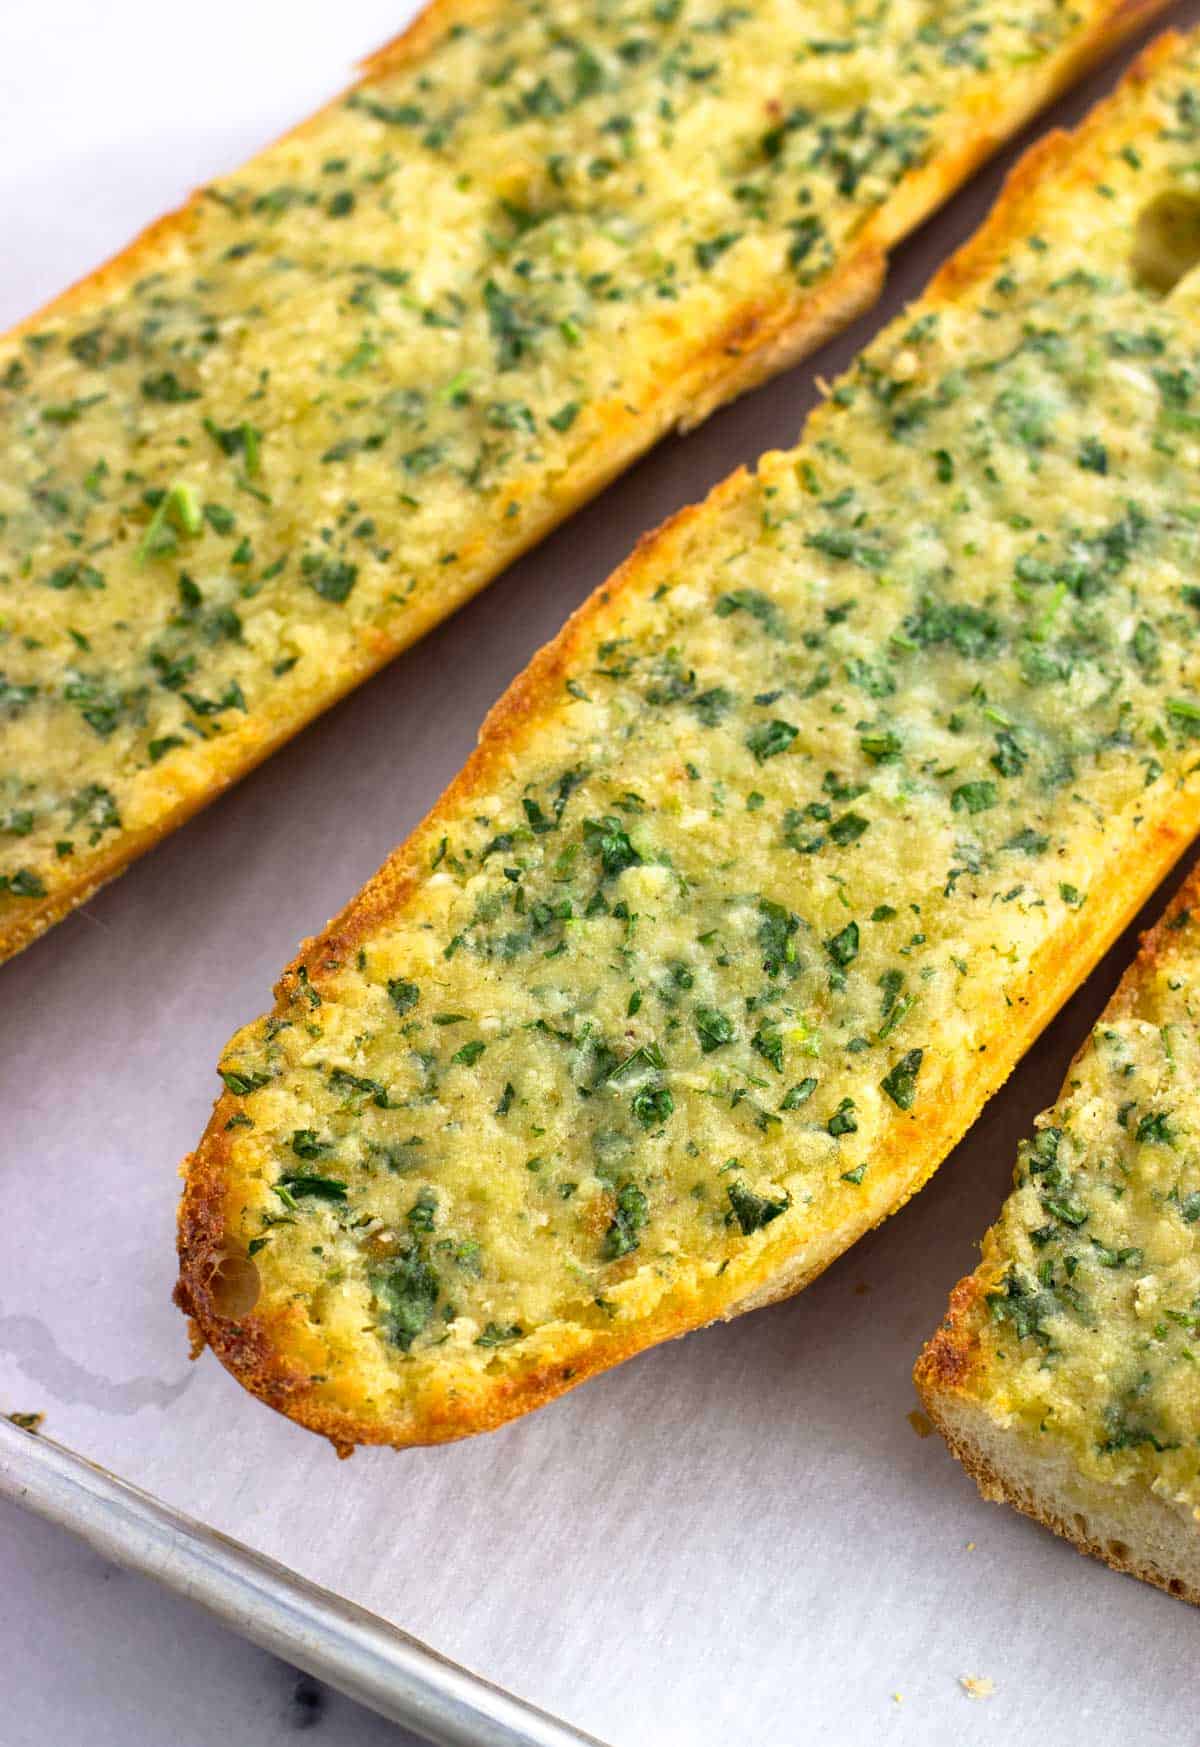
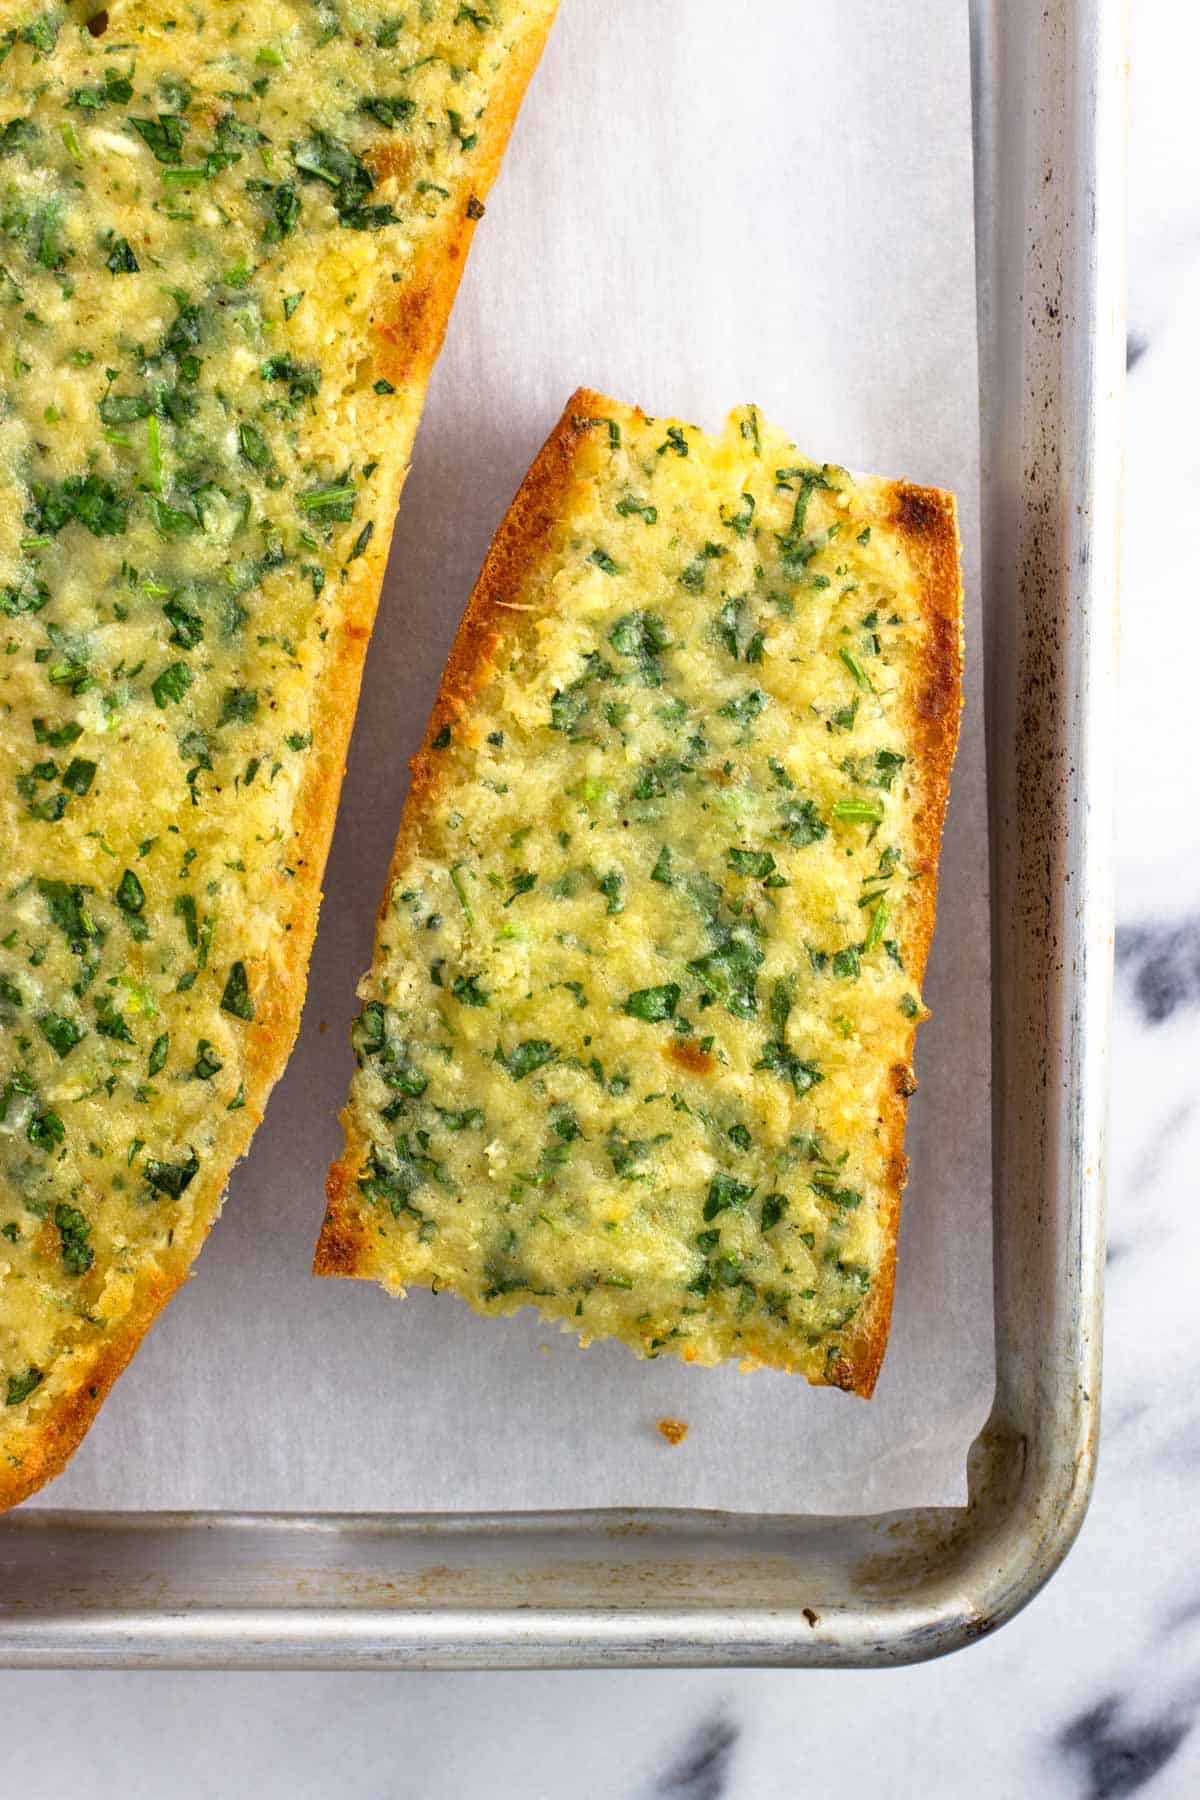
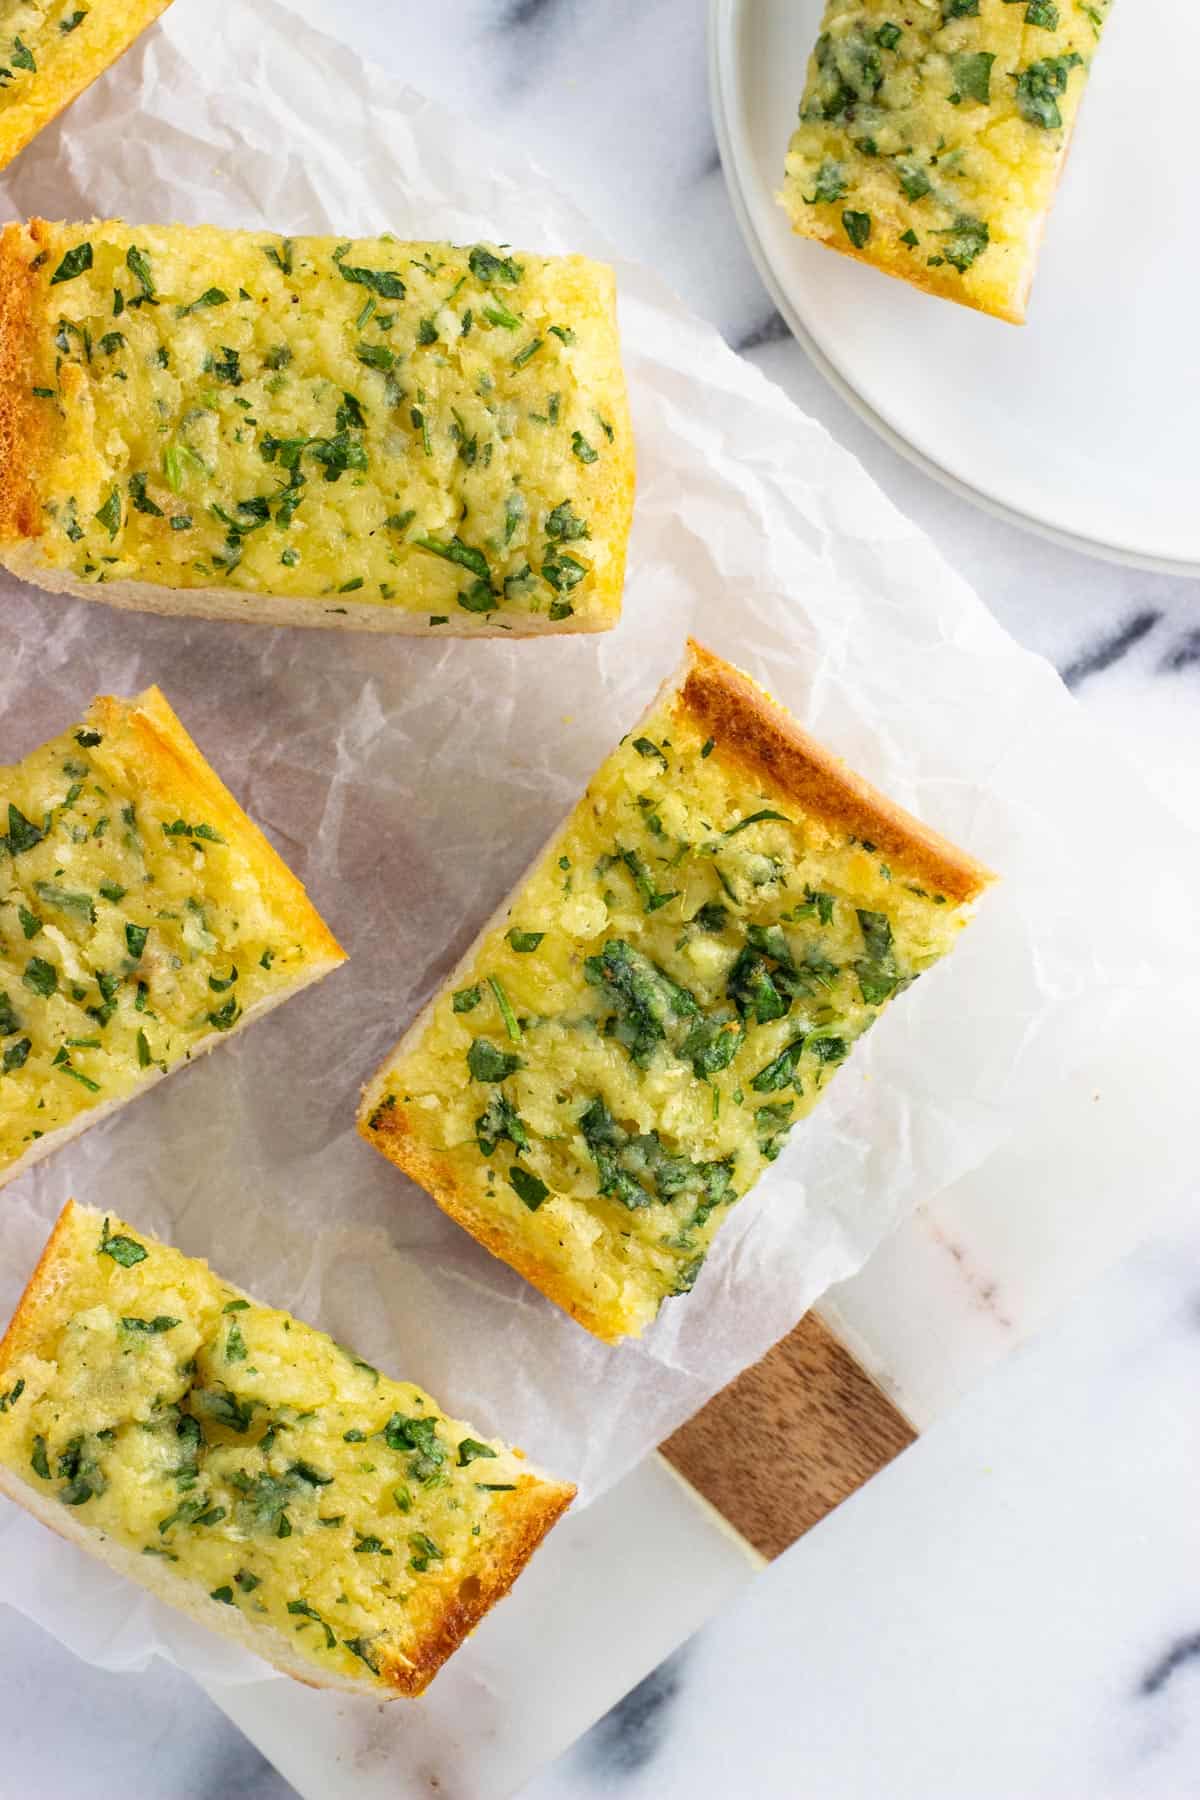
- Bake. Bake in a 350°F oven for 10-12 minutes, or until the butter is melted and the bread is golden. If you like crispier edges, switch the oven to a brief low broil at the end of the cook time. Slice and serve.
Recipe Tips and Tricks
- Bread weight. Double check the weight when purchasing bread. This recipe makes enough of the butter mixture for 16 ounces of bread. Some loaves in the supermarket bakery section are only 12 ounces.
- Prevent dryness. Spread the garlic butter mixture right up to the edges of the bread to avoid any overly dry spots.
- Broil safely. Be sure to use a broiler-safe pan if you plan to broil this roasted garlic bread toward the end of the cook time. And if lining the pan, use aluminum foil. Parchment paper can risk burning under a broiler.
- Use foil when reheating. When reheating leftover cooked garlic bread, wrap sections in foil to prevent over-browning.
Freezing Roasted Garlic Bread
Assembling roasted garlic bread and then freezing pre-bake is a great future meal shortcut. Since this recipe makes plenty of servings, it's also automatically what I do with half of the batch from the onset as I have a small household. We love garlic bread, but we usually don't need quite that much sitting around.
- Spread the garlic butter mixture onto the bread through step #4 in the recipe card below.
- Wrap each side of the bread in plastic wrap, then put them back together so the cut surfaces are facing one another. Wrap the whole thing in aluminum foil. Freeze.
- When ready to bake, there's no need to thaw. Remove the foil and all plastic wrap, then place loaf halves on a baking sheet as you would if you were baking it fresh. Bake for 20-25 minutes, or until golden. Broil for a minute or two if you'd like it crispier.
Related Recipes
If you’ve enjoyed this recipe, I’d love for you to leave a star rating in the recipe card and/or a comment review below!
Ultimate Roasted Garlic Bread
Ingredients
- 3 heads of garlic
- 1 ½ Tablespoons olive oil (4 ½ teaspoons)
- 8 Tablespoons (113g) unsalted butter softened to room temperature
- ⅓ cup (20g) grated Parmesan or Pecorino
- 1 ½ Tablespoons (4g) finely-diced fresh parsley
- 2 large raw garlic cloves pressed or finely minced
- ⅛ teaspoon garlic powder
- Kosher salt to taste
- Ground black pepper to taste
- 16 ounce (454g) loaf of Italian or French bread
Instructions
- Preheat oven to 400°F (204°C). Peel back and discard all but the innermost layer of skin from each head of garlic, then slice off the top quarter-inch or so of the head to expose the tops of the cloves. Drizzle the cut sides with approximately 1 ½ teaspoons olive oil each, then wrap the heads all together with aluminum foil with the cut sides up. Place the package of foil on a baking dish or sheet pan.
- Roast for 40-45 minutes, or until the cloves are a deep golden-brown and very tender. Let them cool enough to be handled before removing the cloves from the heads and placing them in a bowl. Mash them up using the back of a spoon or a fork until a mostly-smooth paste develops.
- Add roasted garlic paste, softened butter, Parmesan, parsley, minced fresh garlic cloves, garlic powder, salt, and pepper to a bowl and combine well using a hand mixer or by stirring vigorously.
- Heat the oven to 350°F (177°C). Slice the loaf of bread in half horizontally and place on a sheet pan. If you would like to line the sheet pan with something, use aluminum foil as parchment paper can be unsafe under the broiler. Spread the softened garlic butter mixture evenly across the cut sides of the bread, taking care to extend the butter right up to the edges.
- Bake for 10-12 minutes or until the butter has fully melted and is golden. At this point switch the oven to the broil setting very briefly to crisp up the edges if you like. Slice into wedges and serve.
Notes
- The garlic can be roasted up to a few days in advance of assembling. Keep refrigerated.
- The garlic butter mixture can also be combined and then refrigerated for a day or so before spreading on bread and baking. Let it sit at room temperature to come up to a spreadable temperature when ready to use.
- Reheat cooked garlic bread by wrapping it in foil and baking at 350°F until warmed throughout. Remove foil near the end of the cook time so it crisps up again, or very briefly broil.
- Spread butter mixture onto the bread through instruction #4.
- Wrap each half in plastic wrap, then place the two halves back together so that the cut surfaces are "touching".
- Wrap the whole thing in aluminum foil. Freeze for up to 3 months.
- When ready to bake, there's no need to thaw. Remove foil and all plastic wrap, then bake for 20-25 minutes or until golden. Briefly broil on low at the end if you like.
Nutrition
Nutritional information is provided as an estimate. As it can vary due to many factors (brands used, quantities, etc.), we cannot guarantee its accuracy.
Food Safety and Nutrition DisclaimerWould you like to save this?
Plus receive periodic recipe newsletter emails.

Comments
No Comments