
This shop has been compensated by Collective Bias, Inc. and its advertiser. All opinions are mine alone. #PrepSealSave #CollectiveBias
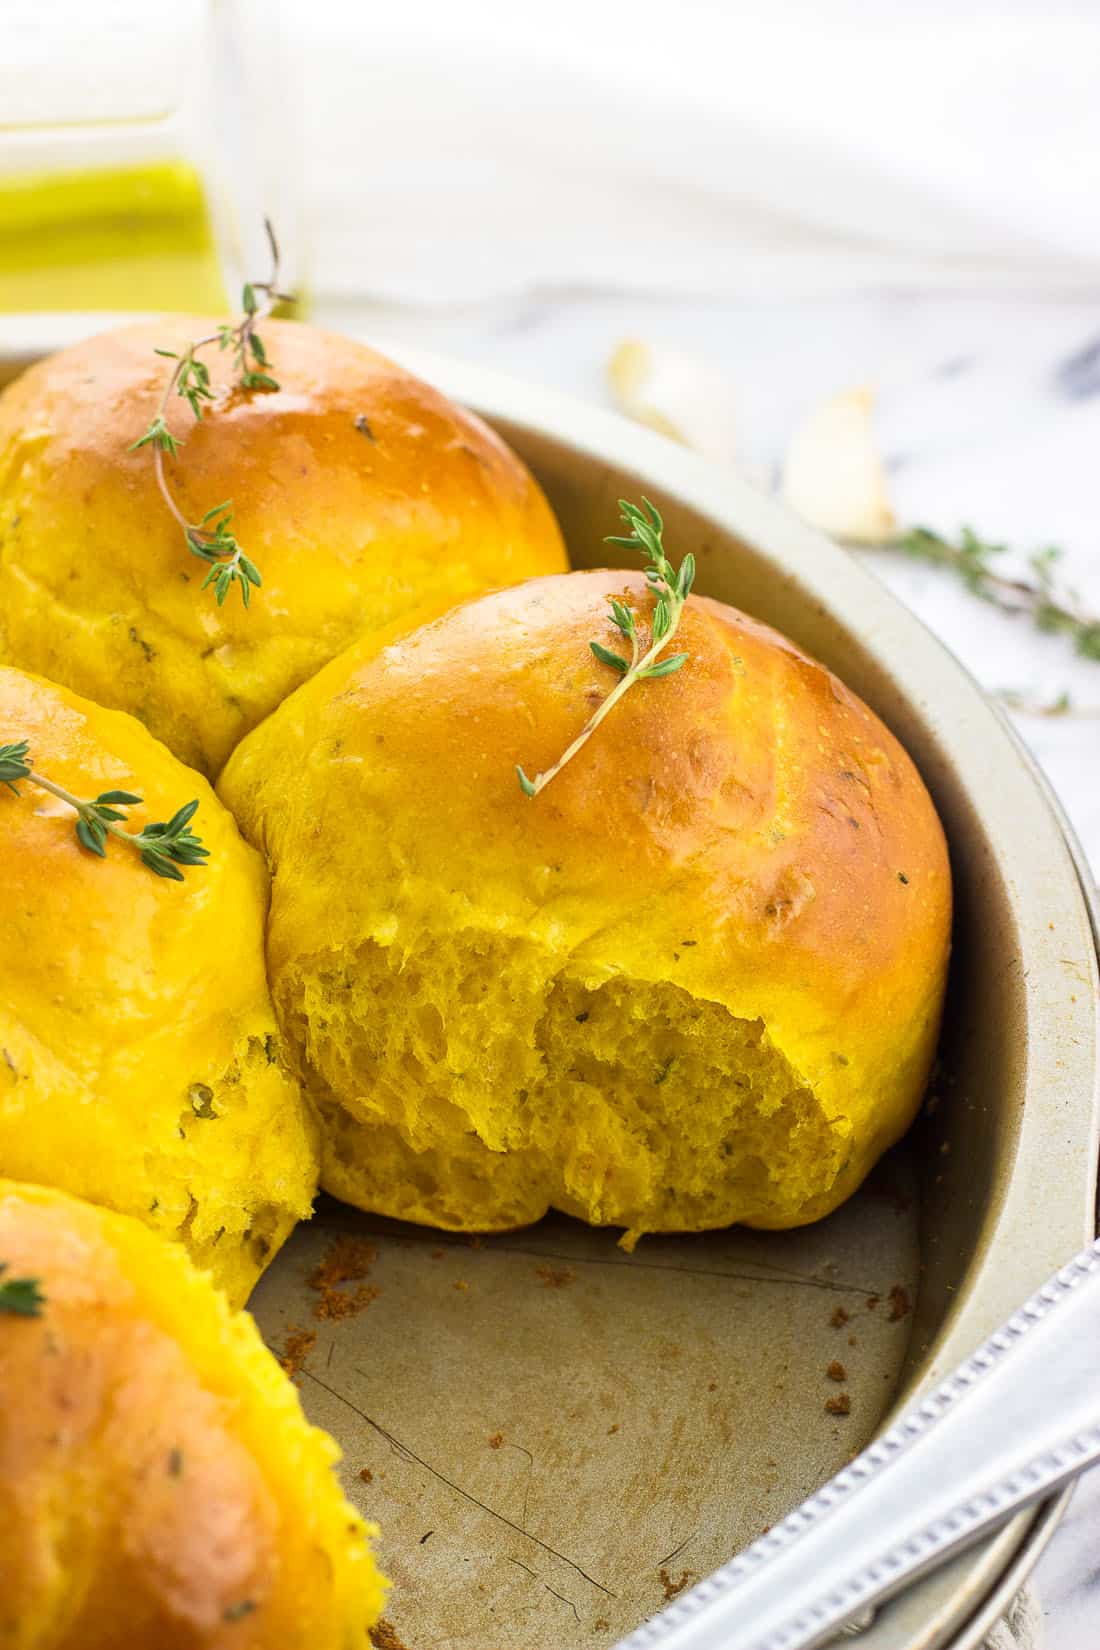
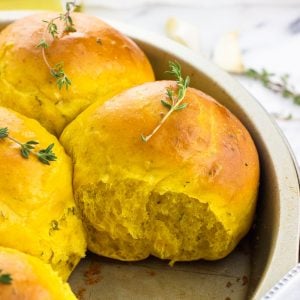
Garlic and herb pumpkin dinner rolls are perfectly flaky and fluffy, and make the best addition to a fall dinner. These pull-apart, yeast-based rolls are flavored with garlic and fresh herbs and are easy to make.
It's no secret that I do a lot of cooking and baking. My husband will tell you that I have a knack for using every work surface in our kitchen and somehow dirtying most of our utensils and kitchen gear after preparing a few recipes. It just comes with the territory, you know?
Something that may come with the territory but I'm always fighting against is food waste. We're a household of two, so more often than not we have considerable leftovers. Our freezer is usually maxed out, so it can be hair-raising trying to store everything for the longer-term so it doesn't go to waste.
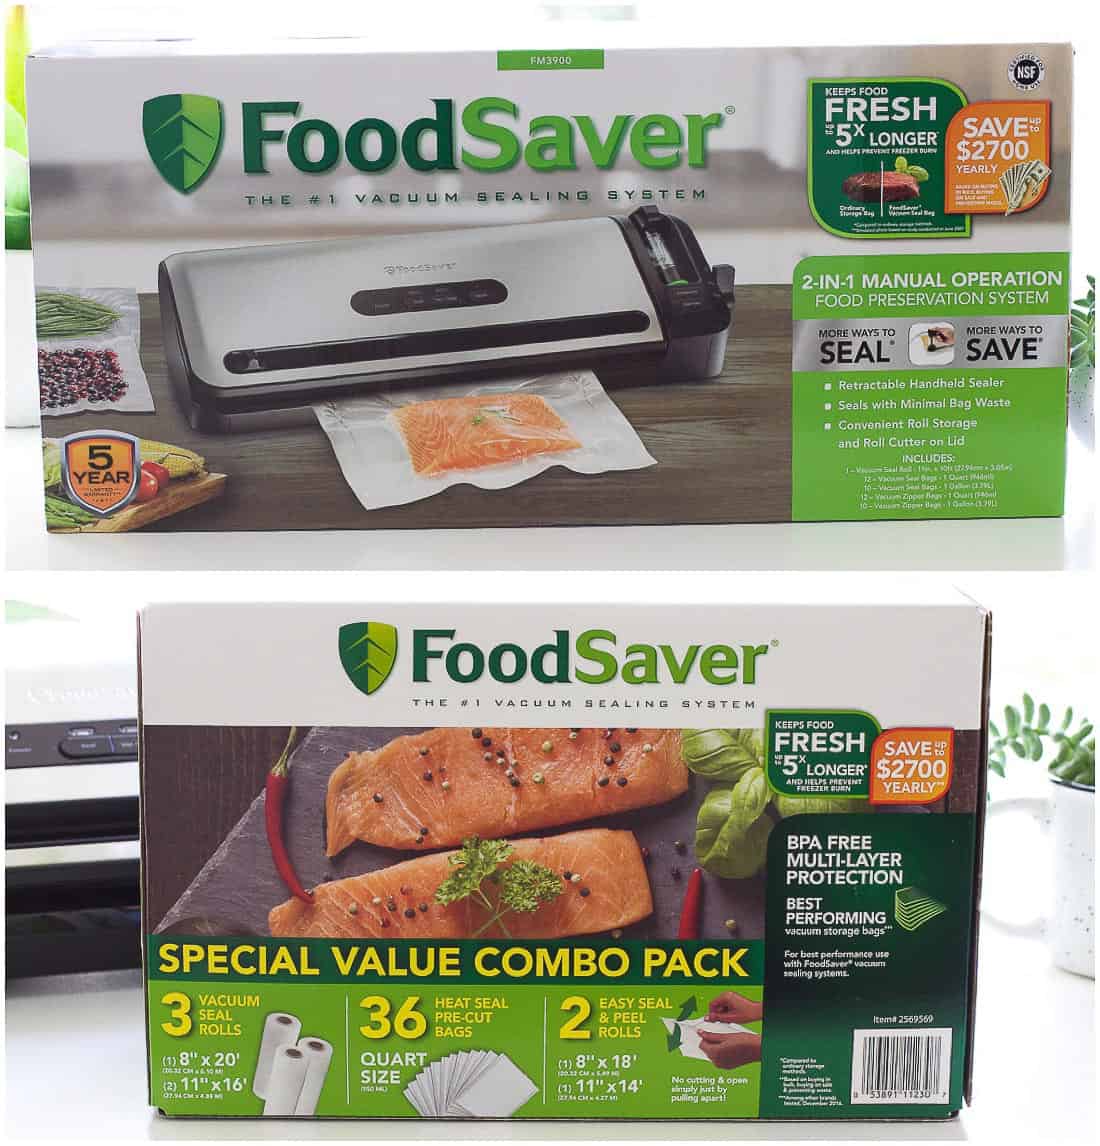
Enter, FoodSaver® FM3941 Vacuum Sealing System and FoodSaver® Bags and Rolls Value Pack. FoodSaver® is the solution for saving food, time, and money, and is the number one vacuum sealing solution in the US.
On the food front, it keeps food fresh for 5x (!) longer than ordinary storage methods like foil, zipper bags, plastic wrap and containers. Ever get burned by freezer burn? It has built-in features to easily preserve food in the freezer or refrigerator. For instance with meat, by taking all of the air out you can ensure your meat will be cooked evenly throughout.
FoodSaver® also saves time by making entertaining a breeze. You can marinate in minutes instead of hours, and cook ahead with batch-cooking and meal planning.
And then, less waste = saving money. You can save up to $2,700 yearly based on buying in bulk and/or on sale and preventing waste. Lots of benefits to make your kitchen life easier here.
FoodSaver® FM3941 includes vacuum seal bags, vacuum zipper bags and containers designed to work together with vacuum sealers for optimal performance. Plus it's easy to use!
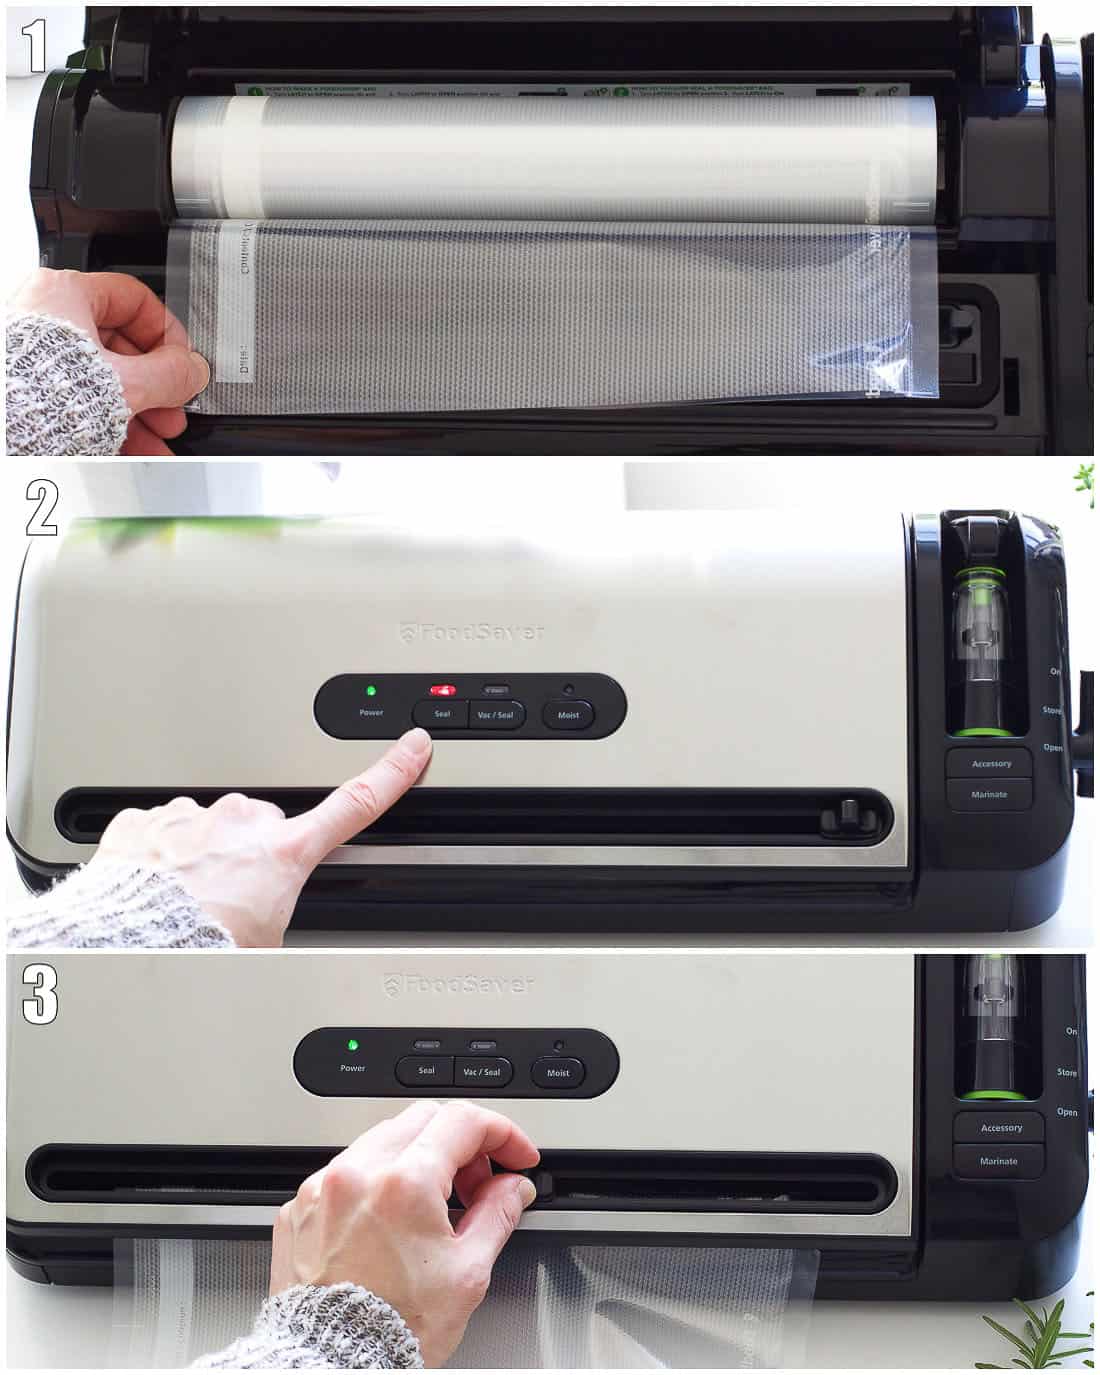
Here are the steps I took to seal fresh rosemary from my garden in minutes.
- Turn the latch on the righthand side to "Open". Open the lid, and place a roll in the designated space. Pull out enough of the roll so that the bottom is over the sealing strip (right below where my thumb is).
- Close the lid and turn the latch to "On". Press the "Seal" button, and wait until the red seal indicator light is off. This will form the bottom seal of a bag. Open the lid and pull out enough of the roll to comfortably seal whatever it is you're sealing. Close the lid and turn to latch to "On" again.
- Press the "Seal" button again. This is forming the bottom of the next bag on the roll. While it's sealing you can use the built-in slide bag cutter to cut the current bag off.
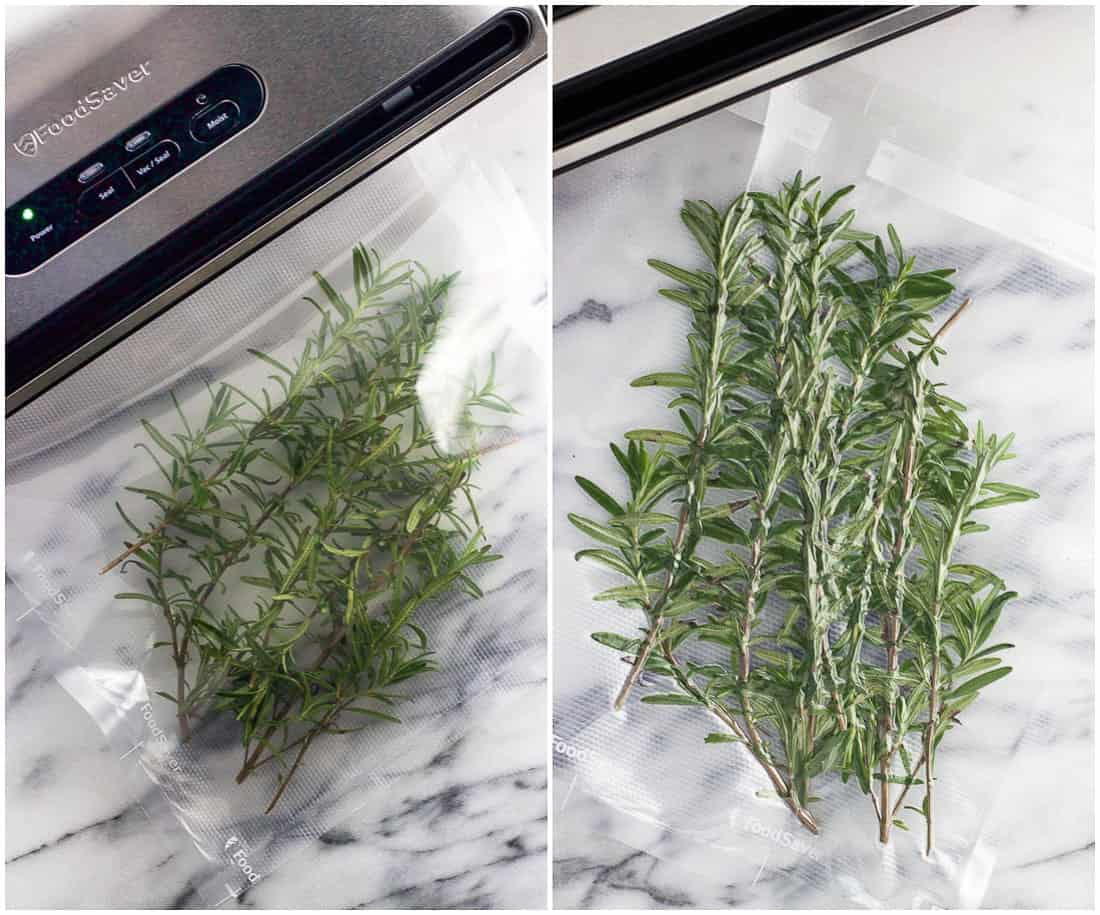
Once I placed my rosemary into the bag, I arranged the open end of the bag along the sealing strip, closed the lid, and turned the latch to "On". This time I pressed the "Vac/Seal" button and watched as the bag quickly became vacuumed. And there you have it, fresh rosemary with an extended shelf life.
I made sure to keep some rosemary out so I could make these garlic and herb pumpkin dinner rolls. Pumpkin puree adds a delicious element to a yeast-based dinner roll recipe, and is an extra-festive treat for fall meals.
This recipe yields eight rolls, and is baked pull-apart style in a 9" round pan. While the total recipe time appears quite hefty, the majority of it is made up of inactive rise time, so you aren't on the go for the entirety.
How to make these rolls
The first step of these pumpkin dinner rolls is to combine the ingredients, yeast and all, in a bowl. You'll want to start with your milk (use your favorite variety, I'm partial to 2%) around 105°F-110°F, and then sprinkle the yeast over top. This gives the yeast a chance to activate a bit as you're measuring out the rest of the ingredients.
As the dough comes together, it's likely that you'll need to add additional flour to firm it up some and mitigate the stickiness. I added ¼ cup (four tablespoons) at this point, but I suggest adding it one tablespoon at a time until the dough is cohesive and just a little bit sticky. It may take less/more for you.
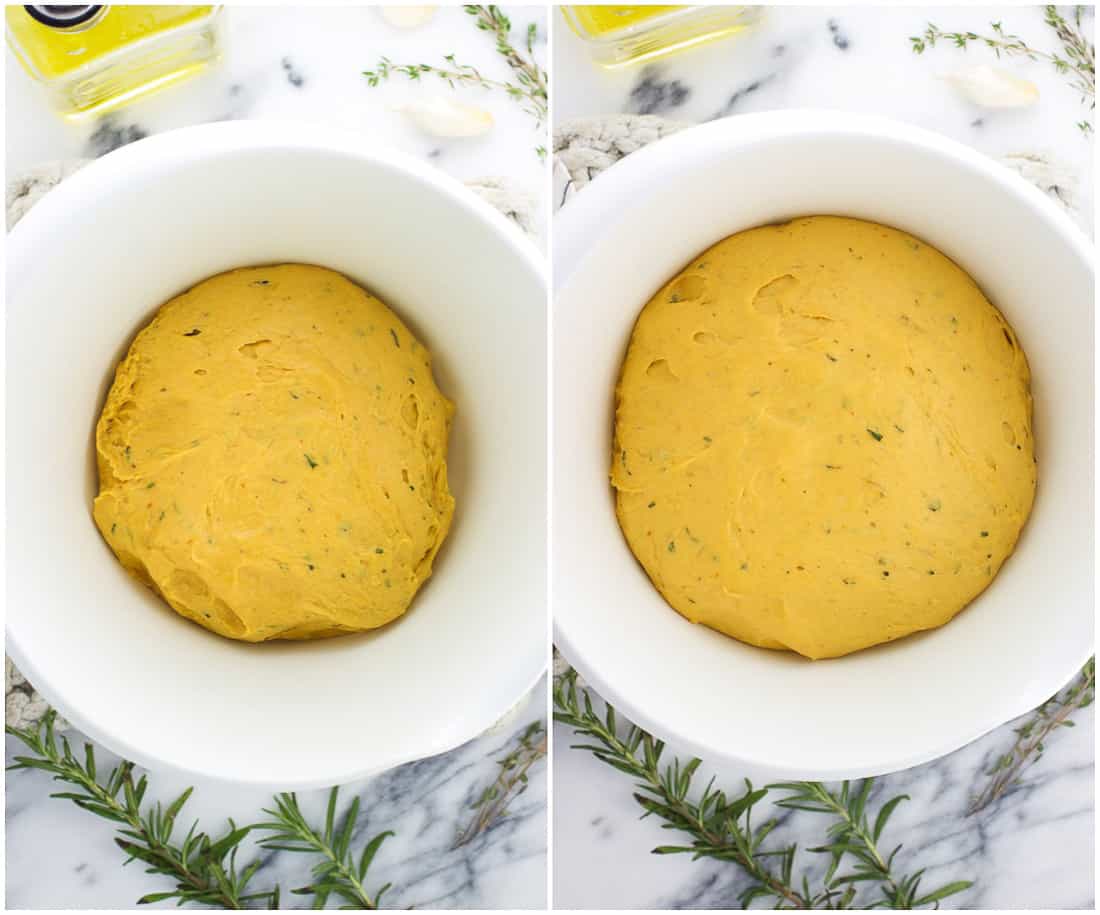
The dough rises two times: once as one big ball and then again once the rolls are shaped.
The first rise takes about an hour. It's not crazy necessary that the dough doubles in size as is a common metric you might see with yeast-based bread recipes, but you'll want the dough to fill out and become smoother and puffed up.
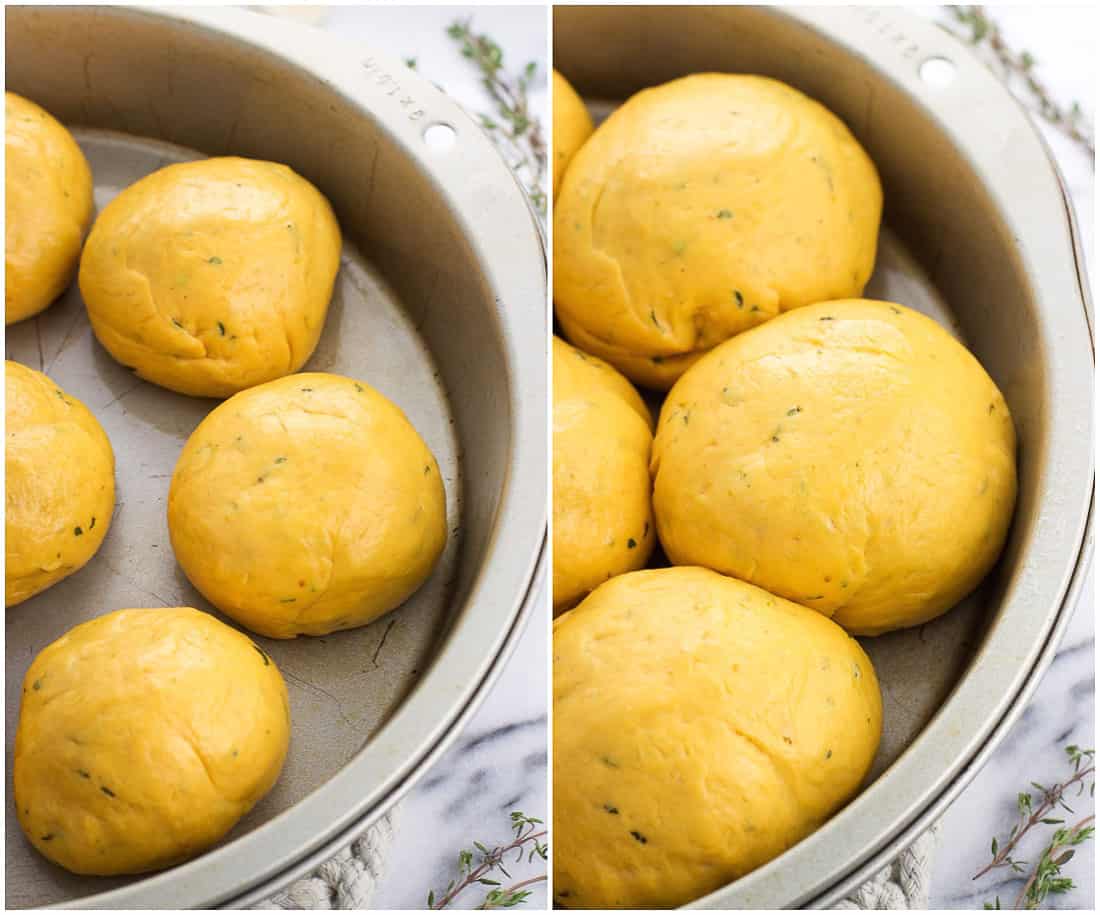
Then the dough is divided into eight equal sections, each formed into a ball and placed in a pan. You'll want the pumpkin dinner rolls to be equally-spaced (they won't be touching yet). After another forty-five minutes or so of rise time, the rolls should be touching one another.
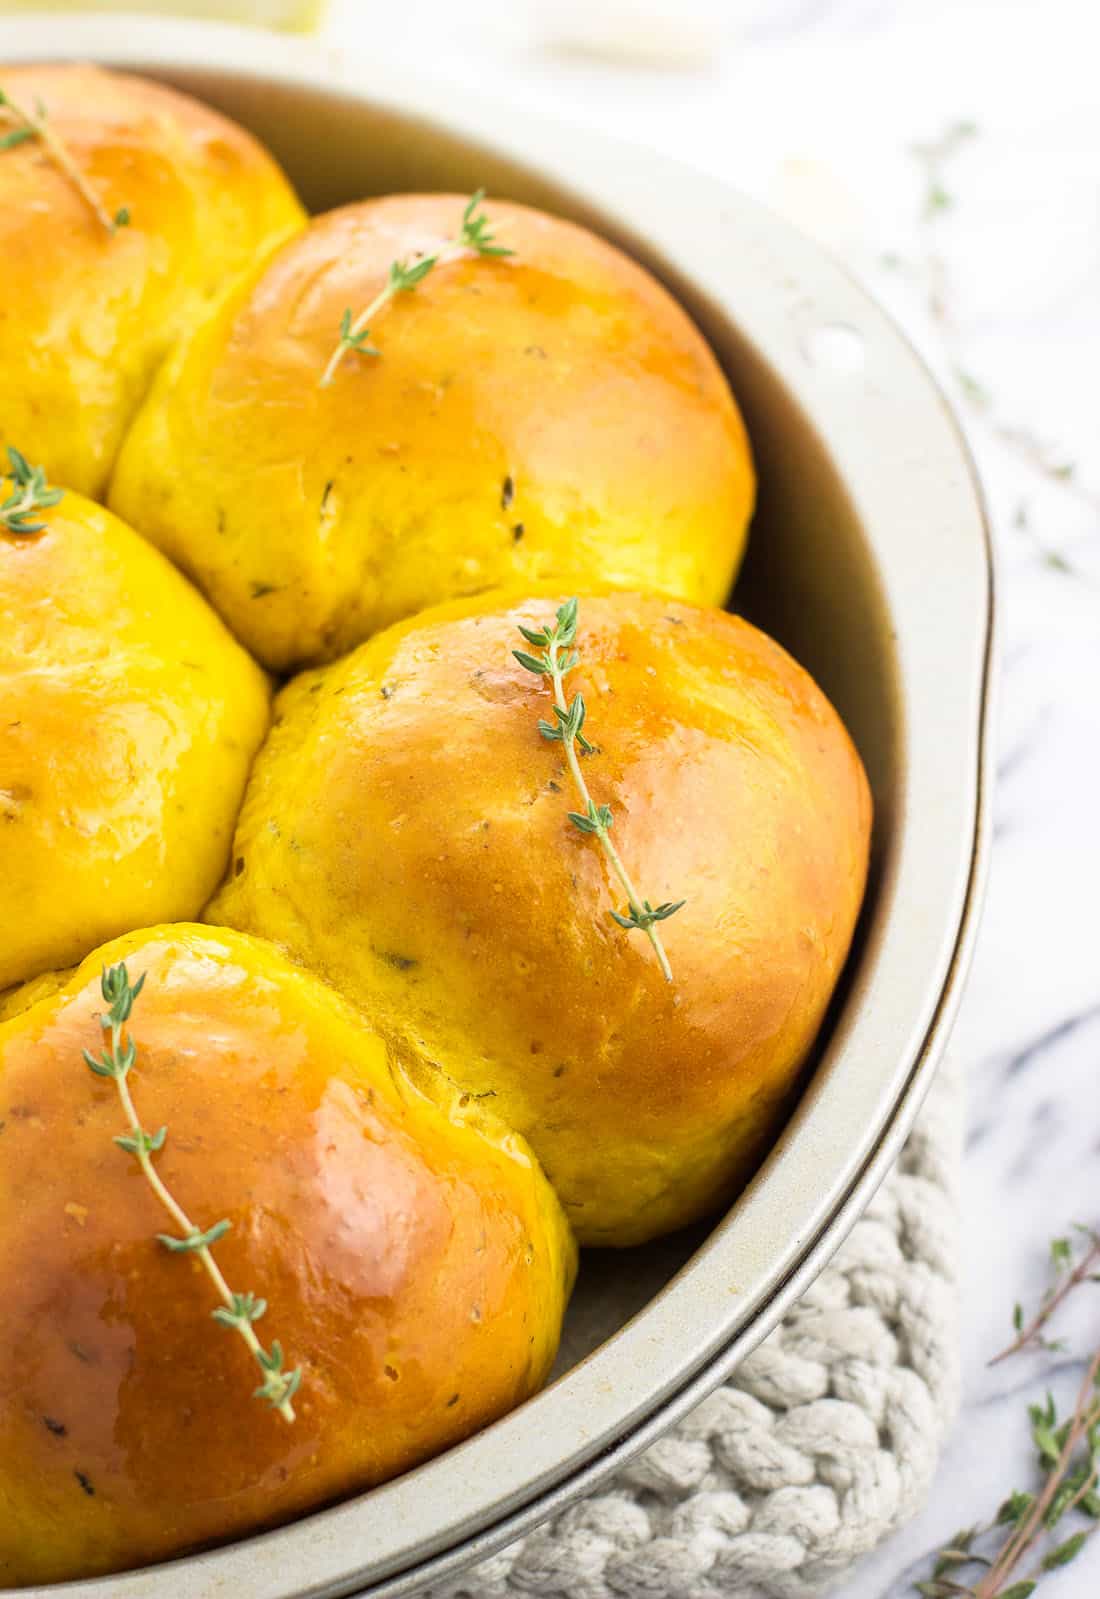
Bake them until golden-brown, then pull apart to see the fluffy, flaky layers inside. The pumpkin adds a subtle flavor that pairs so well with garlic and fresh herbs. What a great addition to a fall dinner table. 🙂
Make-ahead tip
Homemade rolls are always a special treat for entertaining and dinner parties, but between the two rises and bake time, they take up a fair amount of your day-of prep time.
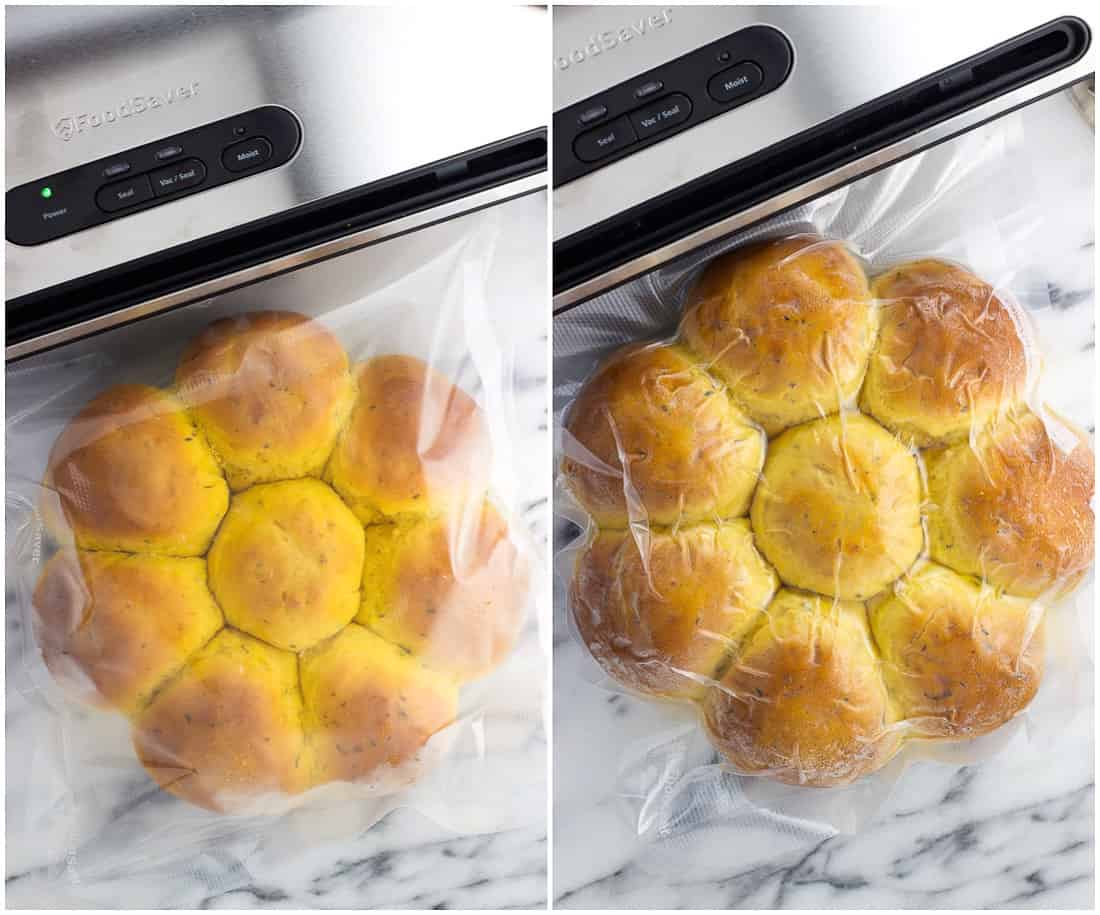
With FoodSaver® FM3941, you can prolong that fresh-baked flavor and prep these rolls in advance! As these pumpkin dinner rolls are soft, I flash-froze them until fully firm, then placed them in a FoodSaver® bag that I had made. The multi-layer, BPA-free vacuum-seal bags are flexible enough to hug food and seal effectively without gaps.
Once vacuumed and sealed, they can be stored in the freezer or at room temperature while maintaining freshness.
Recipe notes
- These rolls are nicely-sized, so they would make a great bun for burgers or a roll for sandwiches.
- It's better to add additional flour later on as needed than start out with too much. Start with adding 2 ½ cups as the dough first comes together, and then be prepared to add extra (two to four tablespoons) if needed.
- Be sure you are using 100% pure pumpkin puree and not pumpkin pie filling. The cans are usually next to each other on the shelf, but the pumpkin pie filling contains sweetener and spices that wouldn't work in these savory pumpkin dinner rolls.
Garlic and Herb Pumpkin Dinner Rolls
Ingredients
- ¼ cup warm milk (between 105 - 110°F)
- 1 ¾ teaspoon active dry yeast
- 1 ½ tablespoon granulated sugar
- 2 tablespoon olive oil
- 1 teaspoon salt
- 1 egg
- ⅓ cup plus 1 tbsp pumpkin puree
- 1 teaspoon diced fresh rosemary
- 1 teaspoon diced fresh basil
- ½ teaspoon diced fresh thyme
- 3 cloves garlic, minced or pressed
- 2 ½ cups all-purpose flour, plus more as needed
Instructions
- Add all ingredients to the bowl of a stand mixer fitted with the dough hook attachment. Mix on medium to high speed as the dough comes together. Add additional flour 1 tablespoon at a time (as needed) until the dough is pliable and not too sticky. I added an additional ¼ cup (4 tablespoons) during this step.
- Grease a separate bowl with olive oil and turn out dough into it. Pick the ball of dough up and turn it over to coat all sides of it with the oil. Cover the bowl with plastic wrap and let rise in a warm place for 1 hour. The dough will fill out and puff up some, but it doesn't need to double in size.
- Grease the bottom and sides of a 9" round pan with olive. Once the dough has risen, turn out dough onto a greased surface and cut into 8 equally-sized pieces. Roll each piece into a ball and place equally-spaced in the greased pan.
- Spray a piece of plastic wrap with cooking spray and place it over the rolls in the pan, spray-side down. Let rolls rise again for another 40-45 minutes, or until they touch one another. Preheat the oven to 350°F near the end of this rise time.
- Bake rolls for 25-30 minutes, or until they are golden and firm to the touch. If needed, loosely drape a sheet of aluminum foil over top of the pan to prevent the rolls from browning too much before they are done.
- Remove rolls from the oven and brush with olive oil or butter. Serve while warm.
Notes
Would you like to save this?
Plus receive periodic recipe newsletter emails.
Nutrition
Nutritional information is provided as an estimate. As it can vary due to many factors (brands used, quantities, etc.), we cannot guarantee its accuracy.
Food Safety and Nutrition Disclaimer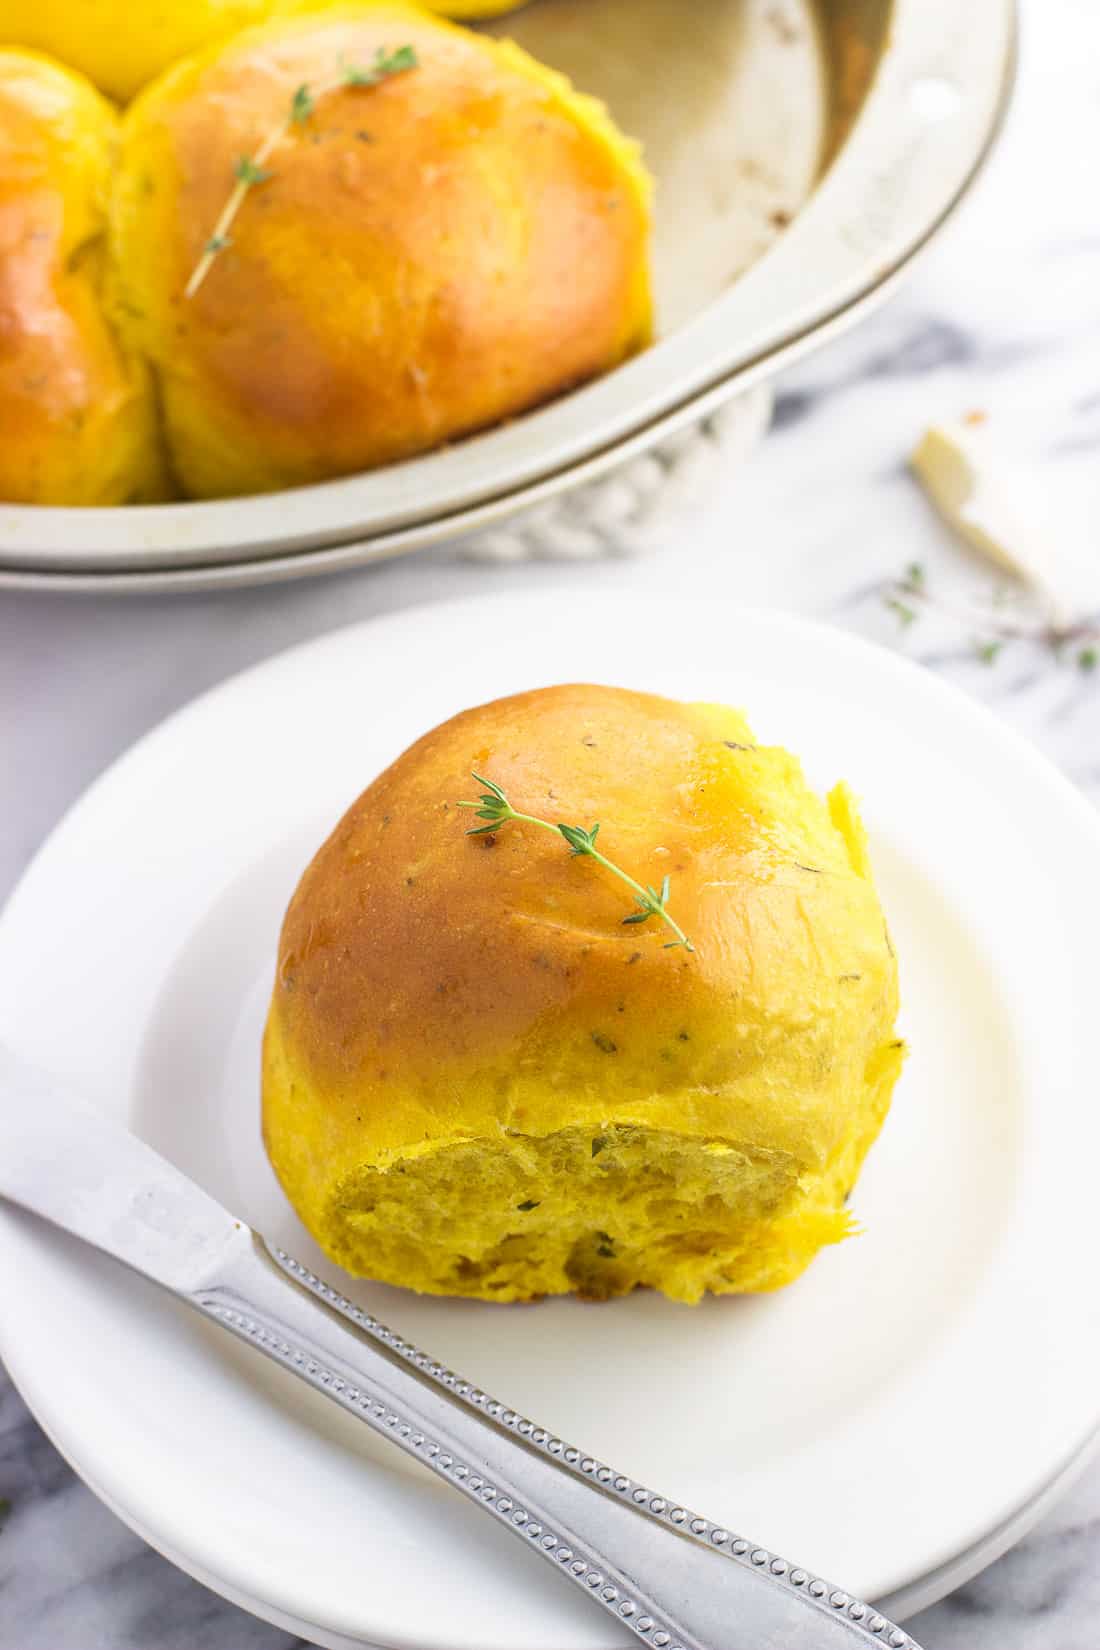
caitlin hanich says
These are delicious! I make them every Thanksgiving now. When they are finished baking, I unwrap the end of a stick of butter and rub in over the tops. So Good! I love using them Thanksgiving for turkey/cranberry sauce sliders!
Alyssa says
I'm so happy to hear these rolls have become a part of your Thanksgiving tradition, Caitlin! Thanks for leaving a review - those sliders sound delicious!!
Rosie says
WOW! So flavorful and DELICIOUS! Super easy too! I will most definitely make these again! Hoping to add them to our Thanksgiving menu!
Alyssa says
So glad you like them! Thanks for letting me know how they went. 🙂
Han says
Good recipe, I love the combination of flavors and opportunities to use some fresh herbs from the garden! I started by putting the milk, sugar, and yeast in a separate bowl to activate the yeast while I got the rest of the ingredients together. When making bread, I found that it works better when you add the flour last as it helps add the right amount of flour and allows the other ingredients to combine better. I definitely did not use all the flour and probably only used about 2 cups. The dough rose excellently and I definitely filled the 9” pan. The dough was already touching when I put them in the pan before the second proof. If I make these again I’ll probably use a baking sheet and make more rolls with the dough. These would make a great addition to Thanksgiving dinner!
Alyssa says
Thank you for your review! I'm glad you were able to tweak the recipe to your liking. And you're right - they would be an extra festive touch for Thanksgiving! 🙂
Wilhelmina says
These rolls are heavenly!!!
Alyssa says
Thank you!
Brandi says
Savory and so flaky! Our family favorite fall dinner rolls. oh and pumpkin makes it so flavorful!
Alyssa says
Glad you like them, Brandi! 🙂
Jane says
Just wondering...what about using bread flour?
Alyssa says
Hi Jane, you can use bread flour if you like. I use all-purpose because that's what I reliably have on hand, but subbing in an equal amount of bread flour should work just fine, too.
Sica says
What if I don’t have a stand up mixer with dough attachment
Alyssa says
Hi Sica, I'd start by mixing together the ingredients your preferred way (by hand, with a hand mixer, or by using a regular paddle attachment for a stand mixer). Then I'd knead the dough on a floured surface (and with extra flour, as needed) until it's elastic and smooth. Then you should be able to continue on with step #2. I hope that helps!
Allynne says
Omg perfection in a roll!
Alyssa says
Thank you!!