
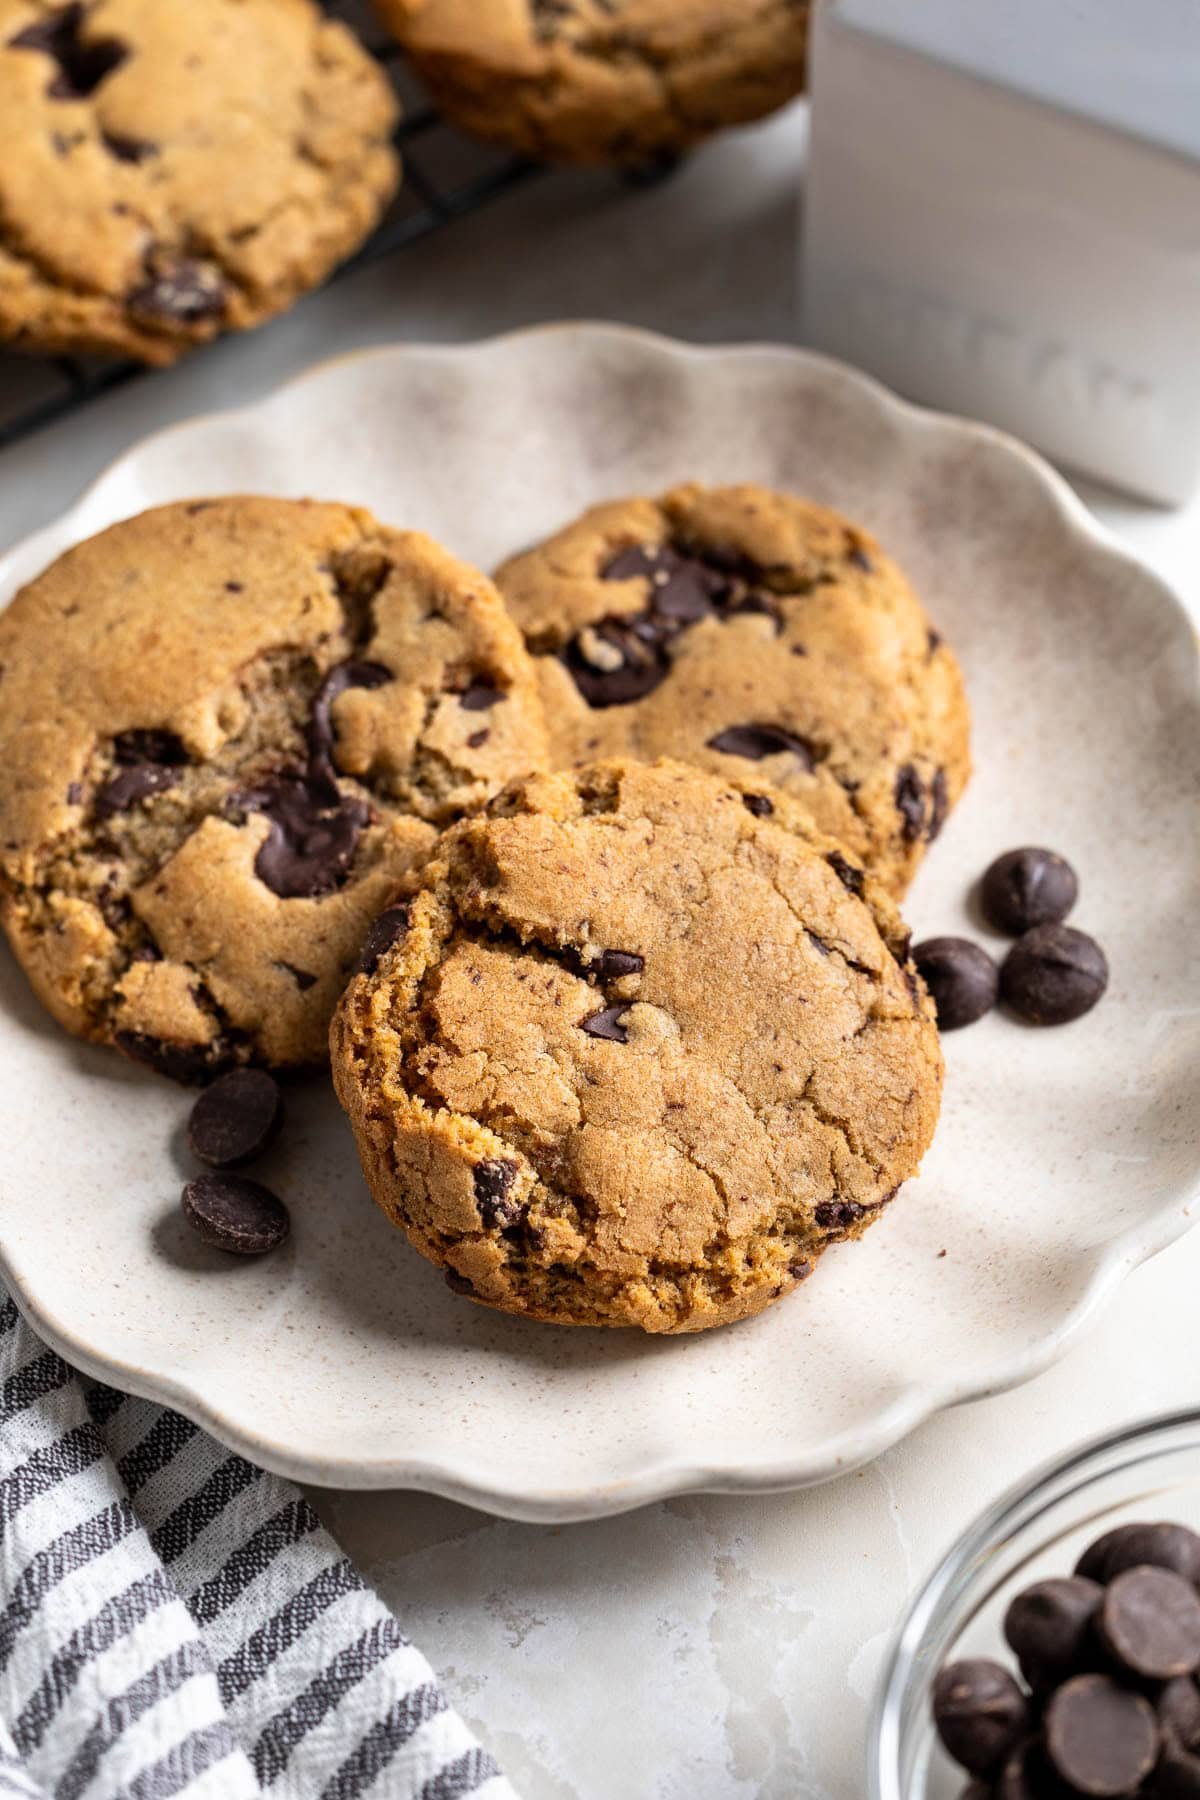
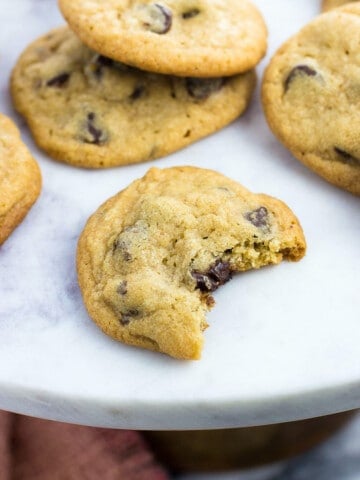
This easy recipe for olive oil chocolate chip cookies balances crispness with chew and vanilla-forward sweetness with bursts of deep bittersweet chocolate for some of the best olive oil cookies you may have ever had. Whether you choose to bake with extra-virgin olive oil, light olive oil, or a blend of the two, you'll enjoy quick-prep chocolate chip cookies with a rich, caramelized flavor - no butter needed. One batch makes sixteen perfectly-sized cookies.
Holy smokes am I a fan of chocolate chip cookies made with olive oil.
There are lots of different kinds of chocolate chippers out there, from the thin and crisp, to the tall and bakery-style soft, to ones that look like they barely kissed the oven to others that are a deeeeeep golden-brown.
Born out of my impatience with softening butter sticks, I zhuzhed my house recipe to account for using liquid fat and wanted to see if I could thread the needle to achieve cookies that weren't too thin or too thick and still had a softer center but a golden-brown all-over crispness. After many tests, I think these craggy beauties deliver.
If you're unfamiliar with baking with olive oil in desserts, please don't be afraid! You don't have to go full extra-virgin here. In fact, I recommend not using all extra-virgin olive oil unless you're a huge fan of olive oil flavor in desserts. Oil helps achieve really crisp, caramelized cookie edges, with a uniquely complementary flavor to chocolate (and molasses and warm spices, like in gingerbread pizzelle)
I think these chocolate chip olive oil cookies are at their best when you use at most half extra-virgin olive oil and half light olive oil, which is very neutral in flavor. Using more light olive oil than extra-virgin is totally fine, too.
P.S. If I've convinced you to give olive oil a chance in sweet recipes, check out my lemon yogurt cake with olive oil, too. That flavor really works well with citrus!
Why Make Chocolate Chip Cookies with Olive Oil instead of Butter?
- There's barely any ingredient prep work. There's no need to soften butter or go through the steps of browning it. You can jump right into making this olive oil chocolate chip cookie dough whenever the craving strikes.
- You control the flavor. You can make these cookies with neutral extra-light olive oil, fruity extra-virgin olive oil, or any combination therein, so don't worry that the olive oil flavor might come through too strong.
- Best of both worlds texture. Using a liquid fat in cookies helps to achieve crisper, caramelized edges while maintaining a softer, chewier center.
- They're friendly to certain ways of eating. Phrased a little strange but I'm not about making sweeping health statements! While these cookies are absolutely standard dessert cookies, olive oil is considerably lower in saturated fats than butter, if you're looking to limit your intake of those. And choosing dairy-free chocolate chips can result in these being dairy-free chocolate chip cookies.
Cookie Ingredients

- Olive Oil: Light or extra-virgin olive oil can be used in cookies, though keep in mind if using at least half/all extra-virgin, you will be able to taste it in the final result. If you're not sure how much you'd like that flavor in a baked good, I recommend using all extra-light or light olive oil, going up to half extra-virgin, with the other half (or more) light olive oil.
- Brown Sugar: Dark brown sugar, with its extra bit of molasses, amplifies the caramelized flavors even more so it's my pick. That said, if all you have is light brown sugar that will work fine, too.
- Granulated Sugar: This balances the brown sugar as it helps the cookies spread.
- Flour: I recommend measuring in grams for the most precision, but if you don't have a kitchen scale, stir the flour up in the bag/canister, spoon it into your dry measuring cup until overflowing, then level off the top with a straight-edge, taking care not to pack the flour into the cup and condense it.
- Cornstarch: My favorite chocolate chip cookie secret ingredient. This helps maintain a taller, chewier center while the edges turn beautifully golden-brown and crisp.
- Baking Soda: Reacts with the brown sugar to give these cookies lift.
- Instant Espresso Powder: Optional, but is mixed into the dough to amplify all this chocolate-y goodness. It doesn't make the cookies taste like coffee. I buy a small glass jar (with a green lid) from the coffee aisle as it's about half the cost of espresso powder from baking supply retailers.
- Chocolate Chips: Like Regina George's army pants and flip flops, I heard America's Test Kitchen voted 60% bittersweet chocolate chips the best for cookies, so I bought 60% bittersweet chocolate chips for cookies. They're not wrong - I think they're incredible here. (Totally use your favorite, though!)
Step-by-Step Instructions
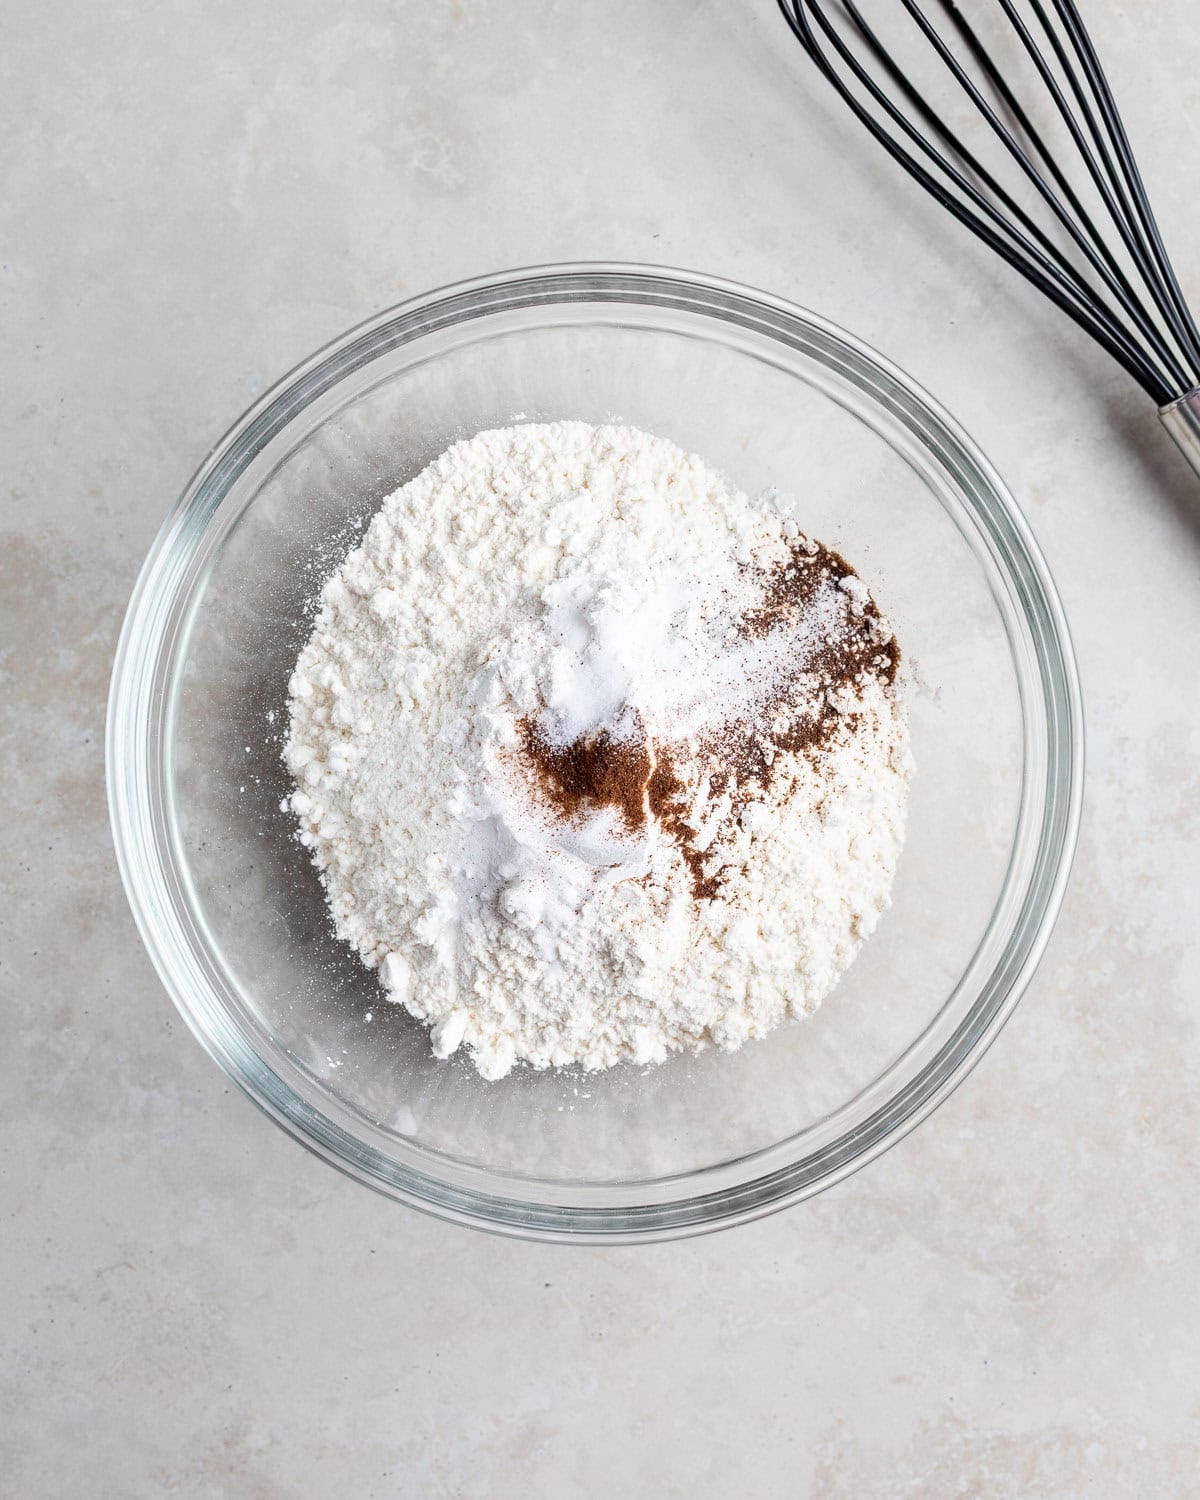
- Step 1: Whisk together all dry ingredients in a bowl.

- Step 2: Separately mix olive oil, brown sugar, and granulated sugar on medium speed for 1-2 minutes. The consistency will be like very, very wet sand.

- Step 3: Mix in the egg and vanilla extract.

- Step 4: Add the dry ingredients to the bowl of wet ingredients and mix until just combined.

- Step 5: Stir in the chocolate chips. It's normal for the cookie dough to be shiny and fairly firm. It should not be sticky or overly greasy.

- Step 6: Chill for 20-30 minutes, then scoop balls of dough onto parchment-lined baking sheets. Leave at least 2 inches of space between them.

- Step 7: Bake at 375°F for 8-13 minutes, or until the edges are golden brown, at minimum (see below for more details on achieving your perfect chocolate chip cookie doneness). Let cookies cool on the baking sheet for 10 minutes before removing to a wire rack to cool completely.
Chocolate Chip Cookie Bake Time
How 'done' you like your chocolate chip cookies varies based on preference, hence the wide bake time range listed here. Extra soft cookies won't experience as much Maillard reaction and won't have as much of that caramelized flavor, while nicely golden-brown, crisper cookies aren't as soft and chewy. The choice is up to you.
If you're all about a chewier, softer cookie middle, check them at the beginning of the range and pull the cookies just as the edges are browning but the tops are still light-to-medium golden. The top crust will likely feel set, but with a noticeable squish underneath. Keep in mind if using dark brown sugar, the raw cookie dough will start out darker than you might be used to.
But if you want as much of that golden-brown, toffee-like, caramelized crispness as you can get (this is me), keep your cookies in the oven for a few minutes longer, until they're evenly golden brown across the top surface with deeper browned sides.
How I Tested These Cookies
Much like when it came to testing my Italian ricotta cookie recipe, these chocolate chip cookies with olive oil got a lot of face time in my kitchen. By my records I made them eight times to land on this recipe.

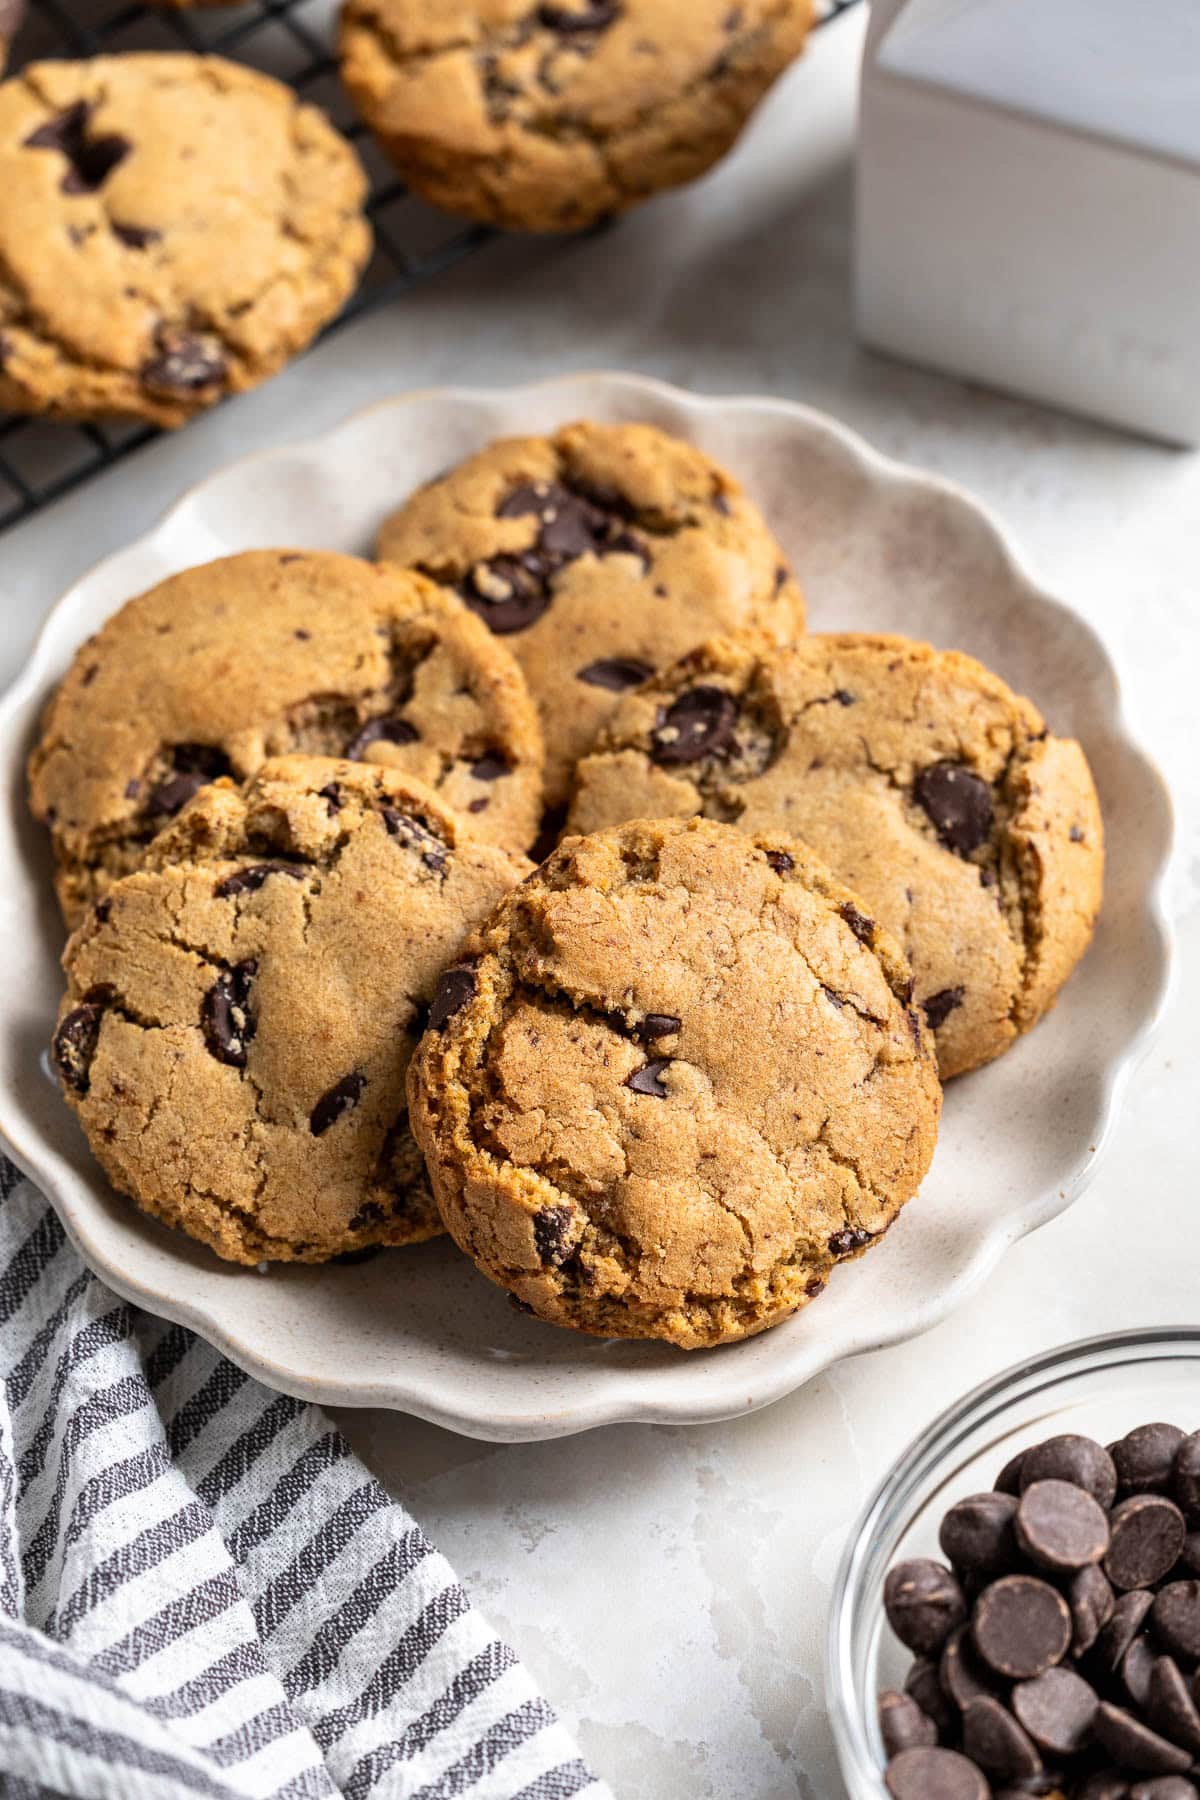
The good news? The last few batches were all fabulous. They essentially all tasted the same, which is to say they had that quintessential chocolate chip cookie flavor with caramelized crisp edges and a softer center. It was truly splitting hairs...and maybe extra excuses to crank out a fresh batch of olive oil chocolate chip cookies.
- Different olive oil percentages - I've experimented making these cookies with all extra-virgin olive oil, all light olive oil, half and half, and one-quarter extra-virgin (2 Tbsp)/three-quarters (6 Tbsp) light olive oil. The dough behaves the same so it's a matter of personal taste preferences. My favorite is half extra-virgin/half light, but all light olive oil is honestly delicious, too.
- Different extra-virgin olive oils - My favorite extra-virgin olive oil to bake with is the Kirkland Signature organic extra-virgin olive oil as I find it has a fairly middle-of-the-road flavor - not too strong. Tests with a more robust extra-virgin olive oil, even when combined with light olive oil, were a little too peppy and distracting to the flavor. The bottles usually call out some flavor notes so you know what you're getting.
- More/less vanilla extract - Tested one tablespoon of vanilla but didn't find it made an impact, so cut back a little bit. Why waste it?
- Different types of chocolate - There's no wrong answer, but I've tried all semi-sweet, blending milk/semisweet/dark, all bittersweet, etc. and it's just a matter of what you like. I think 60% bittersweet balances the flavors really well so that's my go-to. You can also chop up bars of chocolate into chunks if you'd like more puddle-y melty areas.
- 325°F vs. 350°F vs. 375°F - It's 375°F for me! The hotter temperature heats up the pan more efficiently and "sets" the bottom of the cookie more quickly, leading to a bit less spread, achieving golden-brown caramelized edges and top crust with a still-soft center.
- Smaller vs. larger scoop - Larger wins as you get more of a chewy center area in the time it takes for the edges to caramelize and brown.

Recipe Tips and Tricks
- Measuring chocolate chips - For my measure-from-the-heart-ers, I would not add more than the stated one cup of chocolate chips. These are chocolate-packed cookies and adding more may make the dough tough to hold together.
- Sweet and salty - If desired, sprinkle flaky sea salt (such as Maldon) over top of the scooped cookies before baking. It's an especially nice flavor pairing if using a extra-virgin olive oil in the dough.
- Baking best practices - Use fresh (cool) baking sheets for each batch of cookies. Warm/recently used sheets will cause excess spreading. Sheets of parchment paper can generally be reused between batches if not discolored. Do not grease the pans as that can also cause excess spread.
- Extended chilling - If chilling this olive oil cookie dough for a longer amount of time, let it sit out at room temperature for around 10-15 minutes to take some of the chill off. You risk breaking your cookie scoop if the dough is too hard.
- Cookie height - Chilling the dough for around 30 minutes is my personal sweet spot for cookies that aren't too thick/thin. If chilling the dough for 60 minutes or longer, flatten the balls with the heel of your palm until the dough is in a hockey puck shape. This helps them spread appropriately.
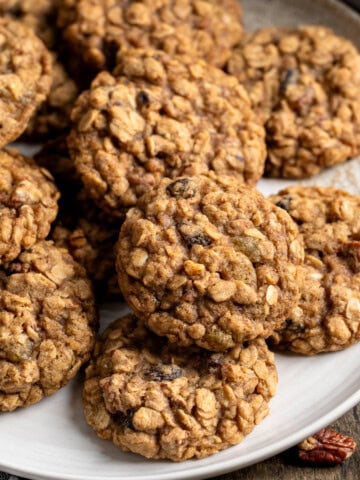
More Cookie Recipes
These cookie recipes are all a step away from their traditional versions, but are just as delicious as their standard counterparts (maybe even more so)!

Did you enjoy this recipe? I’d love for you to leave a star rating and a comment review in the recipe card below!

Olive Oil Chocolate Chip Cookies
Ingredients
- 1 ¾ cups (215g) all-purpose flour
- 2 Tablespoons (16g) cornstarch
- ¾ teaspoon baking soda
- ½ teaspoon instant espresso powder optional
- ¼ teaspoon fine salt
- ½ cup (100g) olive oil (see note on types)
- ¾ cup (160g) packed dark brown sugar (light brown sugar is okay, too)
- ⅓ cup (66g) granulated sugar
- 1 large egg
- 2 ½ teaspoons vanilla extract
- 1 cup (160g) roughly chopped chocolate chips 60% bittersweet recommended!
Instructions
- Whisk together flour, cornstarch, baking soda, espresso powder (if using), baking soda, and salt in a medium mixing bowl until well-combined.
- Add olive oil, brown sugar, and granulated sugar to the bowl of a stand mixer (or separate, larger mixing bowl if using an electric hand mixer). Beat for 1-2 minutes on medium-low speed to thoroughly combine, stopping to scrape down the sides of the bowl as needed.
- Mix in the egg and vanilla extract.
- Add the dry ingredients to the bowl of the wet ingredients and mix in until just combined.
- Mix in the chocolate chips. This may be easier done if stirred by hand to ensure the chocolate is evenly distributed throughout the cookie dough.
- Cover the mixing bowl snugly with plastic wrap and chill dough in the refrigerator for 20-30 minutes (chilling longer is fine, see note on shaping the dough if doing so).
- Preheat oven to 375°F and line two large baking sheets with parchment paper. Using a 2-Tablespoon capacity cookie scoop, scoop cookie dough, pressing it densely into the scoop. Release the dough balls onto the prepared pans with at least two inches of room between them. If you prefer rolling scooped cookie dough into spheres, it's easier to press the balls into spheres between your palms versus doing the full rolling-into-a-circle motion, which can cause them to break apart. I usually fit no more than 8 cookies on an 18-by-13 inch pan.
- Bake for 8-13 minutes, or until edges are golden-brown and the top surface has browned to your liking. This is a big range to account for the different levels of doneness people prefer when it comes to chocolate chip cookies. Pulling the cookies earlier in the range will result in a softer, chewier center, while later in the range produces more toast-y, caramelized crispness (less chewy). Check on them at the early end of the range and bake for as long as you like.
- Let cookies cool on the baking sheet for 5-10 minutes before transferring to a wire rack to cool completely. Store once cooled in an air-tight container at room temperature.
Notes
- What kind of olive oil to use? I recommend NOT using all extra-virgin olive oil here unless you know you love that flavor in desserts. It has a strong taste. Consider using half extra-virgin and half light olive oil (or mostly light olive oil with a couple tablespoons of extra-virgin) for a present but less bold flavor, or all extra-light/light olive oil for very little to no discernible olive oil flavor.
- Sea salt - Sprinkle flaky sea salt on top of the cookies before baking if you like sweet and salty desserts. This works especially well with the flavor if using extra-virgin olive oil in your dough.
- Chill time - It's fine to chill the cookie dough longer than 30 minutes. If doing so, let the bowl of dough sit out at room temperature for 10-15 minutes before scooping. Dough that is too firm risks breaking your cookie scoop. If chilling longer than 60 minutes, flatten cookie dough balls with the heel of your palm into a hockey puck shape to help them spread appropriately.
- Cookie scoop size - If using a 1 ½-Tbsp cookie scoop, decrease bake time to 7-8 minutes, checking to see when you'd like them done.
Would you like to save this?
Plus receive periodic recipe newsletter emails.
Nutrition
Nutritional information is provided as an estimate. As it can vary due to many factors (brands used, quantities, etc.), we cannot guarantee its accuracy.
Food Safety and Nutrition Disclaimer
Comments
No Comments