

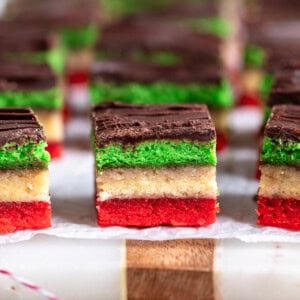
From their spongy, cake-like layers to their iconic coloring to the best flavor trifecta featuring almond, raspberry, and chocolate, Italian rainbow cookies aren't just a bakery treat! This post walks you through making tricolor cookies from scratch, with plenty of step-by-step photos and every helpful detail along the way.
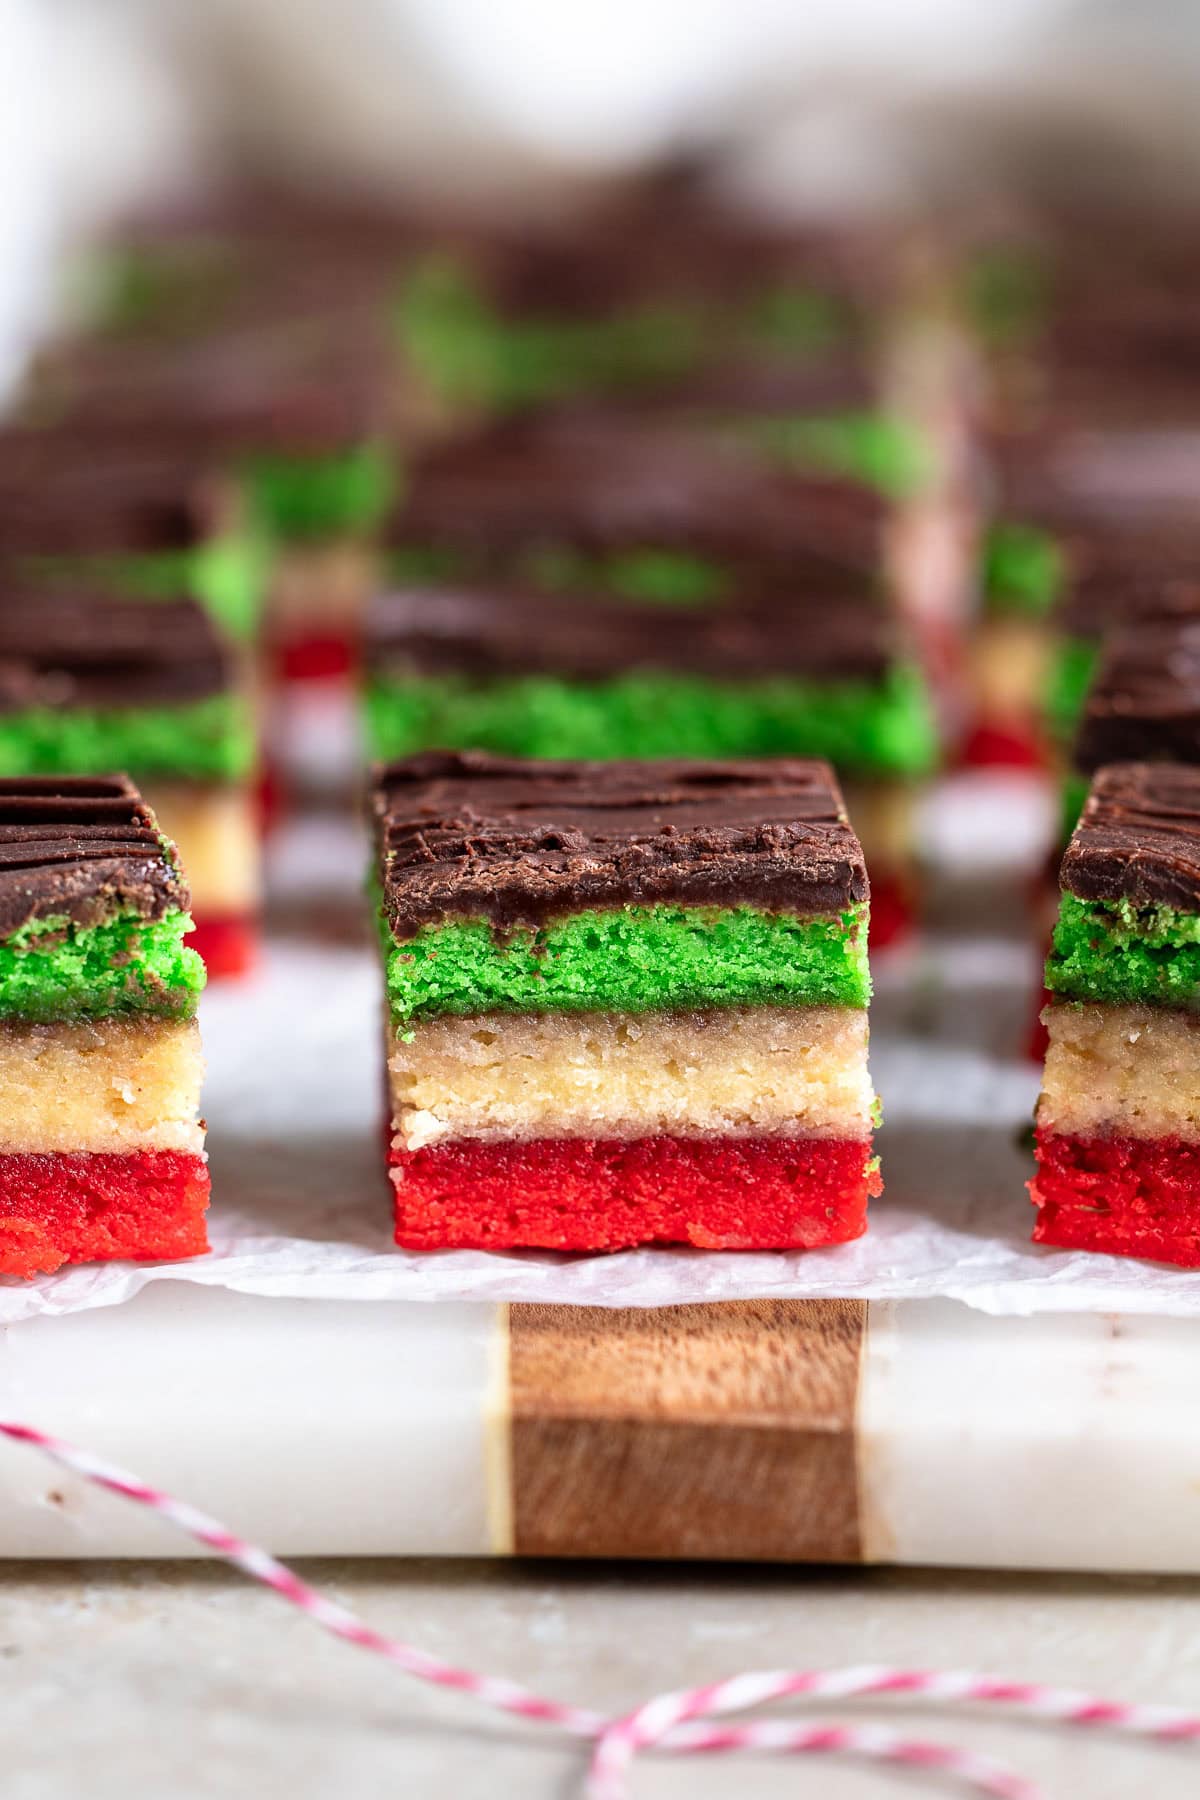
I'm fortunate to have grown up in a home where Italian rainbow cookies attended every birthday, holiday, and party. Italian bakeries are just one of the perks of living in New Jersey.
For a few years we'd get a rectangular slab of uncut rainbow cookies with piped "happy birthday" lettering on top of the chocolate for my birthday cake. As Ina would say, how fabulous is that? I've never been able to get enough.
Living far from home (though not for long...), I've gotten comfy with making rainbow cookies myself, though right from the jump I'll say they're not the simplest or quickest cookie to make. There's a reason we pretty much always bought them at the neighborhood bakery rather than make them ourselves.
They're a two-day project that requires you to track down almond paste, fiddle with food coloring, whip egg whites, and perhaps worst of all clear out out a fair amount of space in your fridge for the cookies to rest overnight.
Thankfully one batch makes a ton, freezes well, impresses everyone, and is 100% worth it.
Jump to:
The Rainbow Cookie 4-1-1
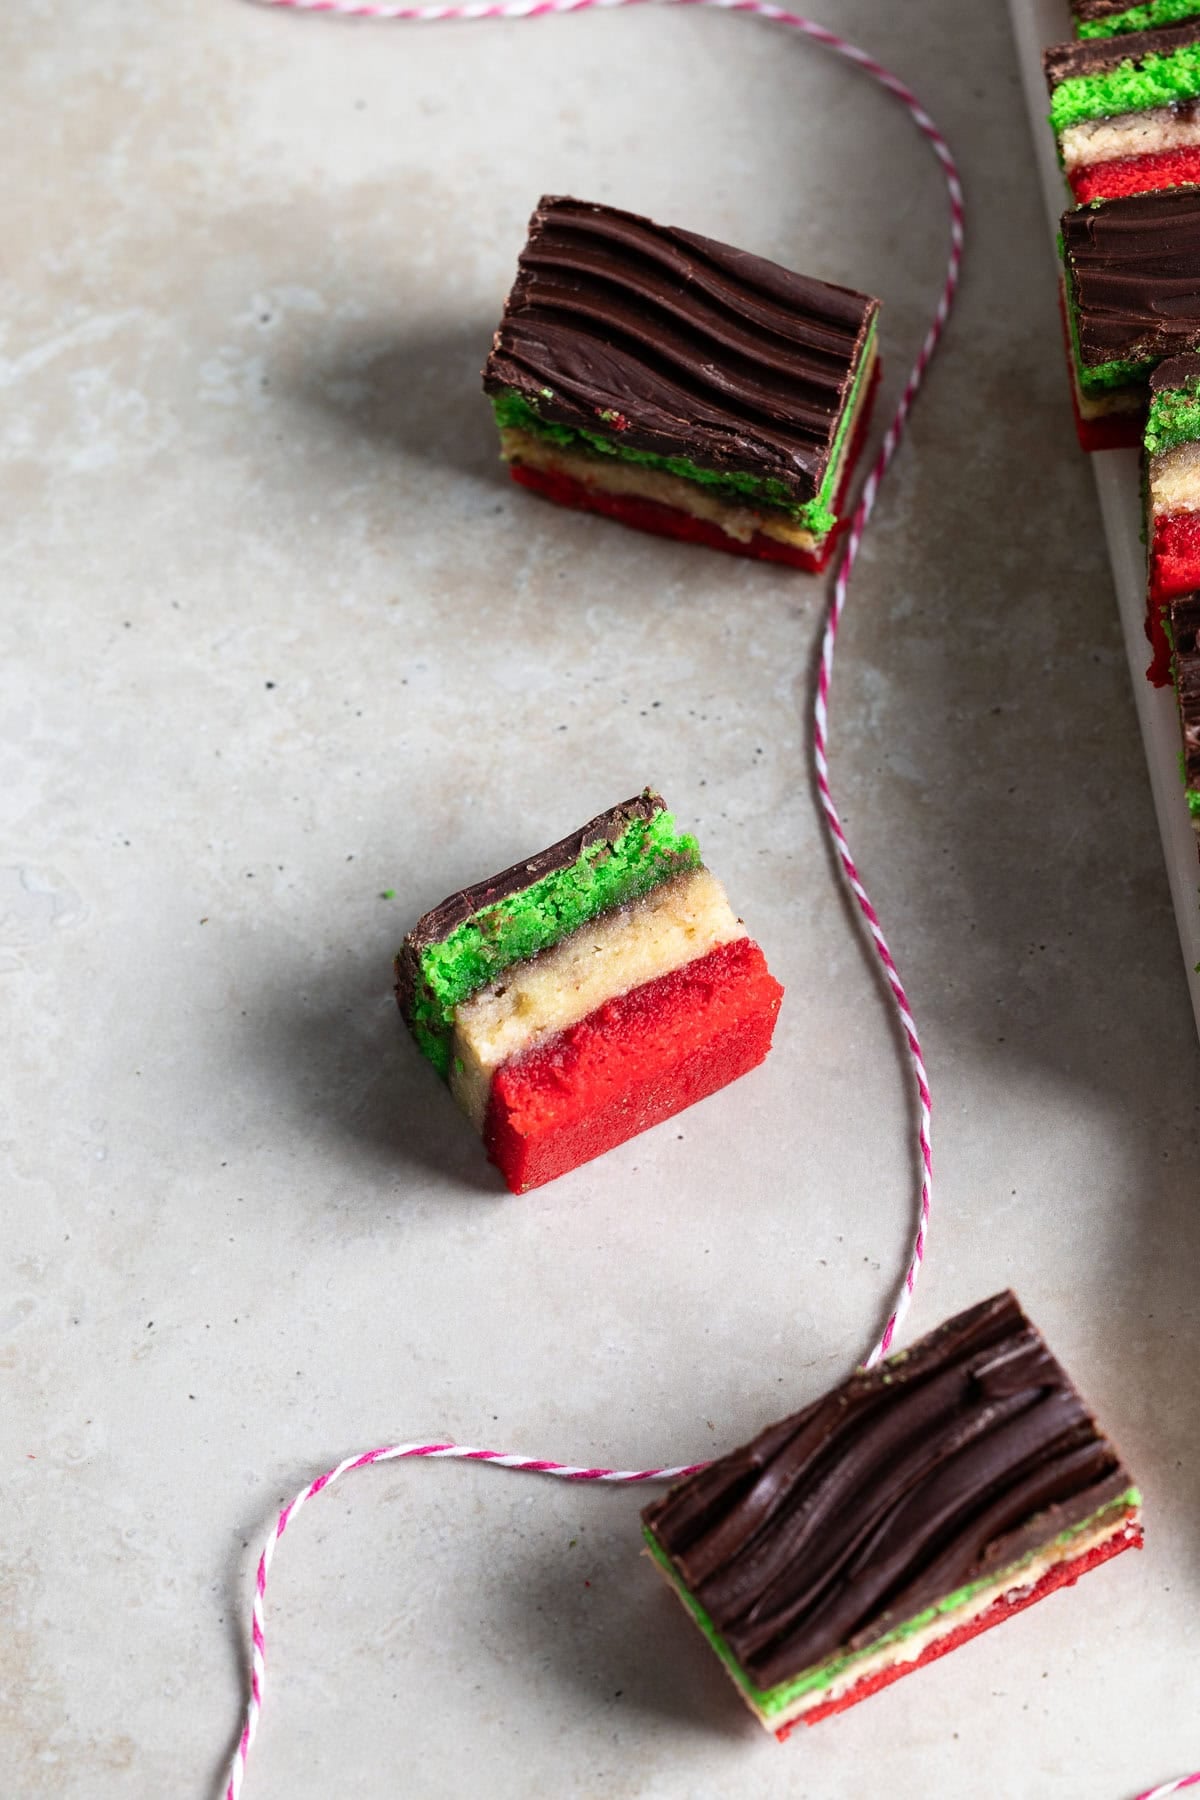
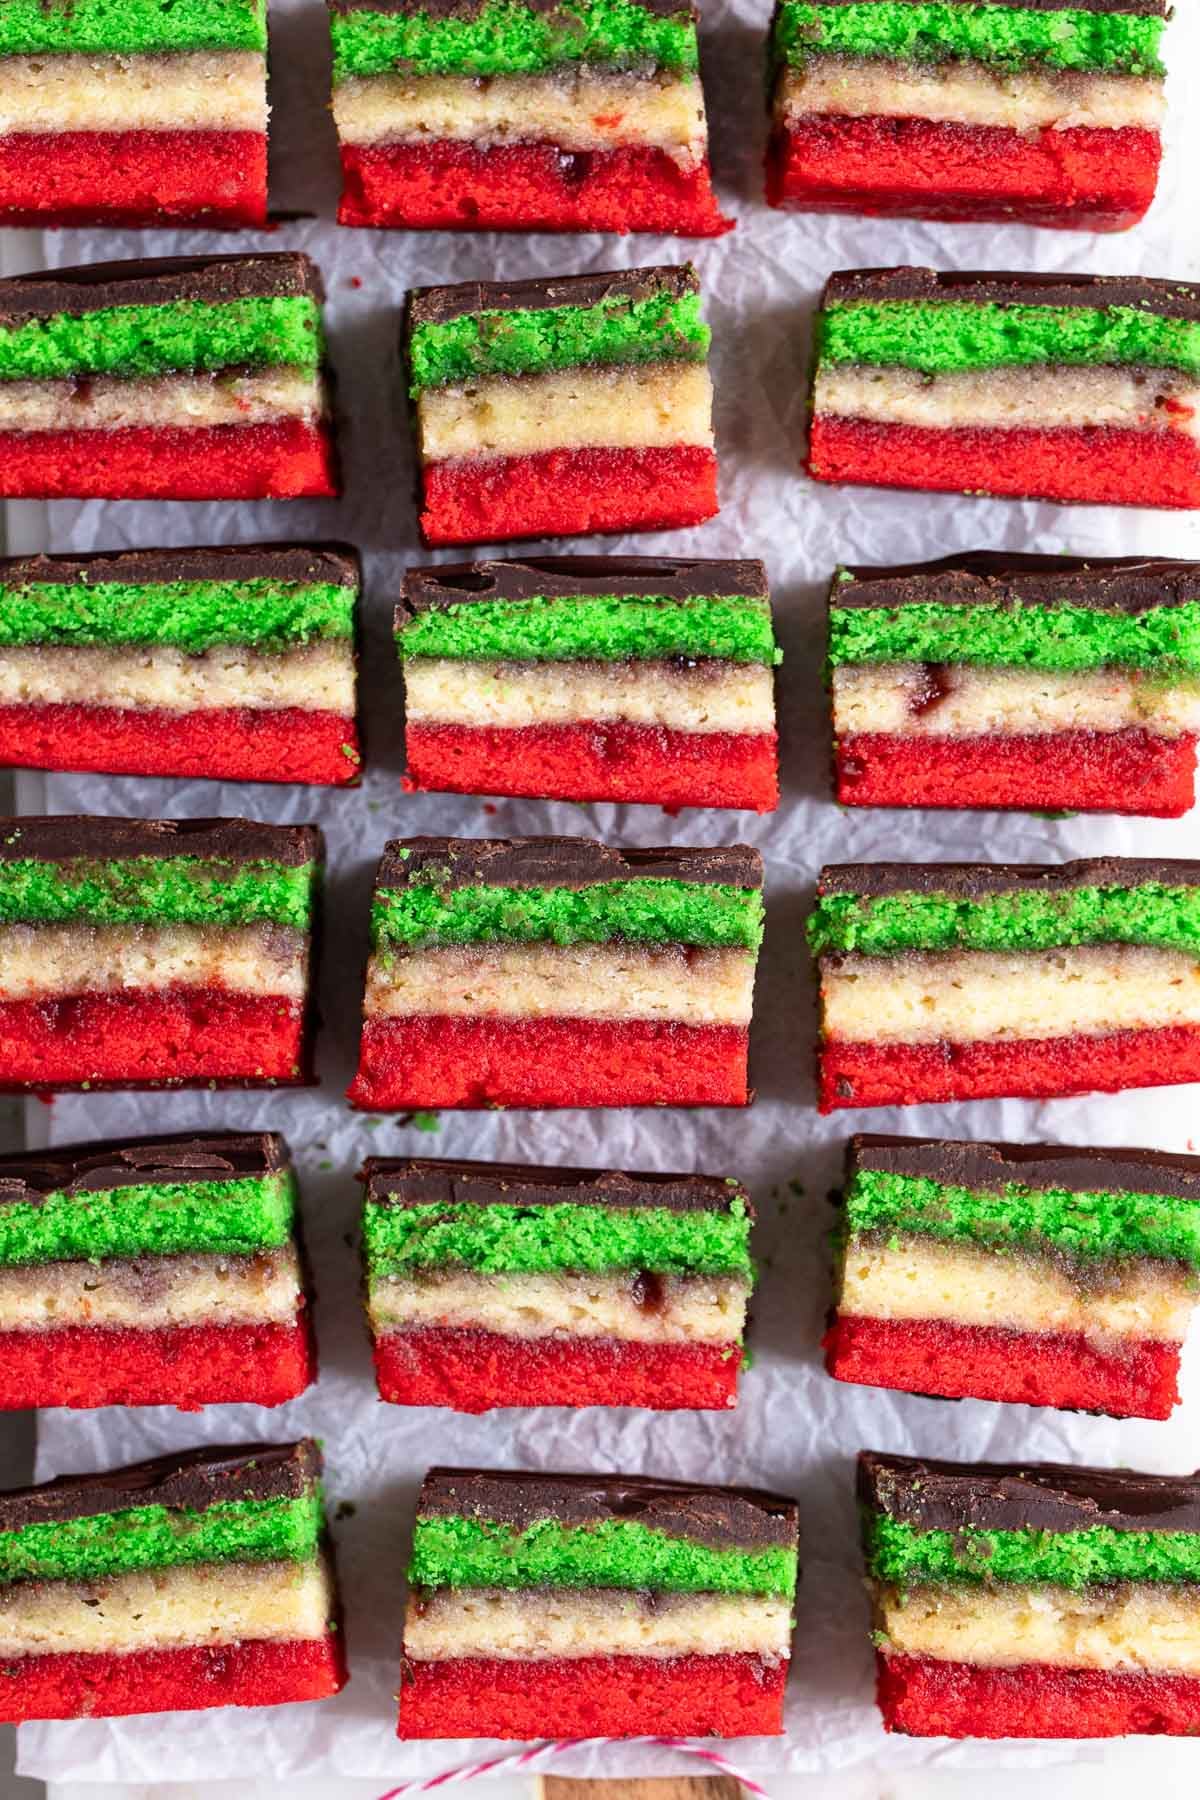
Known as tricolor cookies, seven-layer cookies (three cake/two jam/two chocolate layers...though I just do one chocolate) or Italian flag cookies due to their red, white, and green stripes, these tricolor cookies are almost more cake- than cookie-like due to their spongy, soft almond-flavored layers. Throw in raspberry jam and chocolate and there's a reason they're pretty much always the first cookies eaten when you bring a pound or two assortment from the Italian bakery anywhere.
A flavor note: Apricot jam is sometimes used in place of raspberry jam in one or both of the jam layers. I strongly prefer raspberry jam so I leave apricot in the dust, though of course swap it in if it's more your thing.
Rainbow Cookie Ingredients
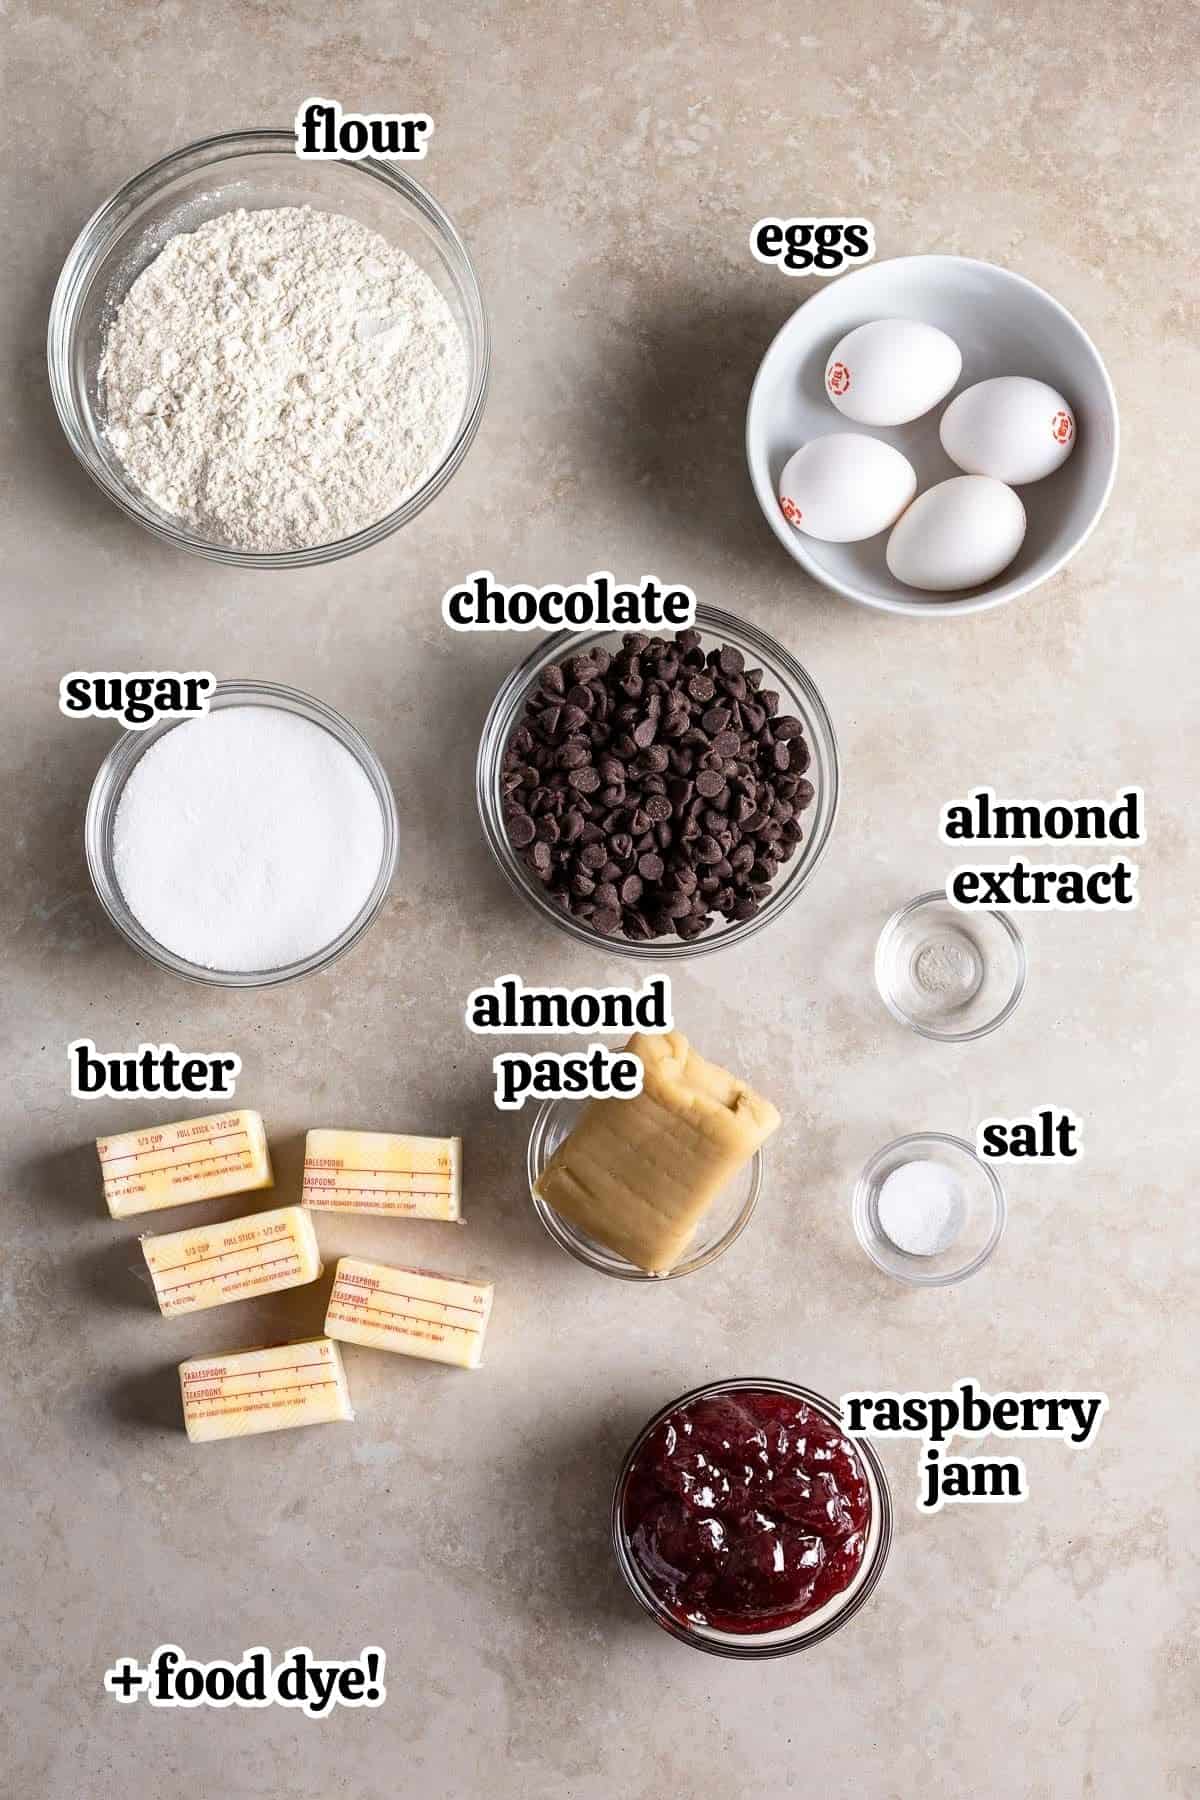
- Eggs: It bears repeating in a few places but these will be SEPARATED. Whipping the egg whites gives the cake layers their height as there isn't any leavening agent (like baking soda/powder) here.
- Almond paste: You'll find this in the baking aisle, often in both 7- and 8-ounce packages depending on the brand. It comes in boxes with either foil-wrapped tubes or more squared-off packets (pictured) inside. I use 8-ounce (more of that delicious almond flavor!) but I have used 7 ounces before and honestly there wasn't a big difference.
- Chocolate: Choose your favorite type. I often go with semi-sweet chocolate (around 50% cocoa content), but have used 60% bittersweet and even a lower-percentage dark chocolate (70%-ish) and it's all good.
- Raspberry jam: We want smooth jam, so make sure to use seedless. If all you have includes seeds, heat the jam up and press it through a mesh sieve to remove the seeds before spreading onto the cookies. Annoying, but worth it.
Don't Stress the Precision
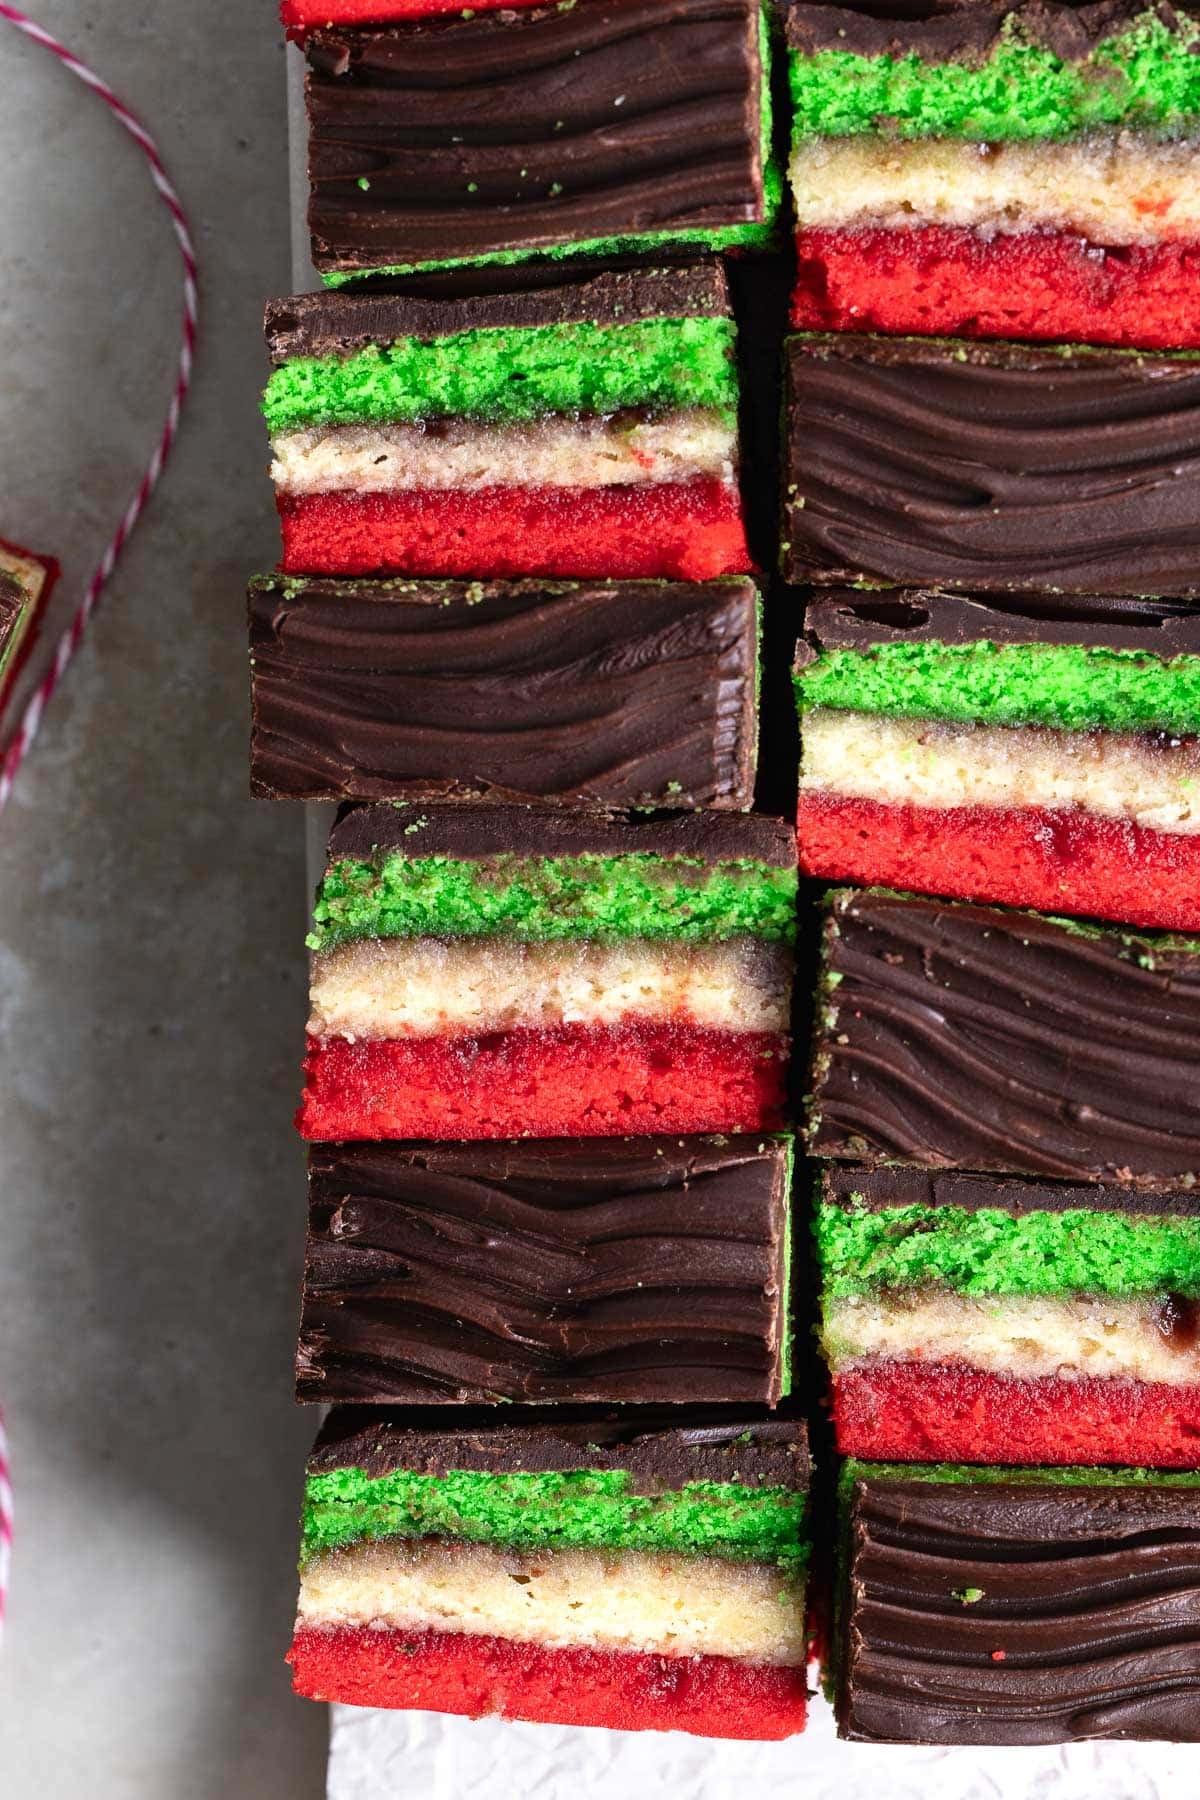
Making homemade rainbow cookies can seem daunting, but please don't stress. I get agita when it comes to pretty desserts that seem like they should be aesthetically-exact with perfect, even layers and not a crumb out of place.
The reality is that even the very best Italian bakeries have imprecise rainbow cookies with lovingly wonky layers, visible air bubbles, chocolate that's thicker here and thinner there, with some crumbs hanging off the sliced edges. Just do your best!
How to Make Italian Rainbow Cookies
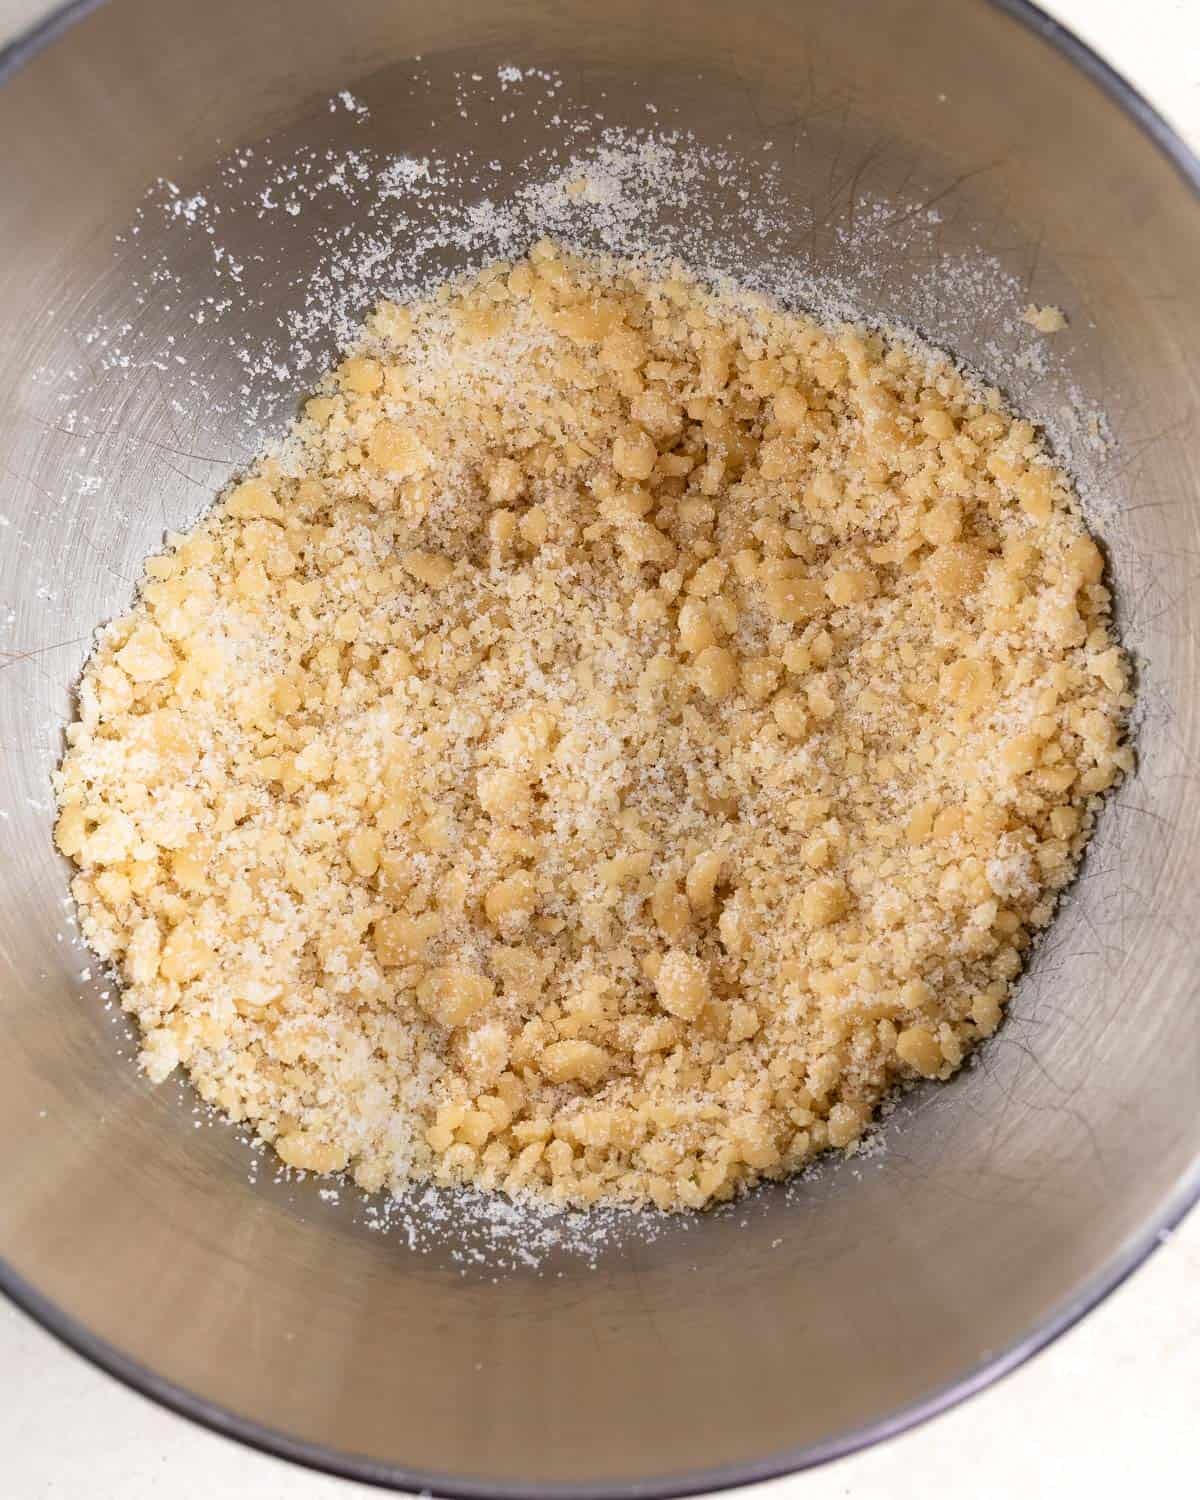
- Step 1: Crumble the almond paste into a mixing bowl and add a portion (¾-cup) of the granulated sugar. Mix well to combine, breaking up the almond paste into small pieces.
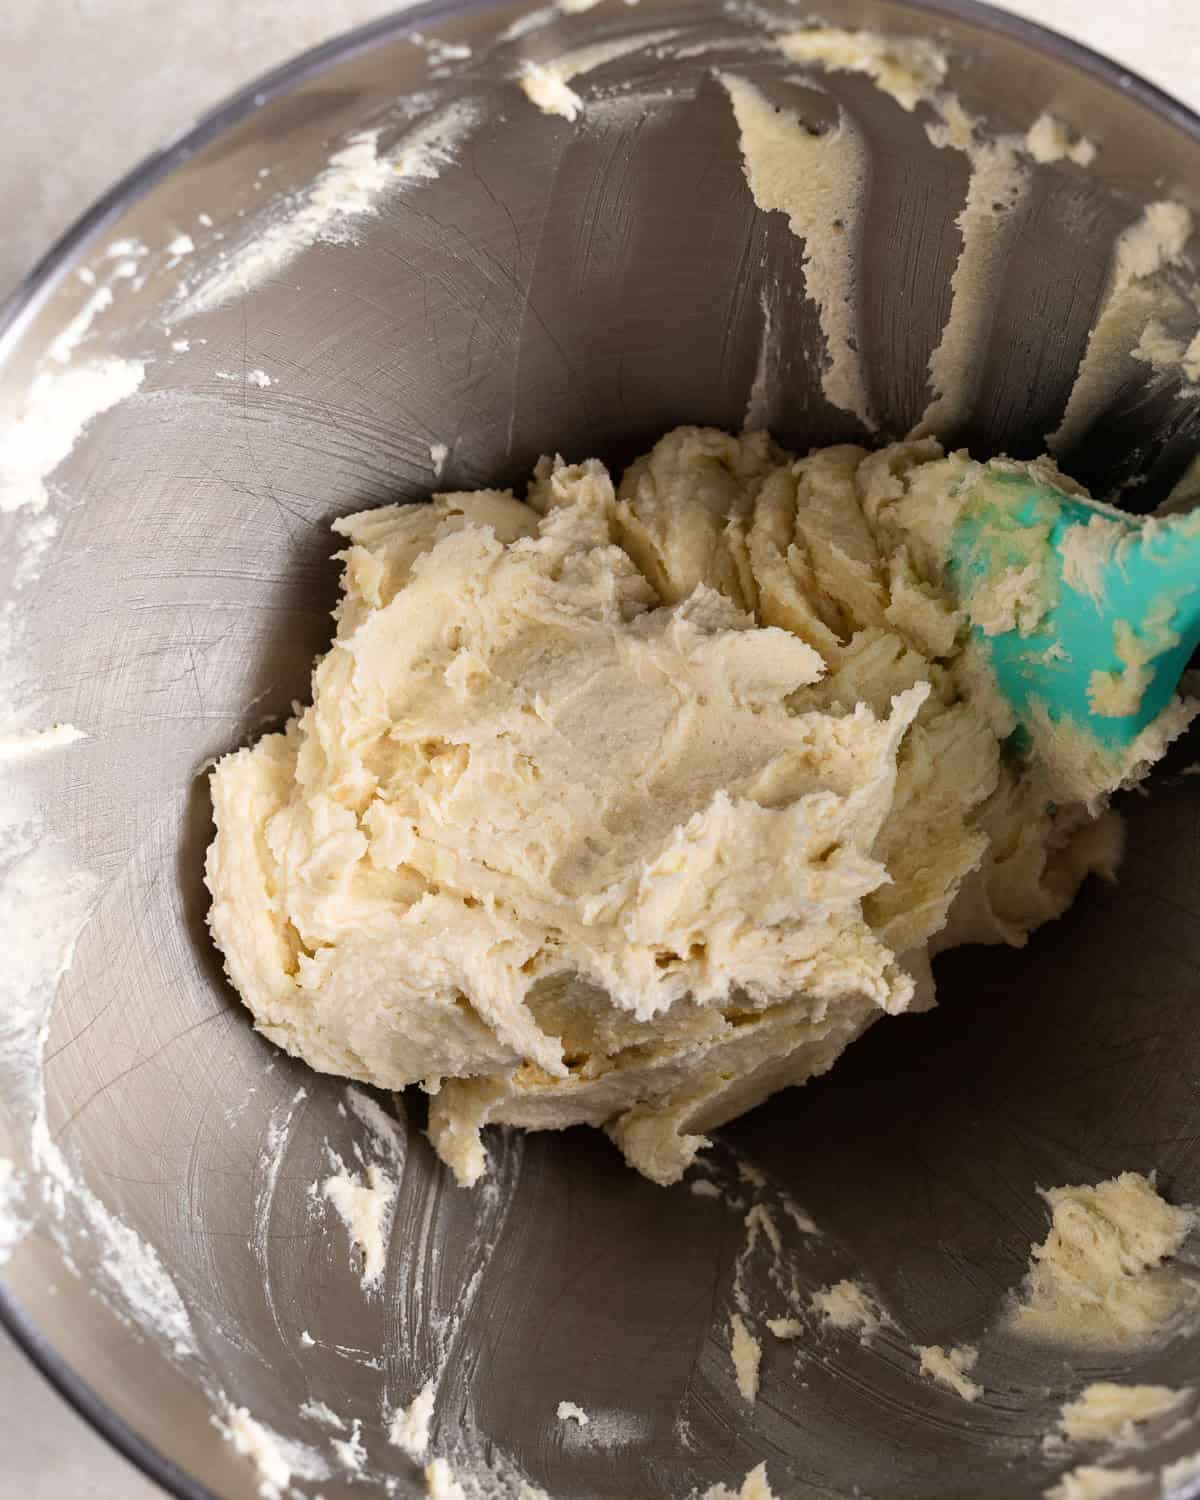
- Step 2: Mix in the softened butter for 2-3 minutes until light and creamy.
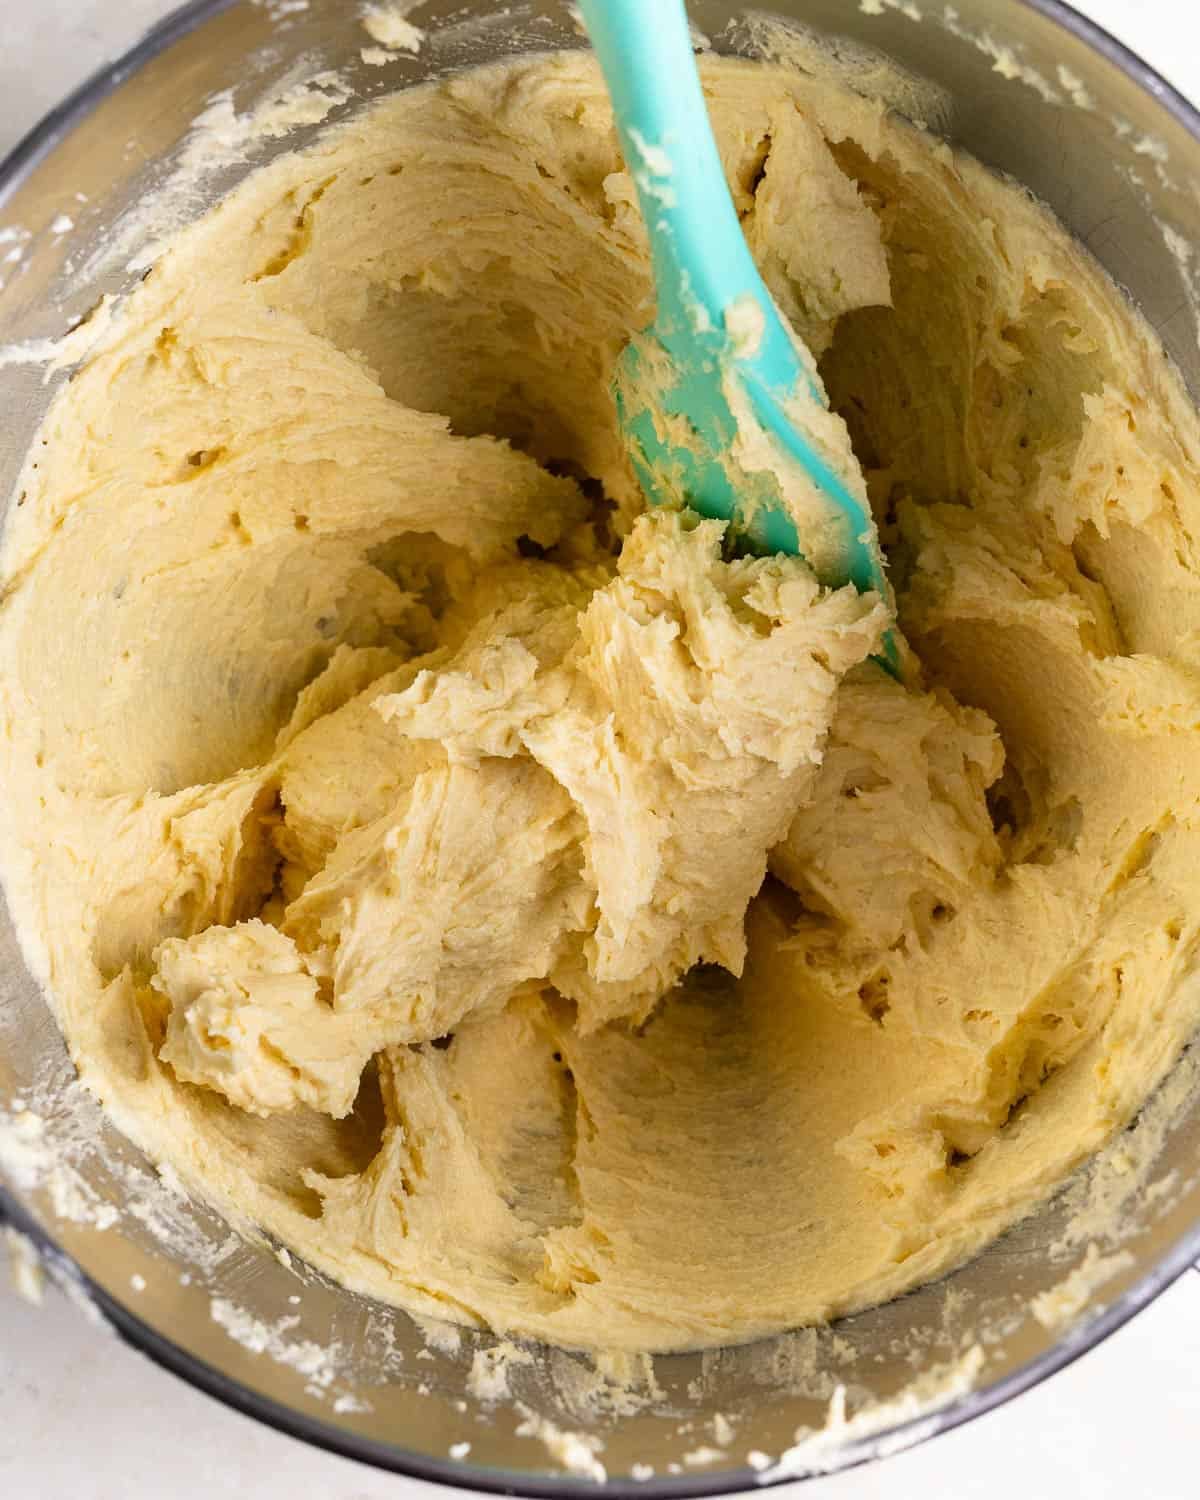
- Step 3: Mix in the egg yolks and almond extract. (Add the egg whites into a separate mixing bowl and set aside for now.)
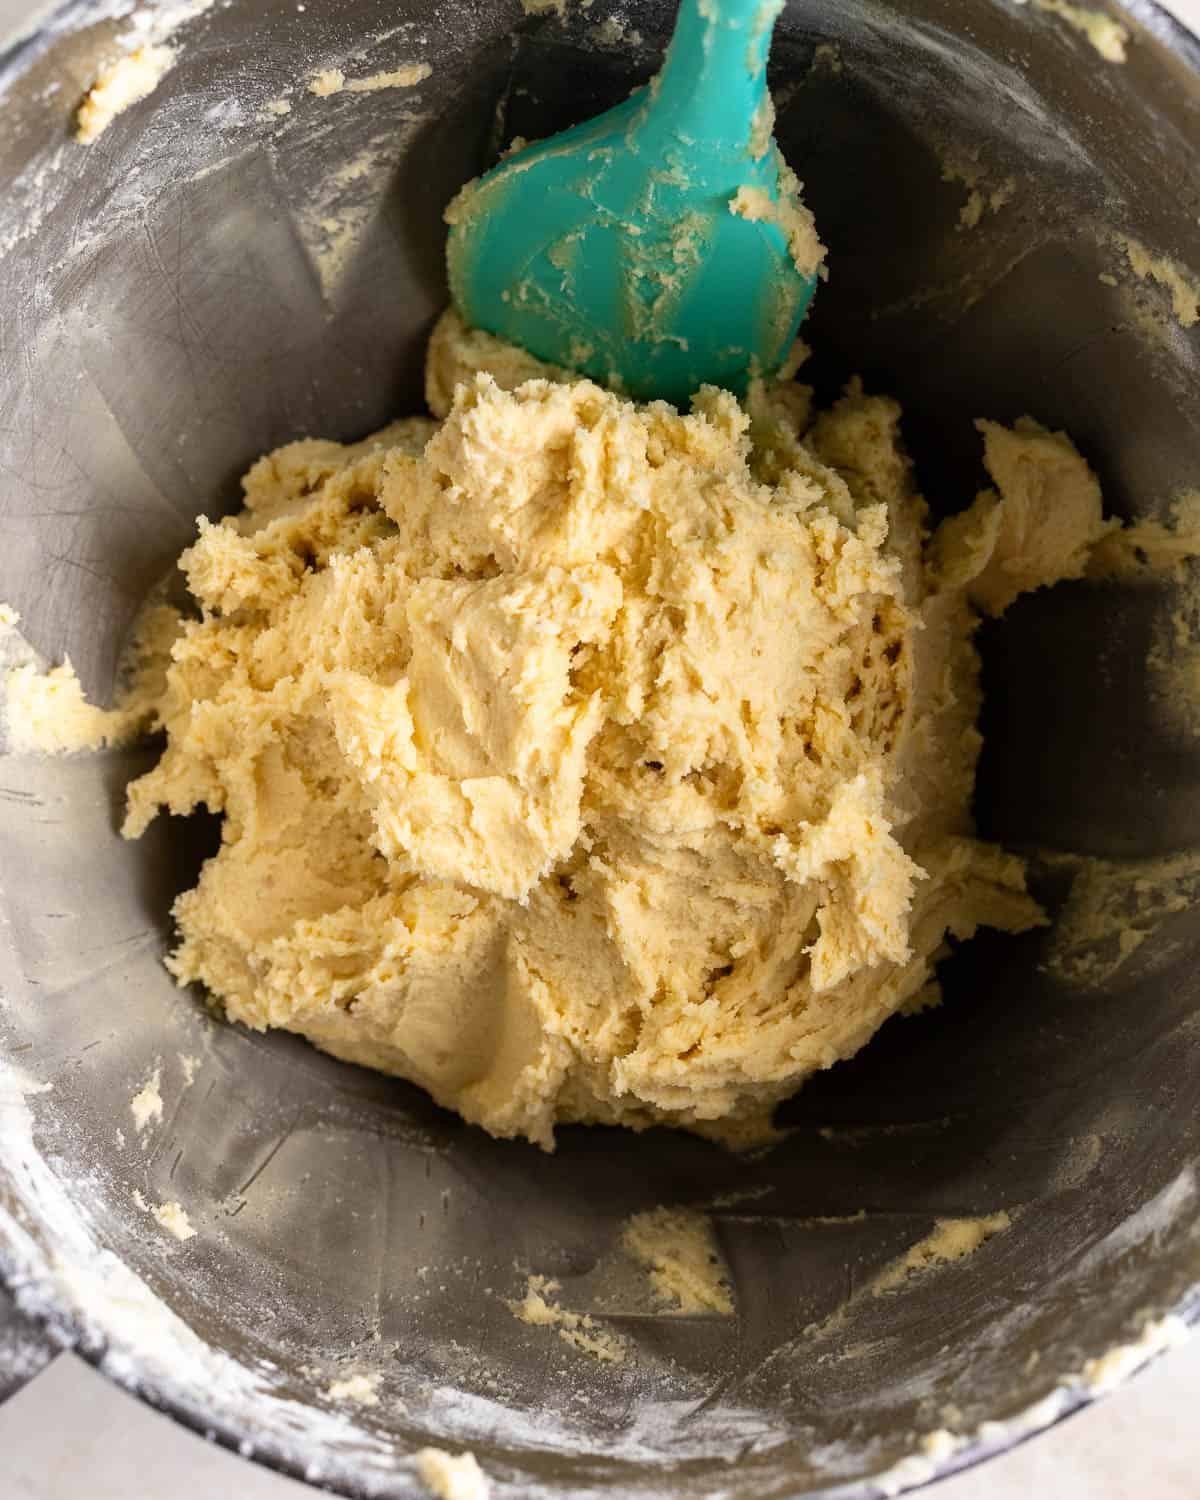
- Step 4: Add the flour and salt and mix until just combined, stopping to scrape down the sides of the bowl as needed.
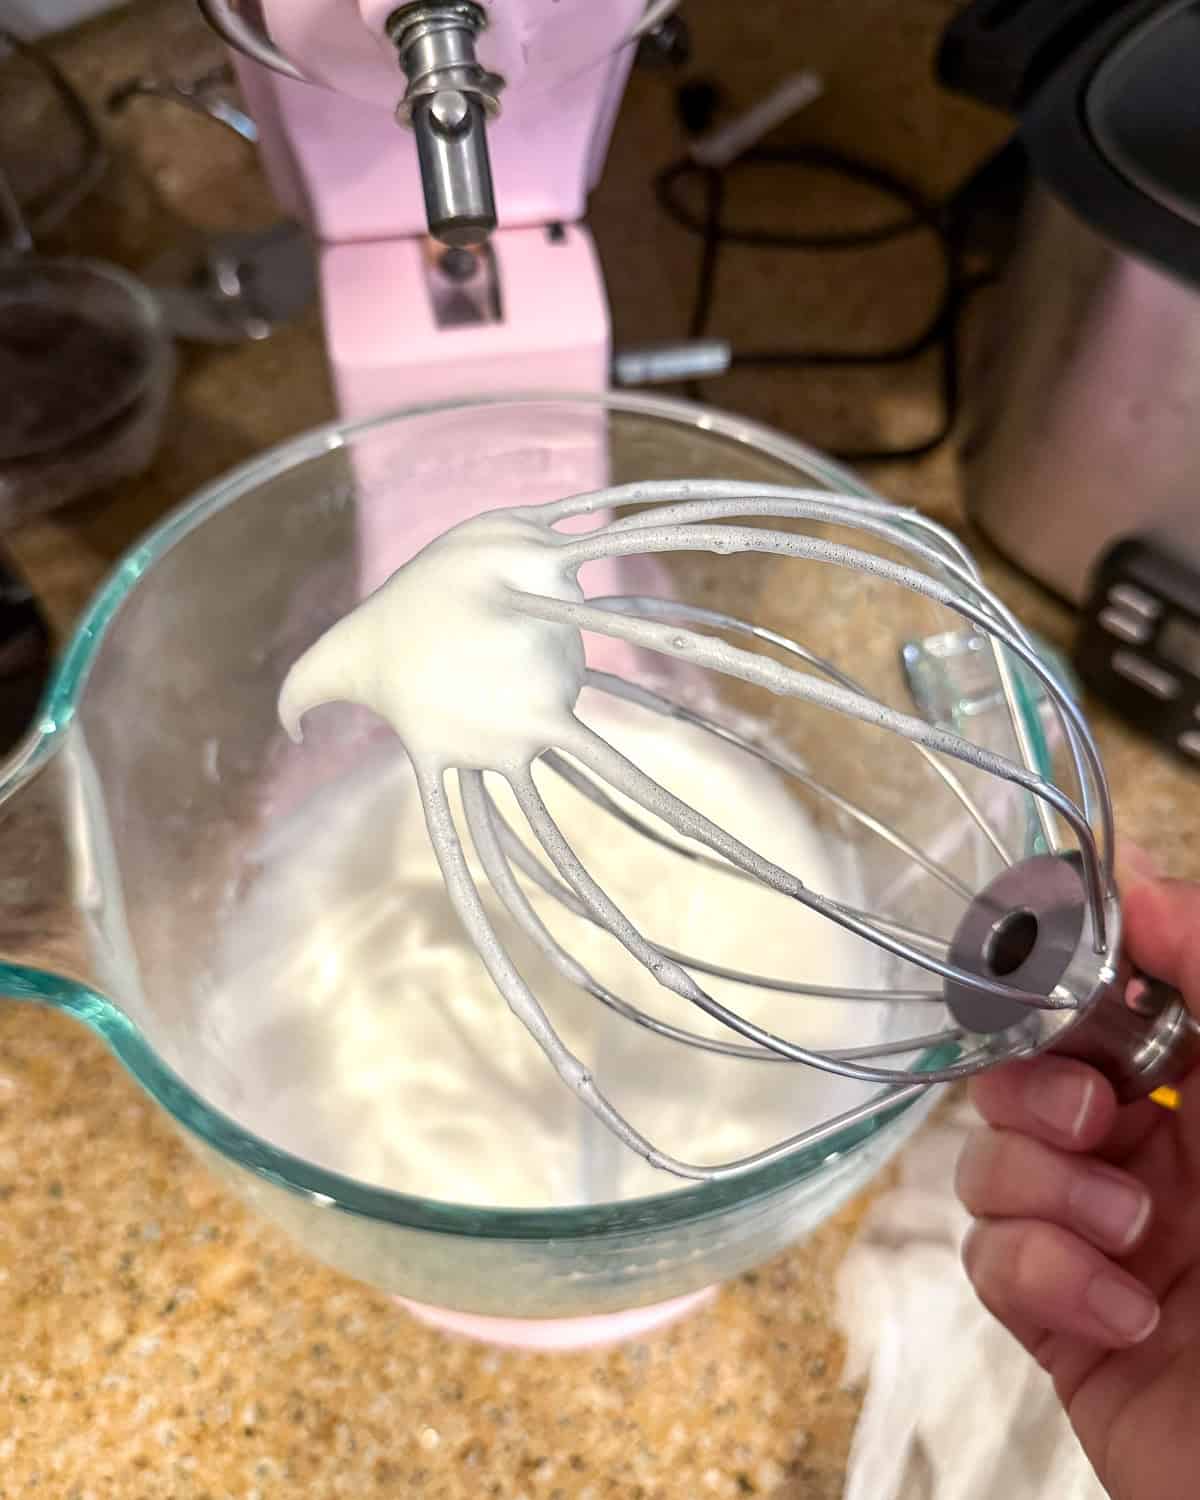
- Step 5: Grab your bowl of egg whites and beat on medium-high speed until soft peaks form. This is when the peak of the egg whites on the whisk stands up and then falls over, to where the tip is now pointed horizontally.
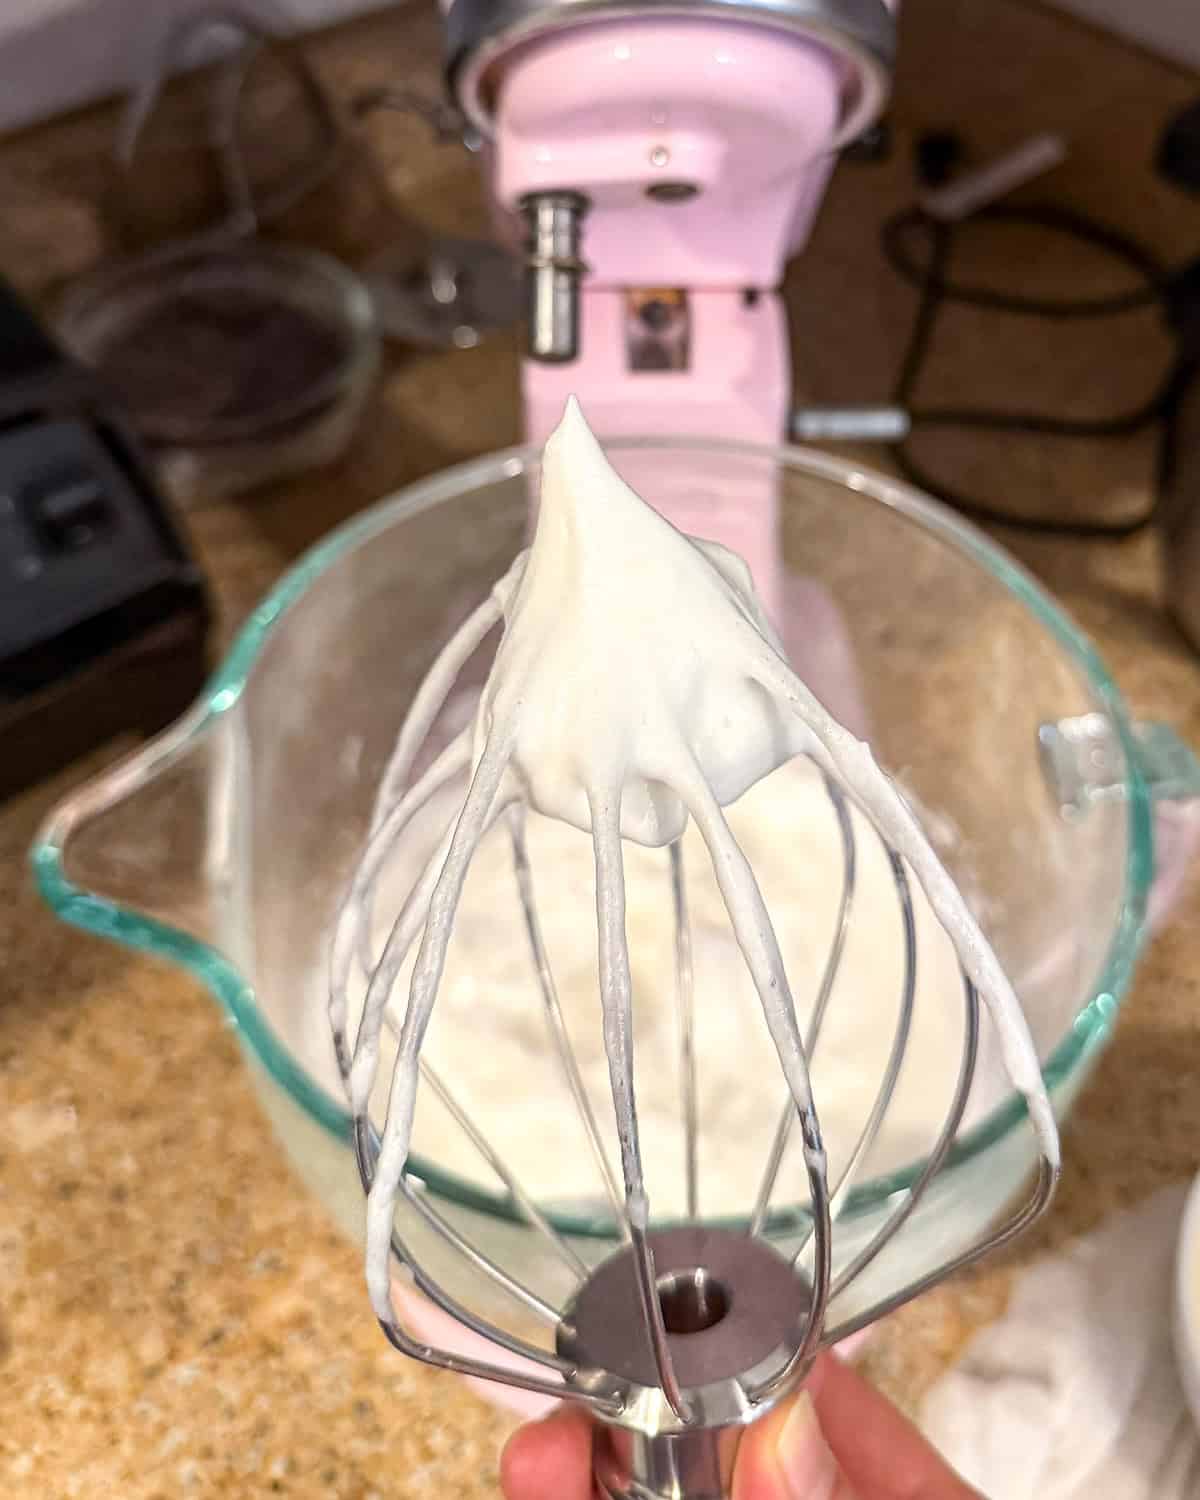
- Step 6: Slowly add the remaining ¼-cup sugar, then continue beating until stiff peaks form. This is when you hold the whisk upright, the tip of the egg whites stand straight up.
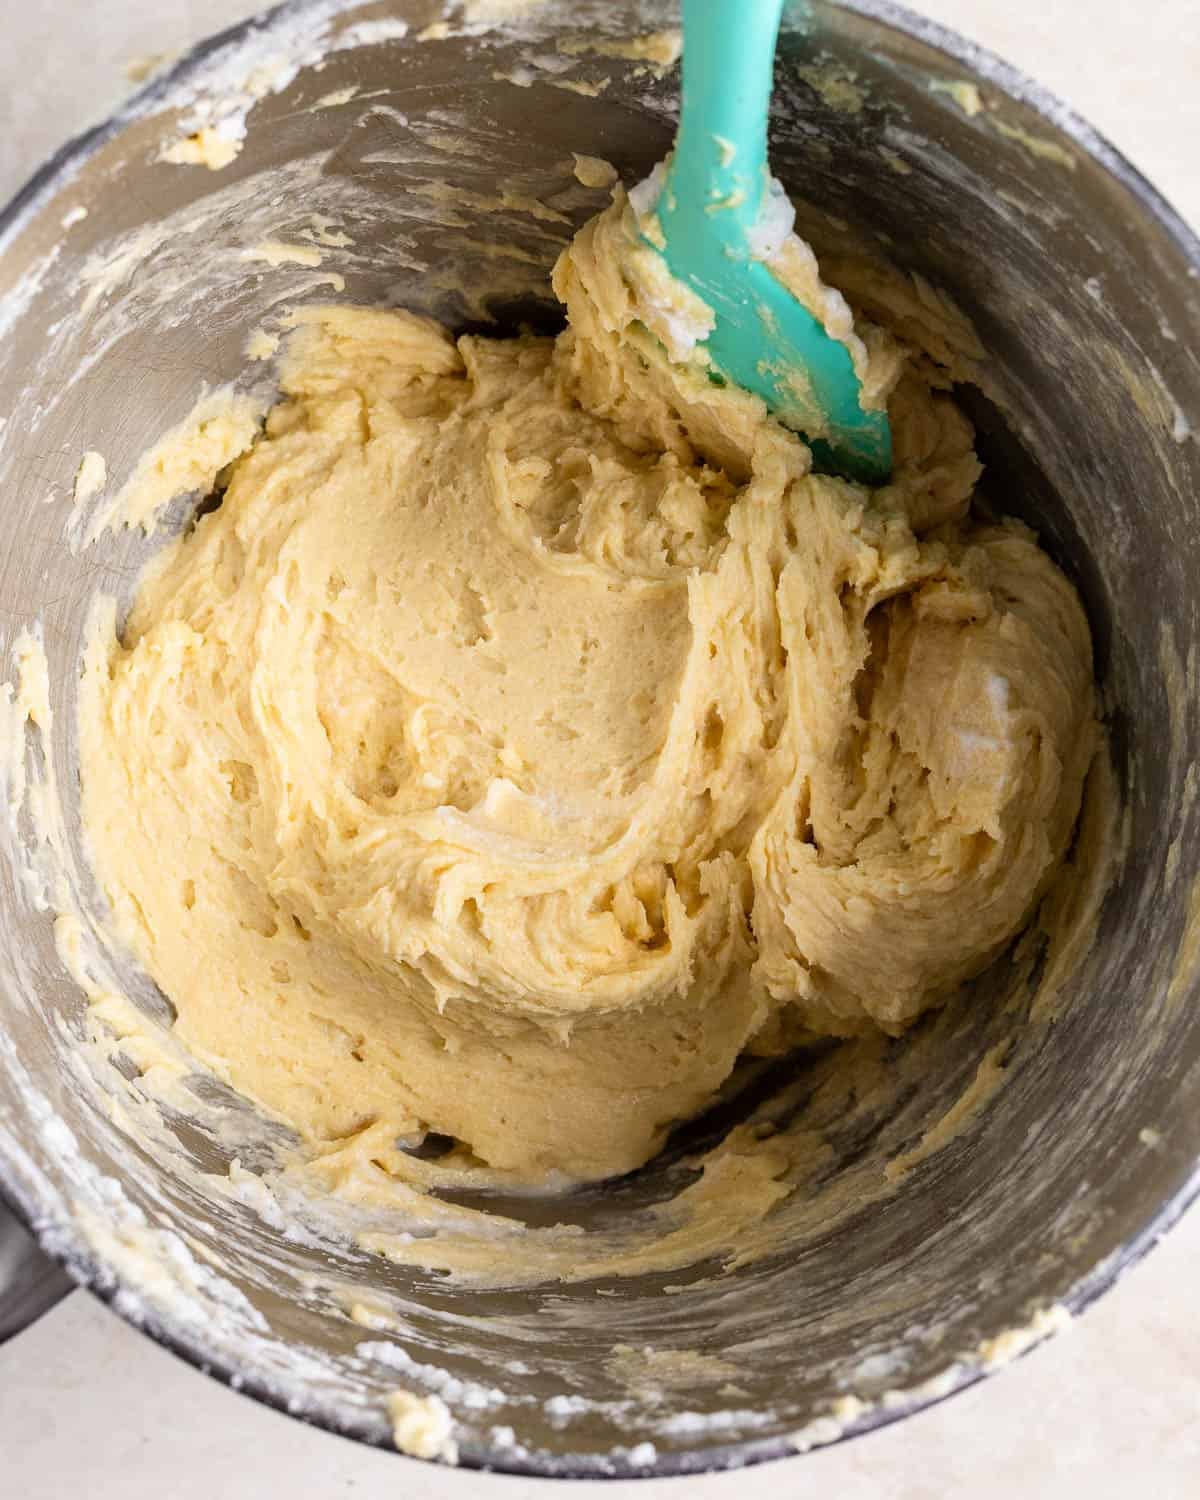
- Step 7: Gently fold the whipped egg whites into the cookie batter until no foamy pockets remain.
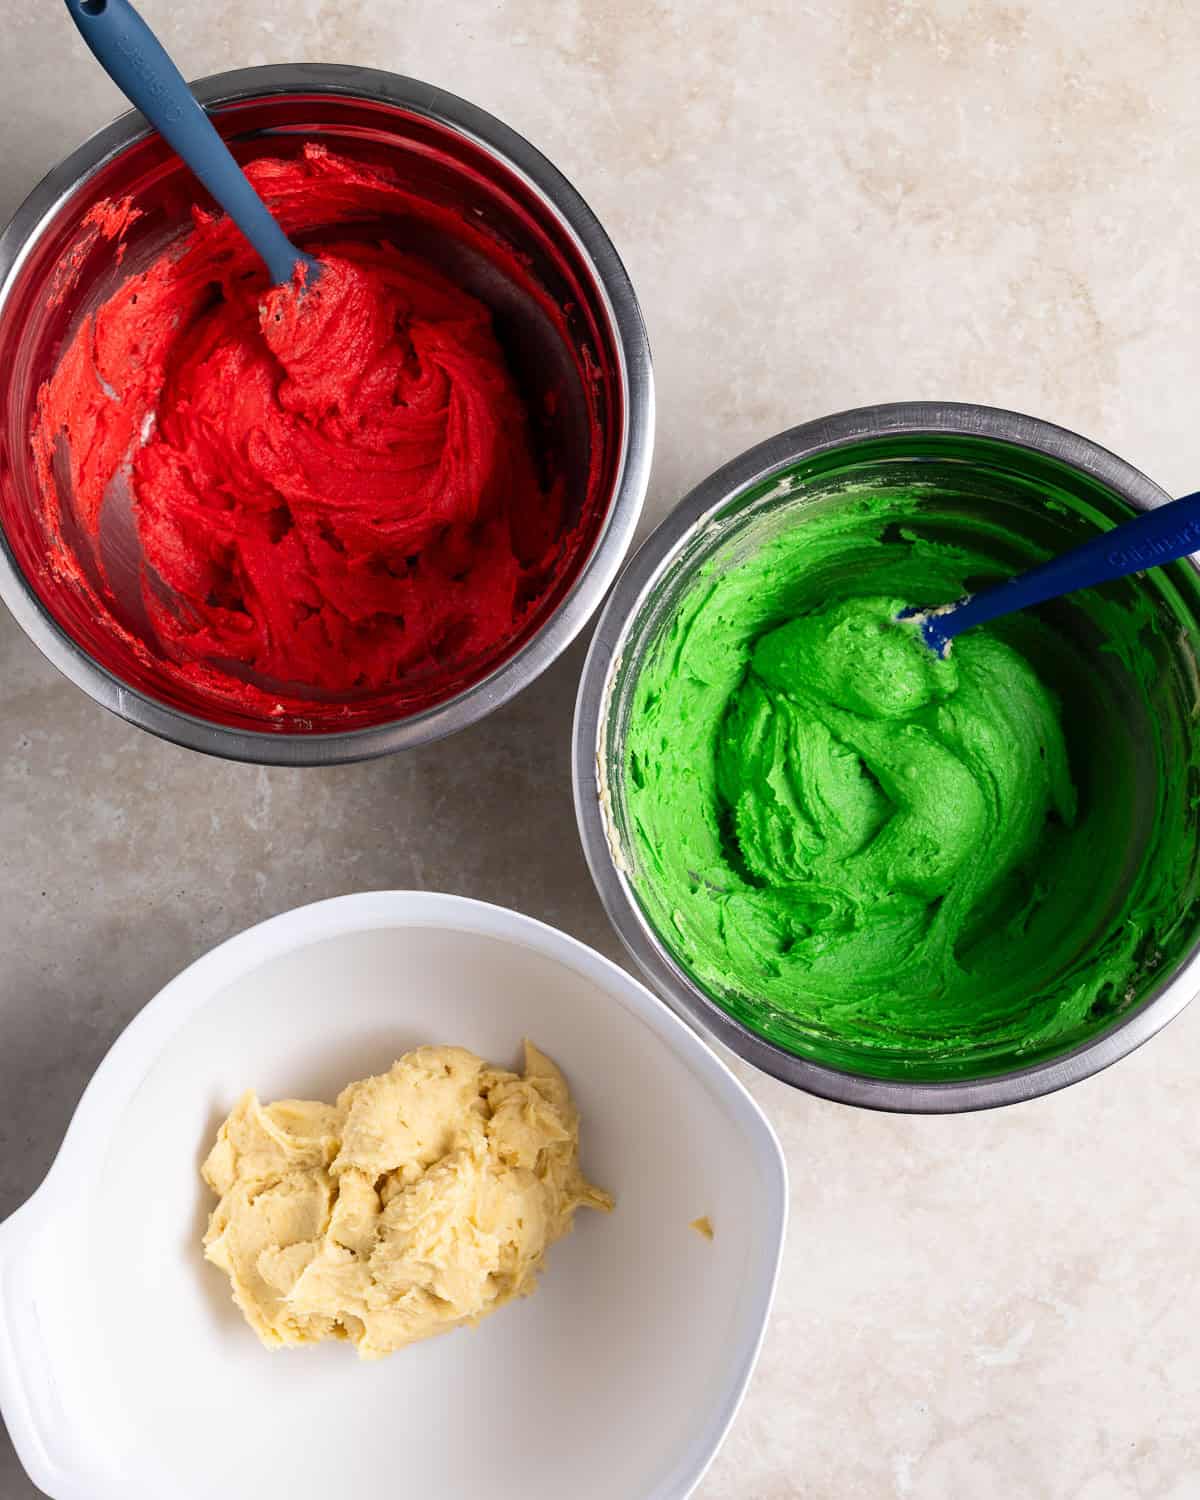
- Step 8: Separate the batter into three equal bowls. Leave one bowl plain and mix red and green coloring into the other two bowls. You want vibrant colors.
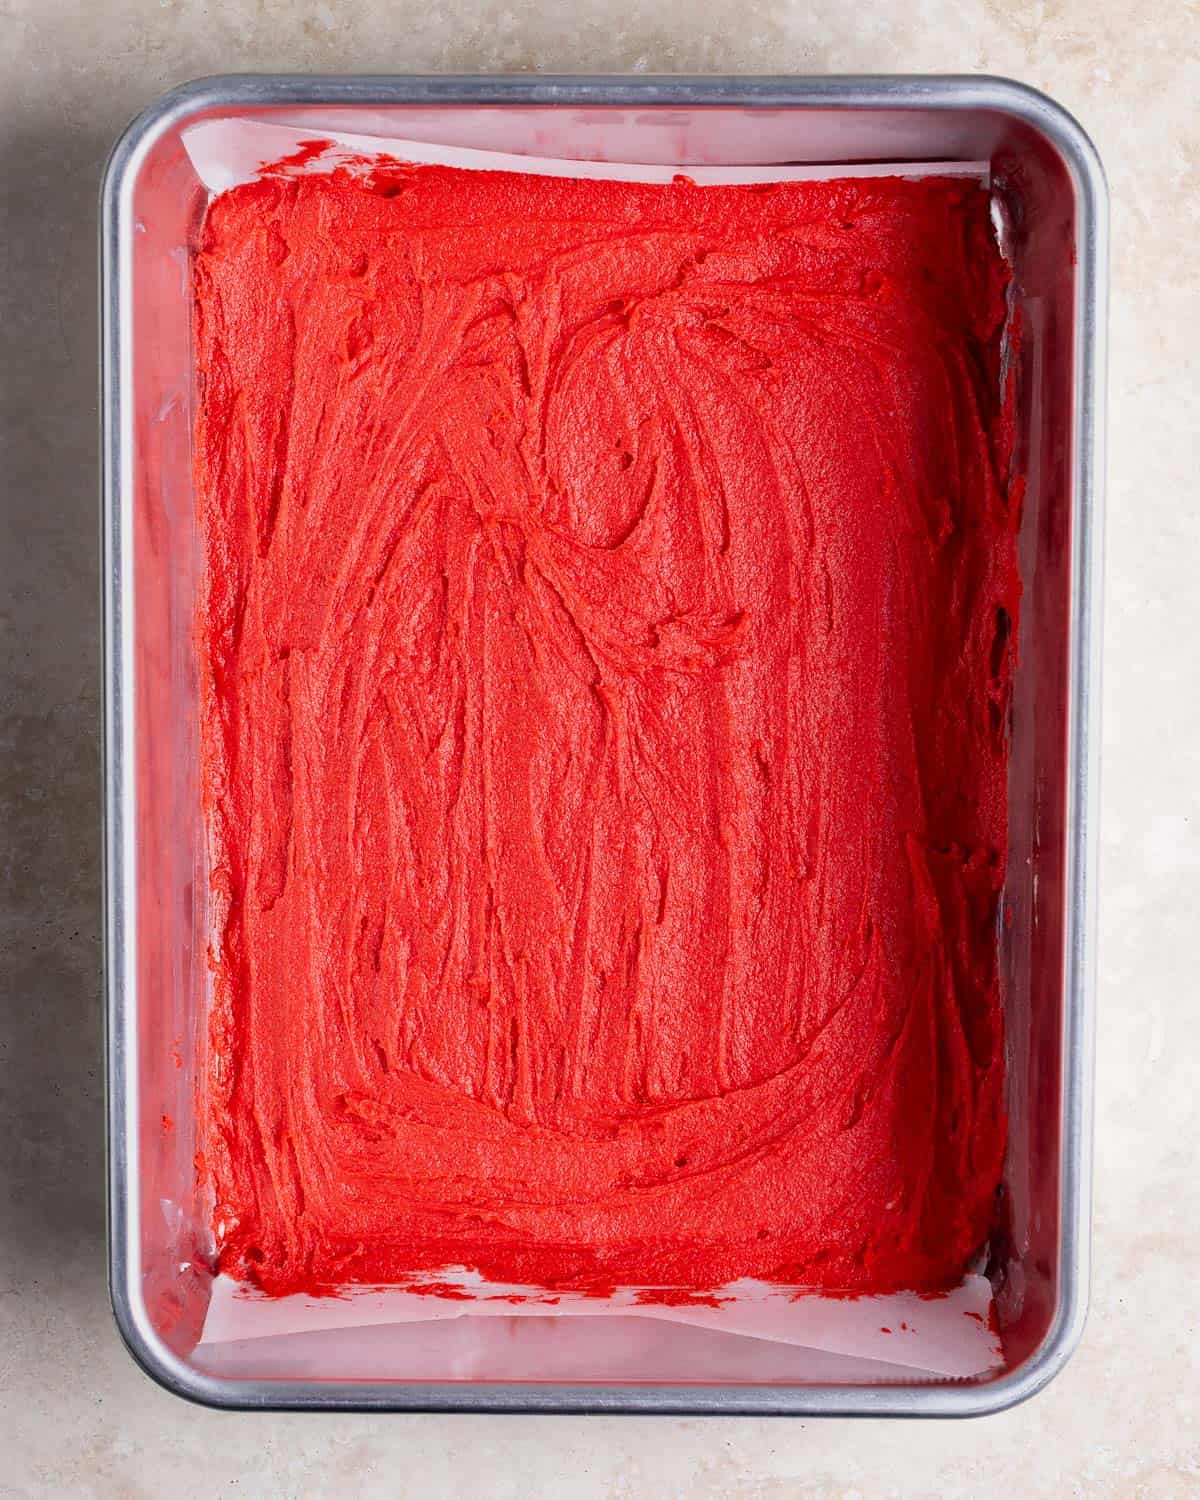
- Step 9: Spread one color in an even layer in a parchment-lined 9-by-13 pan. Repeat for the other colors if baking all at once (see tips in recipe card if you don't have three pans).
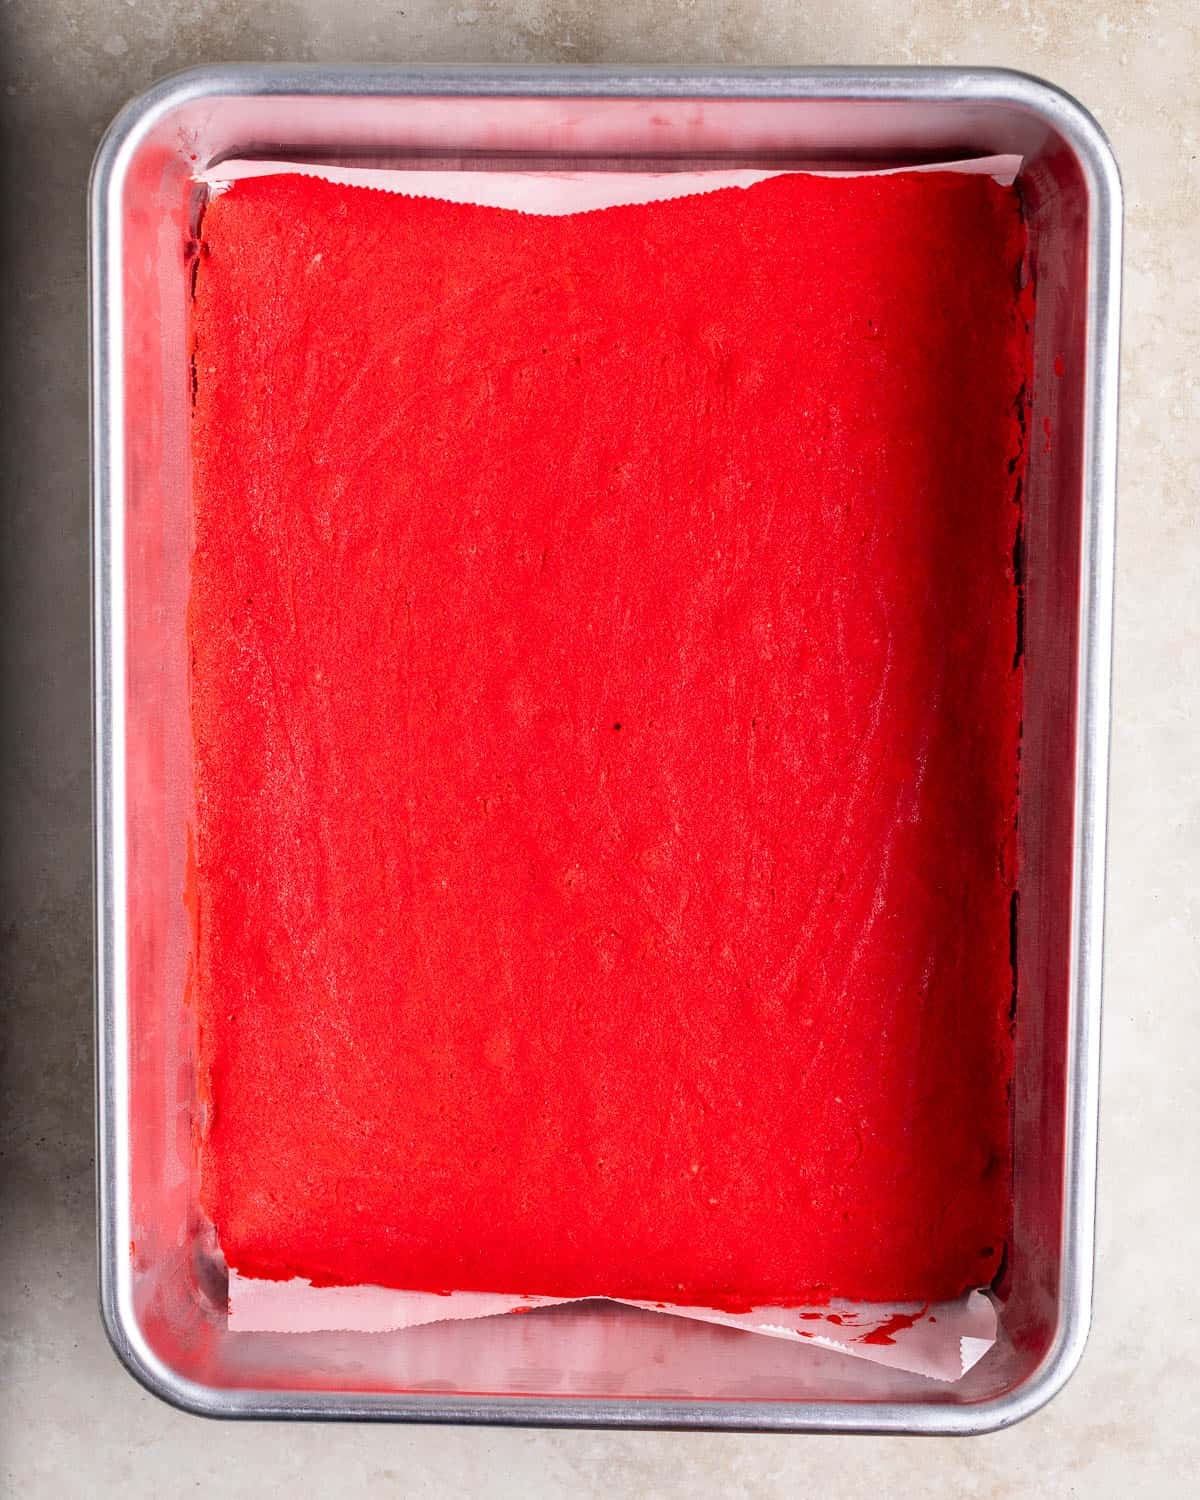
- Step 10: Bake at 350°F for 9-13 minutes, or until the top surface is just set and a tester inserted in the center comes out clean. Let the cake layers cool.
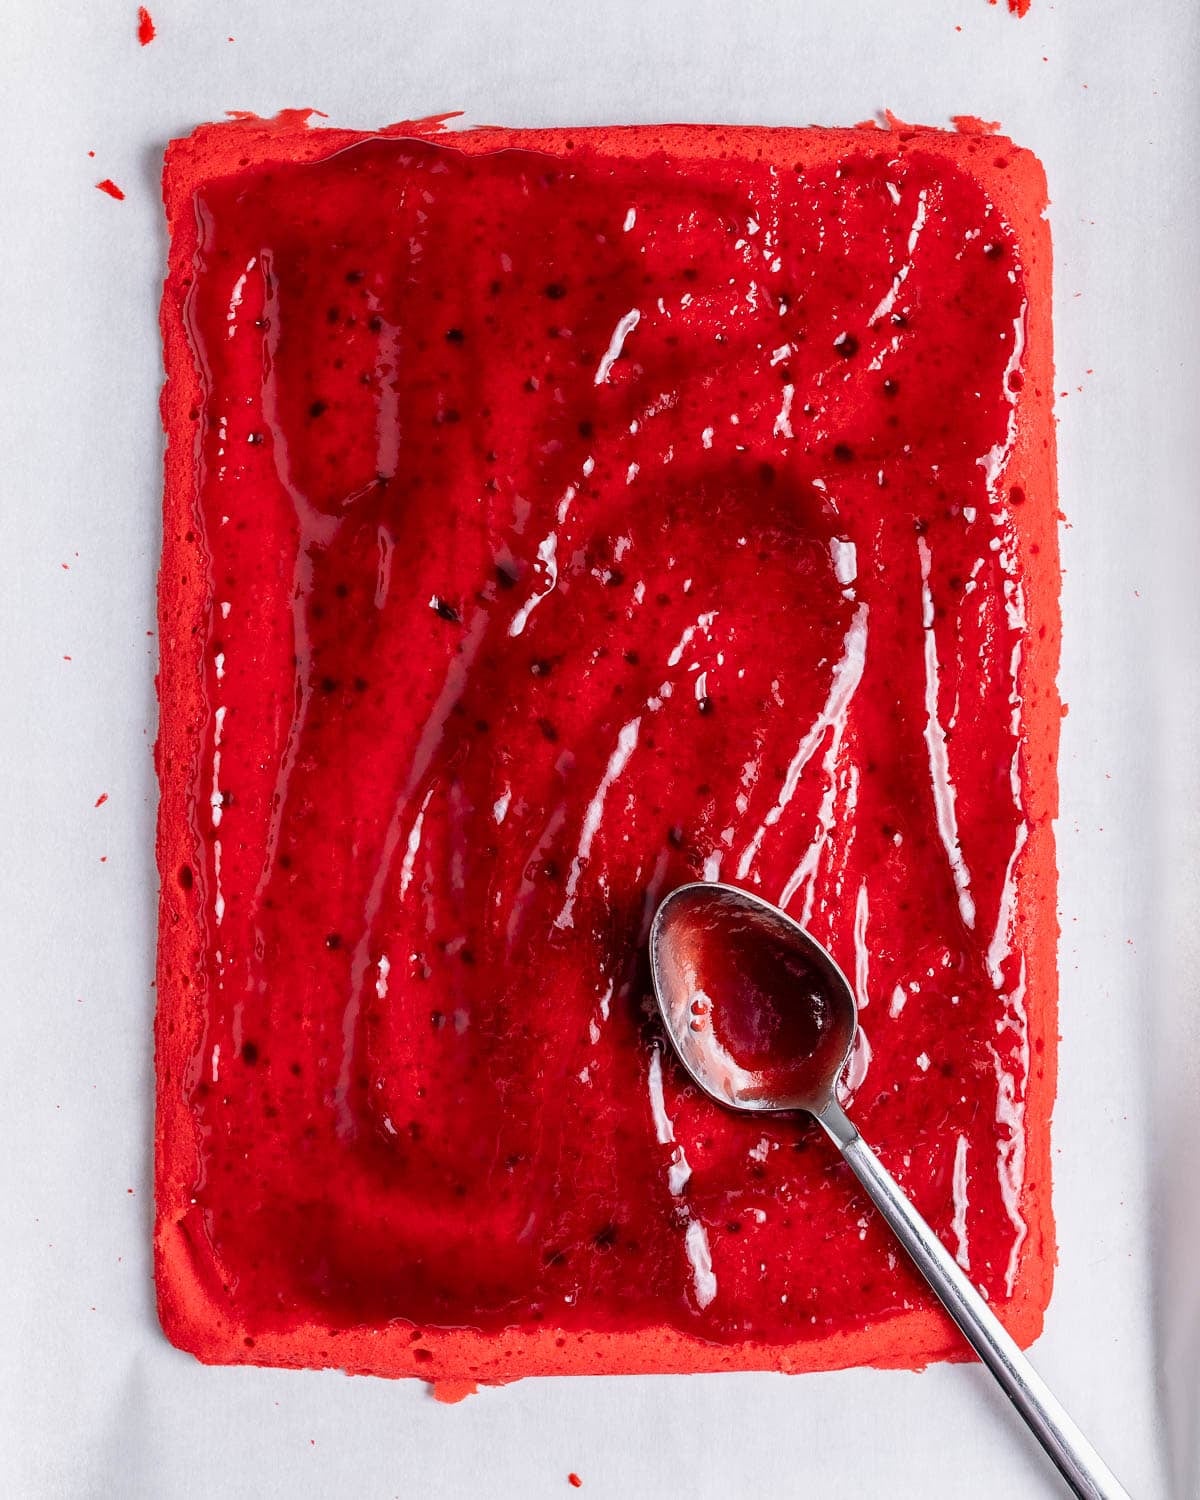
- Step 11: Warm jam and spread half of it onto the cooled red cookie layer. Place the white layer on top of the red, spread the remaining half of jam onto the white layer, then top with the green layer.
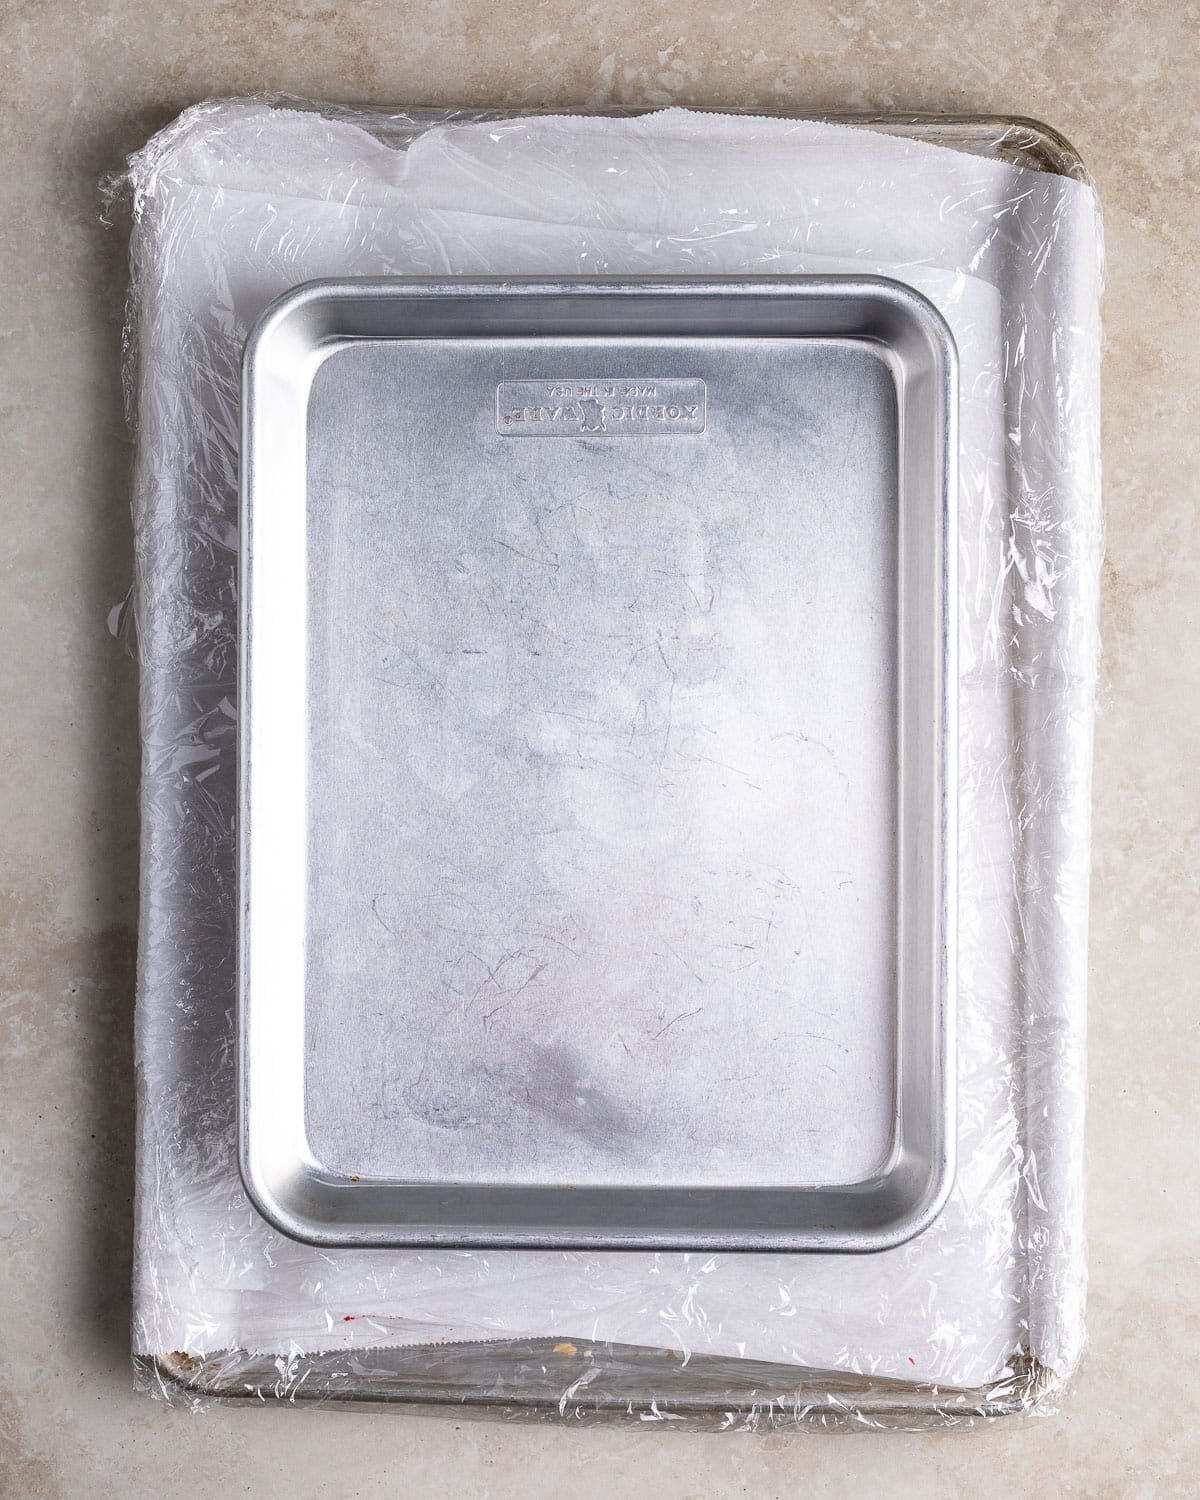
- Step 12: Top with parchment paper, wrap everything with plastic wrap, then place a flat-bottomed pan or cutting board on top of everything to weigh it down. Refrigerate for at least 8 hours, ideally overnight.
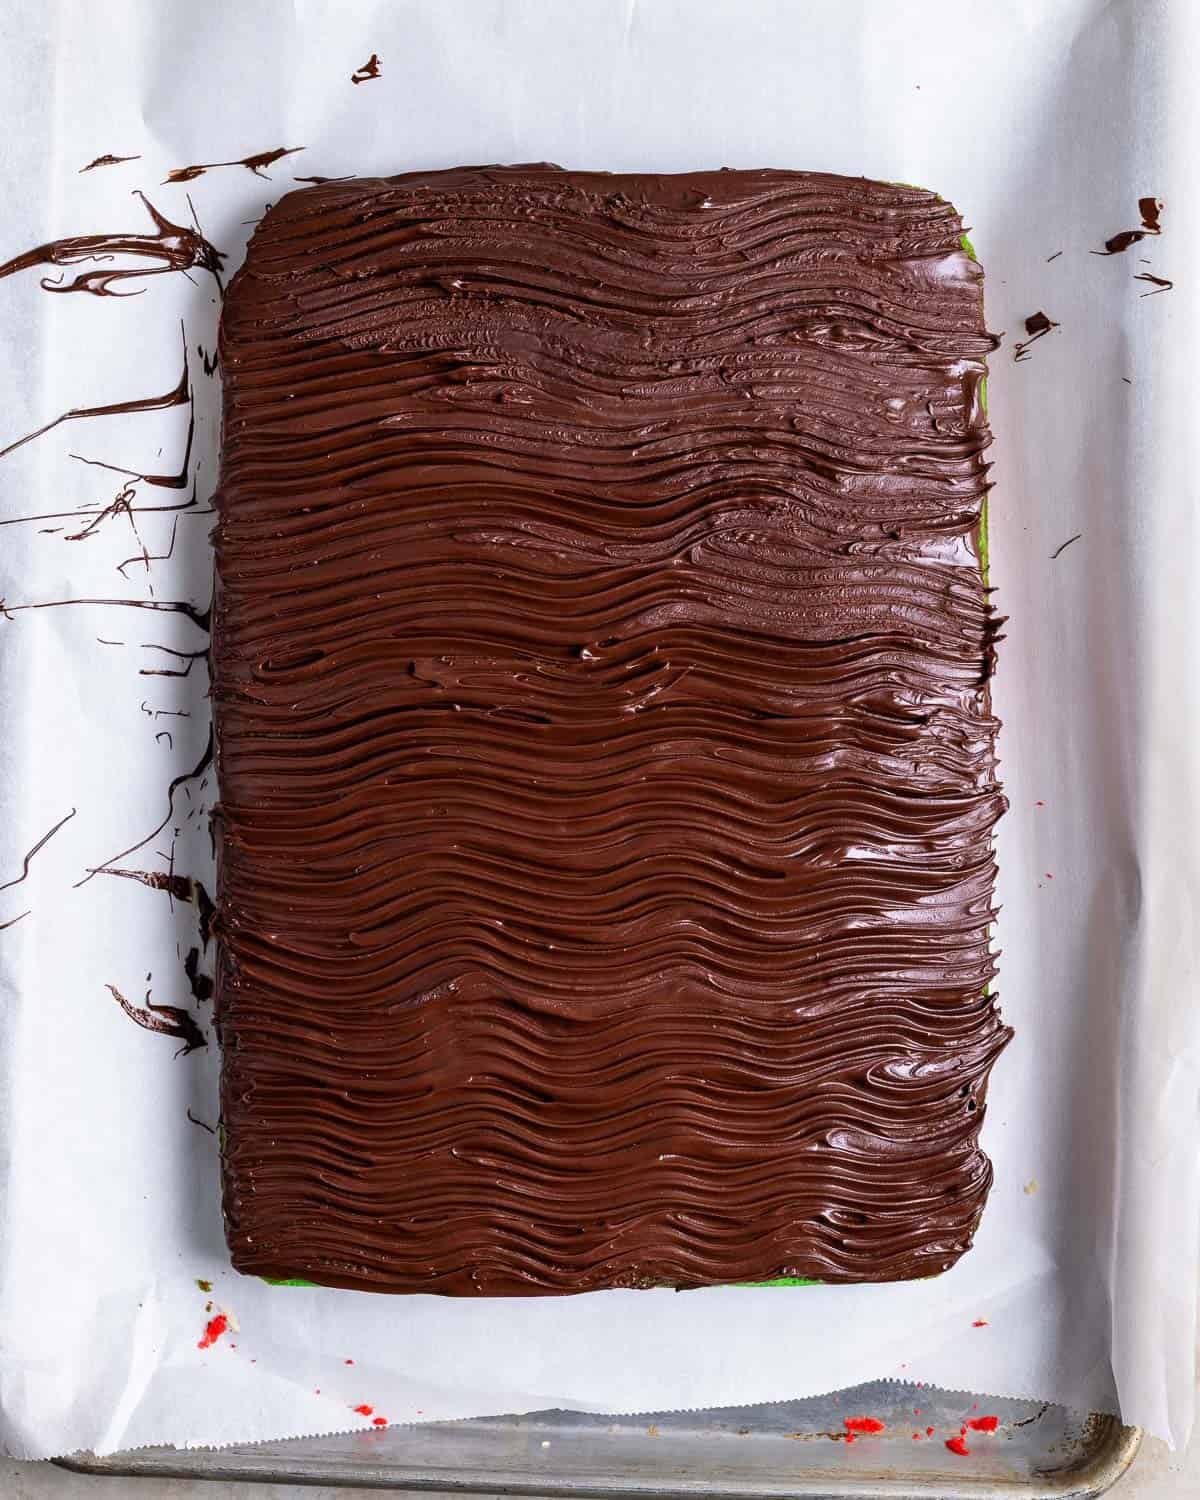
- Step 13: Melt chocolate and spread a thin, even layer on top. Let it briefly set (2 minutes), then drag the tines of a fork through the surface to make a wavy design.
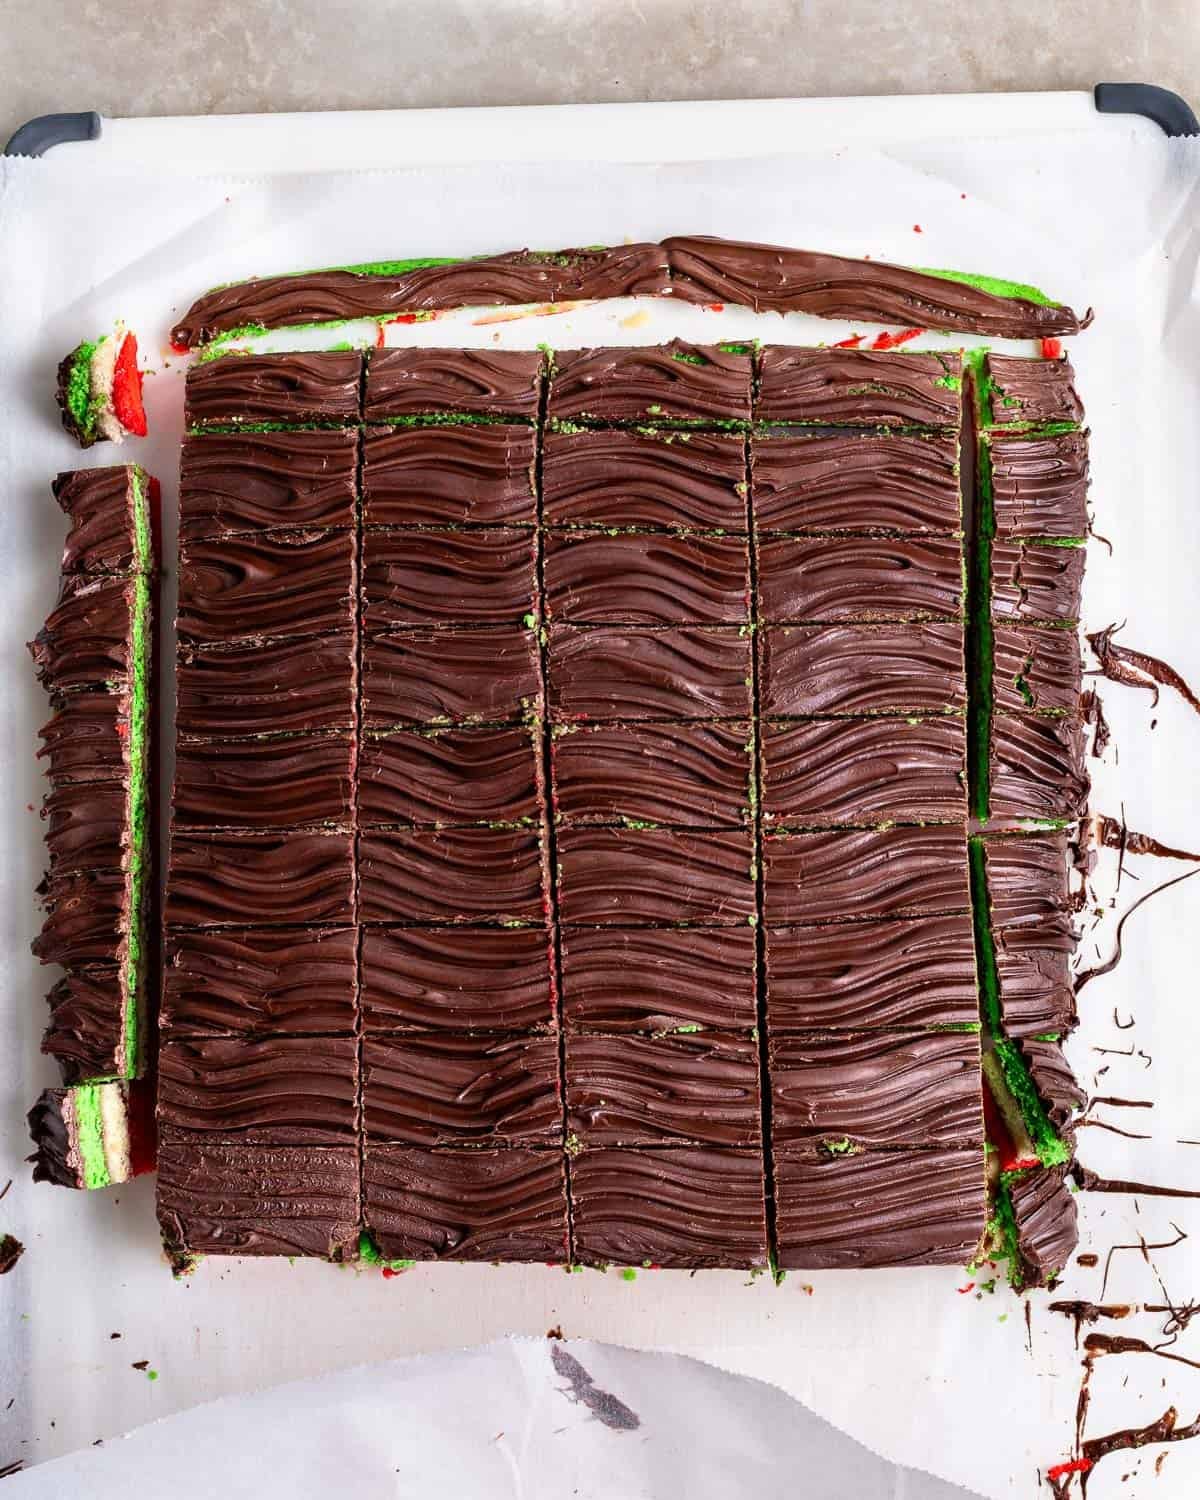
- Step 14: Wait 10 more minutes (or until the chocolate is mostly set but not all the way) then use a sharp chef's knife to slice the slab into individual rainbow cookies. Let the chocolate fully harden before serving/storing.
Keys to Success
- Allow yourself enough time. You'll need at least 10 hours from walking into the kitchen to get to work to biting into a rainbow cookie, so these cookies are best considered a two-day job (with an overnight rest).
- Don't skip pressing the layers. Weighing down the slab of assembled rainbow cookies for at least 8 hours is necessary so they stick together and don't separate when you slice them.
- Don't wait too long to slice. The top chocolate layer can splinter unevenly if you wait until it's fully hardened before slicing. Still delicious, but a bit of a bummer after spending all that effort making rainbow cookies.
- Using seedless raspberry jam (or straining out seeds). Hard seeds in the jam layers detract from the smooth, spongy, cake-y eating experience.
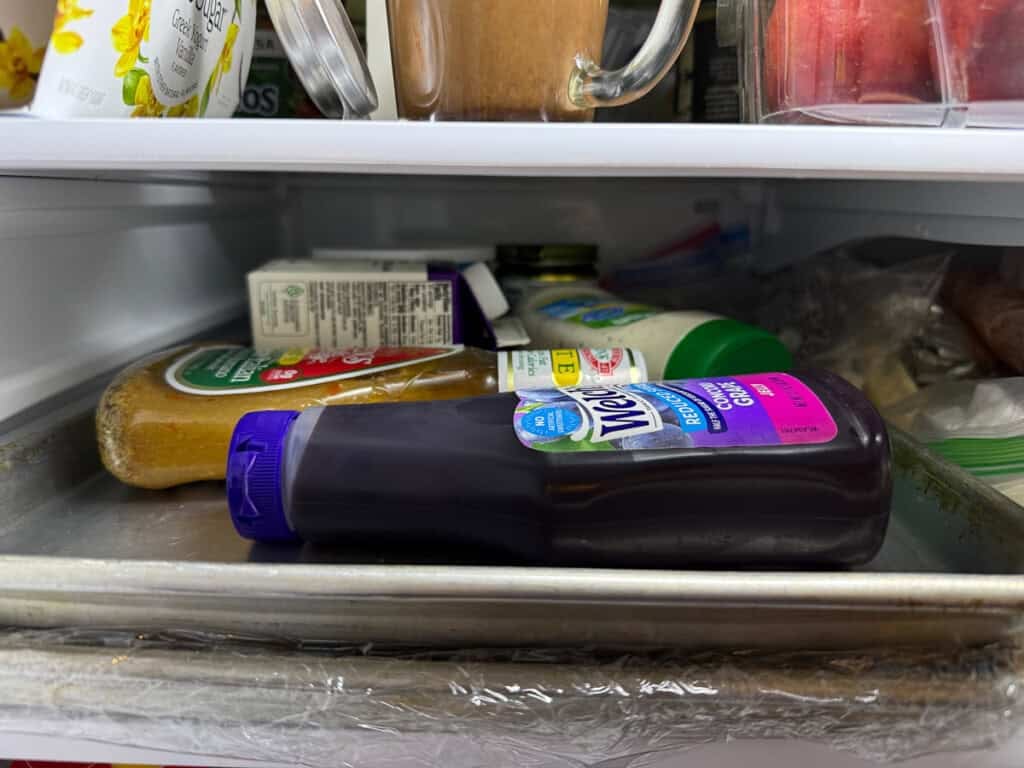
You don't need to clear out your pantry of canned goods to weigh down your rainbow cookies - look right in the fridge. I grab dressings, jellies, and whatever else is hefty and already in there to lay on the top sheet pan as equally as I can.
Ways I've Tested This Recipe
- Timing of the eggs: One time I absentmindedly separated the eggs and whipped the egg whites first thing, which meant they sat there for awhile before being folded into the batter. While they wept a bit and were slightly more deflated than normal, it didn't make a real noticeable difference in the baked cookies. They were perfectly tall enough.
- Liquid vs. gel coloring: I used to use liquid food coloring but have switched over and prefer gel. Italian rainbow cookies are vibrant and require a lot of dye. Gel is more concentrated so you need less of it, while the excess liquid dye required can loosen up the batter too much.
- Different types of pans: Using a 9-by-13 inch pan is the simplest way to ensure even layers, but I have made do with a larger sheet pan. Rainbow cookie batter is thick and generally stays where you spread it, so if needing to use a larger pan, measure out a rectangle and err on the side of making it a smidge smaller than larger to account for some spread while baking.
- Setting the chocolate: This is a Goldilocks situation. I've waited to slice until the chocolate was fully hardened, but that caused some uneven splintering. Slicing the cookies while the chocolate is fairly wet causes the knife to drag down melted chocolate, resulting in a messy appearance. The key is to wait until the chocolate is nearly set - about 12 or so minutes - to minimize both splintering and smearing.
Tips and Tricks
- Clear out some fridge space. Always a pain, but you'll need to refrigerate the 9-by-13-inch slab on a cutting board, sheet pan, or other flat surface for at least eight hours.
- Use almond paste, not marzipan. Worth repeating, but marzipan is much sweeter with a texture that won't integrate well into the cake-y rainbow cookie layers.
- Choose your knife. I think using a sharp chef's knife to slice rainbow cookies produces cleaner edges, but some prefer using a serrated knife. Test out each way to see what you like better.
- Sneakable right from the freezer. Thanks to my husband for this revelation! Italian rainbow cookies are soft and spongy enough to be eaten straight from the freezer, with the chocolate layer having a really nice little snap.
Holiday Rainbow Cookie Variations
Switching up the colors on rainbow cookies is one of my favorite easy ways to get fun + festive with it. Using pastel colors for Easter then shaping with an oval cookie cutter to resemble Easter eggs was a huge hit, and a simple blue-for-green swap is all you need for the Fourth of July.
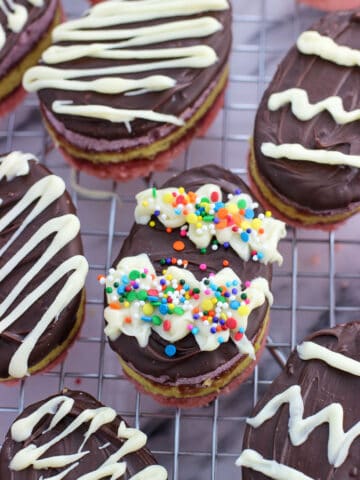
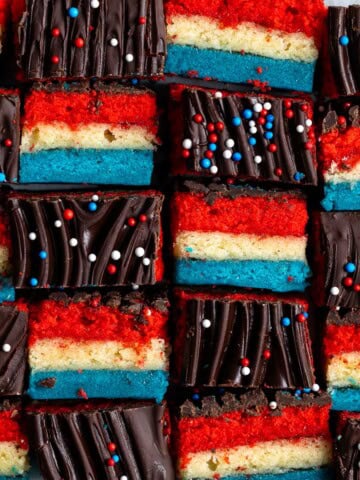
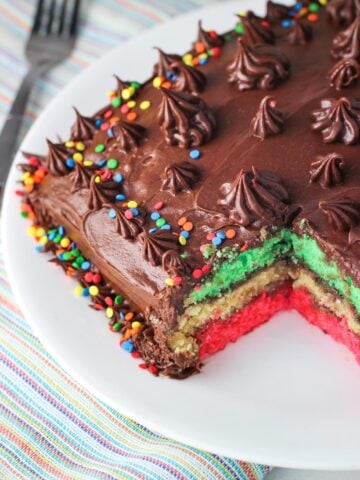
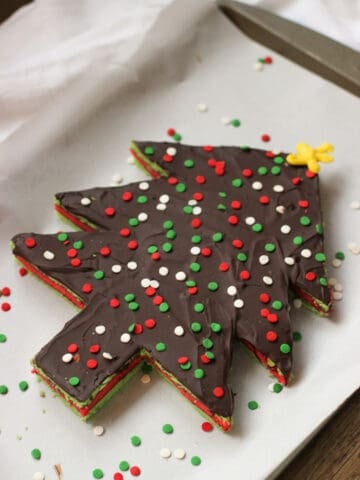

Did you enjoy this recipe? I’d love for you to leave a star rating and a comment review in the recipe card below!
Italian Rainbow Cookies
Ingredients
- 1 8-ounce container almond paste
- 1 cup (200g) granulated sugar divided
- 10 ounces unsalted butter (1 ¼ cups), softened, more for greasing pans and parchment
- 4 large eggs separated
- 1 teaspoon almond extract
- 2 cups (250g) all-purpose flour
- ¼ teaspoon fine salt
- Red and green gel food coloring
- ¾ cup seedless raspberry preserves or jam
- 10 ounces dark, semisweet, or bittersweet chocolate chips or chunks
Instructions
- Preparing the pans: Preheat oven to 350°F, arranging oven racks in the upper-third, middle, and lower-third positions. Spray three 9-by-13-inch pans (see note if you don't have that many) with cooking spray, then press a sheet of parchment paper along the bottom of each pan, leaving enough overhang along the two long sides where you can lift the cookie layers up off the pans after baking. Spraying the pan itself helps the parchment not slide around when spreading the batter later on. Grease the top of the parchment with butter (this is not the 10 ounces of butter used in the recipe, rather the little extra just for greasing.)
- Mixing the batter: In a mixing bowl, crumble up the almond paste into small chunks and add ¾ cup (150g) of the sugar. Mix well with an electric mixer on medium-low speed (using the paddle attachment if using the stand mixer), taking care to make sure the almond paste breaks up into small pieces, mostly tiny but the largest no larger than a chickpea. Add the softened butter to the bowl and beat for 3 minutes until light and creamy.
- Separate the eggs, adding the yolks along with the almond extract to the bowl with the almond paste mixture. Add the egg whites to a separate stand mixer bowl that's clean and thoroughly dried (no water drops remaining). Set aside the egg whites for now. Mix the egg yolks and almond extract into the bowl with the almond paste mixture until evenly combined, 2-3 minutes.
- Add flour and salt to the bowl with the almond paste mixture and mix on low speed until the dry ingredients are just combined, stopping as needed to scrape down the sides of the bowl. Set this bowl aside for now.
- Whipping the egg whites: Using a stand mixer (with whisk attachment) or an electric hand mixer, beat the egg whites, first on a lower speed then increasing to medium-high speed, just until soft peaks form. This means that when the whisk is removed from the egg whites, the peak will not be standing upright, rather it will curve over and rest pointed horizontally. At this point, with the mixer running, slowly add in the remaining ¼ cup (50g) of the sugar in several increments. Continue beating until stiff peaks form, which will take a few minutes longer. This stage is reached when the peaks of the egg whites stand straight up once the whisk is removed from the egg white mixture.
- Folding in the egg whites: Add roughly half of the whipped egg white mixture to the other bowl with the rest of the batter and gently stir/fold it in by hand. Then fold in the remaining half of the egg whites. Take care not to be overly rough with your folding so as to deflate the egg whites.
- Coloring the batter: Divide the batter equally between three mixing bowls (a kitchen scale helps to be precise). Keep one as-is, mix red food coloring into the second, and mix green food coloring into the third. Don't be shy - these are bright and vibrant cookies.
- Baking: Pour out the batter from one of the bowls onto the prepared and lined pans, spreading it into a rectangular shape with an even thickness. Repeat for the other two colors. Bake for 9-13 minutes (see note), rotating the pans midway through, or until the surface looks to be set and a toothpick inserted into the center comes out clean. The very edges of the slab may be turning golden-brown, but depending upon pan material this may not be the case. Let the cake slabs cool in the pans.
- Heating the jam: Measure out jam into a microwave-safe bowl and microwave in short bursts, whisking it after each go, until warmed and easy to spread smooth. You can also do this over low heat in a small saucepan. Set the warmed jam aside while you start assembling the layers.
- Assembling: Once the layers are cool, set a new large sheet of parchment paper out onto a sheet pan, cutting board, or other sufficiently large flat surface you can transfer to the fridge. Overturn the red layer onto the parchment (use care not to tear the cake layer), then spread half of the warmed jam evenly onto the red layer from edge to edge. Overturn the white layer onto the red layer and spread the remaining jam over top in the same manner. Lastly overturn the green layer over top of the white one.
- Wrapping and resting: Place another layer of parchment paper over top of the assembled slab, then wrap the whole thing in plastic wrap so it doesn't start to dry out in the fridge. Transport the pan to the fridge and place another flat pan or cutting board on top of it to weigh down the slab. Stack fridge items, bags of dried beans, etc. equally on top of it to compress the cookie layers as it rests. Let the cookies rest this way in the fridge for at least 8 hours, ideally overnight.
- Topping with chocolate: Take the rainbow cookie slab out of the fridge and unwrap it. Melt chocolate in 20-second increments in a microwave-safe bowl, stirring well after each go, until smooth. Spread a thin, even layer over the top of the cookie slab (the green layer) from edge to edge. Wait 2 minutes then run the tines of a fork through the chocolate to create a wavy design. Wait 10 more minutes and then use a sharp chef's knife to trim the ends even, then slice the slab into strips and then crosswise into small rectangular cookies. They're usually fairly small, around 1 ½ - 2 inches long and an inch or a little less wide, but you choose the size. Carefully wipe any chocolate or crumbs from the knife before making further slices. Let them sit until the chocolate has fully set.
- Serving and storing: Rainbow cookies are ready to serve or store once the chocolate has fully hardened. Store them in an air-tight container in the refrigerator for up to a week, or freeze them in a zip-top freezer bag with all excess air pressed out for up to several months.
Notes
- You can use a larger-sized pan or two in their place. Just try your best to shape the batter into rectangles all the same size (don't go all the way to the edges if the pan is larger than 9x13).
- If all you have is one pan, let the baked cake layer cool in the pan for 10-15 minutes before removing via the parchment to a wire rack, then let the empty pan cool for another 10-15 minutes before reusing. If baking one layer at a time, bake on the middle oven rack.
Would you like to save this?
Plus receive periodic recipe newsletter emails.
Nutrition
Nutritional information is provided as an estimate. As it can vary due to many factors (brands used, quantities, etc.), we cannot guarantee its accuracy.
Food Safety and Nutrition Disclaimer
Comments
No Comments