

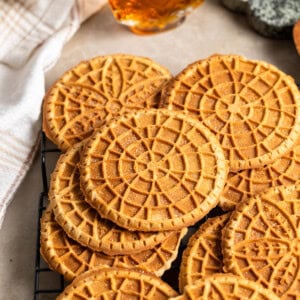
Ready your pizzelle iron for fall and make these beauties maple! This maple pizzelle recipe features brown sugar, cinnamon, and just the right type of maple flavoring to provide these Italian waffle cookies with cozy, warm flavor. This easy to work with, no-fuss batter produces cookies that stay perfectly crisped for days.
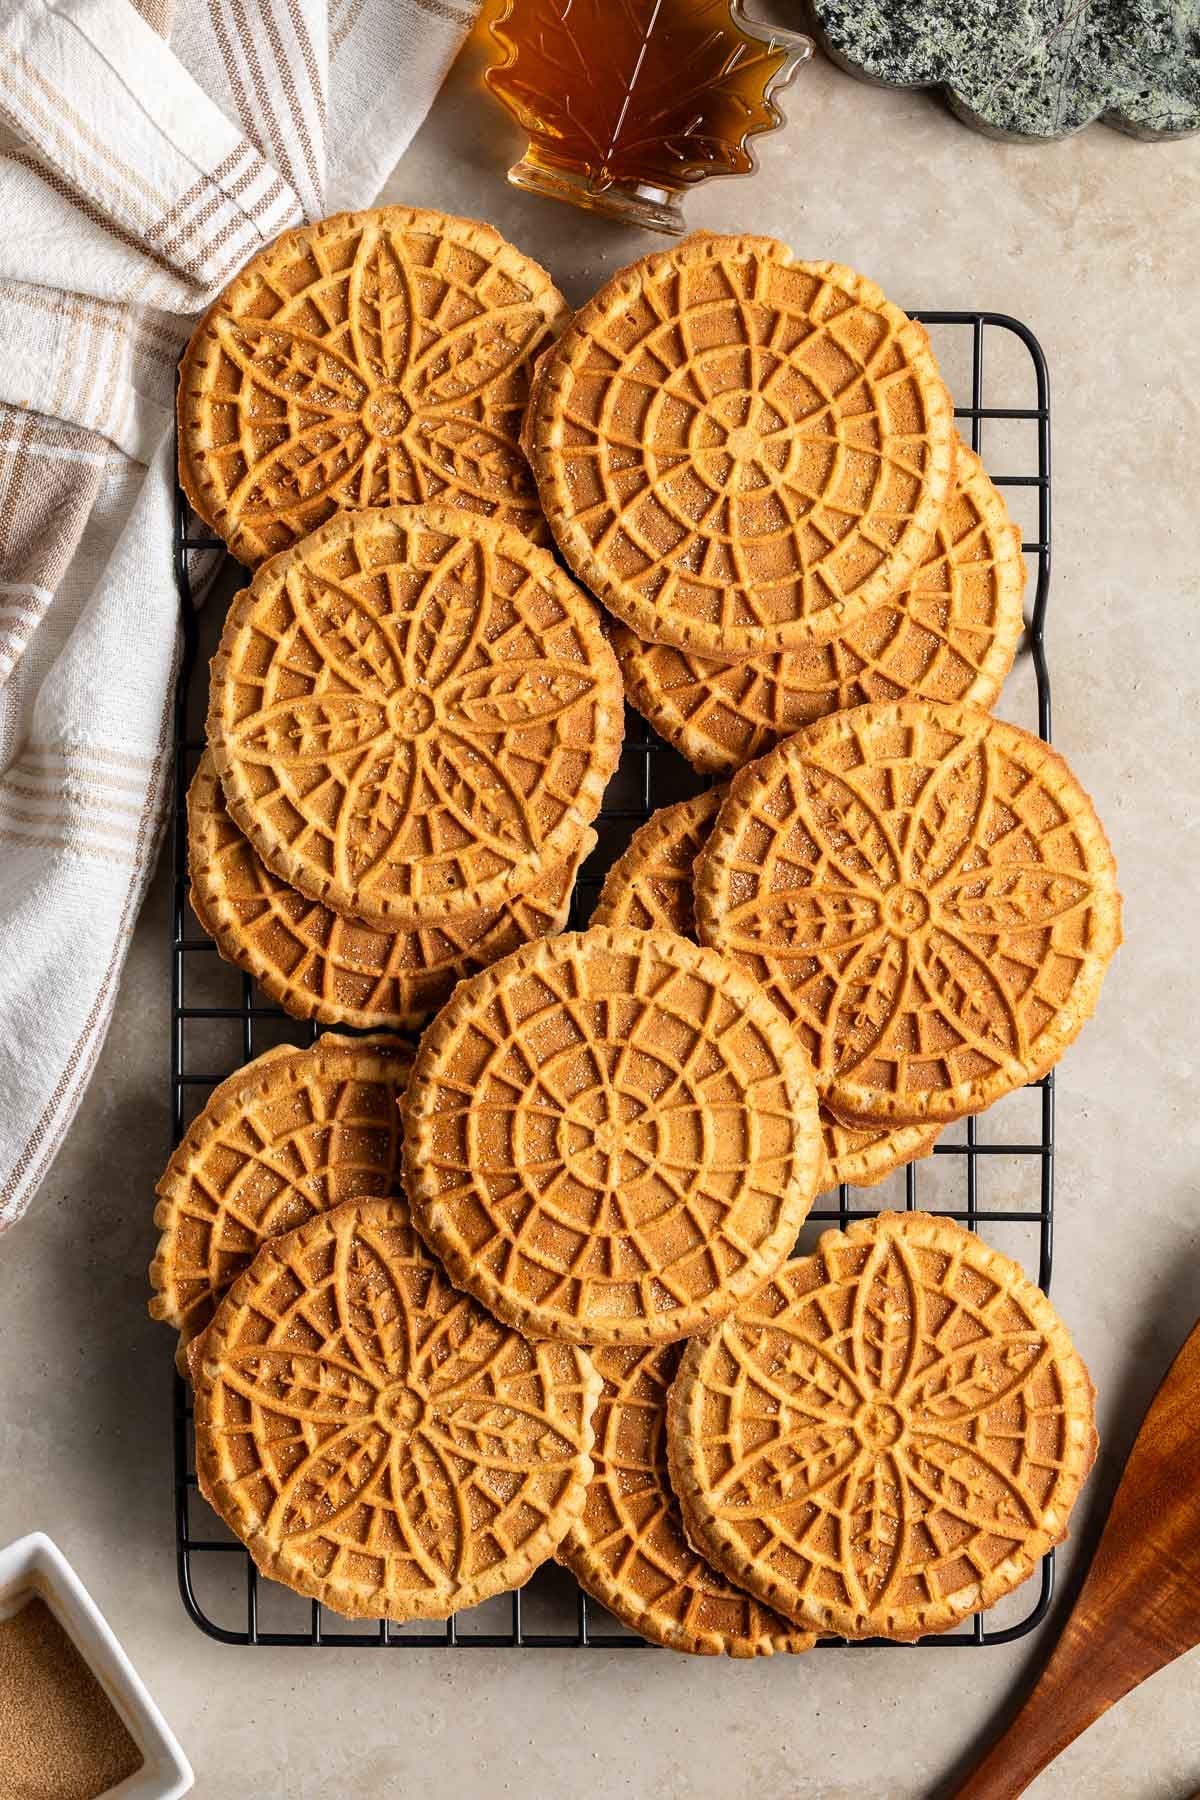
Once you have a reliable base pizzelle recipe in your back pocket, you can't help but get a little jazzed up thinking about how you could tweak it. Different baking extracts, sugar, dried spices, etc.
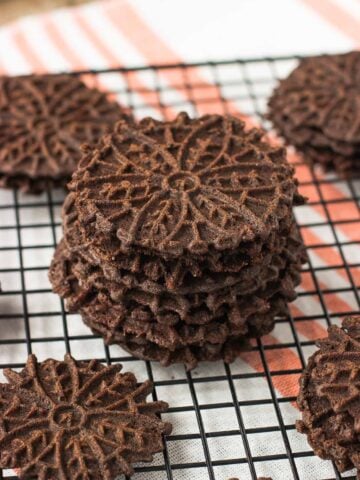
As far as flavored pizzelle variations go, these maple pizzelle were on the easier side. There was no need to mess around with added liquid, like in lemon pizzelle, sticky molasses, like in gingerbread pizzelle, or fiddle with the ratio of flour to cocoa powder in chocolate pizzelle.
Just a sugar and spice twist with one of my favorite off-the-beaten-path baking ingredients: maple extract. I can't get enough of the seasonal flair it brings to maple cinnamon sugar cookies - my tip is to pair it with a lesser amount of vanilla extract (like I did here) for a really well-rounded flavor.
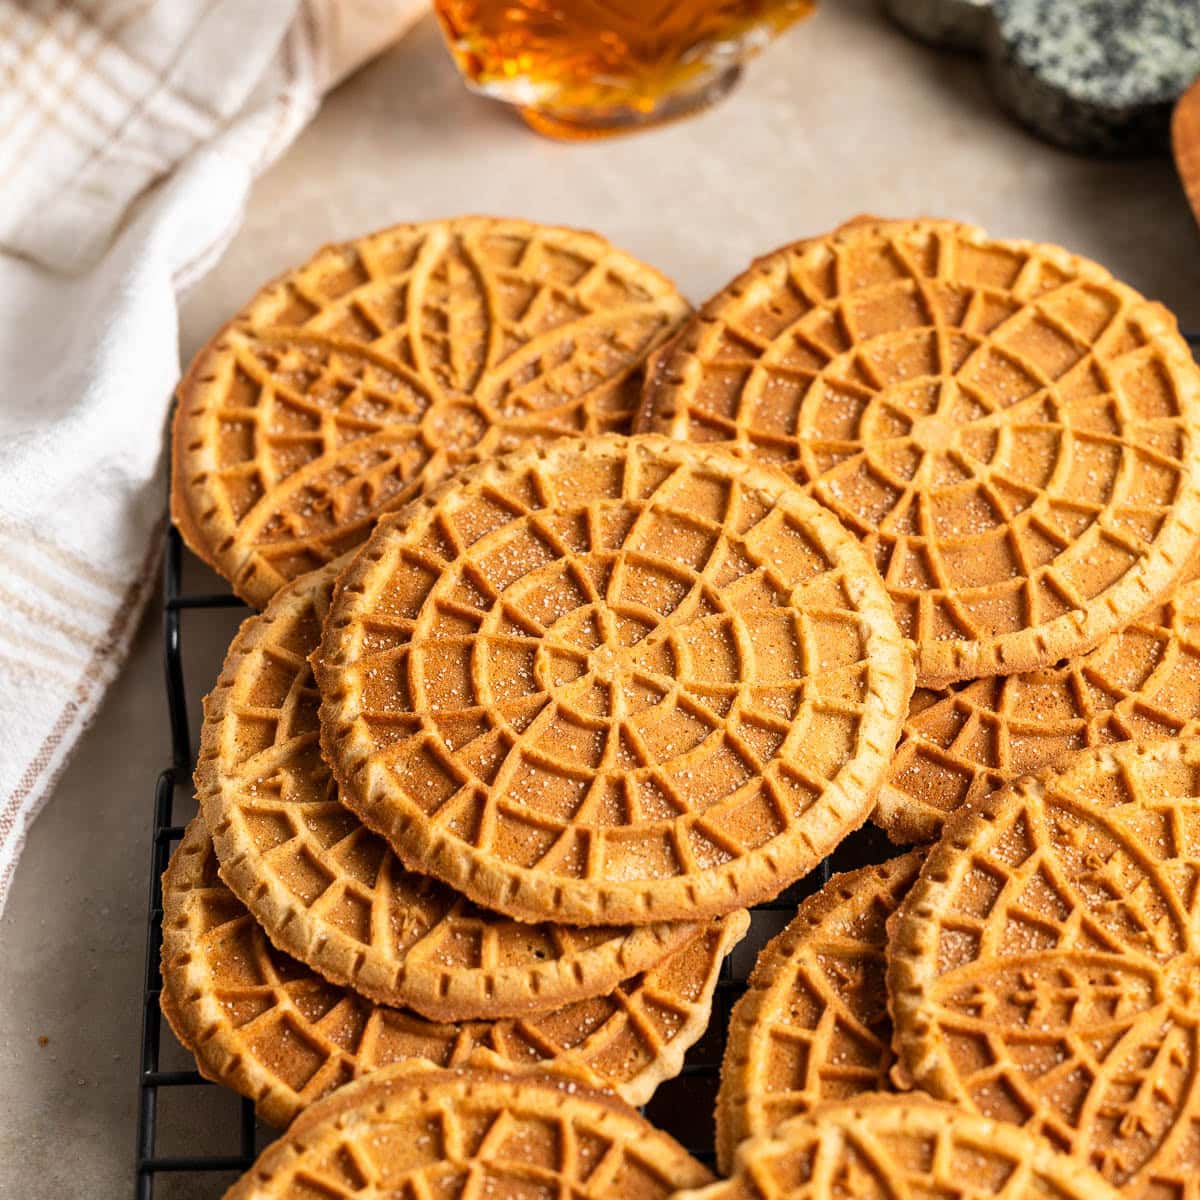
Biggest Impact: Maple Extract
Making something maple-flavored can sometimes be tricky.
- The amount of maple syrup needed for maple flavor to come through in a cooked pizzelle would flood your batter and turn it into a sticky, unworkable mess. There's really not much liquid, at all, to play around with here.
- And while I have seen granulated maple sugar, it's PRICEY and I'm not sure it would even achieve more than a hint of flavor in maple pizzelle to be worth it.
- The answer? Maple extract. It's ultra-concentrated, inexpensive, and won't throw off the balance of wet/dry ingredients in a cookie recipe.
I've personally tried multiple varieties over the years, including Frontier Co-op in the early days (until they reformulated...), then switched to ordering Mapleine imitation flavoring online (dark and kind of thick but worked well enough), and now use McCormick. I think it's newer? Anyway noticed it one day in my regular grocery store for just a few bucks, and find it has the least "weird" scent or texture out of all of them.
Maple Pizzelle Ingredients
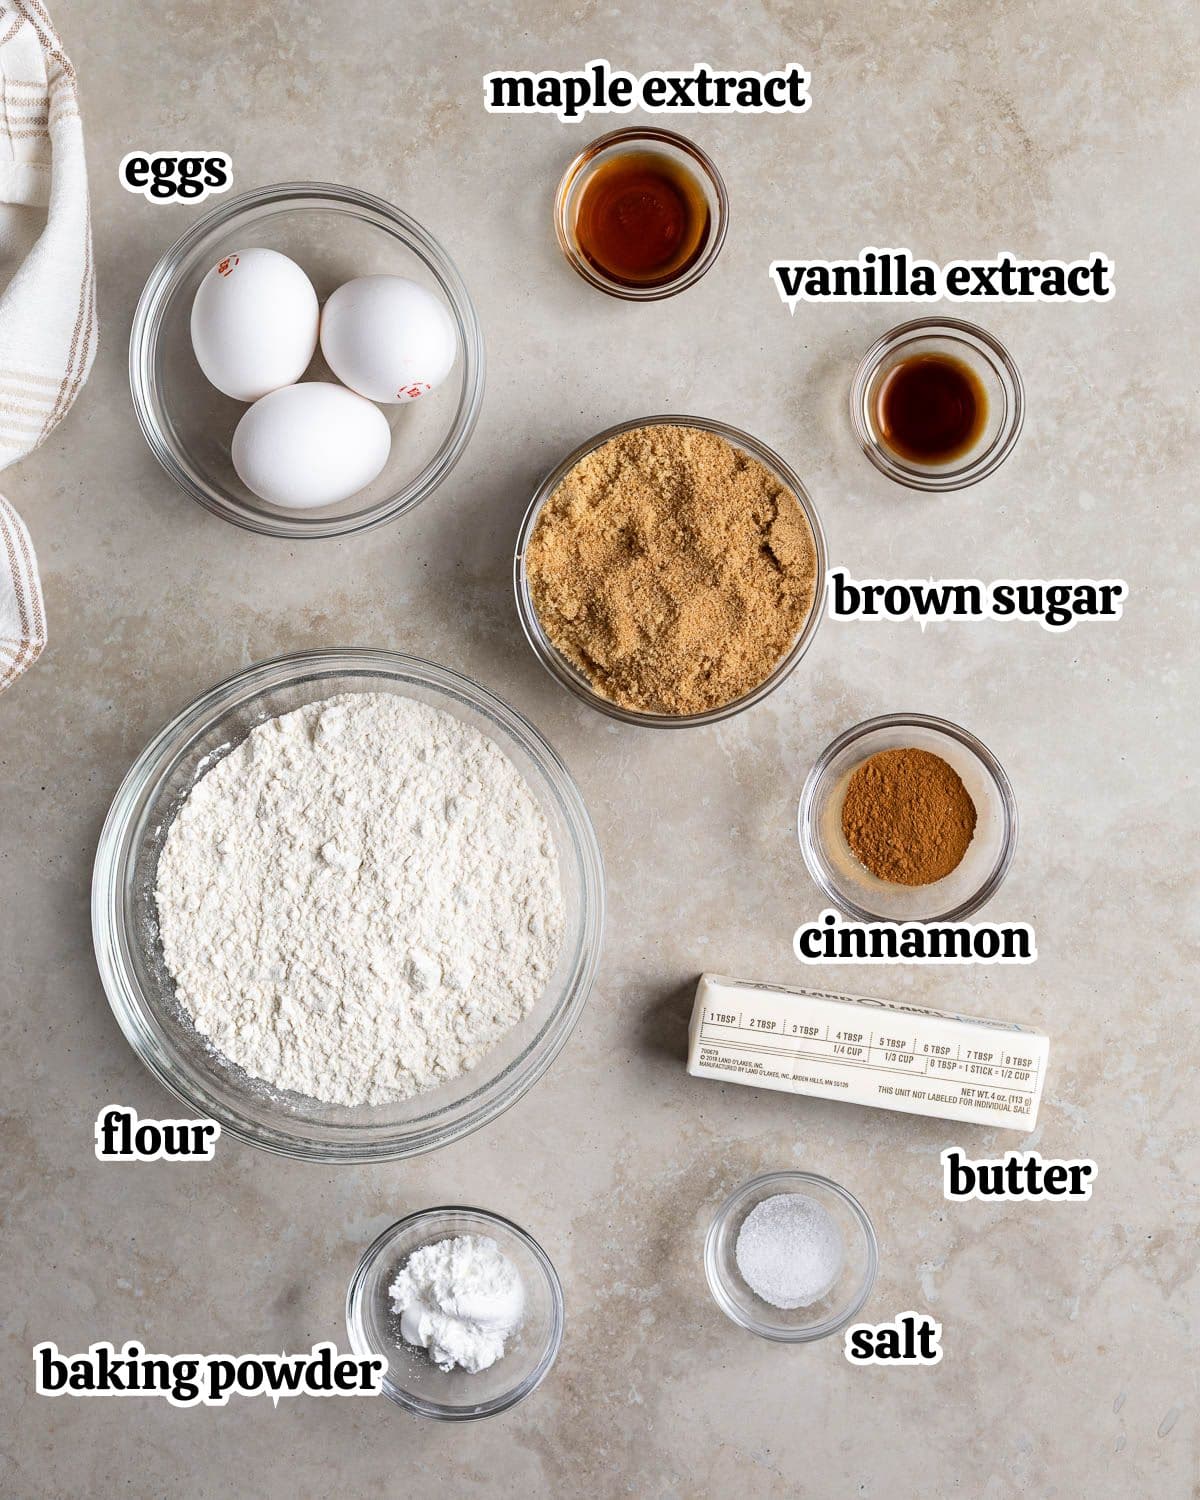
- Brown sugar: Either light or dark brown sugar are fine here. I usually use whatever's open, including mixing the two if I'm finishing off a bag.
- Melted butter: Make sure this is melted and slightly cooled, where the butter is still liquid but not piping hot straight from the microwave or pan. This is so it doesn't begin to cook and scramble the eggs when it's added to the egg and sugar mixture.
- Maple extract: The section above this one has more details, but in short: use maple baking extract - maple syrup is not a good substitute. Maple extract is becoming less of a specialty ingredient now that some of the mainstream extract brands sell it in grocery stores for sub-$5.
- Baking powder: If your taste buds have picked up on a slight metallic tinge in baked treats before (me), it may be because the recipe calls for a higher amount of baking powder, and that baking powder was a traditional double-acting variety that uses a food-safe (of course) aluminum compound. I recommend using a double-acting baking powder specifically called out to be aluminum-free, or does not contain sodium aluminum sulfate in the ingredient list. Argo is my current go-to.
Step-by-Step Instructions
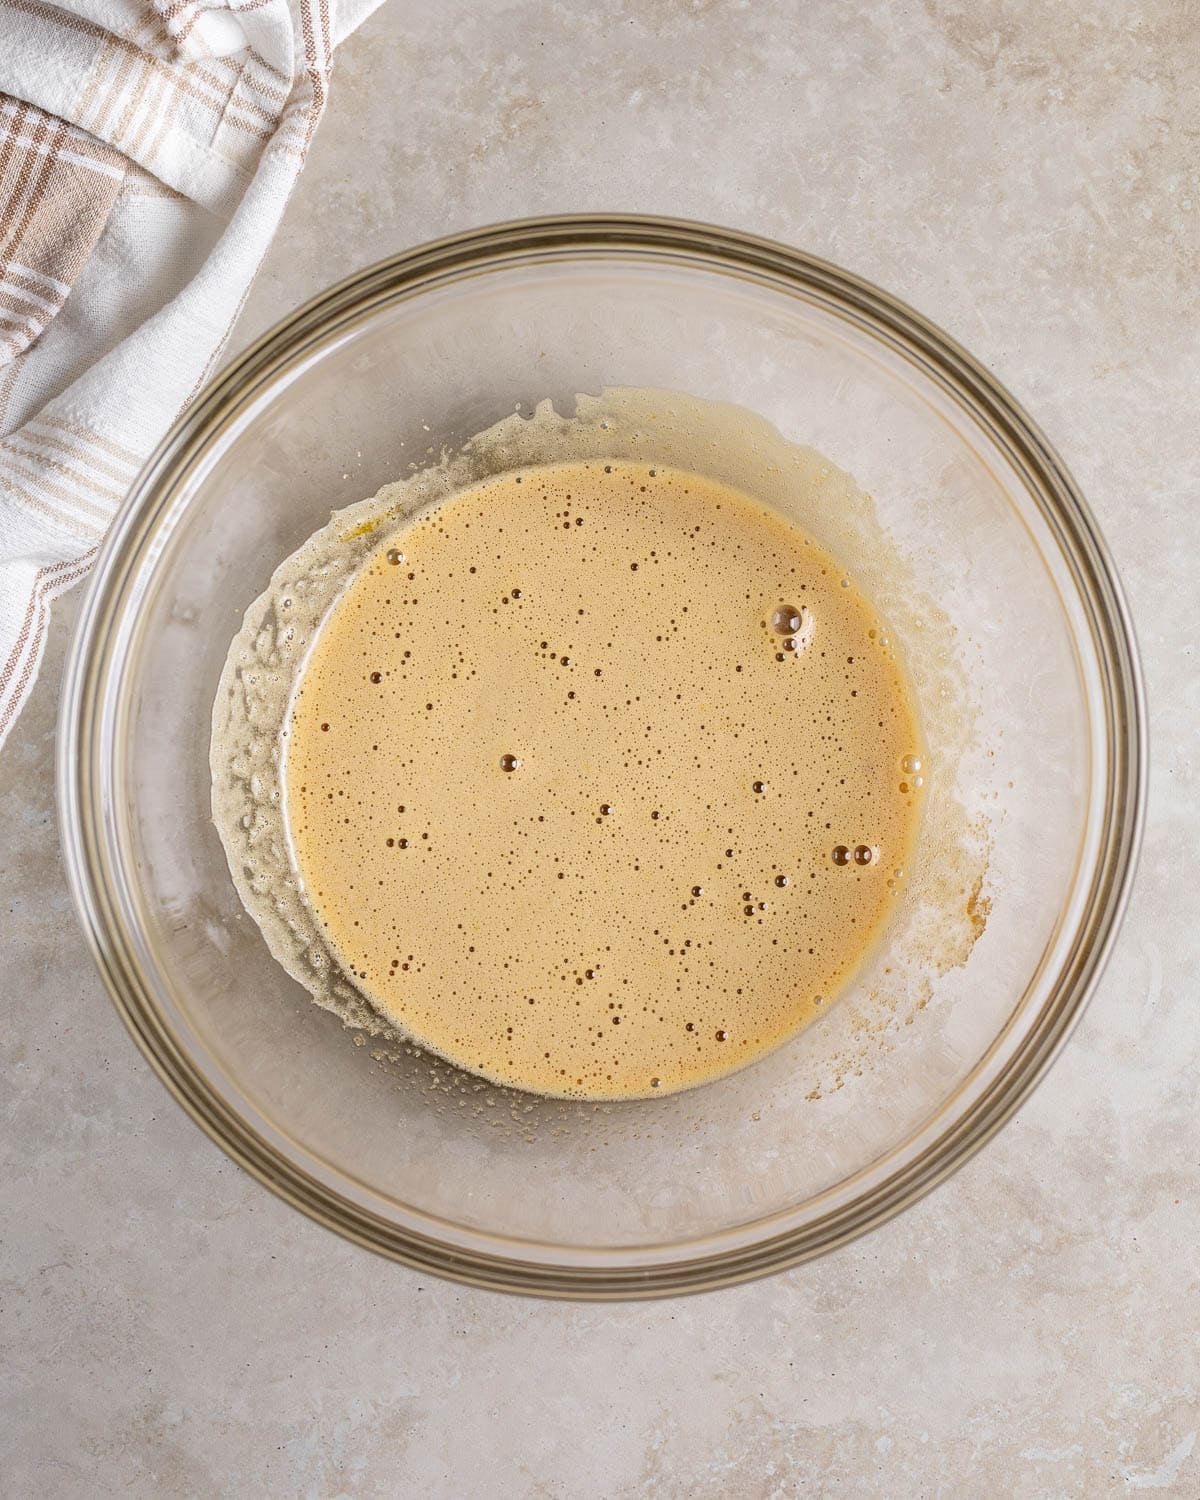
- Step 1: Beat eggs and brown sugar with an electric mixer until combined.
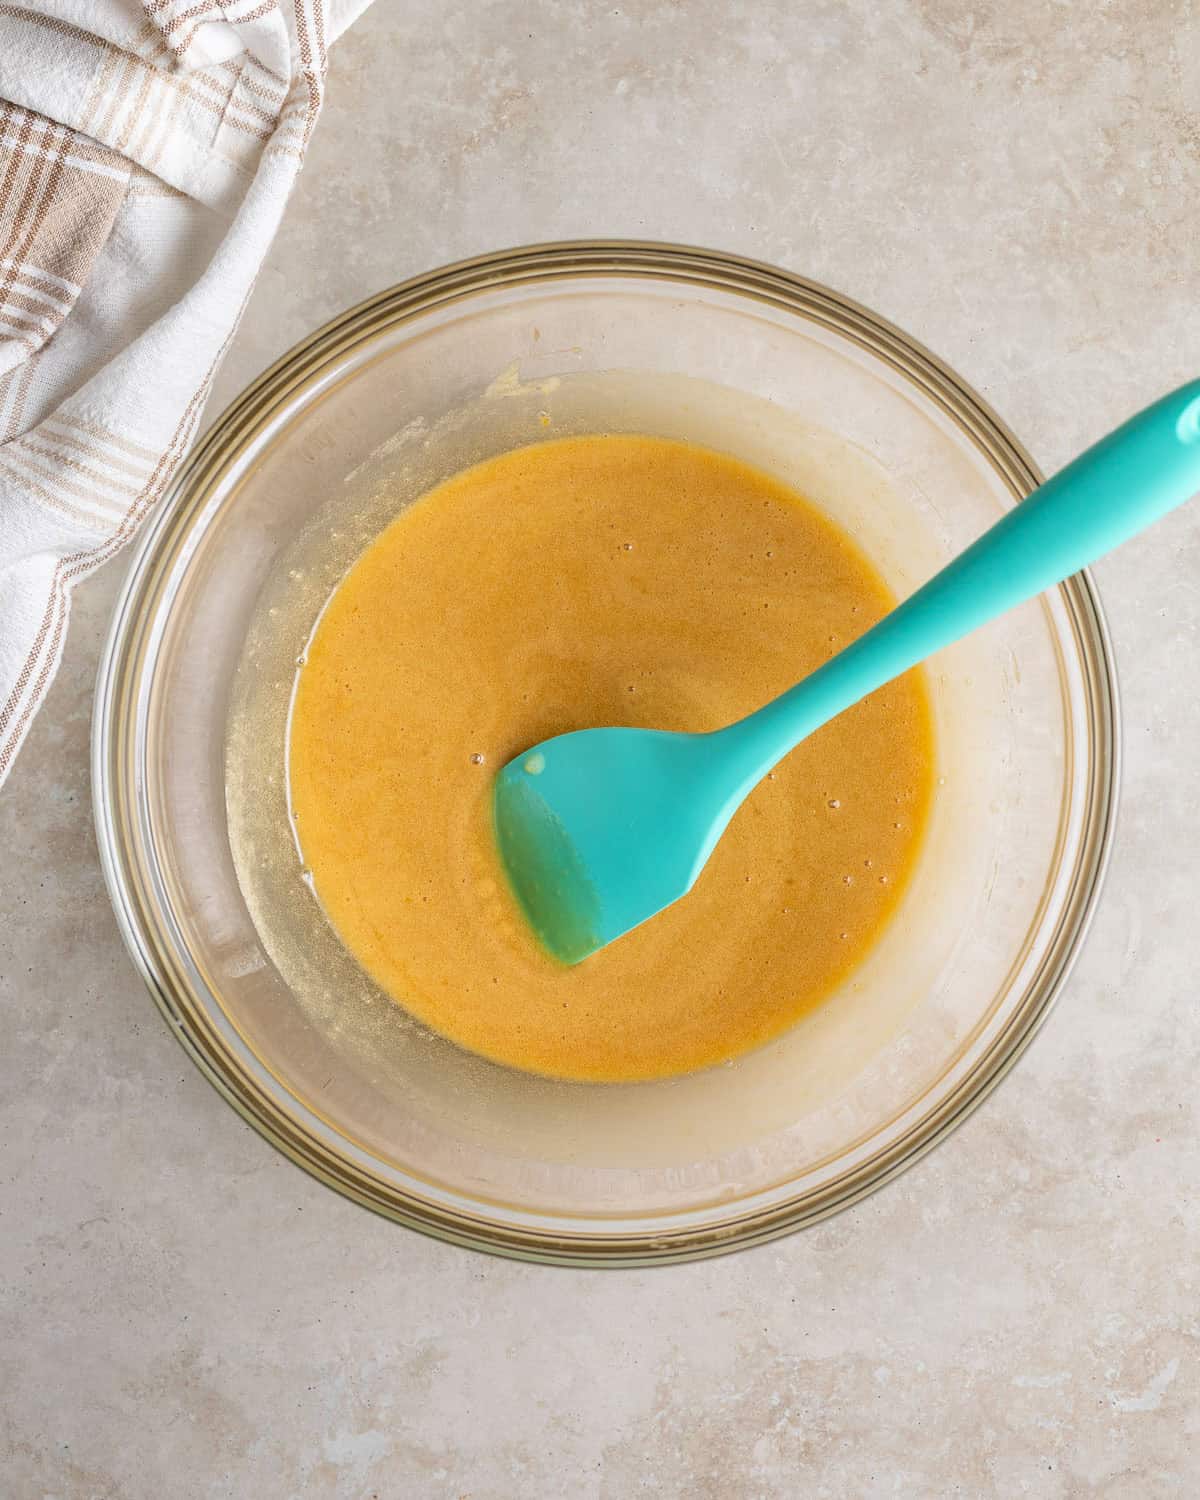
- Step 2: Mix in the melted butter, then add the maple and vanilla extracts.
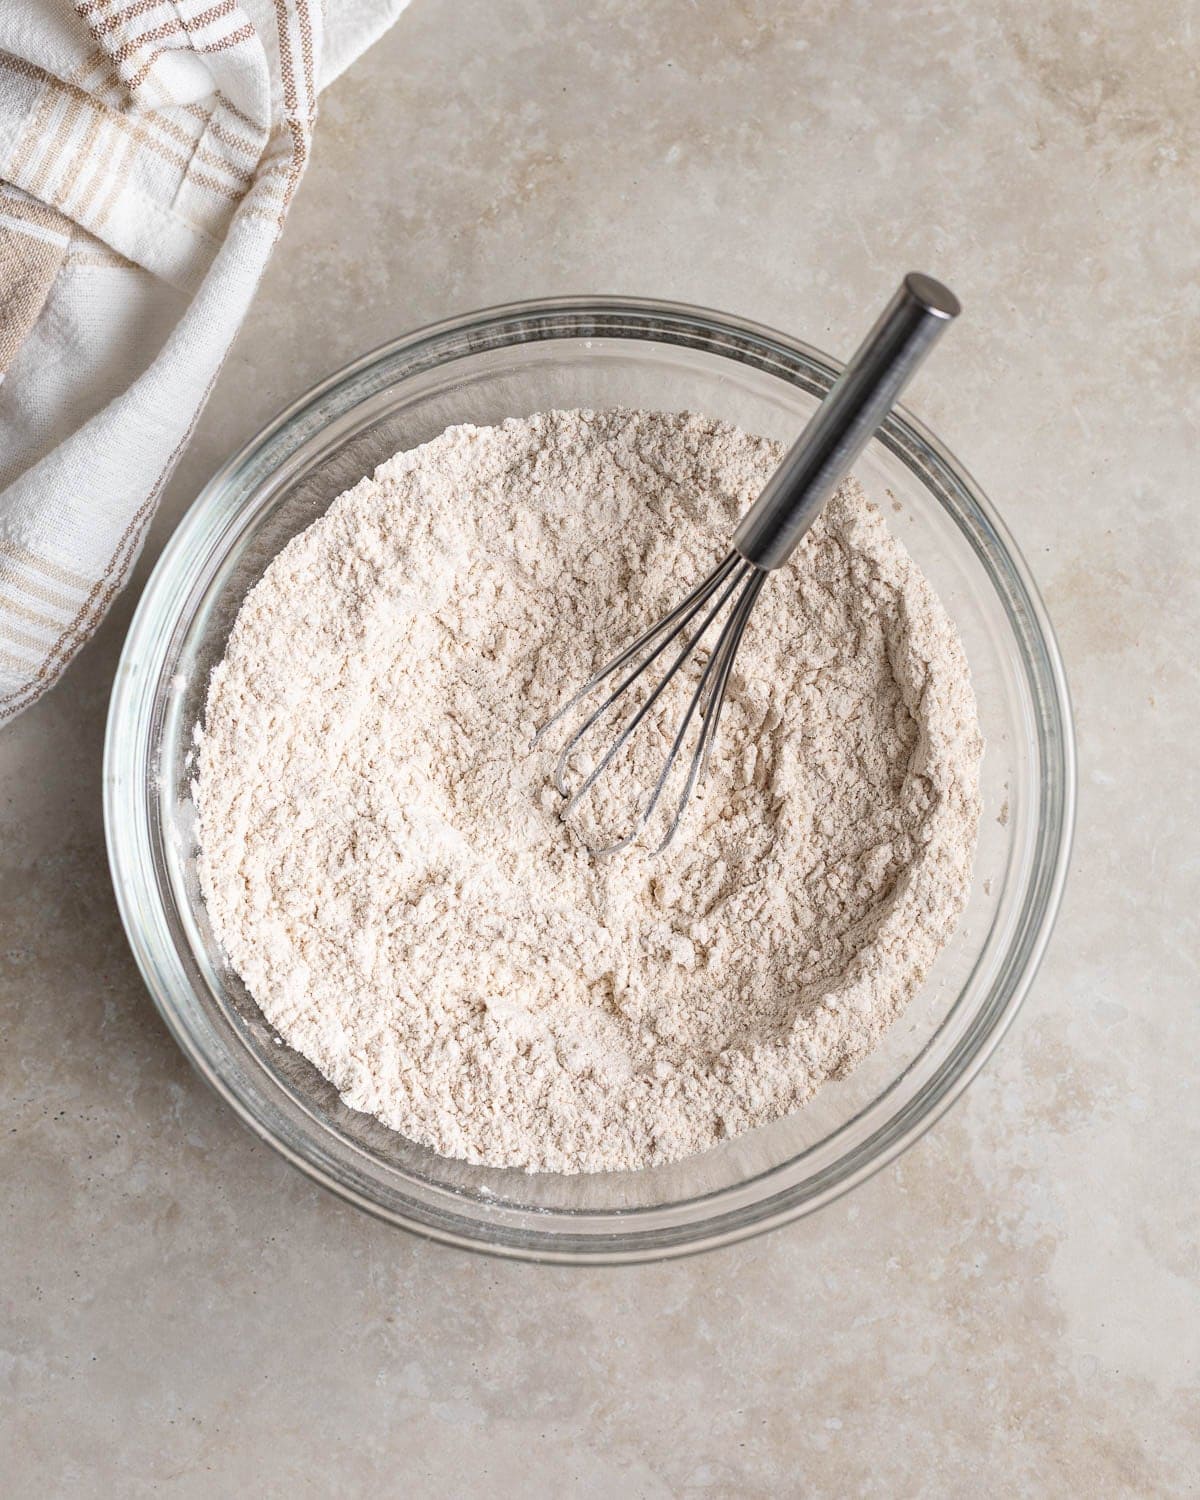
- Step 3: Separately whisk together the dry ingredients: flour, baking powder, cinnamon, and salt.
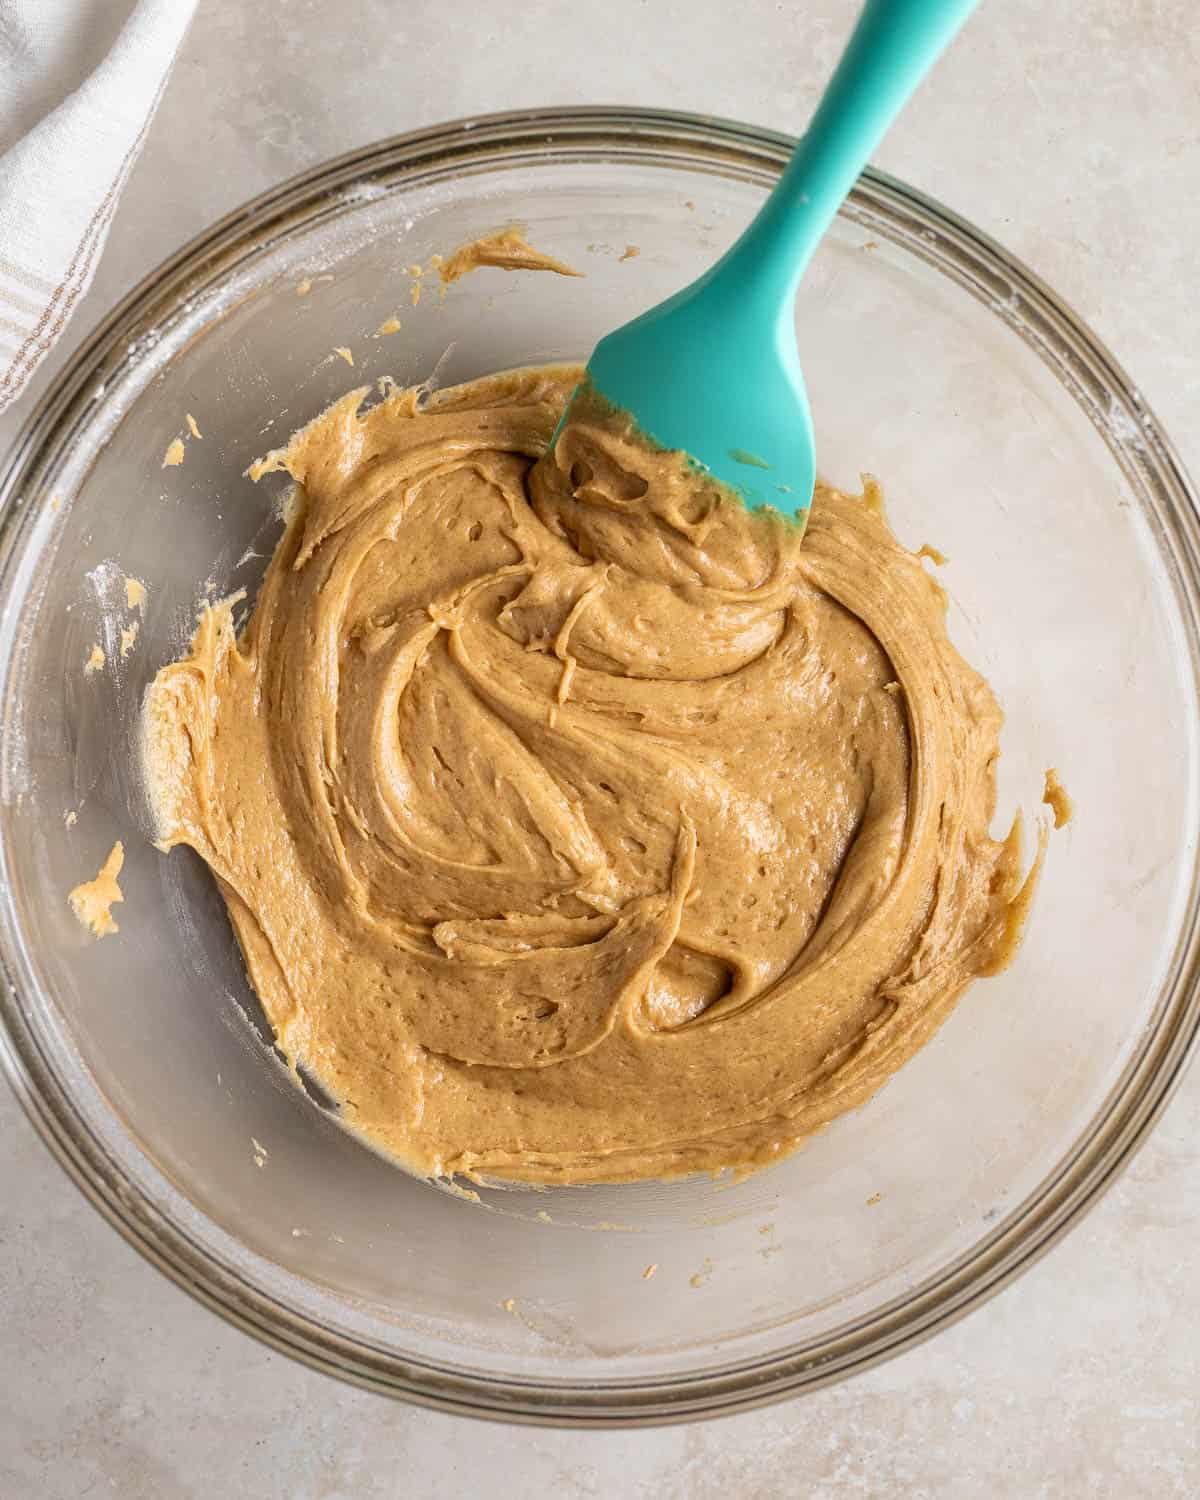
- Step 4: Mix the dry ingredients into the bowl of wet ingredients until just combined. The batter will be fairly thick.
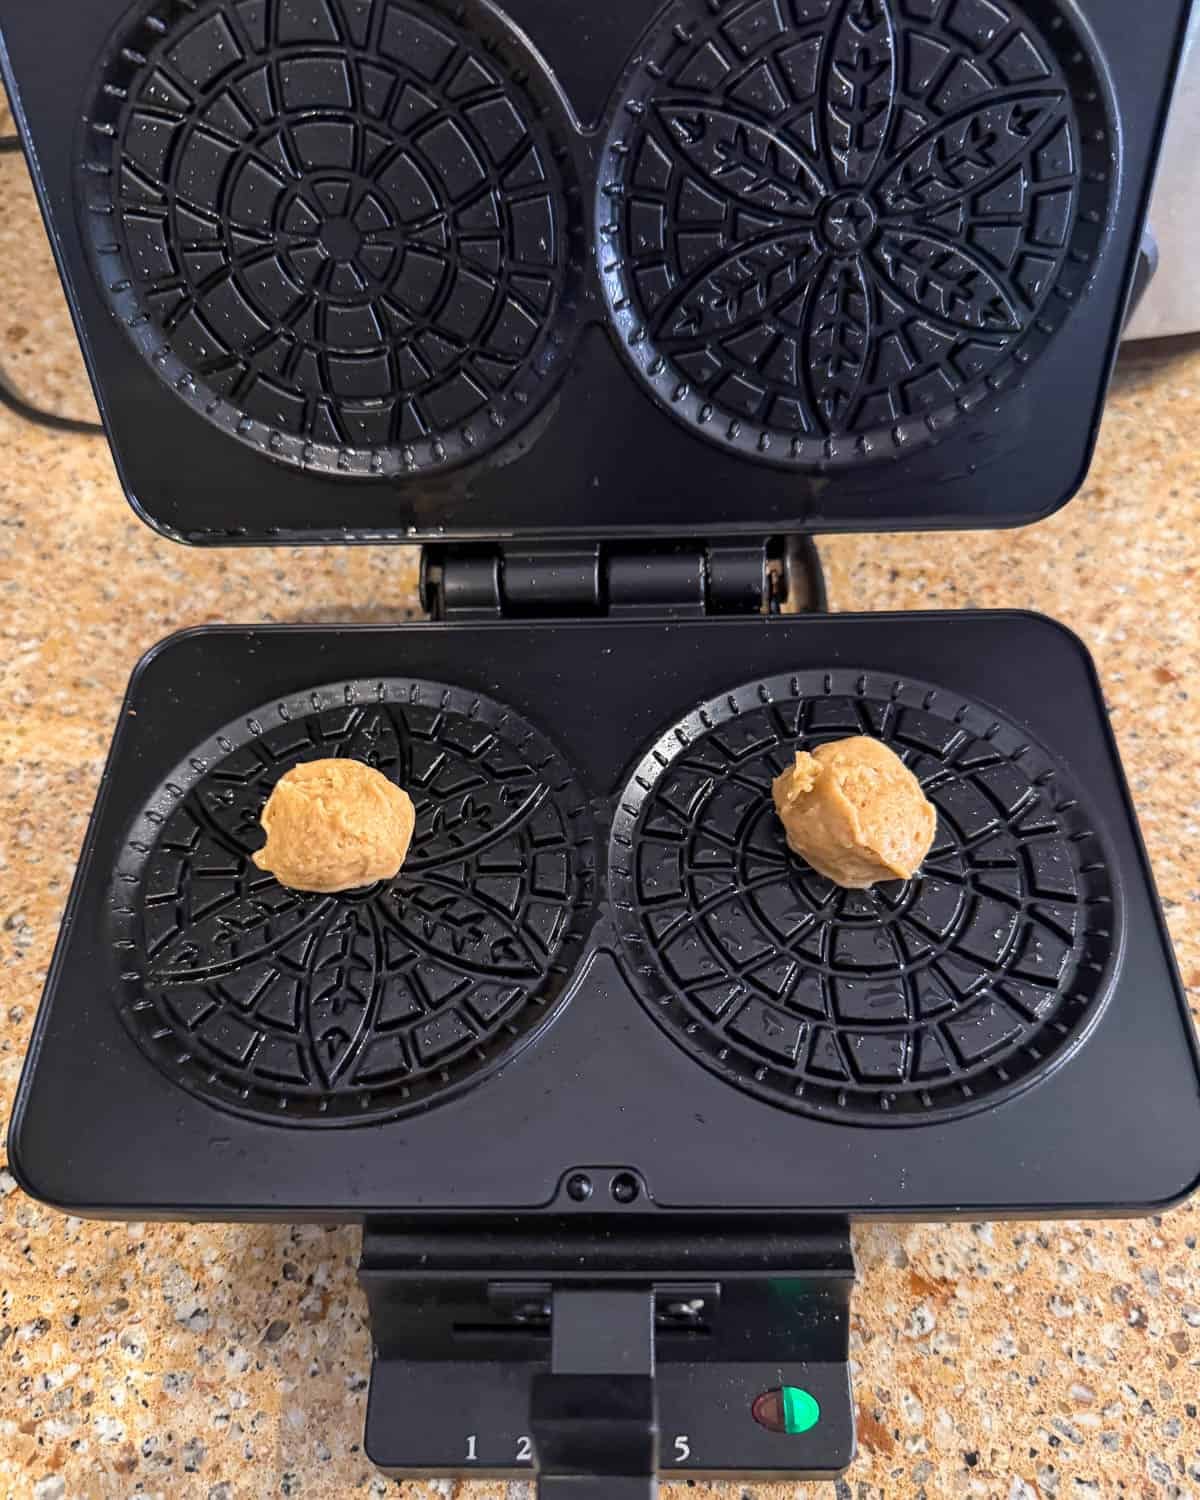
- Step 5: Heat and prepare your pizzelle press as required. For mine, I brush vegetable oil on the grids before beginning. Scoop batter...
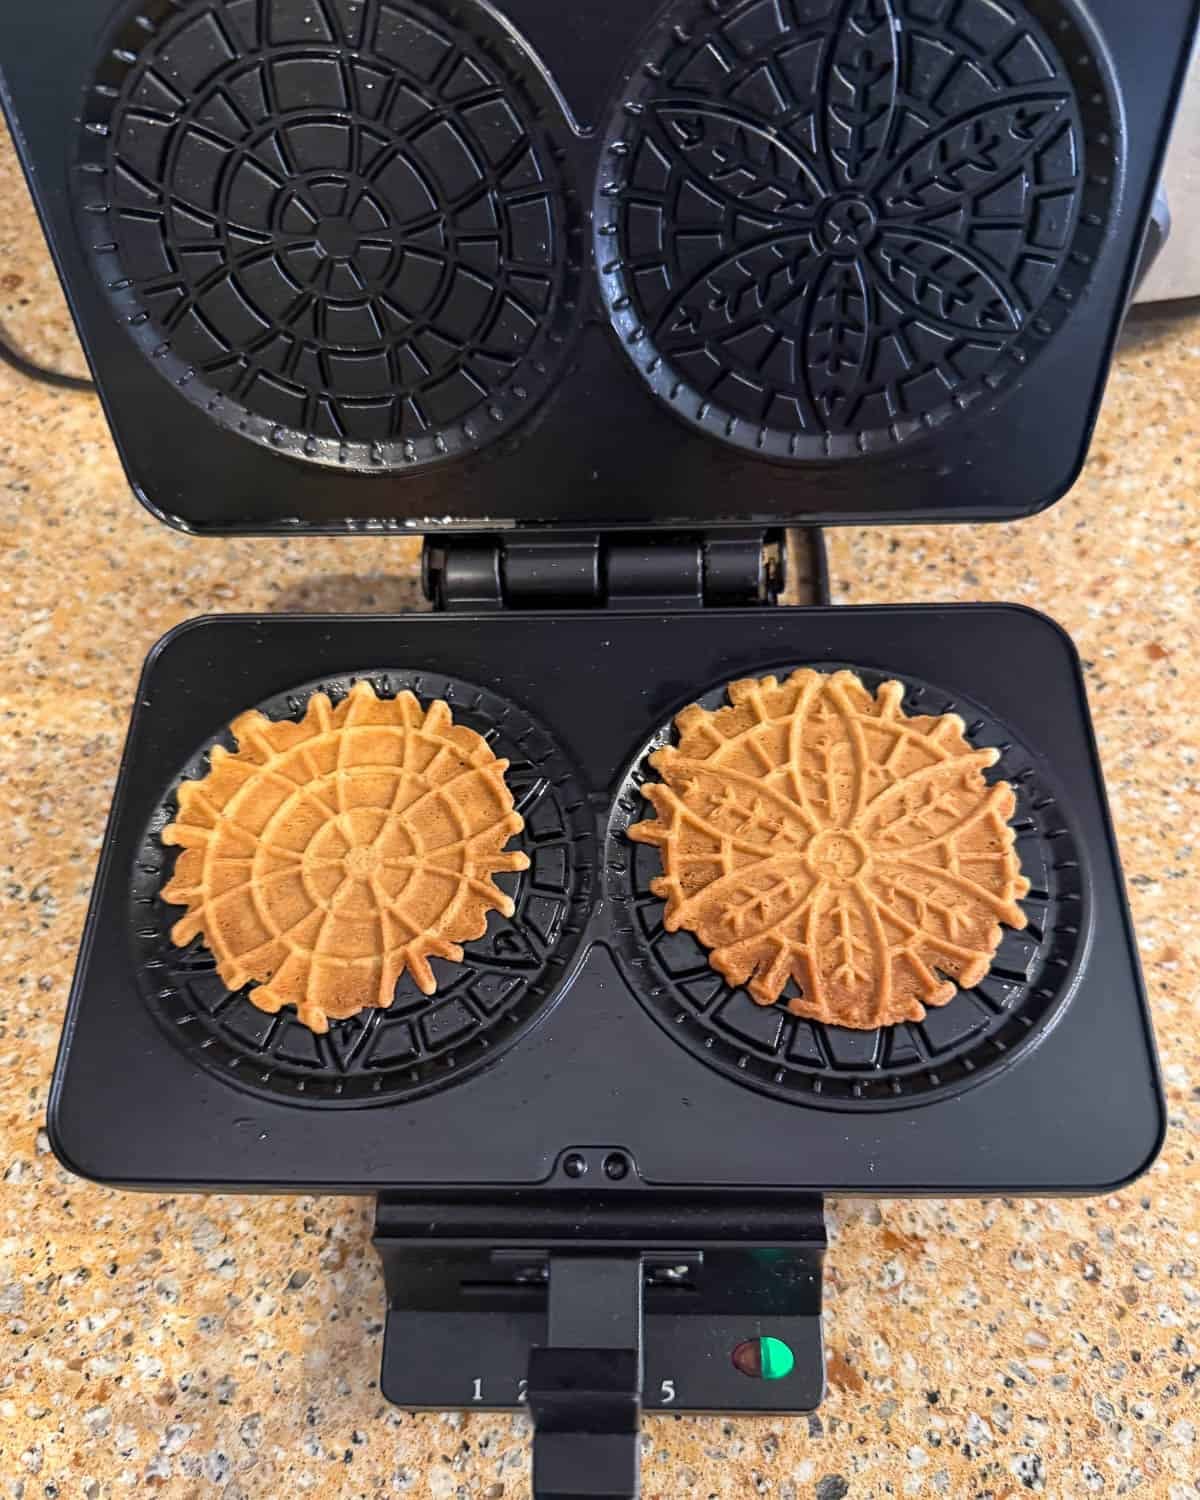
- Step 6: ...then close the lid and cook to your preferred doneness. Immediately remove to cool flat on a wire rack. Then repeat! And repeat, and repeat...
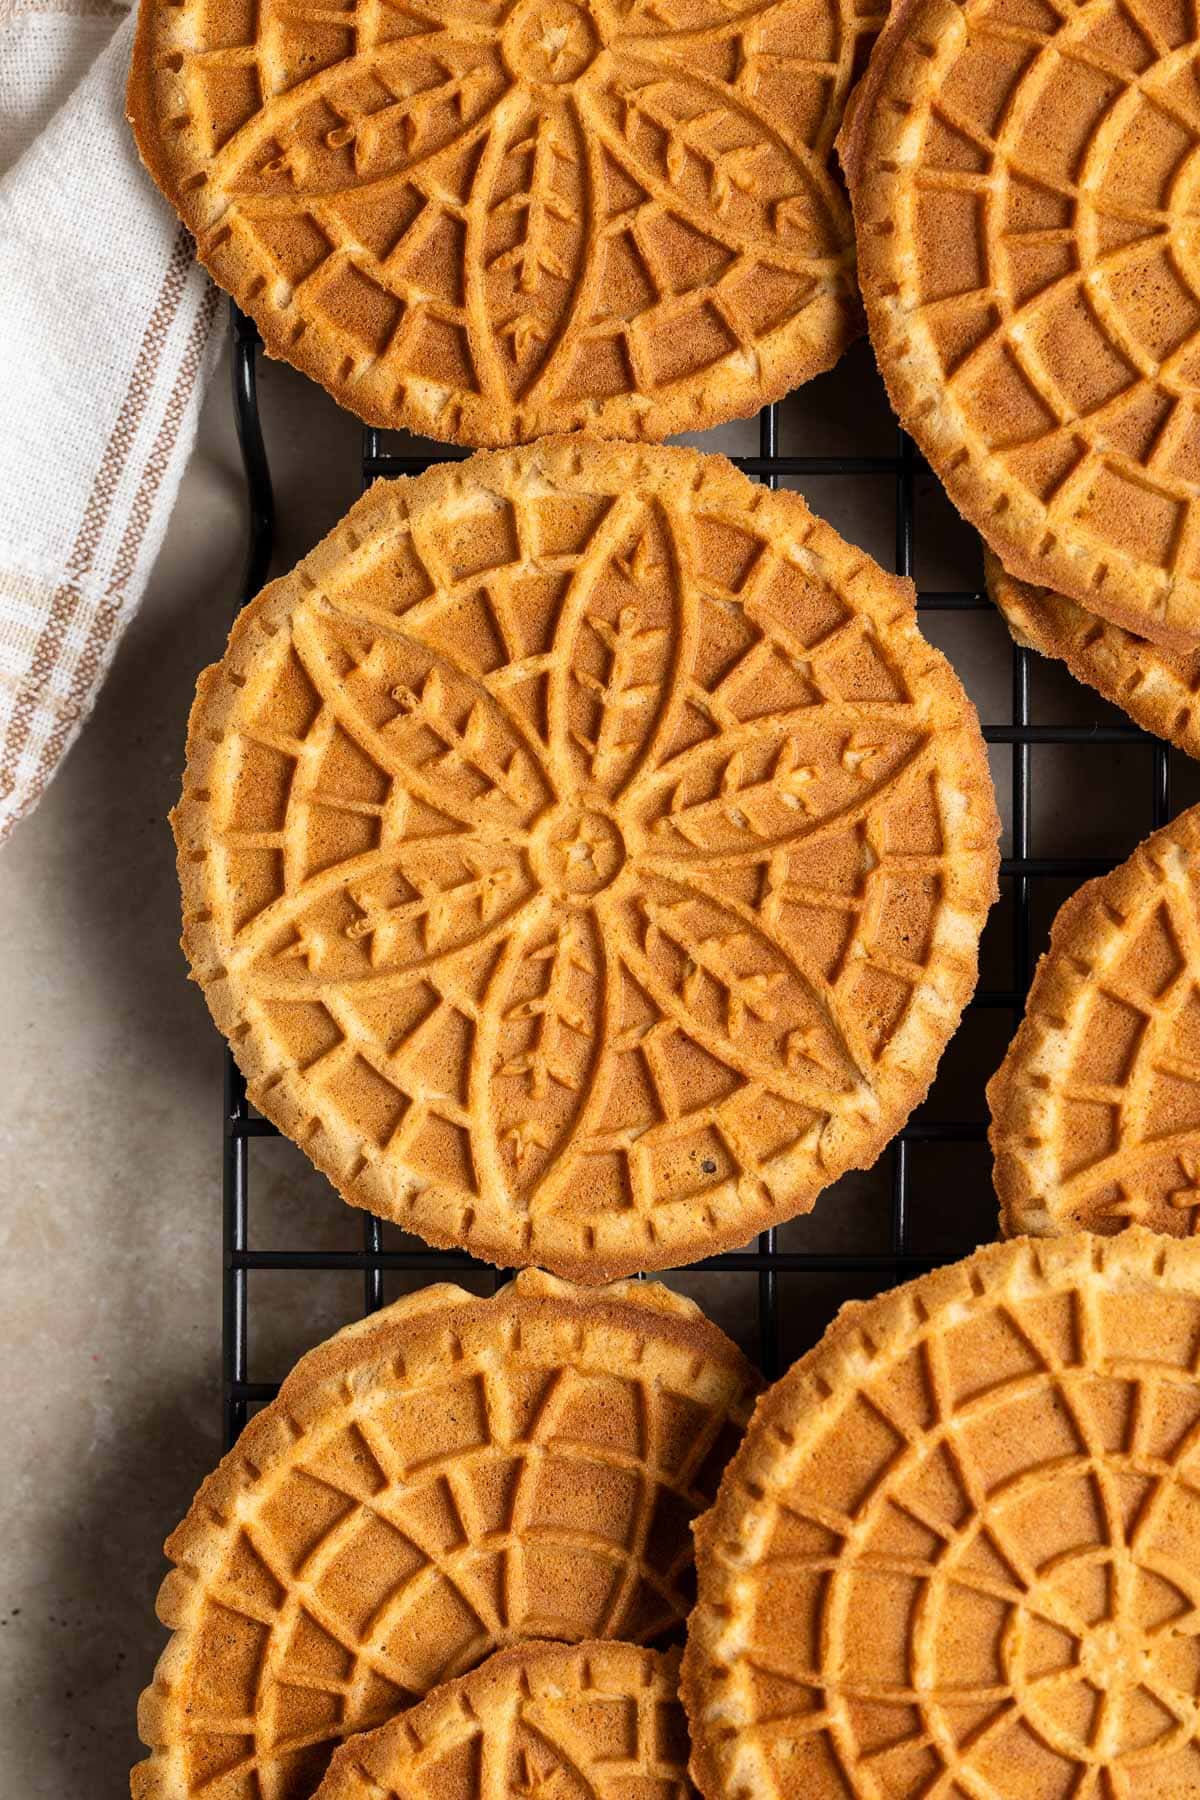
Tips and Tricks
- Preparing your pizzelle press: This can vary press to press, whether yours is electric/non-stick or cast iron. For my 20+ year old electric non-stick press, I brush a thin layer of vegetable oil on the top and bottom grids before beginning. That's enough to prevent any sticking the whole batch through with these maple pizzelle (stickier batters, like gingerbread pizzelle, benefit by reapplication throughout).
- Sizing trial and error: It always takes me a round or two to get my bearings when it comes to how much batter to scoop per pizzelle. In the process shots above you can see what sized blobs I used on my first round and what they looked like when pressed (too small).
- Less-mess scooping: A cookie scoop with a swinging arm helps speed up the scooping process and makes it a fair amount easier to portion out equally-sized blobs. For pizzelle I'll either use a generously heaping teaspoon cookie scoop or a not-quite-filled medium scoop to arrive between 2-3 teaspoons of batter per 4-inch cookie.
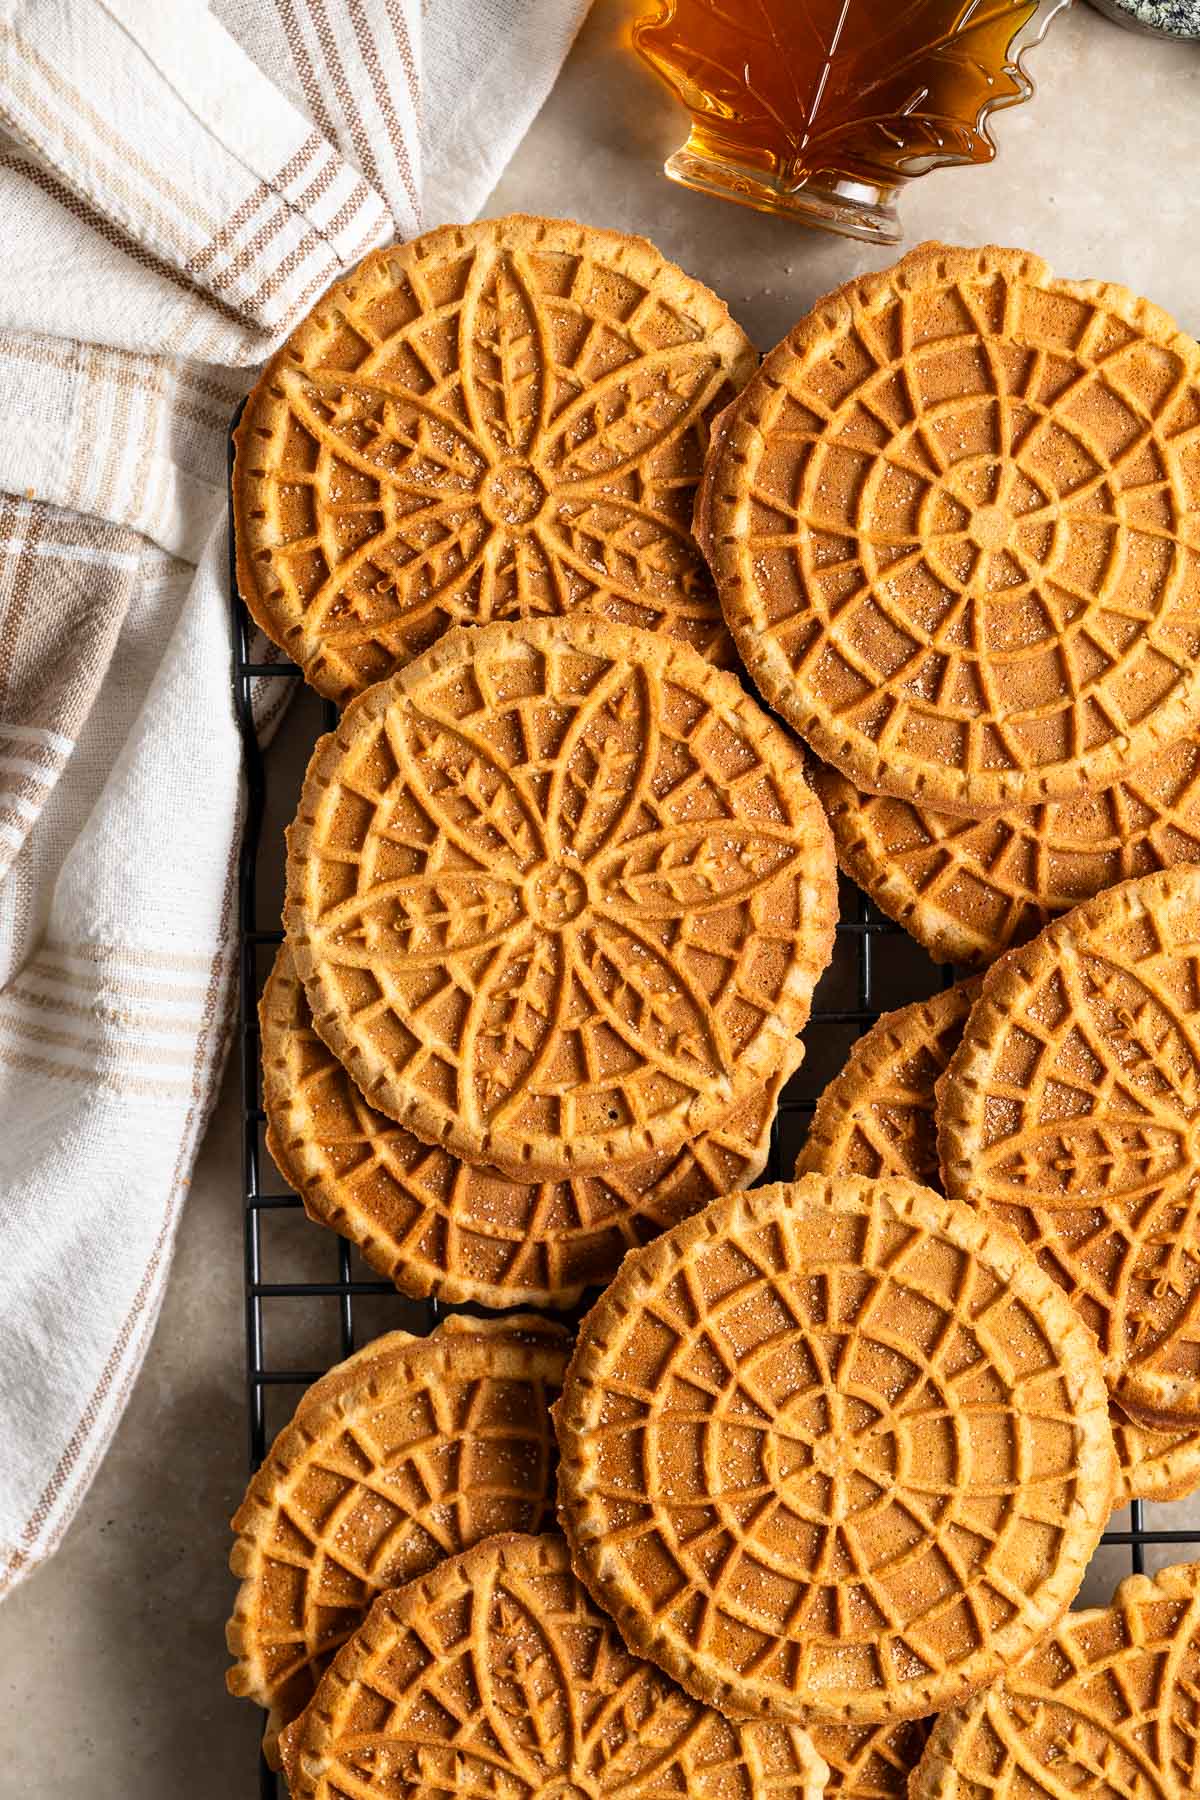
P.S. As a stylistic choice I sprinkled these maple pizzelle with a little cinnamon sugar before taking pictures. You really can't taste it or anything so it's not something I'd say you should do. Just wanted to add a little pizzazz to the photos.
More Pizzelle Recipes



Did you enjoy this recipe? I’d love for you to leave a star rating and a comment review in the recipe card below!
Maple Pizzelle
Ingredients
- ½ cup unsalted butter melted and slightly cooled
- 3 large eggs
- ¾ cup packed brown sugar light or dark
- 2 teaspoons maple extract
- 1 teaspoon vanilla extract
- 1 ¾ cup (215g) all-purpose flour
- 2 teaspoons baking powder aluminum-free recommended
- 1 ½ teaspoons ground cinnamon
- ¼ teaspoon fine salt
- Vegetable oil for greasing pizzelle grids if needed
Instructions
- Melt butter in a microwave-safe bowl in short bursts, stirring after each increment, until it just loses shape and becomes liquefied. You can also do this in a small saucepan set over low heat on the stove. Set the melted butter aside for now to cool slightly.
- Beat eggs and brown sugar in a bowl with an electric mixer on medium speed for one minute until combined.
- Pour in the melted butter and mix on low speed until combined, then beat in the maple and vanilla extracts.
- In a separate bowl, whisk together the flour, baking powder, cinnamon, and salt. Add these mixed dry ingredients to the bowl of wet ingredients and mix in until just combined, scraping down the sides of the bowl as needed to incorporate everything. The batter will be quite thick.
- Pause now and heat up your pizzelle press. Even though mine is electric with non-stick grids, I brush vegetable oil on the top and bottom grids before beginning to make extra sure I don't have any sticking problems. Set up two large wire racks right next to your pizzelle press before cooking.
- Once your press is heated, scoop around 1 Tablespoon of dough onto the center of the grids, close and latch the lid, and cook until your preferred crispness. I aim for 1 minute 35 seconds for these, but every pizzelle press will cook a bit differently.
- Use a heat-safe spatula to remove cooked pizzelle from the press and immediately lay them flat on a wire rack, making sure no part of the pizzelle is hanging over the sides or bent in any way. They will harden within seconds and stay that way if so.
- Repeat for the rest of the batter, cooling the maple pizzelle on the rack in a single layer. Once both large racks are full I find the beginning pizzelle are fully cooled and able to be stacked to make room for the end of the batch.
- Maple pizzelle are ready to serve or be stored once fully cooled. Store in an air-tight container at room temperature for a week or longer - I've gone two and they're still crisp. A container with firm sides is optimal over a zip-top bag as the structure helps prevent them from breaking if jostled.
Notes
Would you like to save this?
Plus receive periodic recipe newsletter emails.
Nutrition
Nutritional information is provided as an estimate. As it can vary due to many factors (brands used, quantities, etc.), we cannot guarantee its accuracy.
Food Safety and Nutrition Disclaimer
Comments
No Comments