
Usually, I'm the type of person that does things all or nothing. Meaning either I eat-sleep-live-breathe whatever new found hobby I've gotten myself hooked on, or I don't even touch it one bit. Case in point, seven-year-old me was SO. EXCITED. when I got a DIY latch hook rug kit from Michael's. I mean pulsating with excitement. I still remember that it had the image of two Lisa Frank-esque looking dogs imprinted on the mat, and I loved every little thing about it. Looking back, this is probably where my family first noticed my future-CPA characteristics come into existence. I took meticulous care in documenting my progress on the grid. I organized each color by shade gradient, because no way would there be any confusion between buttercup, pale yellow, lemon, and golden yarn if I could help it. Knowing me, I probably even summed up each square of yellow gradient on the master key just to see what percentage of all the yellows was buttercup, pale yellow, etc. What a nerd.
Anyway, I about near latch-hooked my fingers off that summer. And then I stopped. Cold turkey on the latch-hooking. School started, sports season began, I don't know. Every once in a while I would go back and latch hook like a maniac for awhile, but inevitably something else would grab my attention and it would fall by the wayside. In the many years since then, my parents have moved and I have a sneaking suspicion that the rug never made it onto the moving truck. Which is probably for the better, as nobody wants to see a twenty-something-year-old obsessing over scraps of yarn with which to make a puppy-themed rug. I still wouldn't put it past me to binge every once in a while.
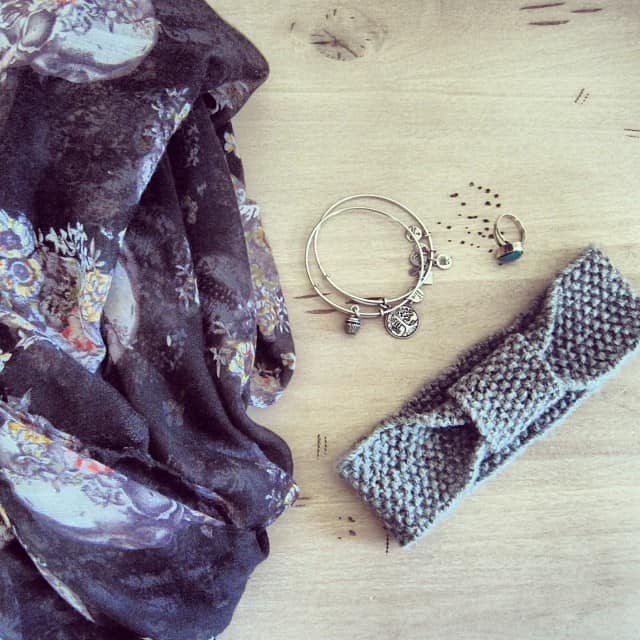
Nowadays, knitting and crocheting fills the void that was my beloved latch hooking (thankfully). When I lived in a colder climate I was all about scarves and other winter gear, as those were actually practical for my day-to-day, and I always had a project (or four) going. One year I even gave myself a pretty nasty callous. From crocheting.
Last year I moved to California and BOOM, didn't even unpack my needles and yarn. 60ºF winters will do that to you. However after booking my ticket back to the East Coast for Thanksgiving, I had a golden opportunity to knit something and actually wear it without sweat beads forming. Enter, the knit bow headband:
I was inspired by a post from the Stuff Steph Does blog, although I didn't knit a second piece for a bigger bow. Rather, I knit one main headband-sized piece and one smaller piece to act as the bow cincher. This way, I figured less yarn on my head = less chance of overheating back here in San Diego.
Knit Bow Headband
You'll need:
Half of a skein of worsted-weight yarn
Knitting needles (I used 5.0 MM, US size 8)
Darning needle
1. Cast on 13 stitches, with some excess yarn left hanging at the very beginning. For each row (front and back), alternate knit 1 and purl 1. This way, you'll begin and end each row with a knit stitch. Continue until strip equals approximately 16" long (enough to fit around your head snugly, with a little room for headband to stretch out as you wear it).
2. Cast off and set aside.
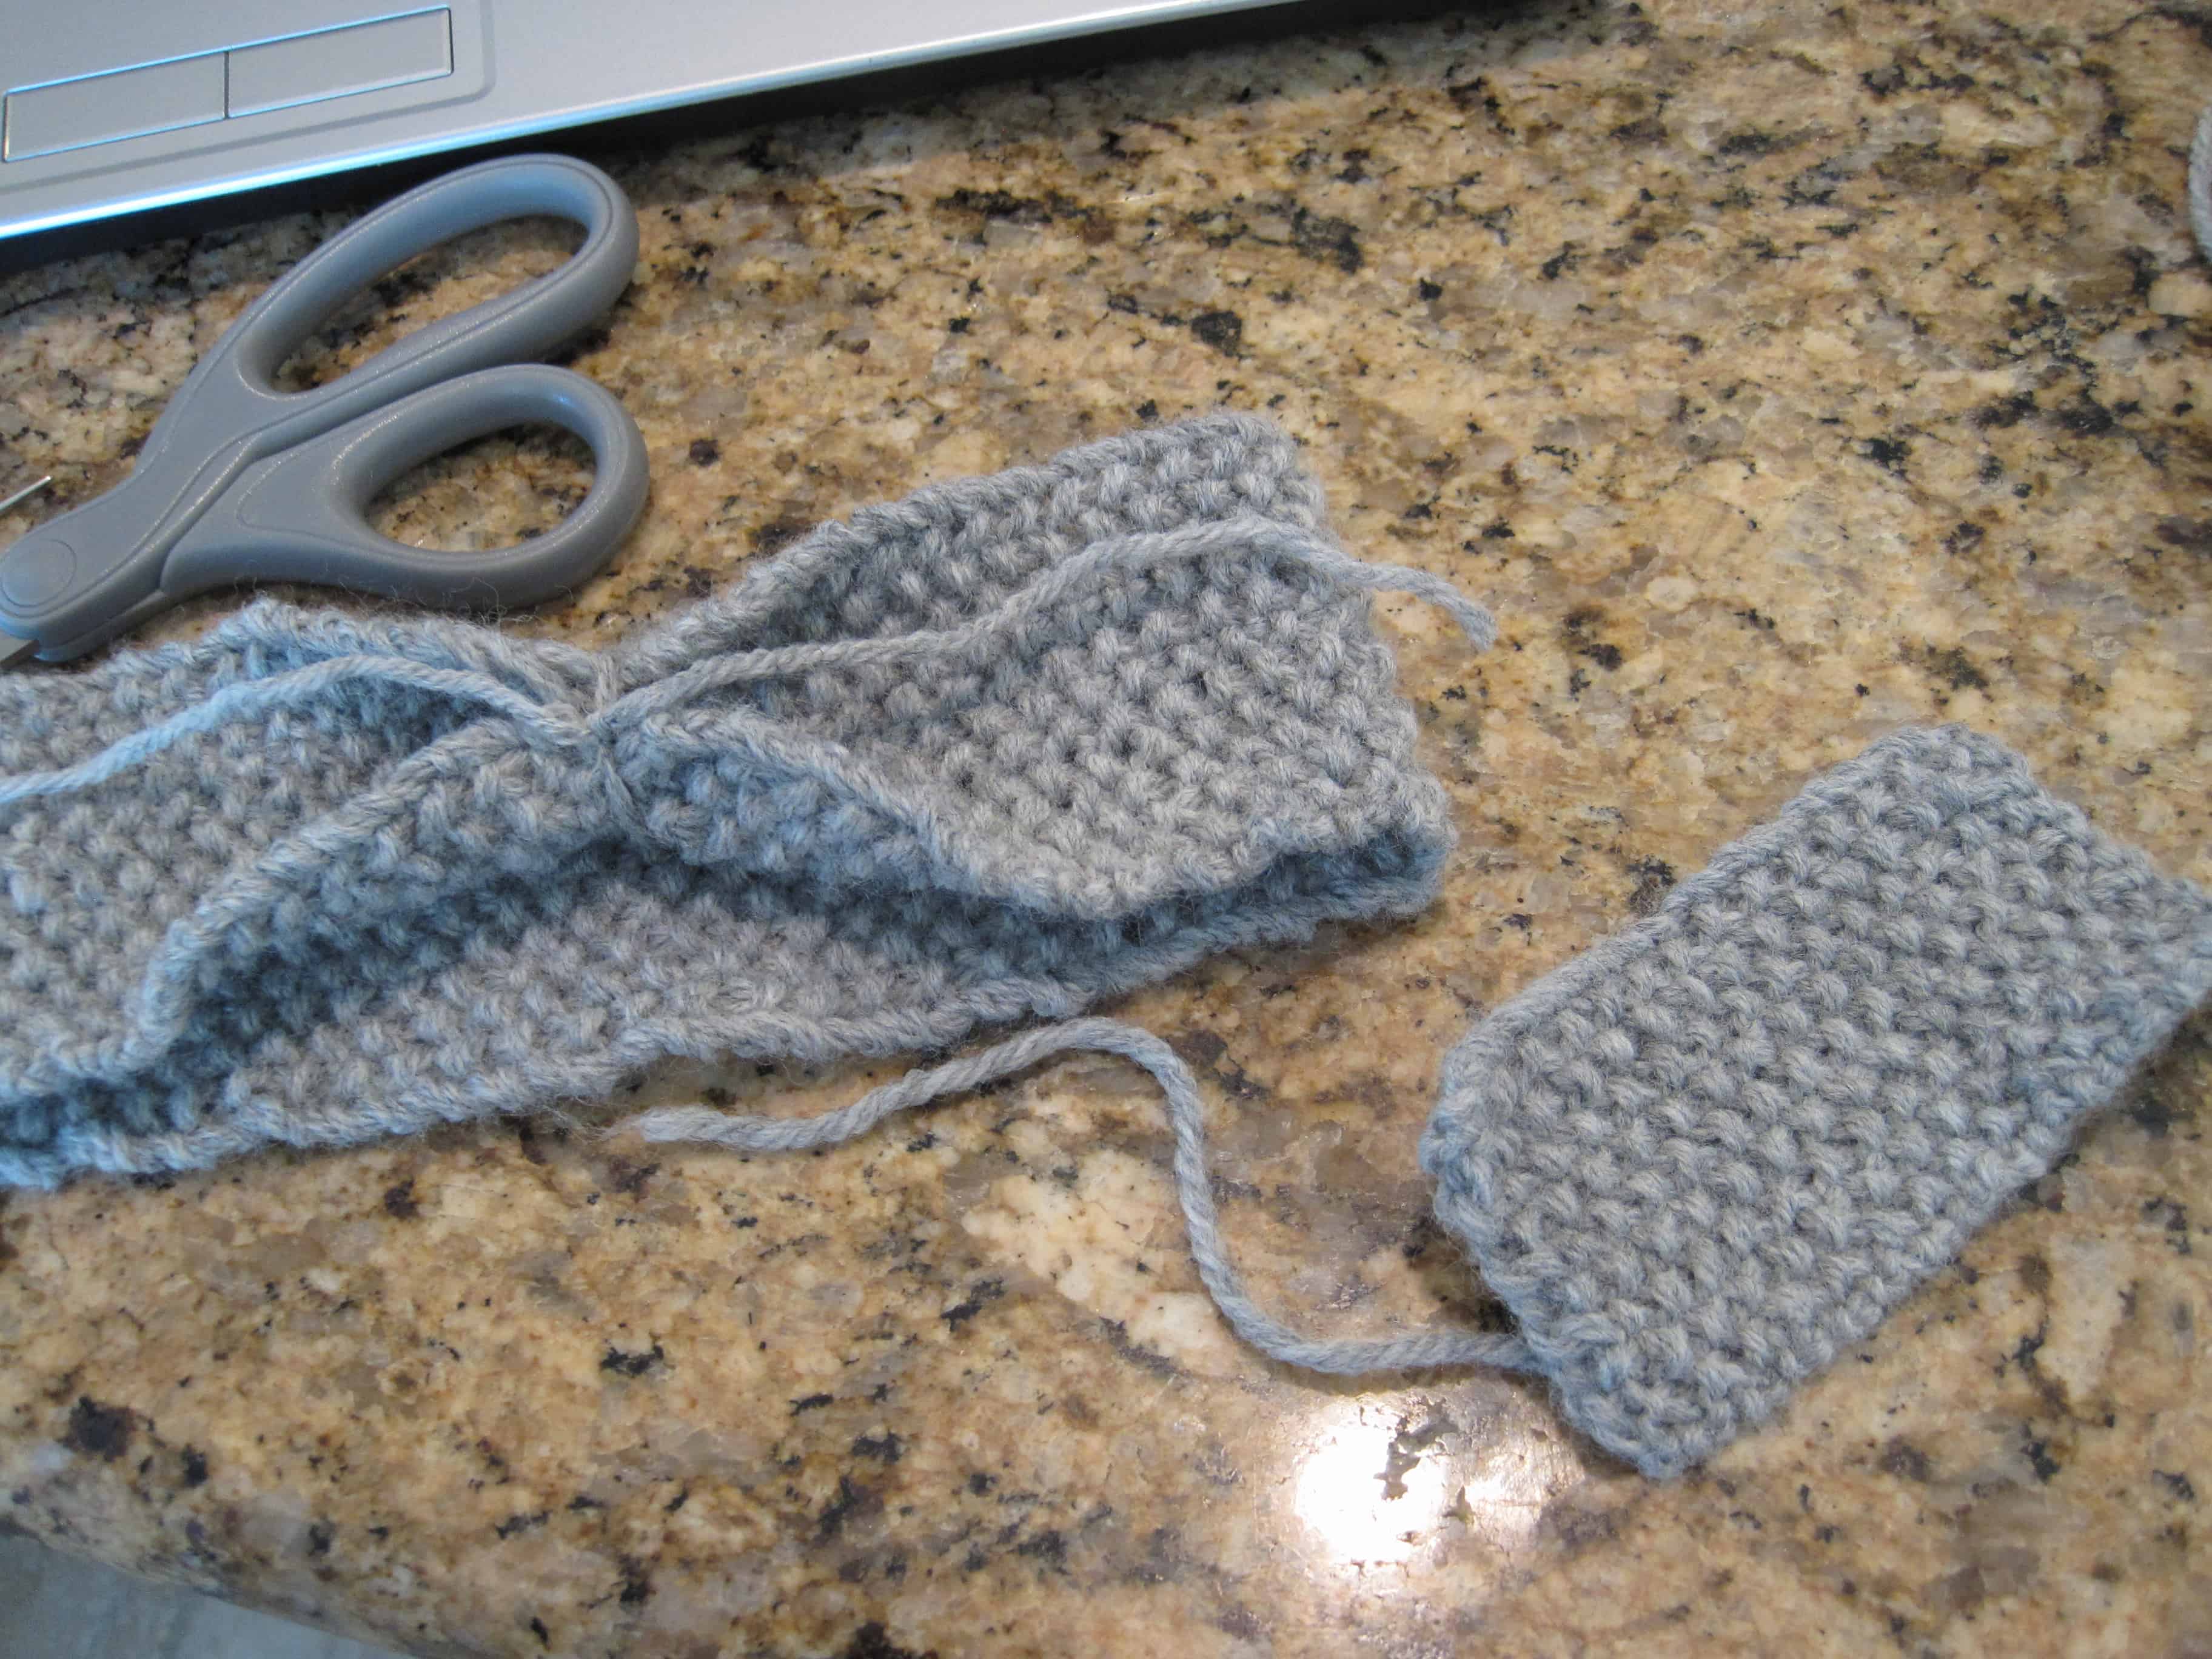
3. To start the smaller piece, cast on 11 stitches. Again, alternate knit 1 and purl 1 for each row, until strip can fully wrap around the headband piece pretty snugly (as headband will be cinched in a bit to resemble a bow). Once it reaches this length, cast off. I like to leave about 8 or 9 inches of yarn left over so you'll have an adequate amount to join the edges in the next step. Set aside.
4. Now return to the larger piece. Thread a darning needle with the remaining yarn left over from your cast off and join both ends of the headband so all 13 stitches are parallel with each other. Poke needle through the center of each of the parallel end stitches, working your way up the headband to stitch closed. Don't worry about the seam stitching being perfect - it'll be covered up by the smaller piece.
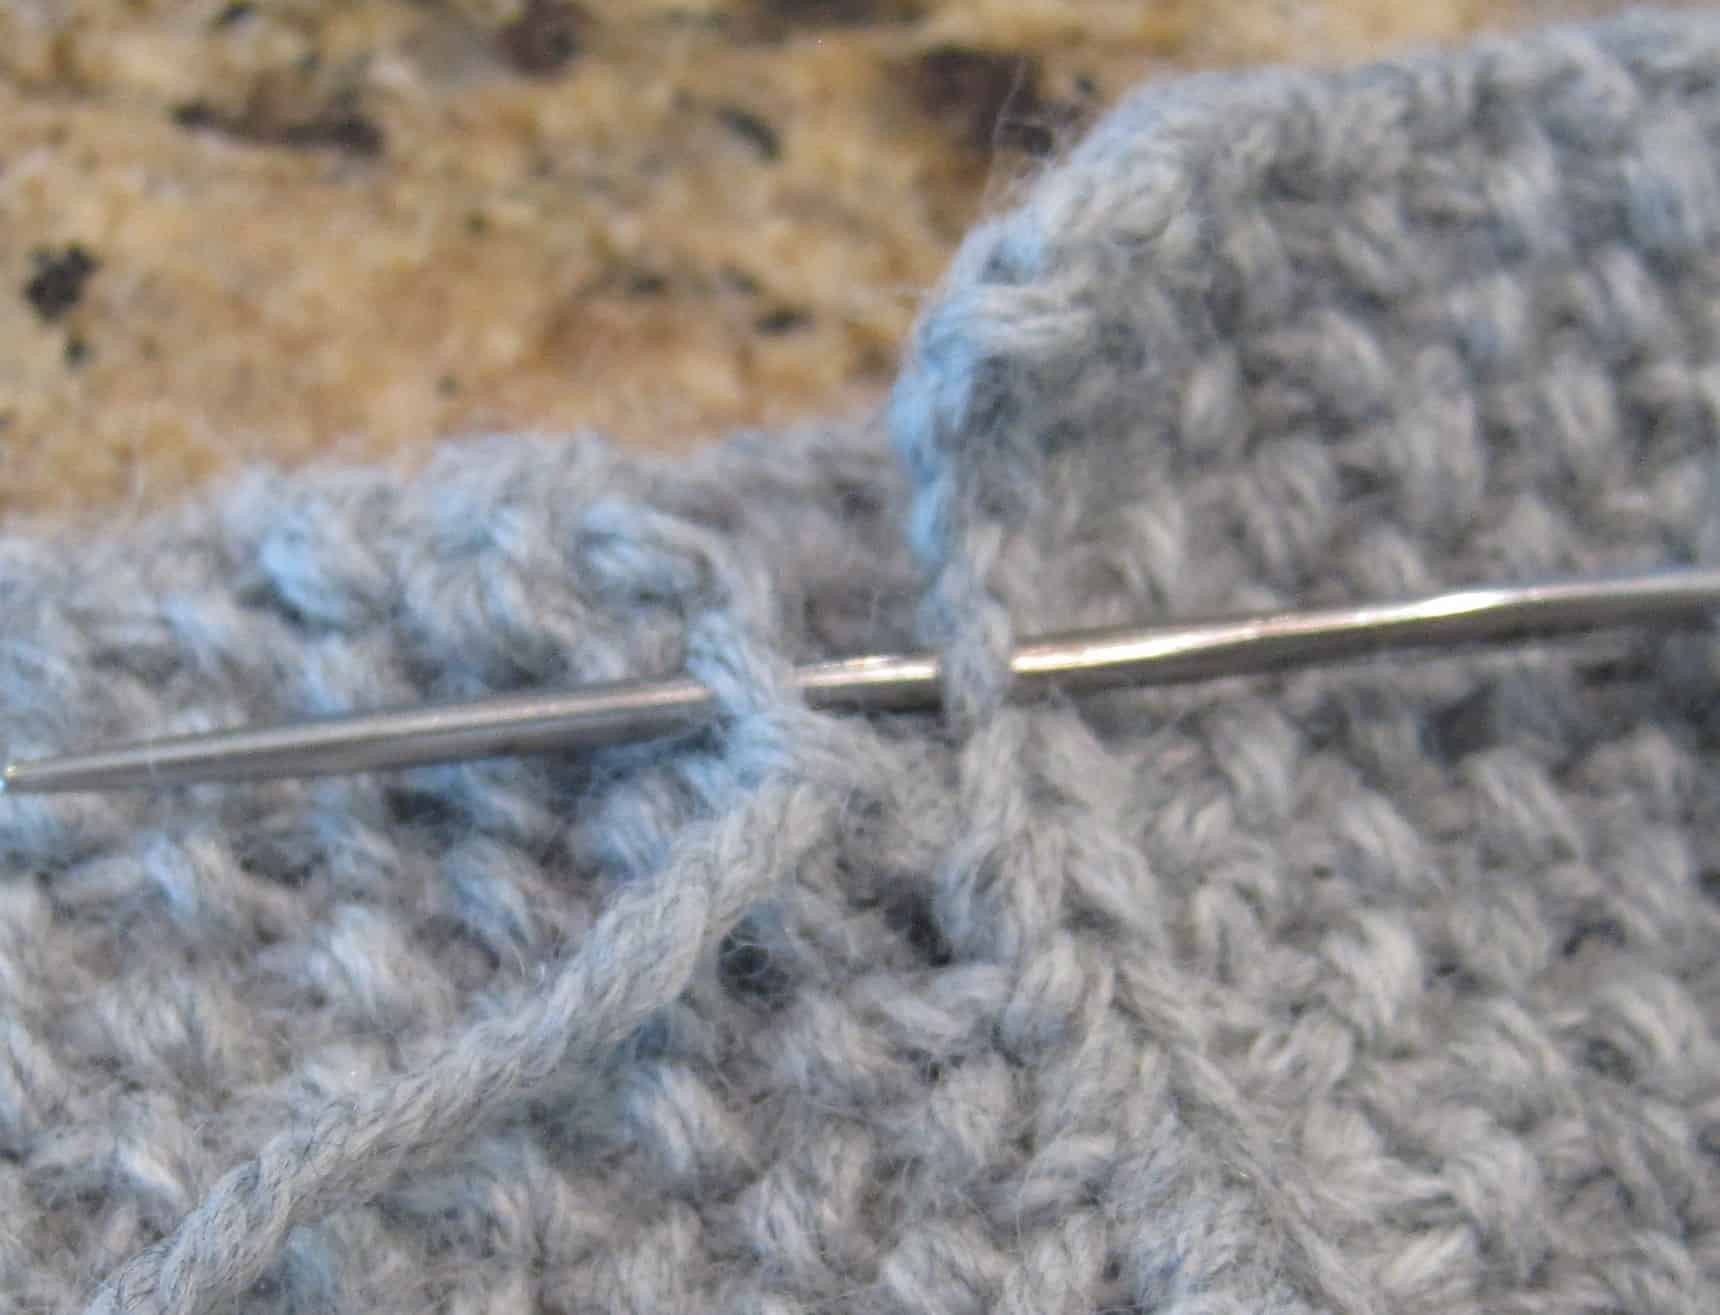
5. Once headband is joined at the edges, use both leftover connected yarn from casting on and joining edges to cinch the headband and tie a knot to hold the bow shape for the second piece to be wrapped around. Typing that out sounded confusing, so hopefully a picture will help:
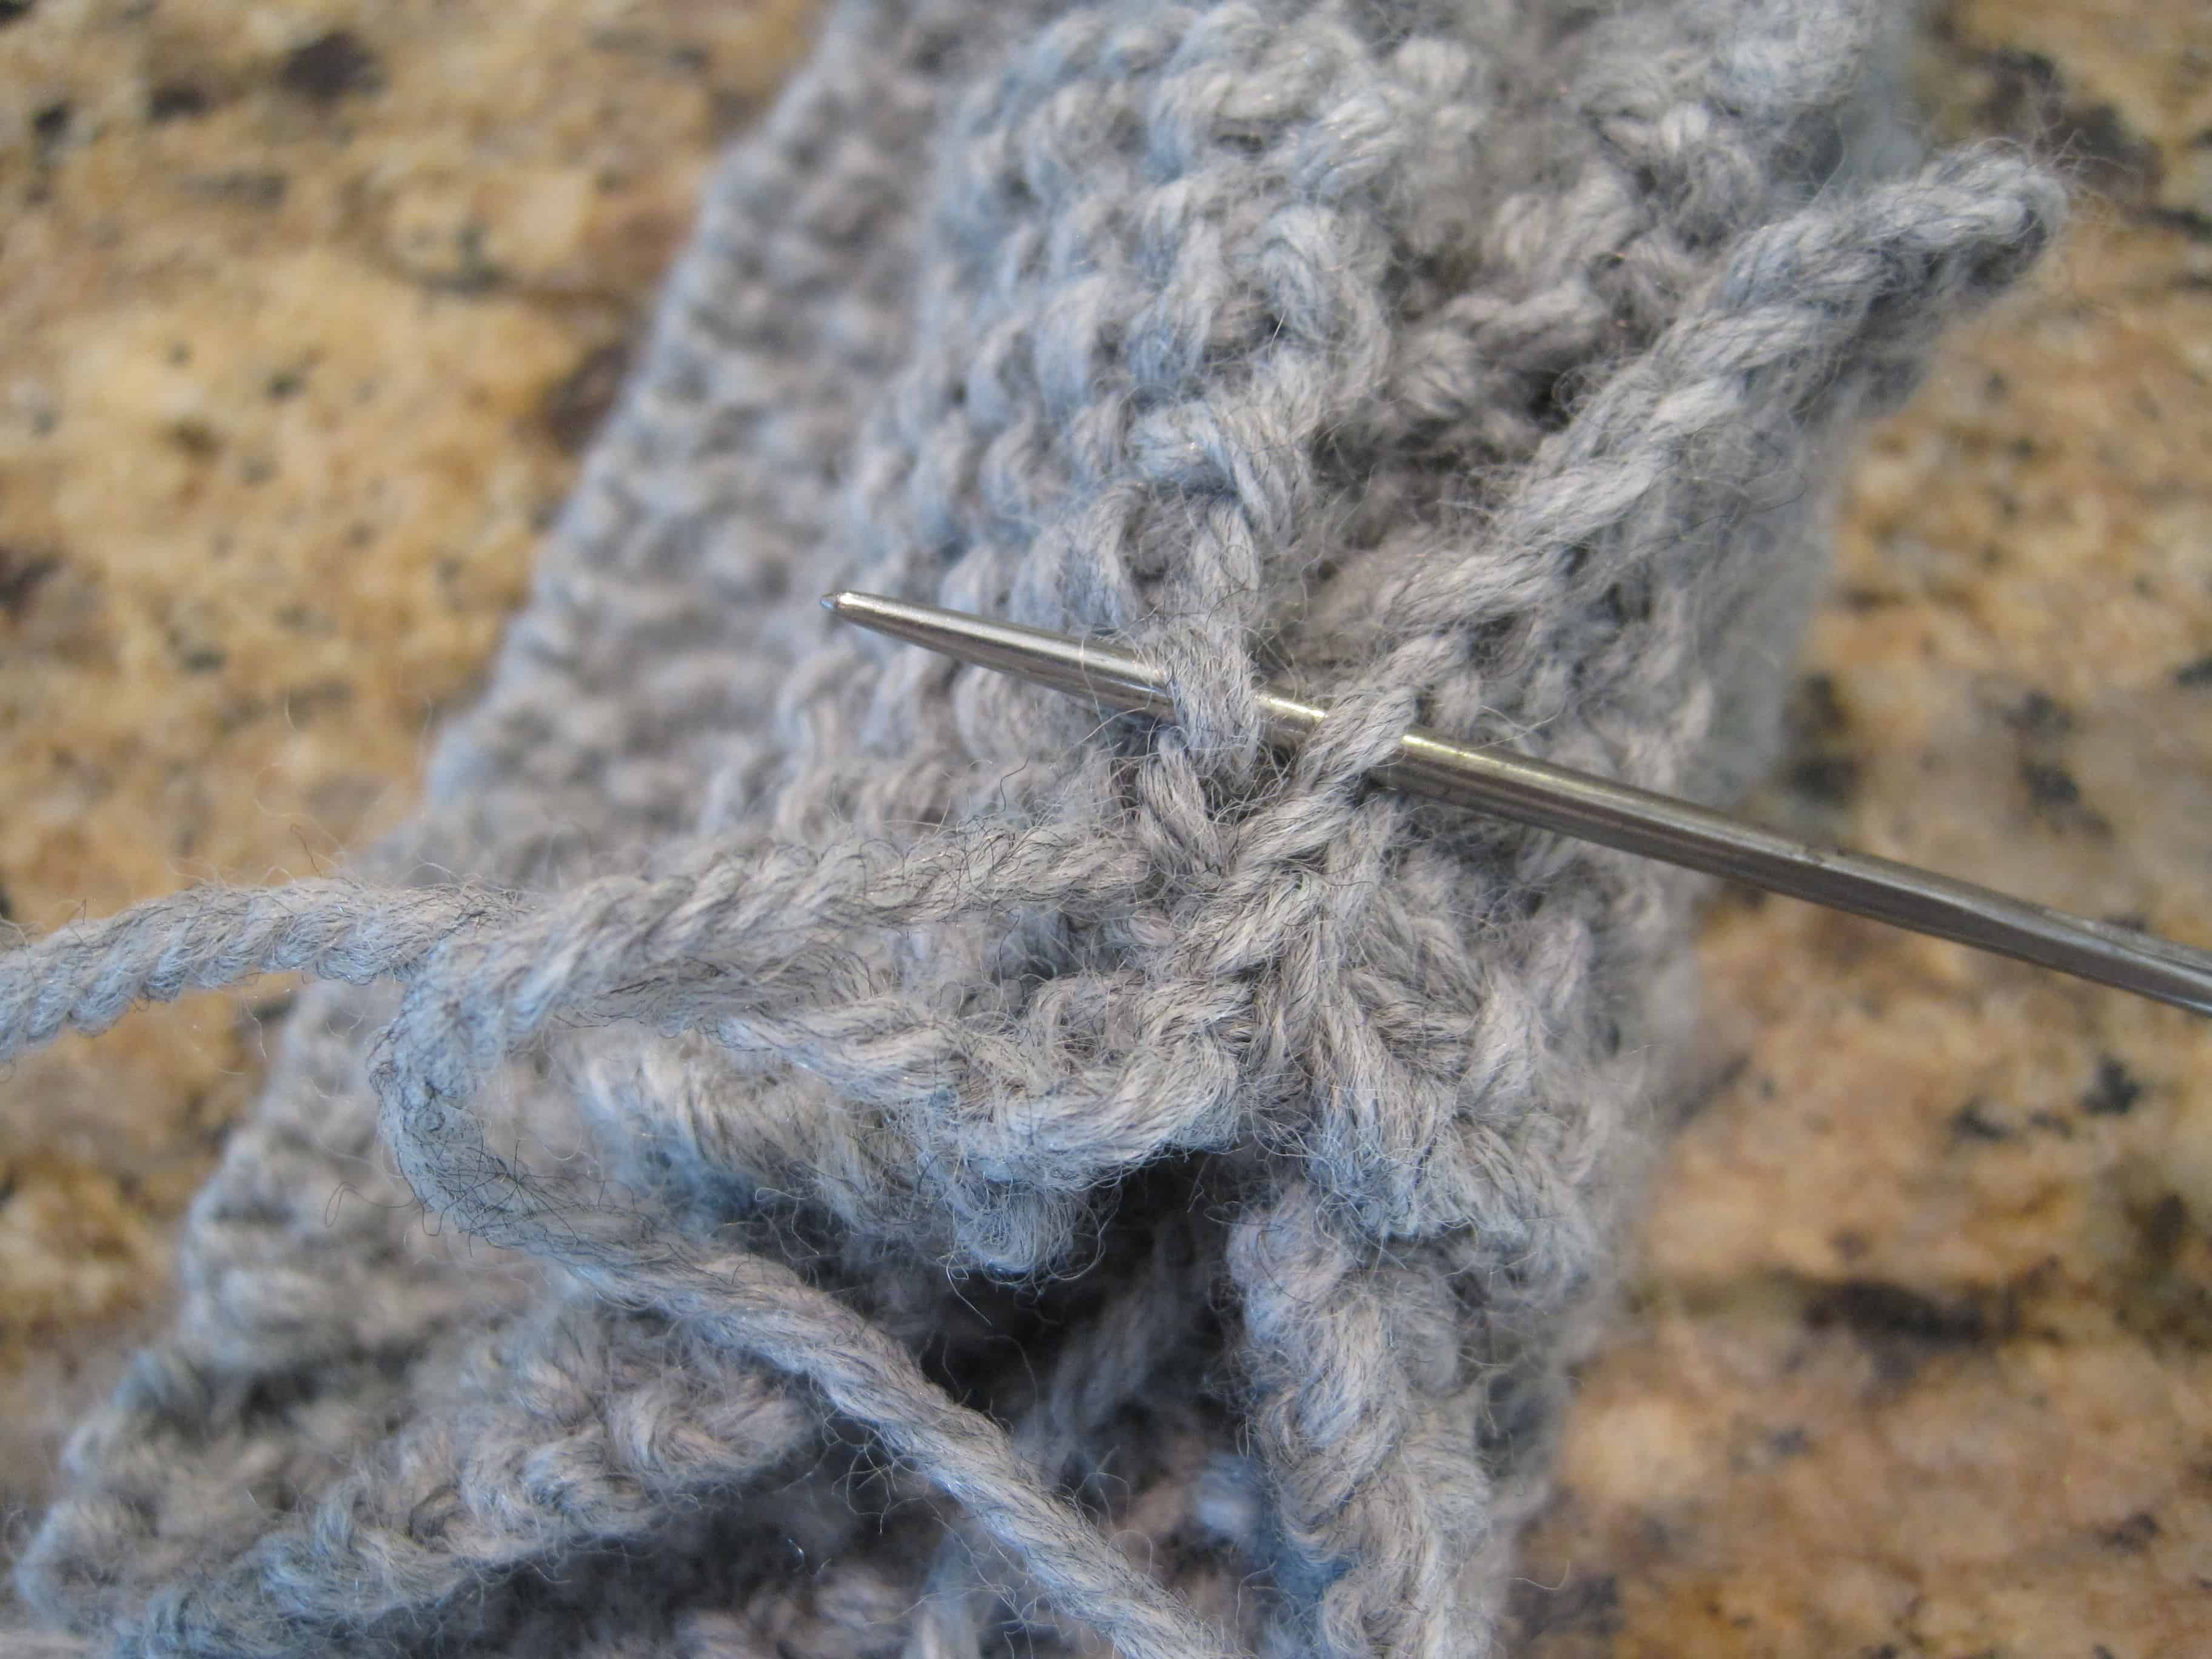
6. Now, wrap the smaller headband piece vertically around the cinched area so that the seam will be towards the back. Join these edges in the same manner by which you joined the headband piece. Now the cinching piece should be fully stitched together and freely encircling the headband (without being sewn down). Next, position the seam of the cincher piece toward the inside of the headband. Sew the remaining yarn ends from casting on and joining the two pieces into the back of the headband stitches on either side of bow so that the small bow cincher piece won't move around and expose its seam. This way, both seams are hidden - the headband seam was totally hidden by the cincher piece, and the cincher piece seam was oriented toward the inside and stitched in place.

7. Trim any excess yarn and ta-da, done!
Leave a Reply